


Shadow Box

I'm always on the hunt for new wall decor. If I can make something, even better. Today I decided to make my own shadow box.
I made one single box, but you could easily make multiple boxes for an area.
I am also using scrap wood from old projects so this project is free for me but would easily be under $10 if you needed to purchase wood.
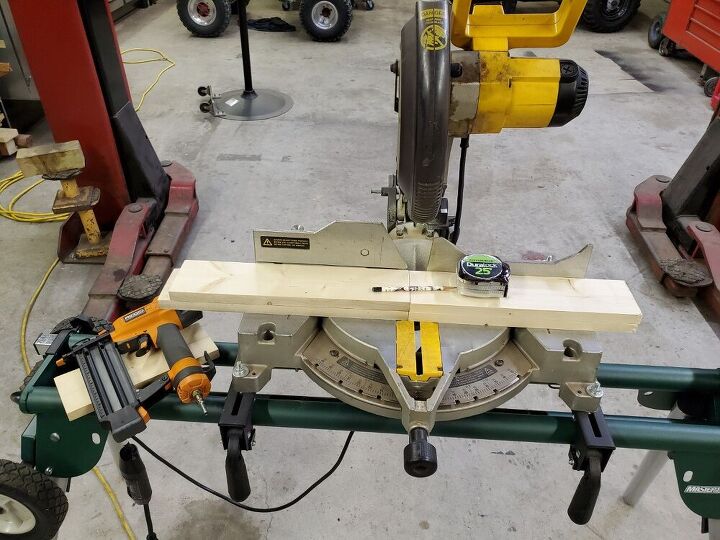
- Miter saw
- Pneumatic nail gun
- 1.5" nails
- Tape Measure
- Pencil
- Wood (use the depth and lengths need for your specific needs and project)
* MY PROJECT USED 1X4 BOARDS*
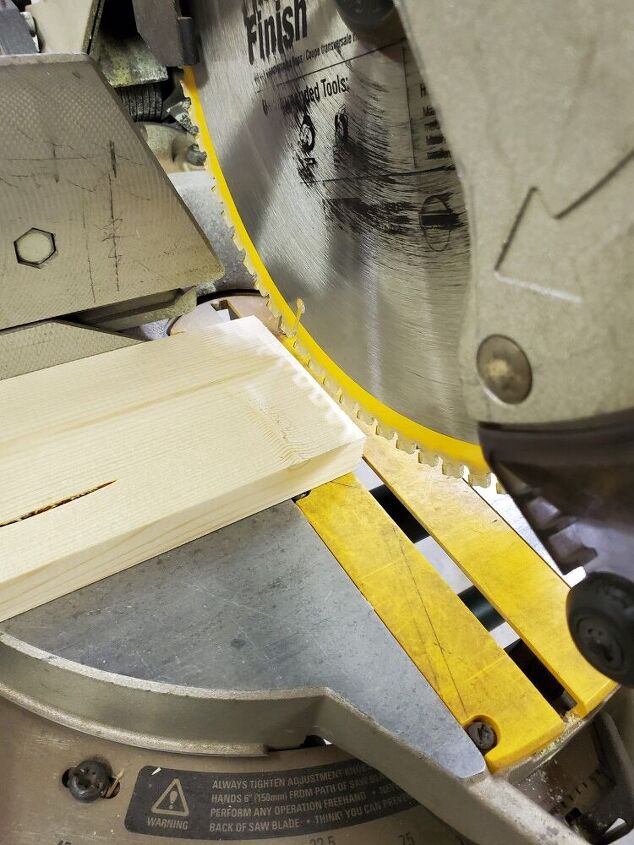
Since I'm using leftover scrap wood from other projects, I made sure to trim one end of each board. This allows me to have a straight edge to measure off of.
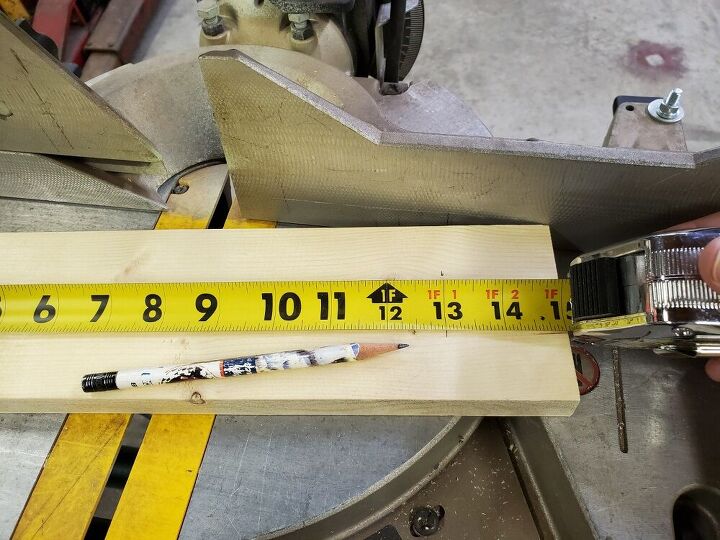
Once my edges are straight, I measured the length I wanted. I decided on a 13" square for my project. Measure your area to find a measurement fit for your needs.
After cutting 4 boards to 13", I sanded the cut ends so the were nice and smooth. I then laid out how I wanted them positioned.
*NOTE* You could miter the ends of your boards if you don't like the straight end look.
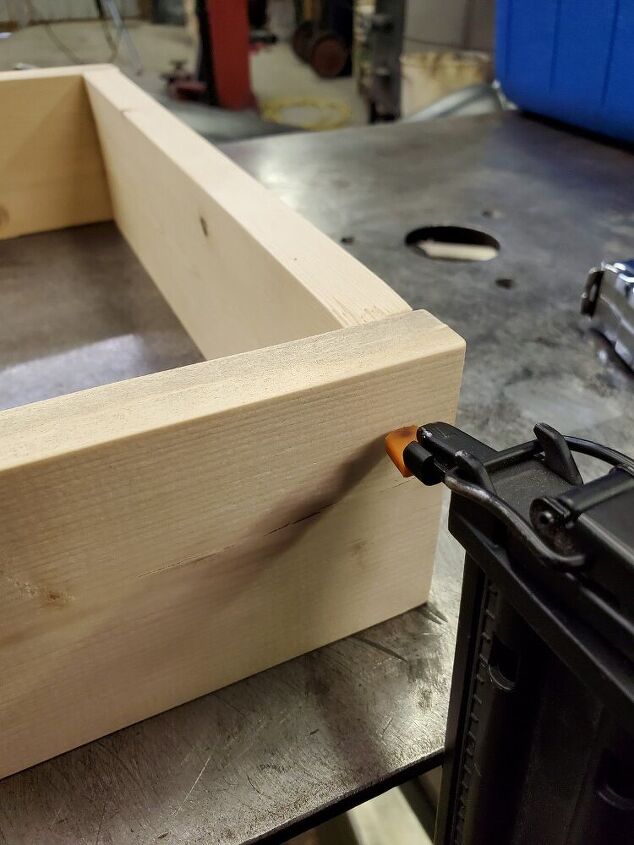
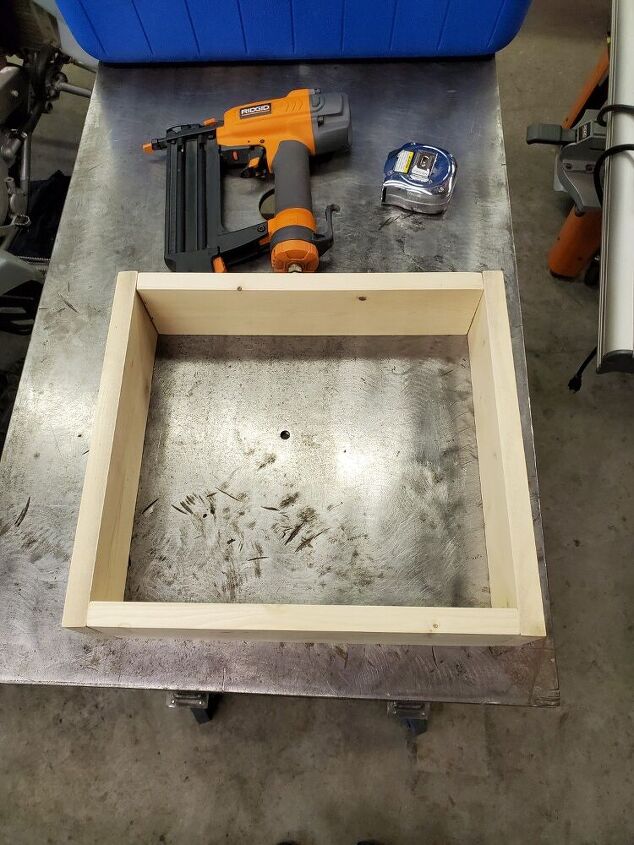
After finding my layout, I nailed the boards together with a pneumatic nail gun and 1.5" nails.
I nailed one nail while the box was on its side.
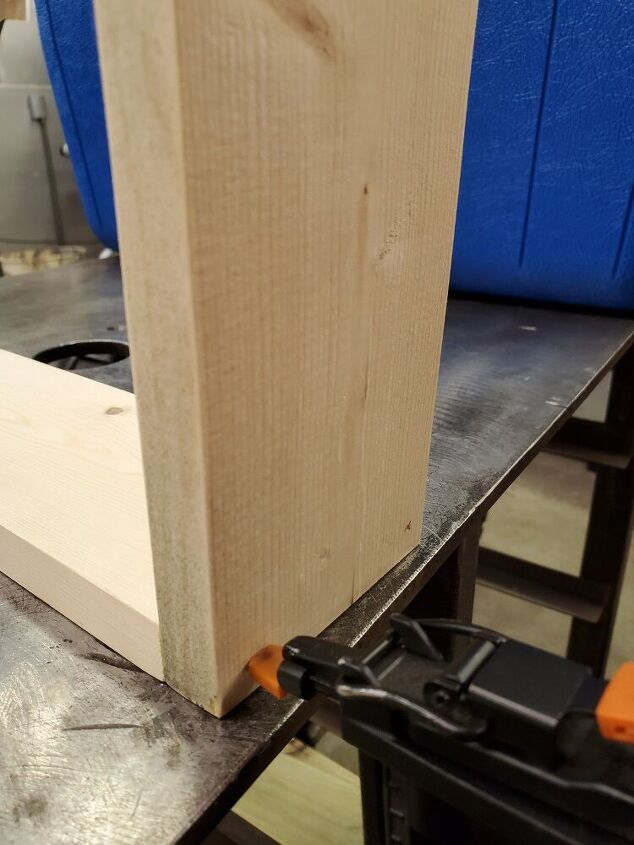
I then flipped the box over so I could hold it and make sure the boards stayed flush with each other.
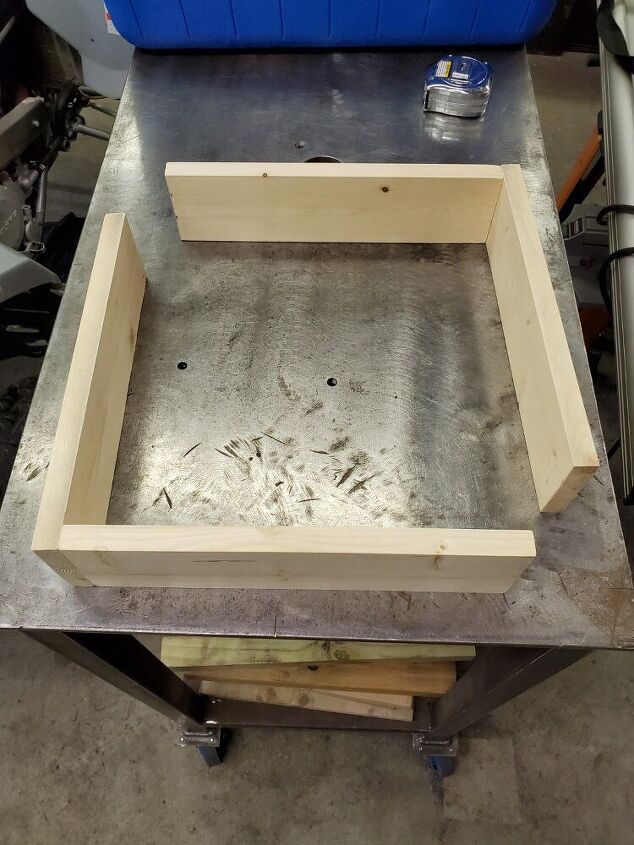
I did the two opposing sides like that before bringing them together.
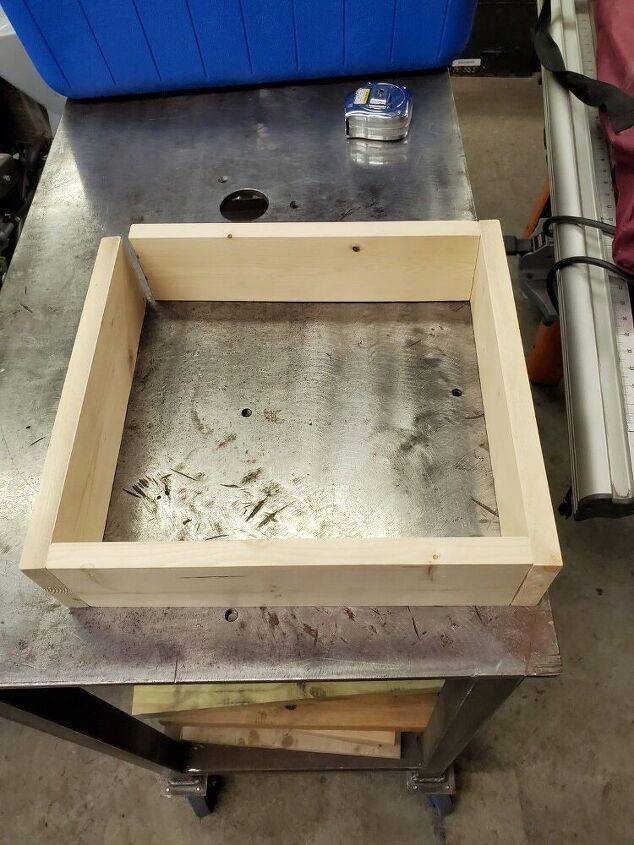
Working on a flat table top will help to hold and keep your project square.
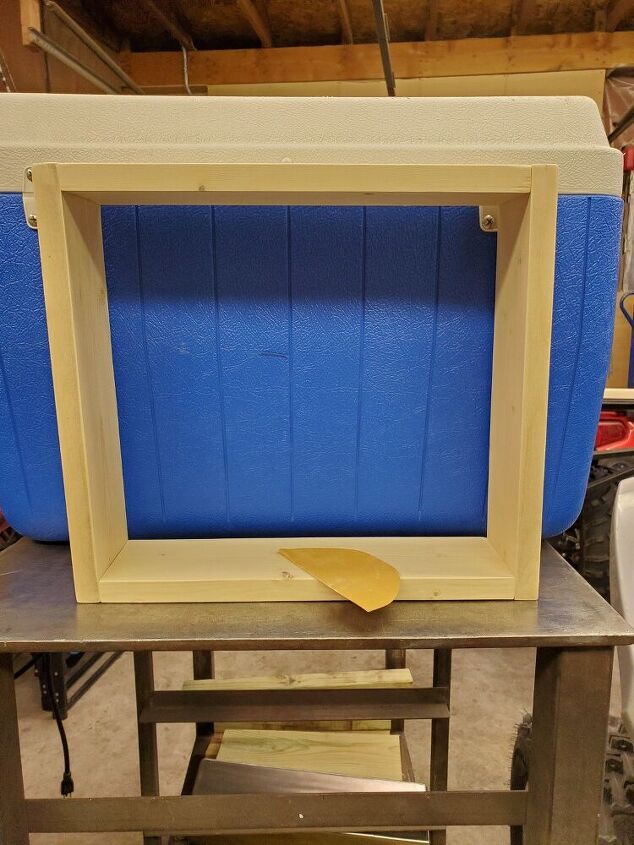
After all sides are nailed, I sanded the box and got it ready for paint.
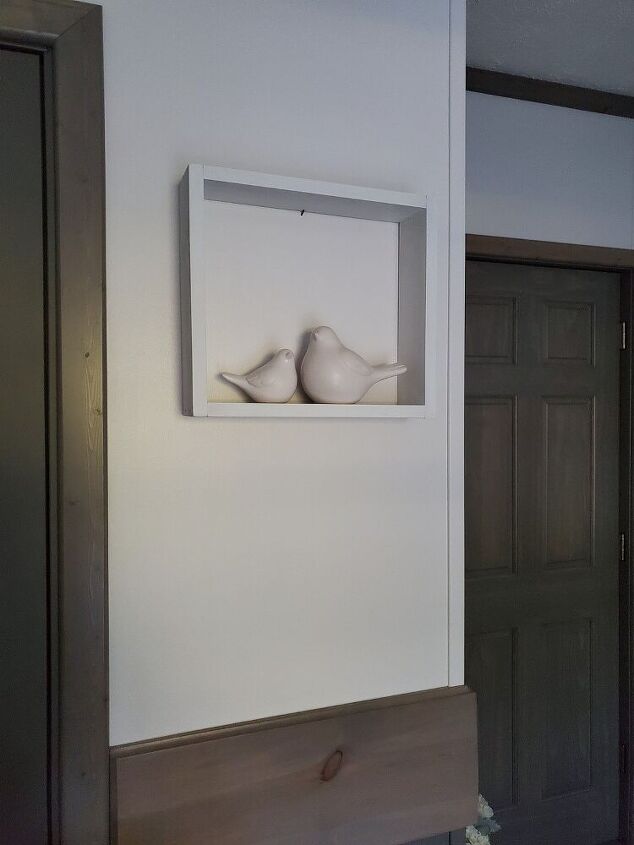
I painted my project with white paint, but you can stain or paint your shadow box to fit your needs.
This was an easy and quick project that will add a little decorating spot to any wall. I hope you'll give it a try!
Resources for this project:
See all materials


Comments
Join the conversation
-
So simple but a great impact on a wall. Very simple project anyone can do


Frequently asked questions
Have a question about this project?