


Hanging Plywood Book Shelf

These days, I find myself doing a lot of upcycling and reusing. After gluing a few pieces of scrap plywood together as a test before making a floating shelf, they sat in my workshop for a week. Walking past the glued boards for about the 25th time, it hit me - they would make a perfect picture ledge or hanging book shelf. Enter my 5-year-old daughter who loved idea number 2 - a hanging bookshelf where she could put books right next to her bed. This dad needed to hear no more.
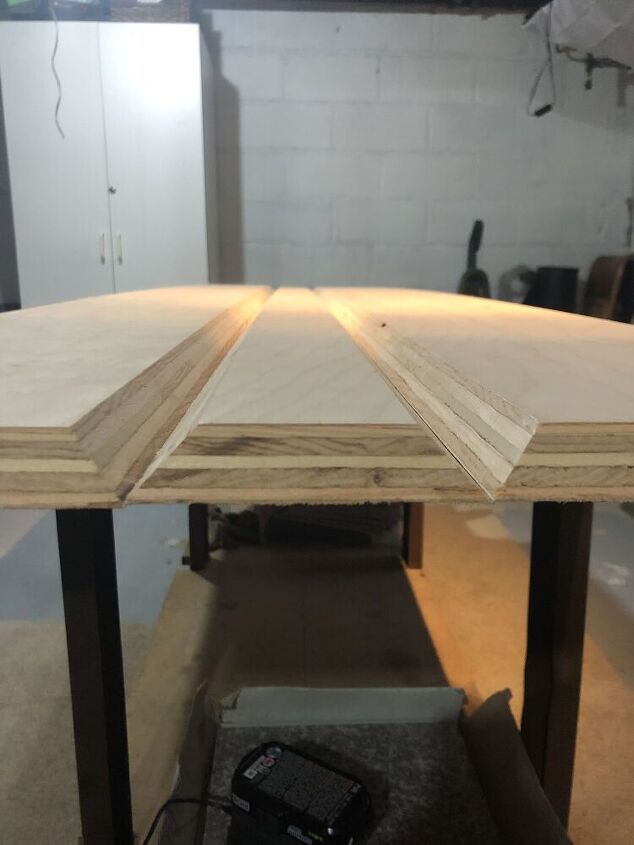
Step one was that first glue up I did as a test for another project. If you're starting from scratch, cut a piece of 3/4" plywood at 16 1/2" x 14 1/2". That sheet will give you enough for each of your three pieces. With a 16 1/2" width, cut one piece at 7 1/2" long, one piece at 4" long and one piece at 3" long. I forgot to take a photo of the cuts, so this picture is from another project, but it gives you a look at those 45-degree angle cuts, and how to get a continuous grain that wraps around the project.
To glue the shelf, first put each piece inside surface down on your table or workbench so the outside of the 45-degree seams are touching. Place a piece of painter's tap along the cut from end to end. Then, add a few pieces of painter's tape perpendicular across both seams.
Cut two spacers at 2 1/2" wide to help with the glue up.
Flip your shelf pieces over so the tape is now face down on the table. Put glue in both "trenches" where the 45-degree cuts are exposed. Smooth it out with a finger or foam brush so it evenly coats the inside of the cuts.
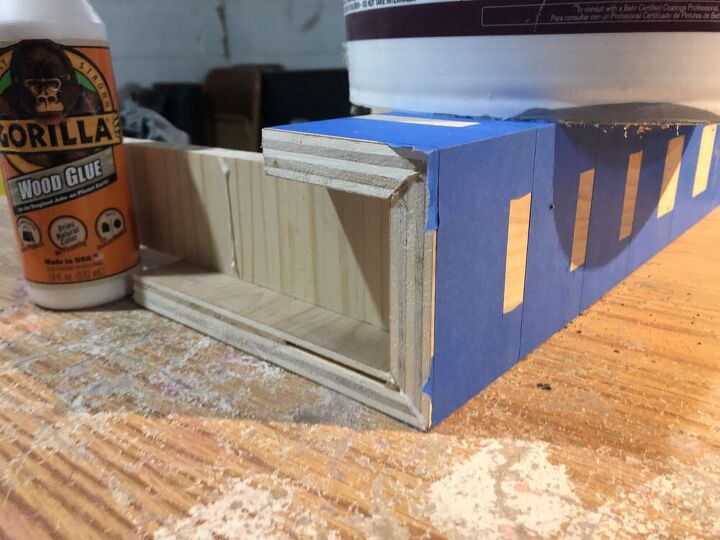
Now, fold your pieces together so they make the U-shaped final form. The tape will hold the pieces together. As you can see in the photo, I folded them down onto the 2 1/2" spacers for some extra support while they dried. Instead of clamping, I just set a heavy, 5-gallon bucket on top of the top piece to apply enough pressure to keep the seams tightly held together by the tape.
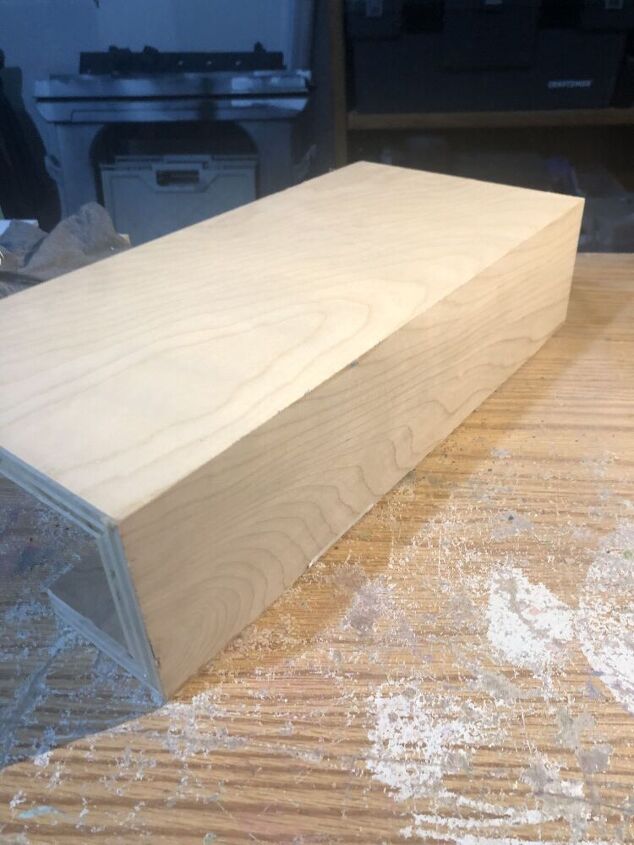
After letting the shelf dry for 24 hours, I peeled off the tape.
The hard work was done! I lightly sanded each surface and the ends.

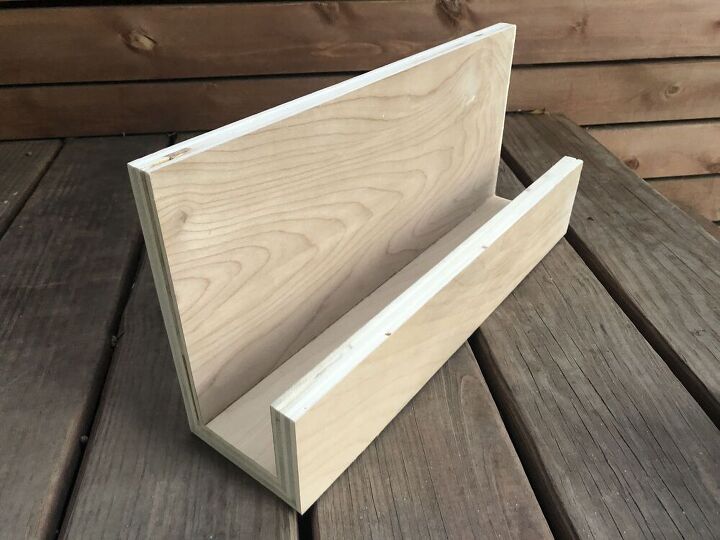
My daughter wanted sides on the shelf so her books didn't "accidentally fall out." Who was I to argue? I had a piece of scrap 1/8" plywood that was perfect. I cut two pieces 4" wide and about 5" tall. I held each piece up to the side of the shelf to trace out the ends of the 3/4" boards. Then, I used a straight edge to draw angle between the side boards and cut each piece out on a table saw.
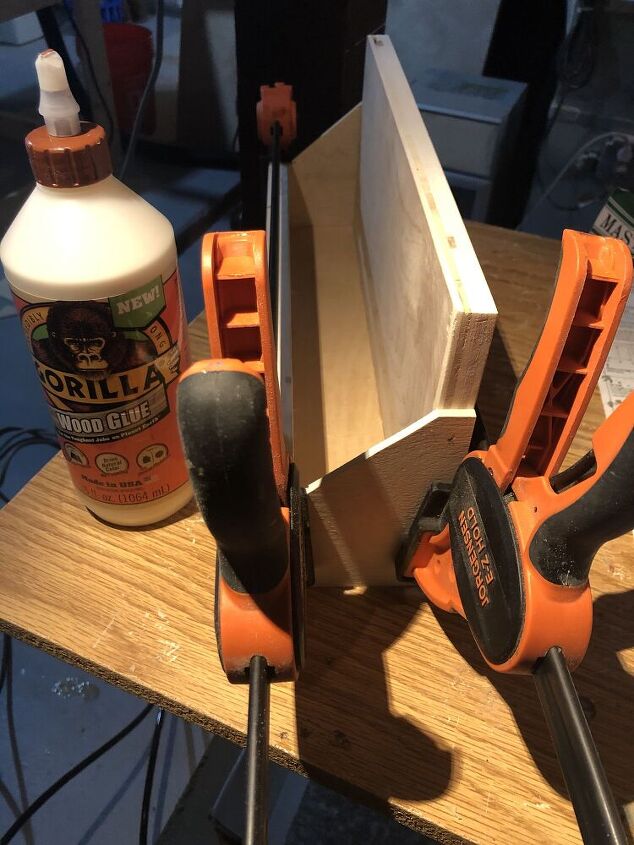
Next, glue and clamp the side pieces. It may have been overkill, but I also used a nail gun to pop a few finishing nails into each side after taking the clamps off - just to give it some extra strength. I added wood putty to the nail holes and gave the whole thing one last light sand.

Our last step was to prime and paint. After priming, I gave it a VERY light sand with 600-grit paper, just to removed some bumps. Then, I sprayed the final color.
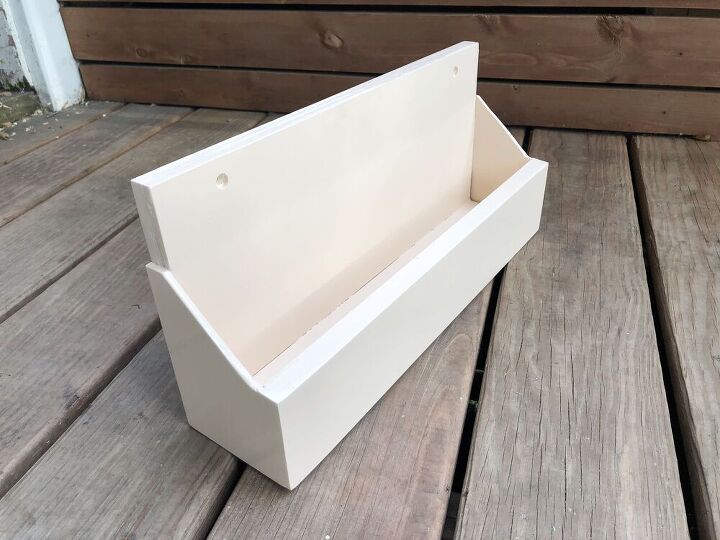
And, here you have it! The finished product.
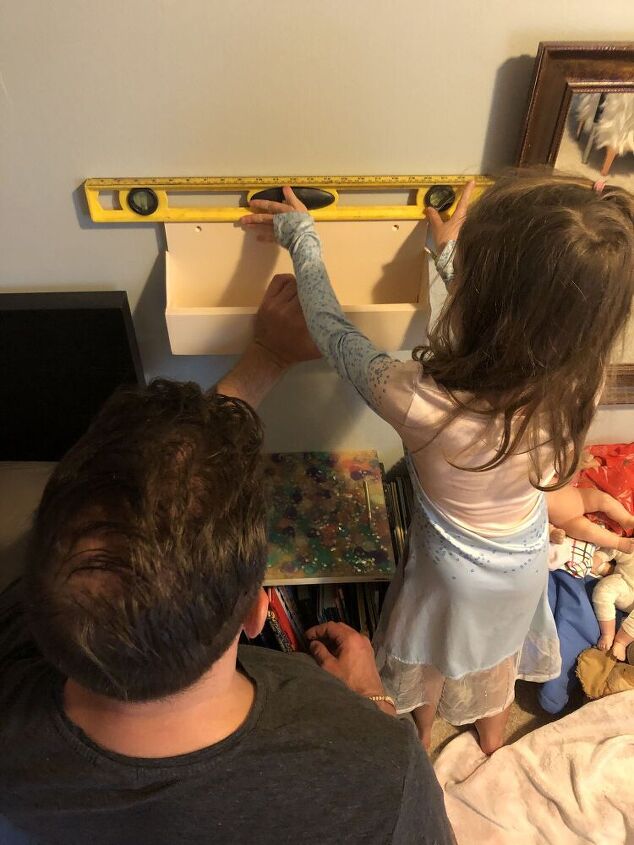
The best part of this project was making our little girl a part of it. From her design decision to add sides to picking the final color to helping me hang it exactly where she wanted it in her room - it was an absolute blast to knock out this simple project in just a few minutes each day for 3 days.
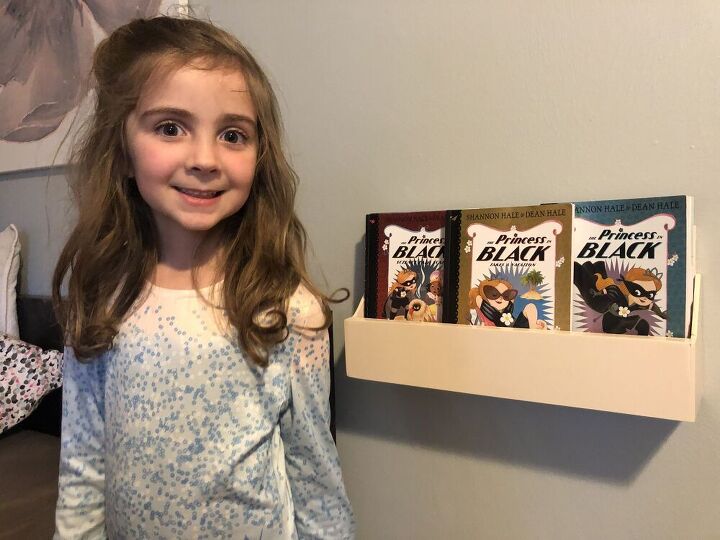
Here is the finished product and the happy little girl! Follow me on Instagram at @woodyworking for more simple woodworking DIY or home improvement projects. Happy building!


Comments
Join the conversation
-
Very nice work. Looks better than store bought. Good share


Frequently asked questions
Have a question about this project?