


Farmhouse Shelves

I’ve had these brackets for a while, and couldn’t decide where to put them. When we decided to put the TV on the mantle and rearrange the living room, I knew exactly where they would go! Here are the tricks and tips I used to help hang these cuties on my own while still ensuring they are level! If you have a second set of hands, of course that would be easier, but if you don’t this one is for you!
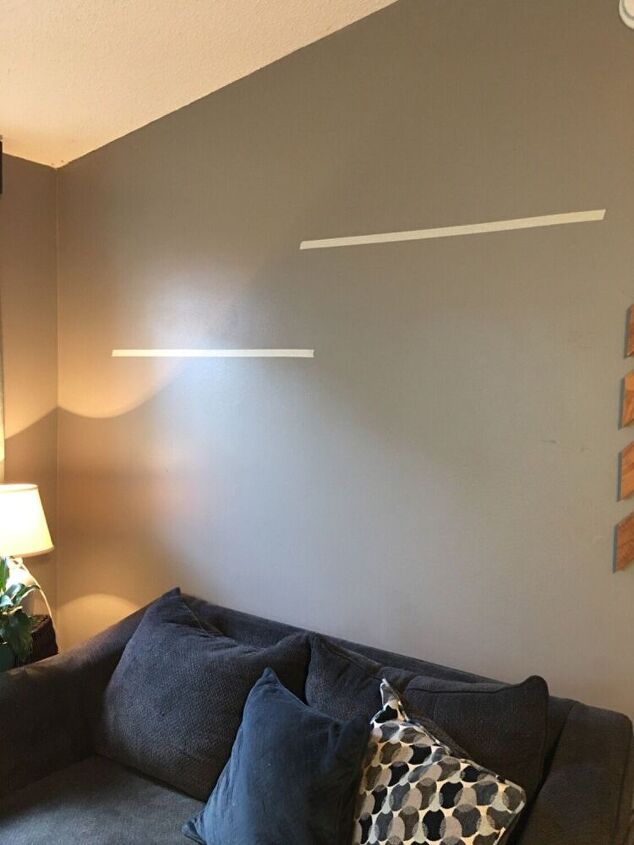
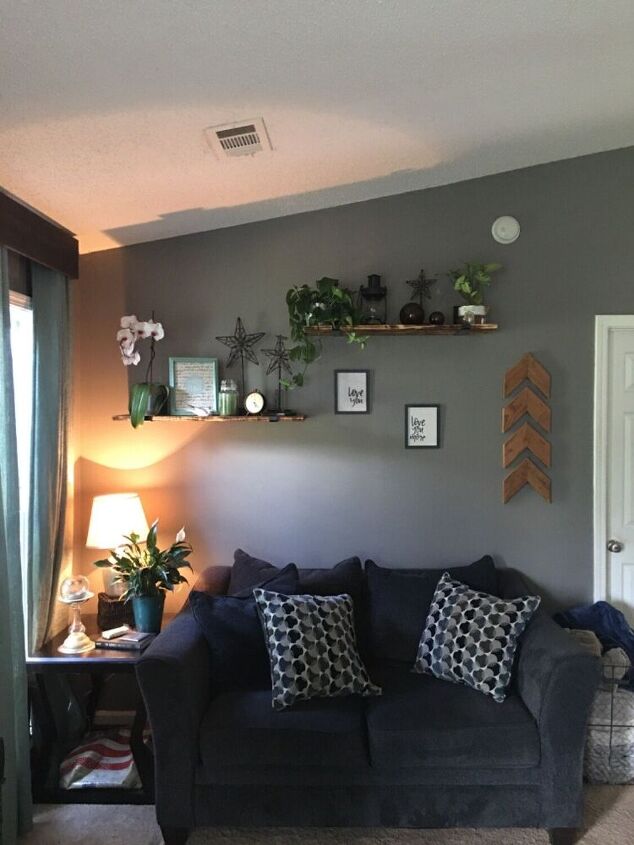
I always use masking tape to give myself a visual of where the item I’m hanging will go, it also gives me the chance to live with it before drilling holes in the wall! Measure the tape the length you want your shelf and grab your level to level the tape, it saves time in the end! I did 3 ft strips and staggered them on the wall, I positioned each shelf about 15” apart! I left this like this for about a week to make sure I liked the position of them, ha!
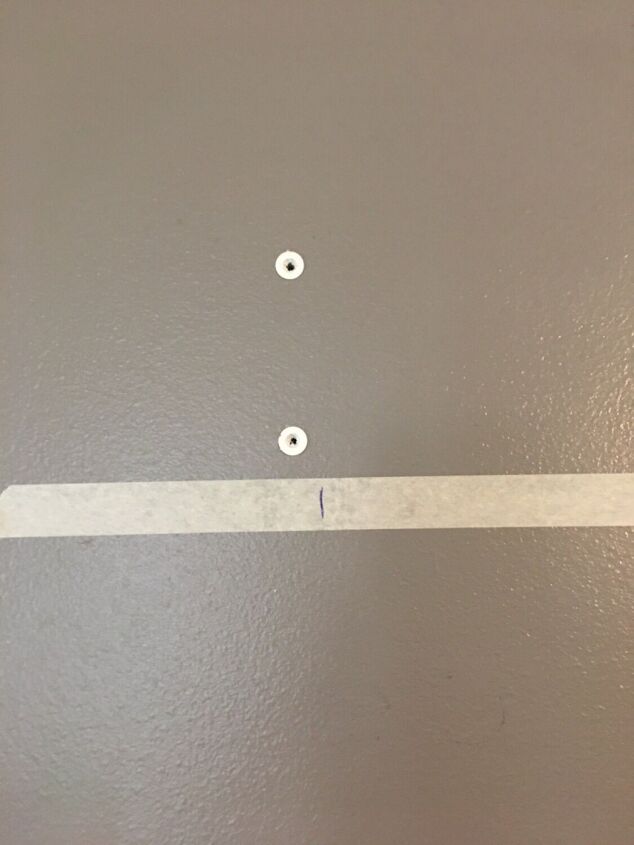
Measure in from the ends of the tape how ever far In from the end of the shelf you want the brackets to sit, I did 6” in from each end and marked the tape. I put the backer up and marked the holes on the bracket so I could pre-drill and put in the heavy duty drywall anchors that came with the bracket kit!
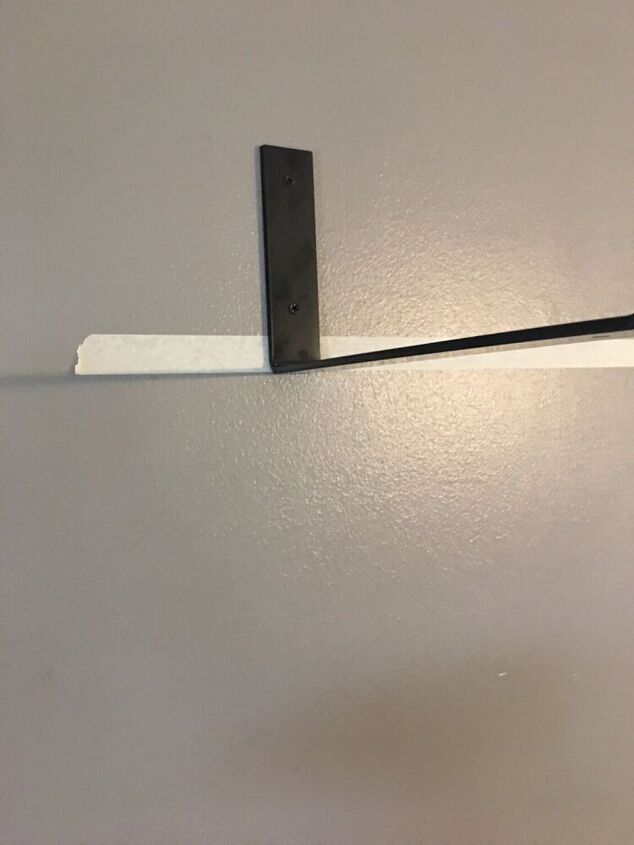
I always mount one bracket then the other, I’ll place the board on the bracket that’s already mounted, and hold up the other bracket and set my level on top of the board to ensure the shelf is level, but if your tape is level, you could honestly skip that as long as your bracket it on the tape it will be level!
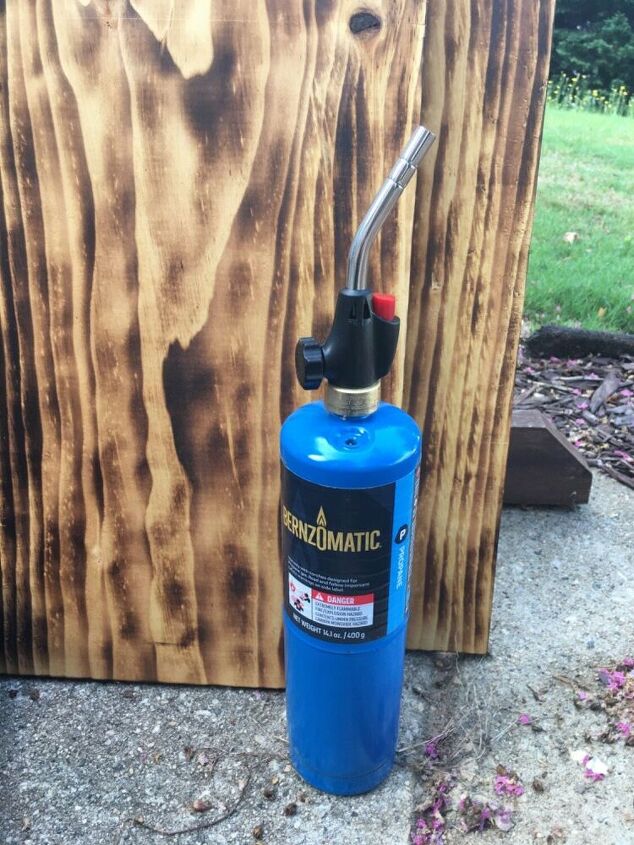
You can stain, paint, or clear coat your wood for the shelf, but I chose to burn it. I have this finish all around my house. I use a butane torch I got from Amazon, to burn the wood lightly, be careful if you opt to do this finish, burn the wood outside, and ideally near a hose or have some water out just in case! I usually sit in the middle of my driveway with the hose.
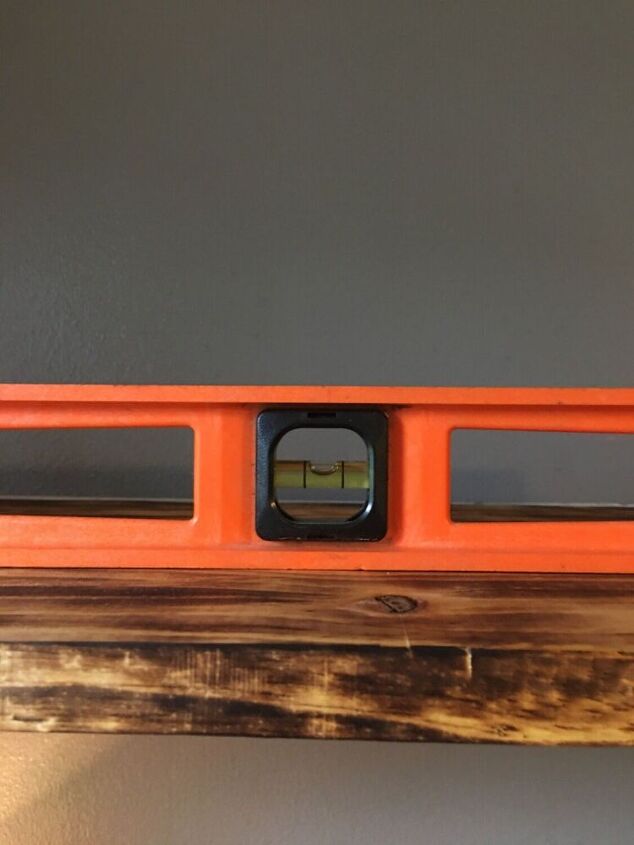
Always check level before putting anything on you shelf!
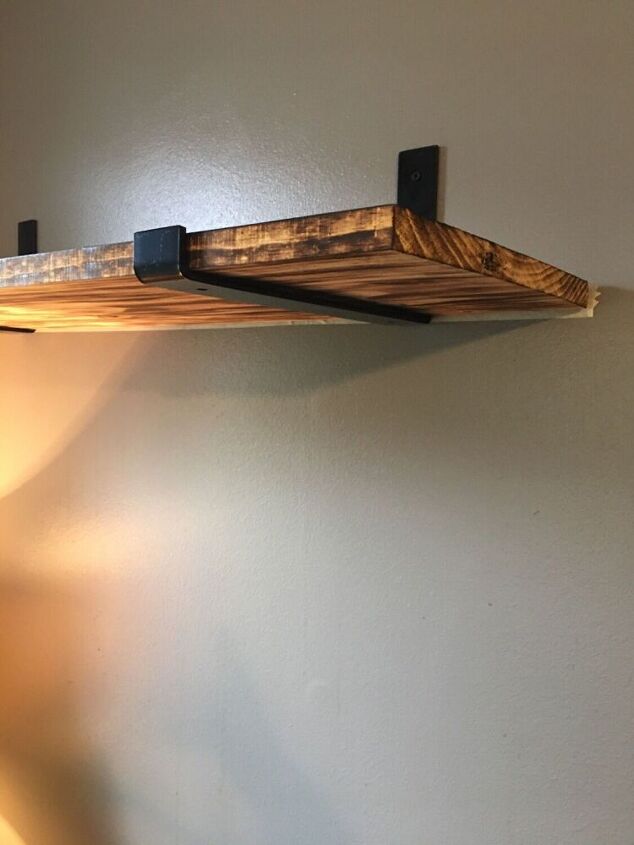
I always attach the shelf to the bracket if the bracket has the holes to do so, it’s not 100% necessary for the spot I have them since they are pretty high on the wall, but we have an active 6 year old at the house and I would rather know they are secure and not falling... (though the items on the shelf will be a whole other situation lol)
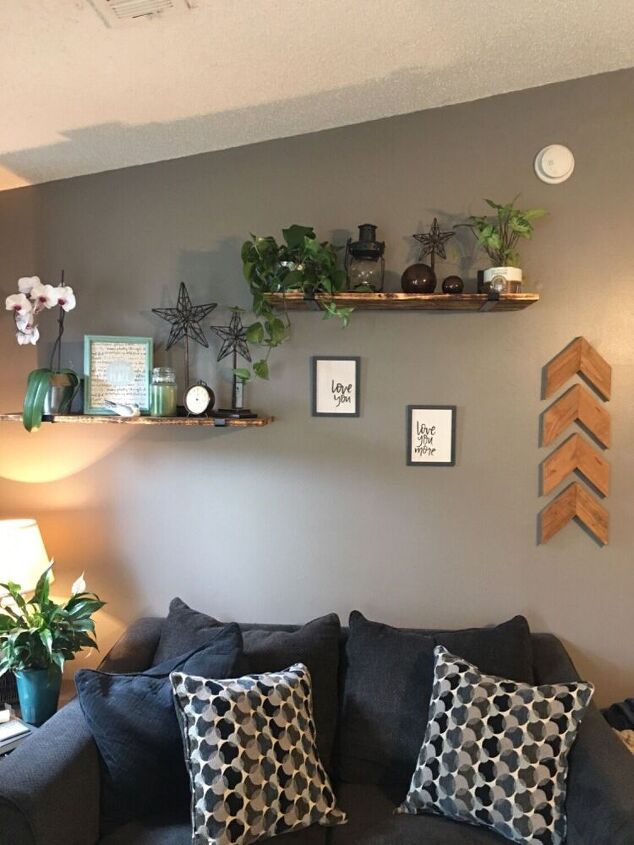
I like to shop my house for projects like this. Especially right now while trying to stay at home and save money where we can! I also have quite a large collection of houseplants, most of which are outside right now enjoying the summer humidity here in Georgia, but come winter these shelves will probably be over taken with plants! Hope you all can use a few of these tips! Until next time! Stay crafty!
Resources for this project:
See all materials


Comments
Join the conversation
-
These are beautiful! I love the burnt wood look. Luckily my husband has a huge scrap wood pile he's wants to get rid of. Looks like I'll be rummaging through it soon!

-
I have these same brackets! I'm using them for three shelves in my kitchen - I painted my boards black to go with my white backsplash/pewter grout and black countertop. Nice look!


Frequently asked questions
Have a question about this project?