


DIY Vintage Grain Sack Striped Stool

Nothing screams farmhouse vintage like grain sack stripes. I absolutely love old, vintage grain sacks! The more worn the better. I especially love seeing them turned into pillow covers.
I decided to give an old stool a distressed, grain sack stripe makeover. Why not, right?! I'm going to show you how to use painter's tape to create easy grain sack stripes, using paint.
**If you are looking for a crisp, clean look, you may want to choose another method of creating your stripes.**
The cost of this project will vary. I already had most of the items in my garage.
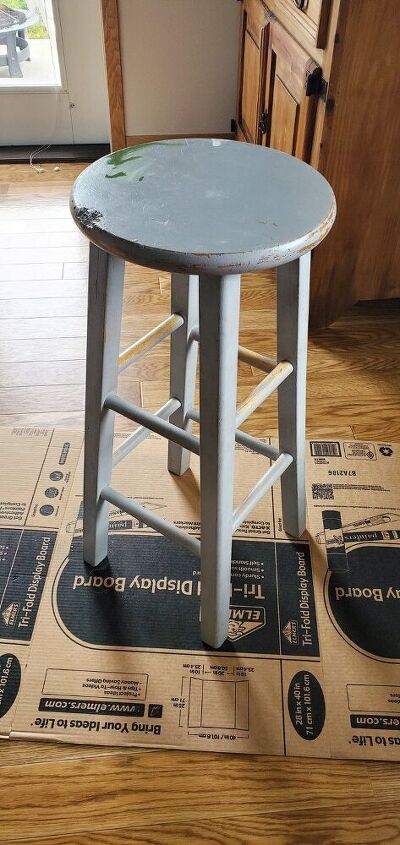
I painted this stool a few years back. As you can see, it most definitely needed an update!
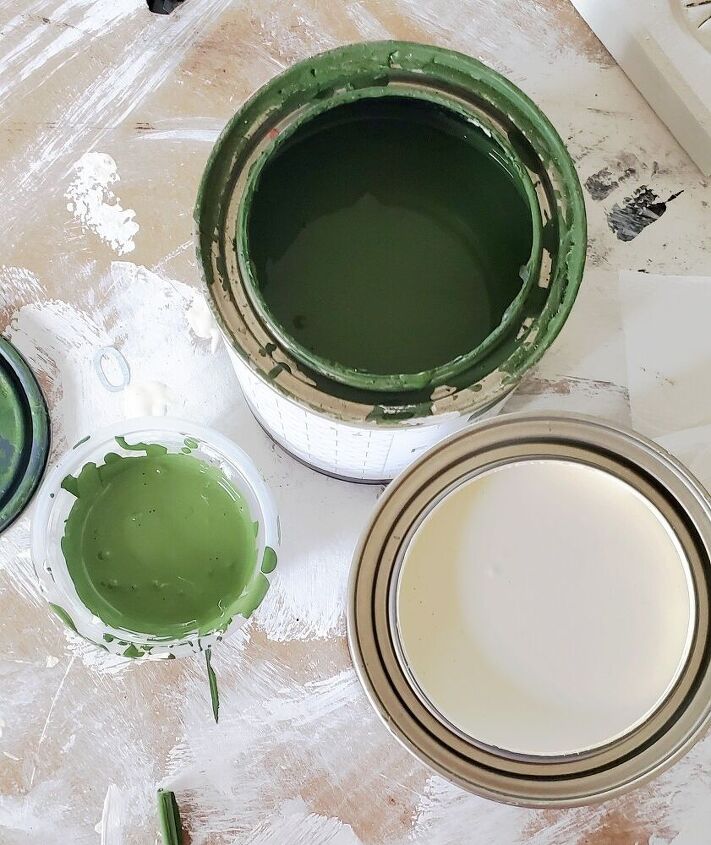
I absolutely love a good earthy green color! House and Canvas paint has a beautiful rich green called Evergreen. I decided I wanted this stool to have a slightly lighter tone than the Evergreen.
https://www.houseandcanvas.com/
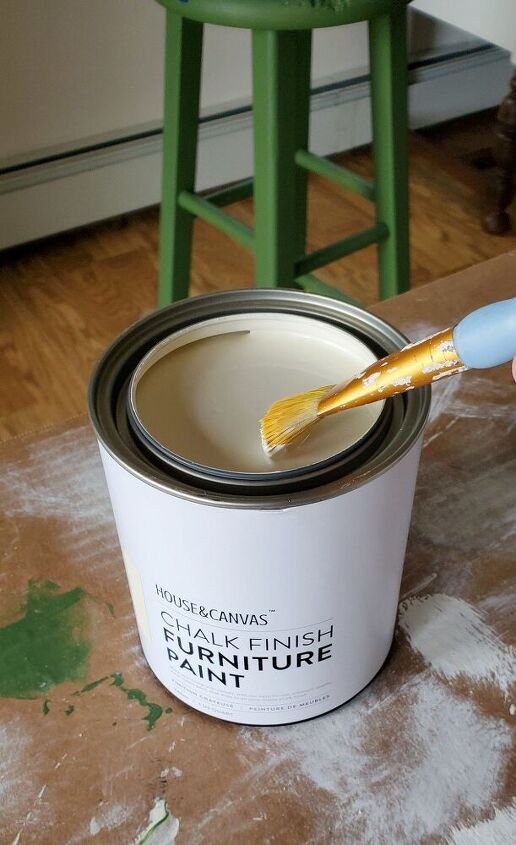
I mixed a very small amount of House and Canvas paint, in the color Champagne (which is a nice antique white,) with the color Evergreen. I used a 4 to 1 ratio of the two colors.
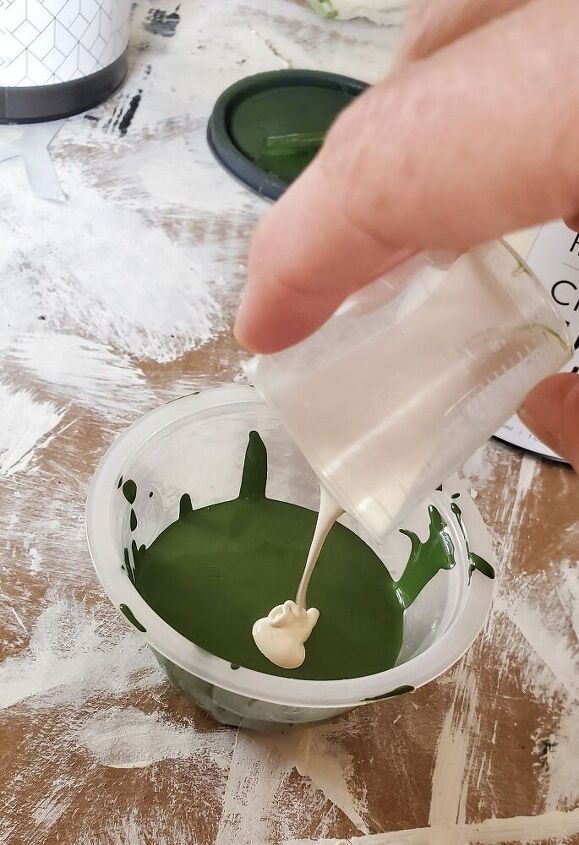
After I added the white paint to the green, I mixed the two colors together.
You can always add very small amounts of the lighter paint to the dark paint, until you achieve the color you want.
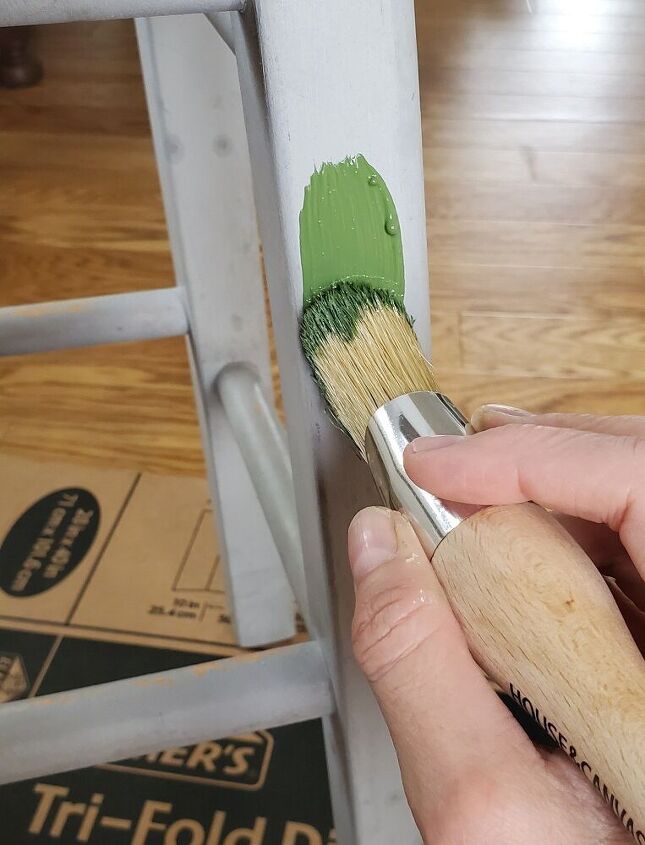
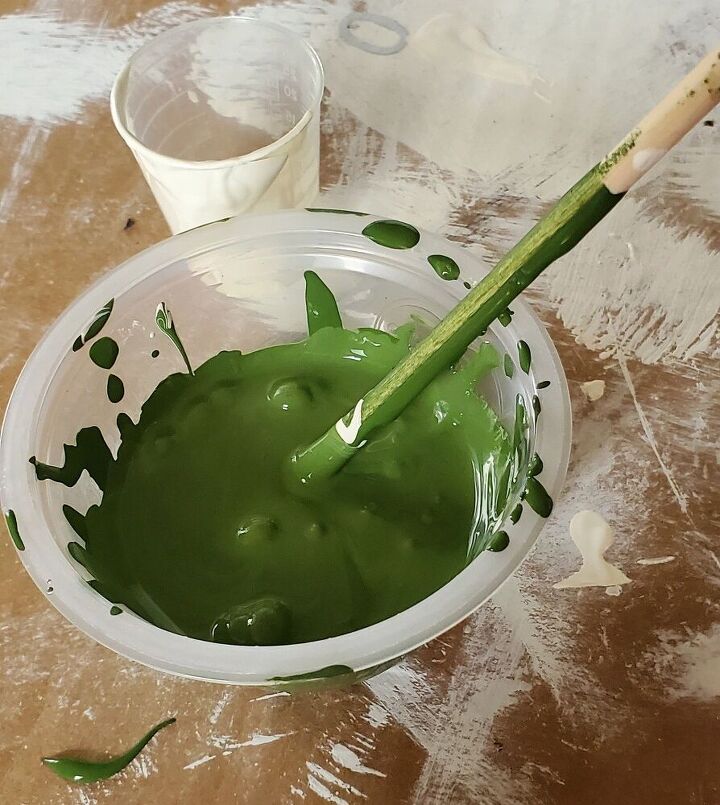
after I was happy with the color of the paint, I began painting my stool. The House and Canvas chalk paint does not require prep work; so I just painted right over the old paint.
***The color of the paint in this picture is a bit brighter due to the lighting.***
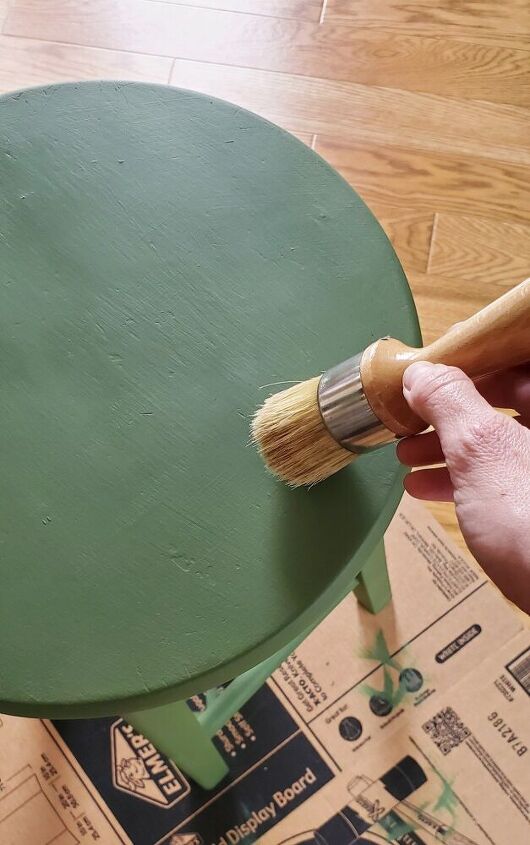
Typically sealing your paint is the last step. Since I had plans to apply painter's tape, to create grain sack stripes, I wanted to seal the green paint first. I find this helps ensure your base paint does not lift onto the painter's tape when you remove it. I used House and Canvas furniture wax, in clear to seal the paint.
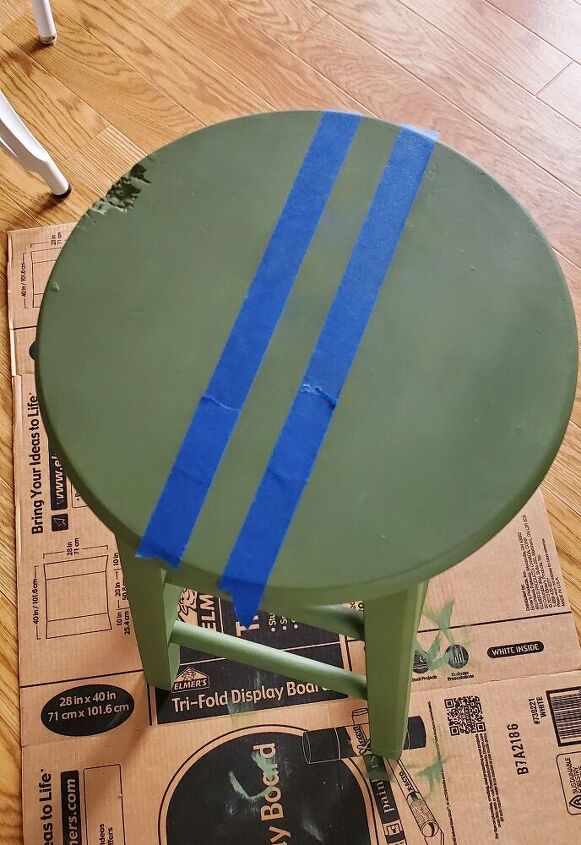
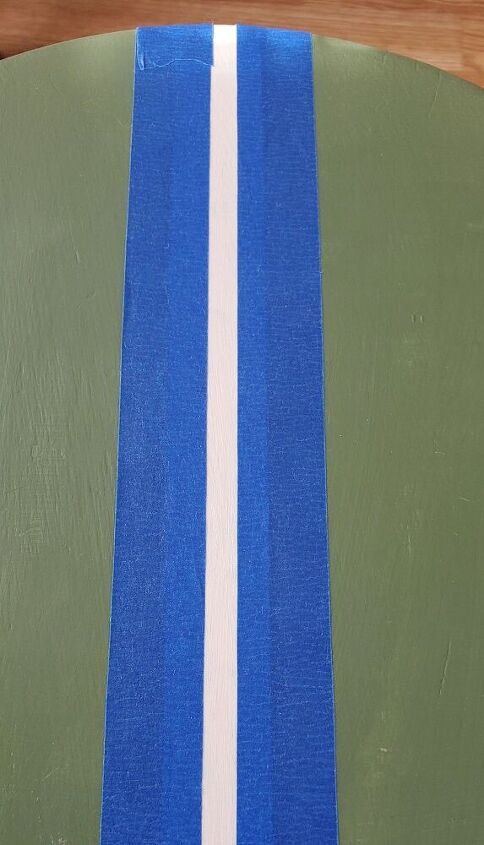
I used painter's tape to create my stripes. I personally like to start with the middle stripe first.
This is a pretty simple step. Just decide how wide you want your stripe, and place the tape accordingly, as shown.
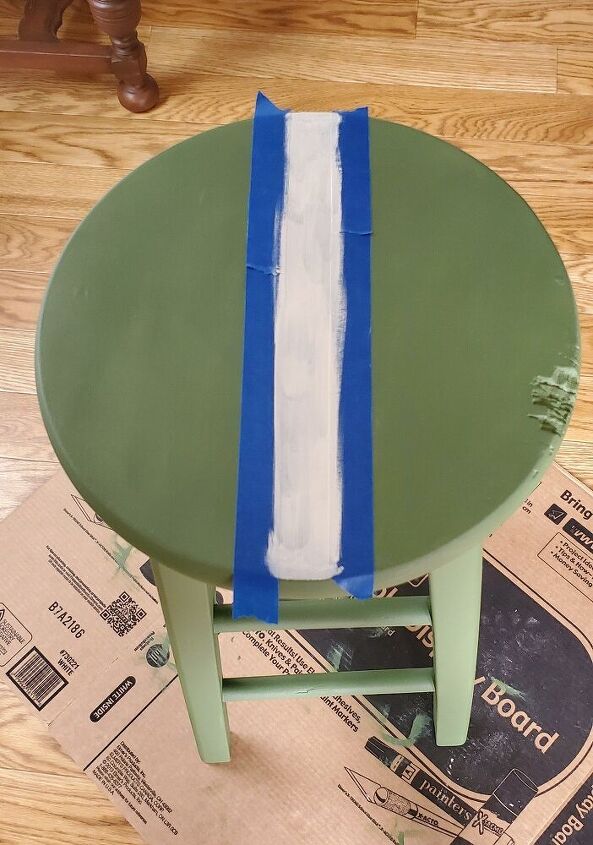
first and foremost, I highly suggest using your base paint (the green in my case) to paint over your "stencil" area. In this case, it is the area between your pieces of tape. This helps eliminate bleeding.
After the base coat dries, paint your stripe with the color of your choice. I chose an antique white color, Champagne, from House and Canvas Furniture Paint.
If you look on Pinterest, you will probably find all different ways to create your stripes. The way I'm showing you is what worked best for me; and it was easy!
After your middle stripe dries, decide how much space you want between that stripe and the thinner ones that run along side of it.
Once I made that decision, I took two pieces of painter's tape, and overlapped them onto my stripe (as pictured.) Whats the logic of this, I'm not sure, but it works! Lol
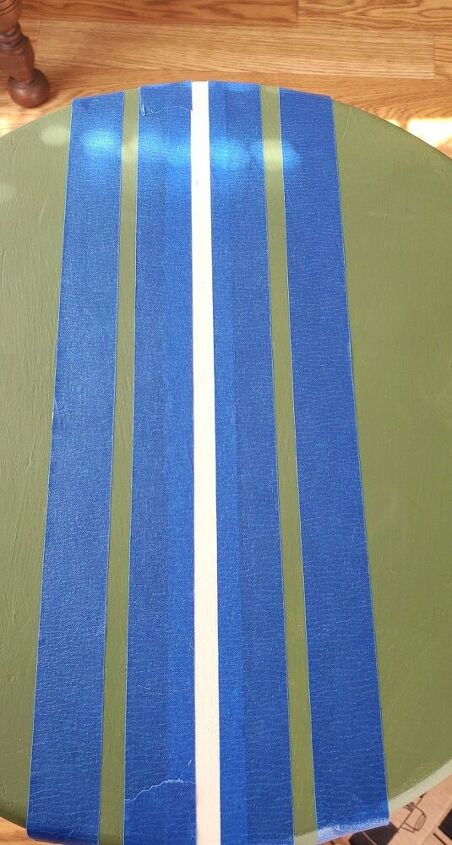
Add your two outer pieces of tape, to create the thinner lines.
painting the outer stripes is done the exact same way as the larger middle line. (Which I explained above. :) )
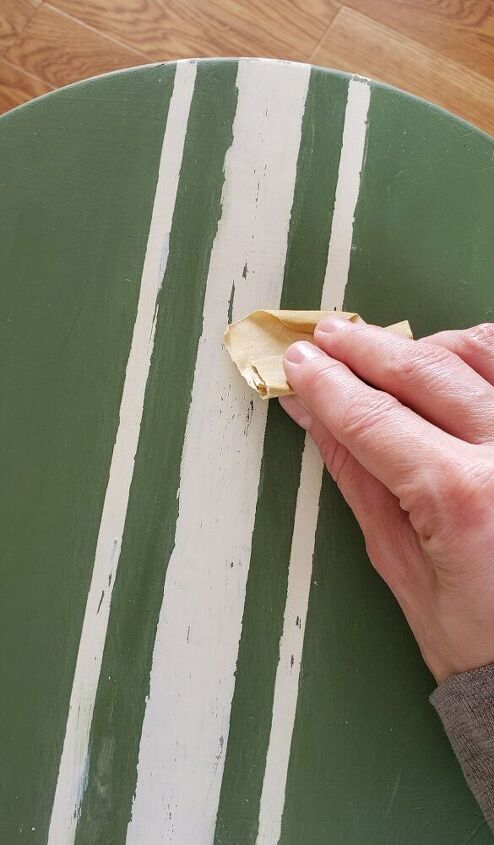
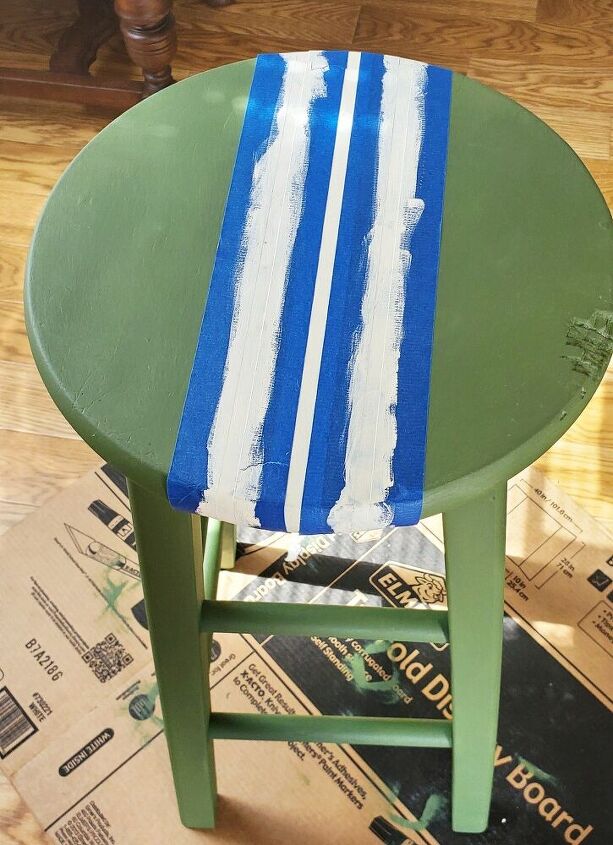
Once I removed the tape, I noticed there was some unevenness. You can see this is the picture. This didn't bother me too much because I was going for a distressed look.
After I removed the tape, I used a 320 grit sandpaper to rough the lines up a bit more.
After you are done, make sure to seal your grain stripes. I used House and Canvas furniture wax, in clear.
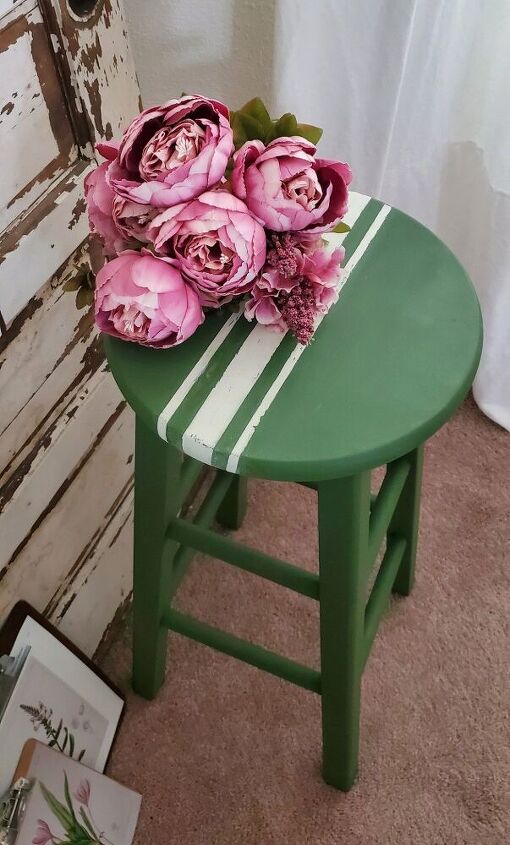
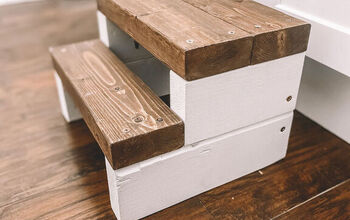
I really love the way it turned out. I was looking for a worn, distressed look on the stripes; and it came out perfectly!
Resources for this project:
See all materials


Comments
Join the conversation
-
This is so cute!


Frequently asked questions
Have a question about this project?