


How To Build A Rustic Birdhouse
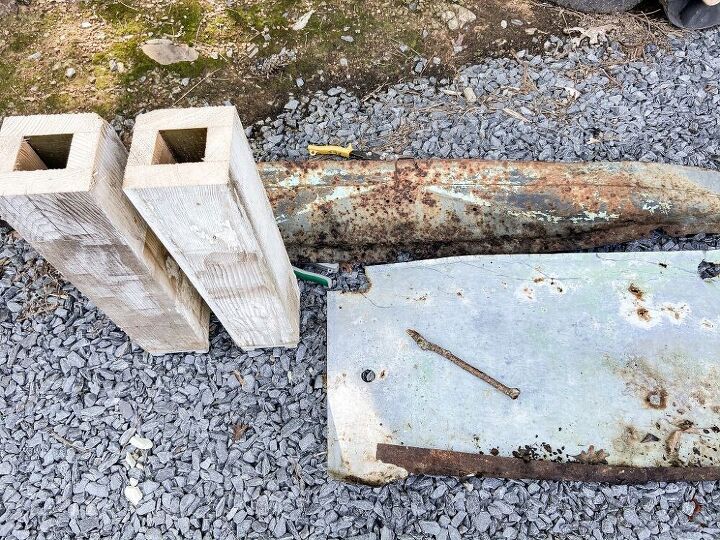
Do y’all remember the Potting Table tutorial using old porch posts as legs? Do you remember that we cut the post legs off get the correct height? Well, guess what I did with the left over scrapes? Yep! I built a Birdhouse!
Okay, I guess that was a little obvious!! So today, I’m sharing How To Build A Rustic Bird House out of scrape materials that were left over from that project! I’ve been determined to find a use for those leftover posts because you know that “I’m a waste not kind of girl”!
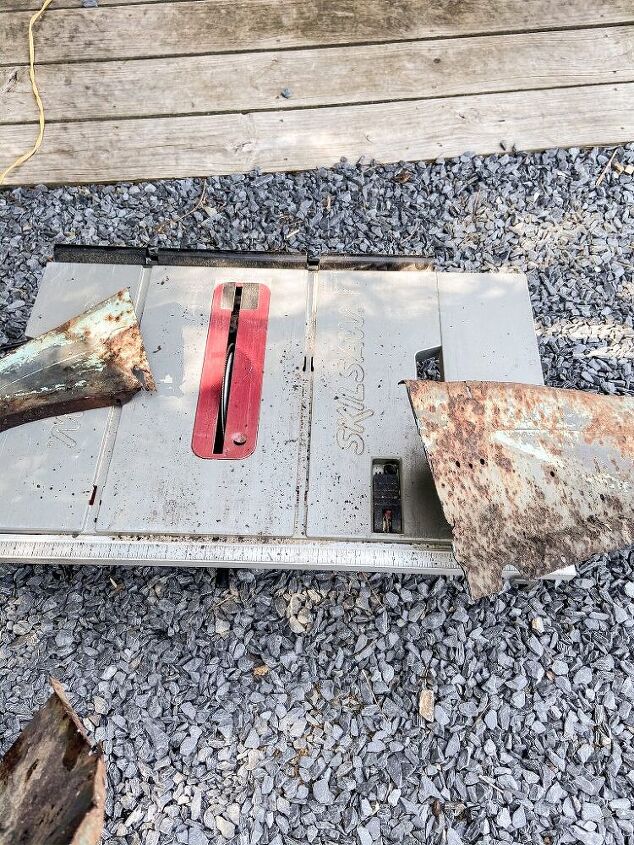
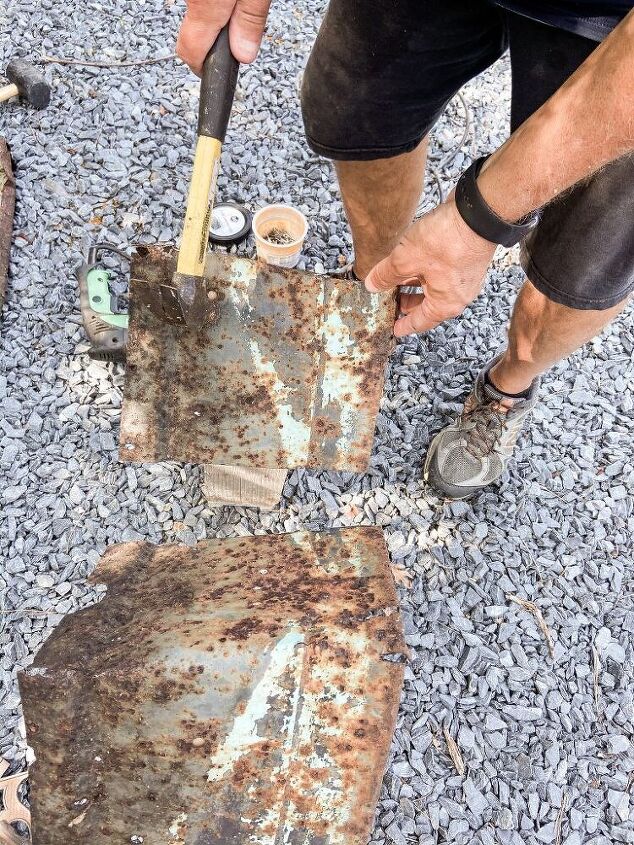
Cut the Metal for the Roof
The first thing we did was cut the roof material using some old tin we had been saving for just such a project. You need to measure and get an estimate of the roof proportions based on the size of your posts. Once you determine the size for the roof, use a saw blade to cut the tin to the desired proportions. Note: Be sure to use a saw blade designed to cut metal.
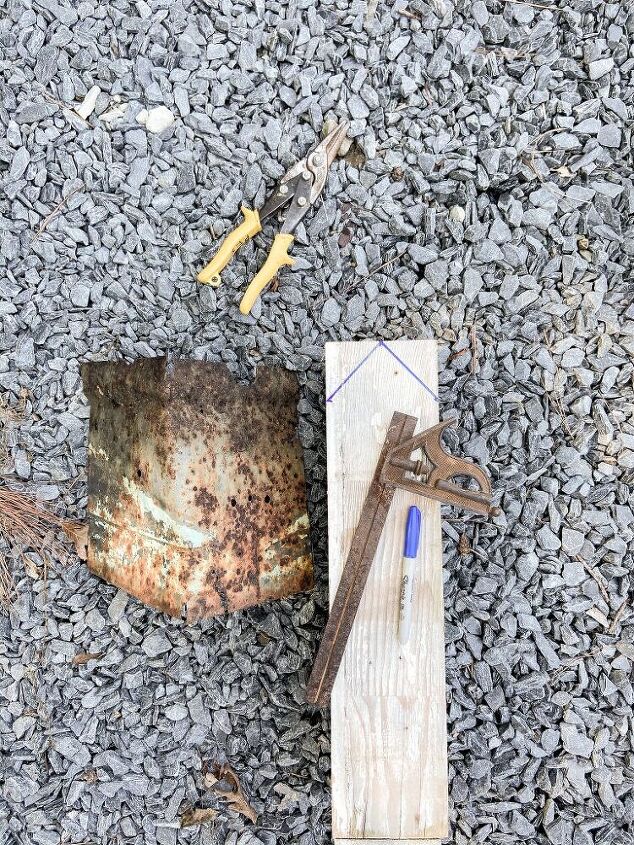
Cut the post top on an angle
Next, you need to cut the top of your posts to form an A line roof because you want to make yours posts look like a house. To determine the angle, use the metal roof as a guide and draw a line. You will follow the angle drawn and use a chop saw to remove the corners from the top section of the scrape post.

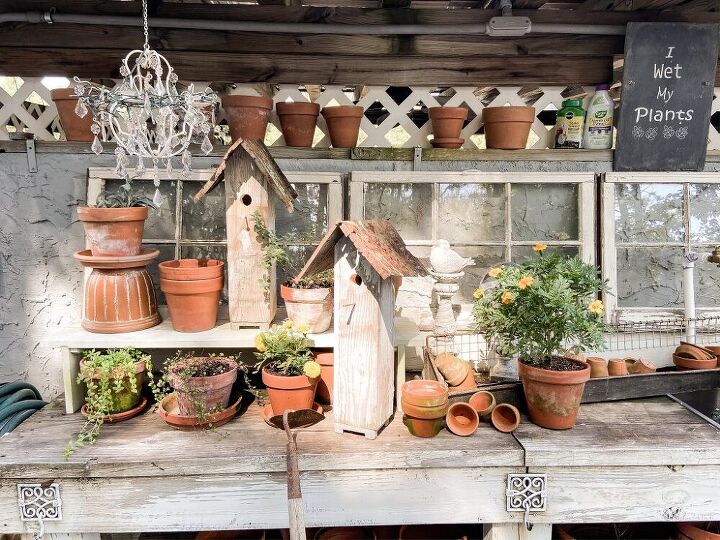
TA-DA – A RUSTIC BIRDHOUSE
What do you think of this trash to treasure rustic birdhouse project? I had previously dug the roof material out of a trash pile that we found on our property. I didn’t know what to do with it at the time, however, I knew at some point it would come in handy.
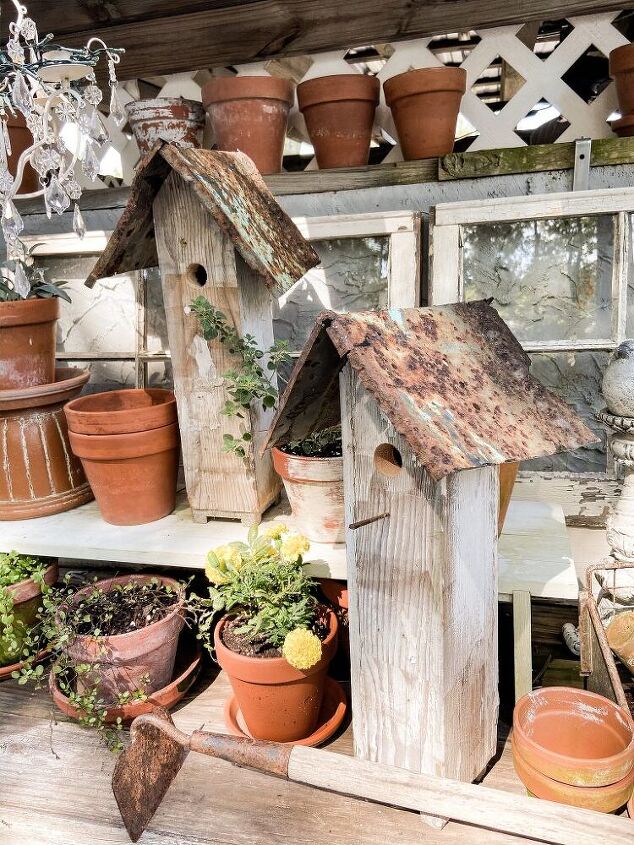
My husband and I were able to build both bird houses in approximately an hour and all the materials were Free. As a result, I am thrilled with how they look. I hope you are too.
Thank’s so much for stopping by today! Your support and comments mean so much to me. I look forward to sharing my next project and adventure with you! Rachel
Resources for this project:


Comments
Join the conversation
-
If you want them functional, You have to be able to clean them out annually.
Cut the back in half, add hinges & a knob so you can open it.
-
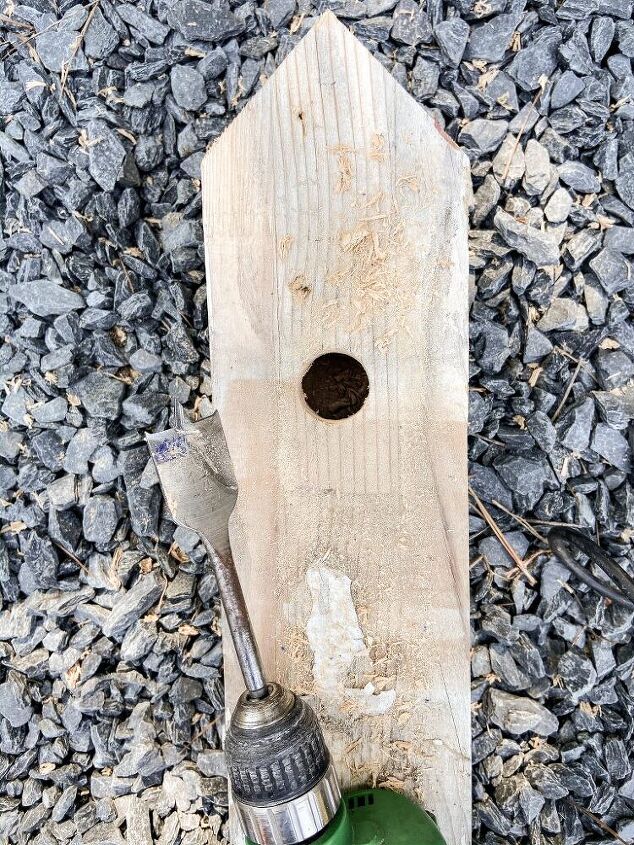
Since these are just for decoration, I'd make sure to put a piece of screen over he hole to prevent the wasps, yellow jackets, etc. from being able to enter the post and build nests. They would certainly use the area inside the post here, I'd cover the hole before I put the post together.


Frequently asked questions
Have a question about this project?