


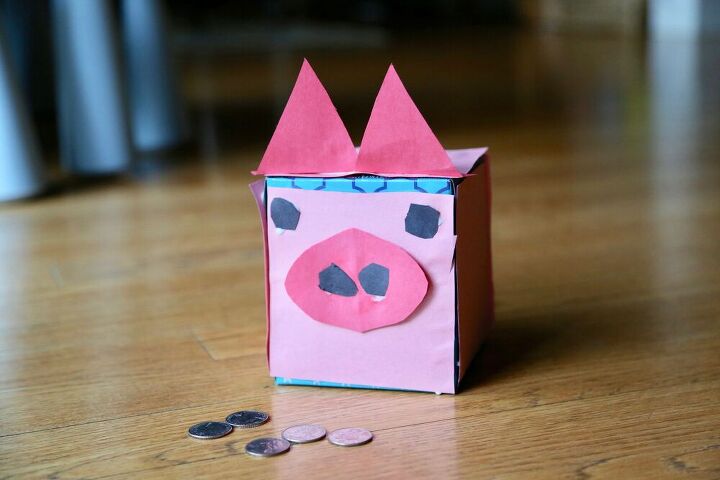
Tissue Box Piggy Bank
Recycle your tissue box into a piggy bank! This DIY piggy bank for kids can be done with things you probably have around the house already!
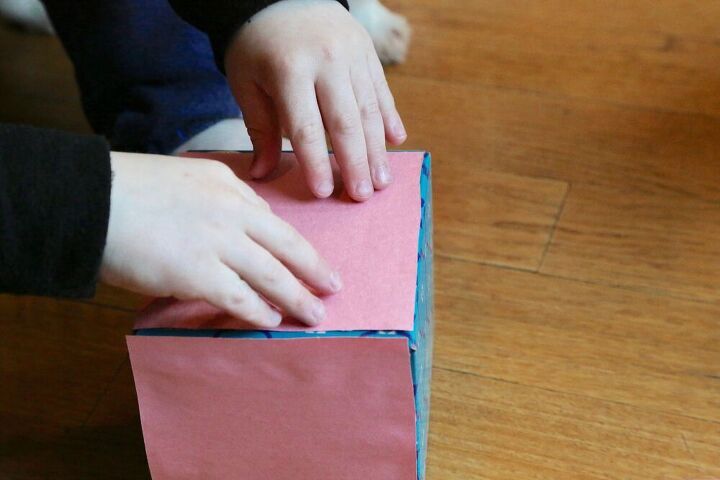
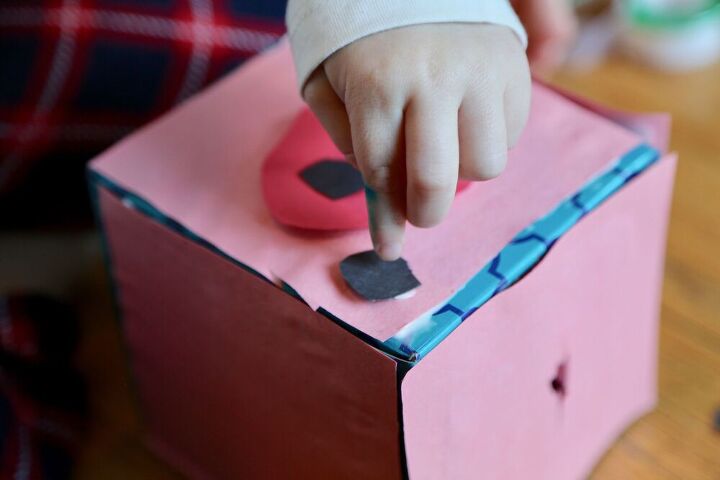
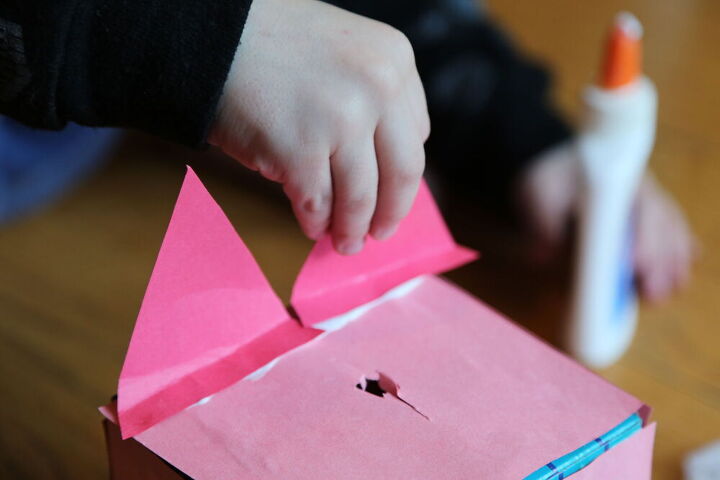
Trace each side of your tissue box and cut out 6 pieces of light pink construction paper. Glue or tape each piece of paper to each side of the tissue box. To create the piggy bank’s coin drop, create a small slit on the top of the piggy bank box over the hole from which the tissues previously extended.
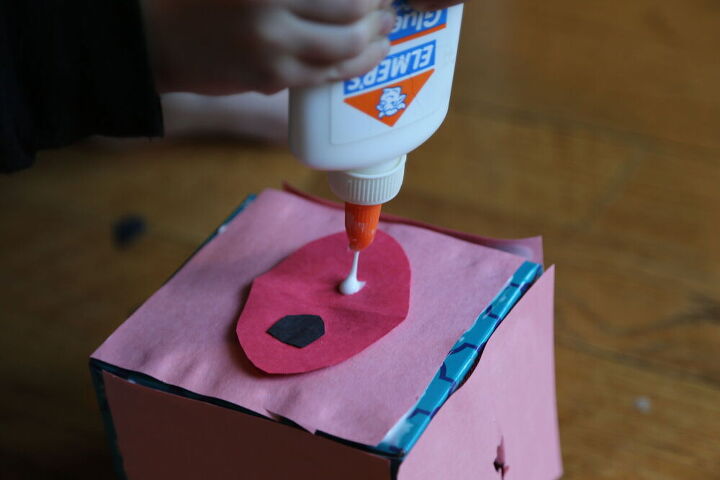
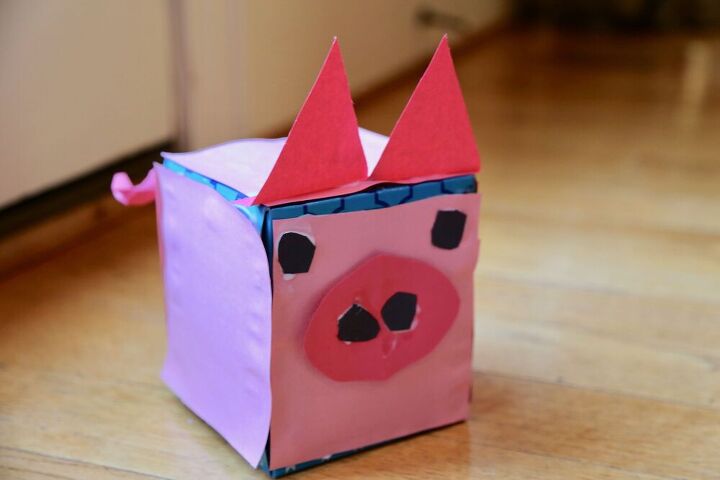
Cut out a medium-sized oval from the dark pink construction paper. Draw or glue/tape two small black circles on each side of the dark pink oval. Glue or tape the snout to the middle of the front side of the piggy bank.
Draw or glue/tape two small black dots above the snout.
Cut out two dark pink triangles. Bend back the bottom edges slightly and use glue/paint to fasten the triangles to the top of the box (on the edge closest to pig face).
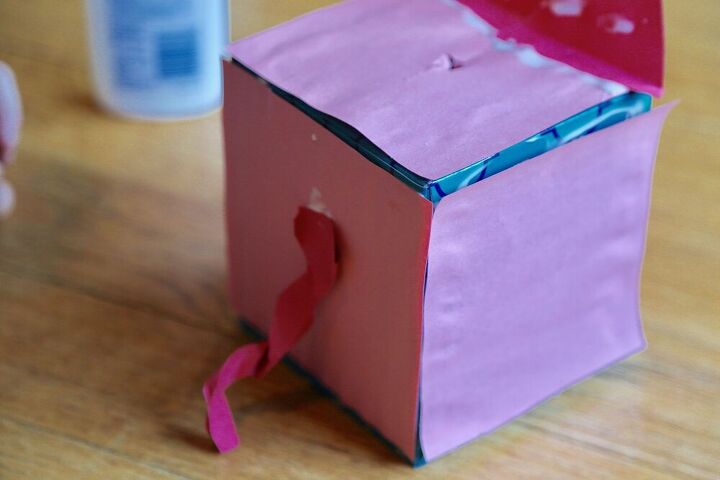
Cut out a thick strip of dark or pink paper and twist it slightly. (You can twist it around a pen/pencil to get a good spiral). Glue/tape to backside of the box.
Note: *For toddlers especially, these tasks may require adult supervision and/or assistance.
Resources for this project:
See all materials


Comments
Join the conversation
-
That is too cute! I think all children need a piggy bank and this would make a perfect one! Thanks for sharing! ❤️💜💚


Frequently asked questions
Have a question about this project?