


Faux Succulent Wreath

Succulents are so popular right now. Mostly because they span the seasons and have a look that's classic and timeless.
I thought it might be fun to put together a wreath created from faux succulents.
It's an easy project you can make with these step-by-step instructions in under an hour.
Here's how to make a faux succulent wreath.
You can buy these supplies at any craft store. I purchased the wire wreath and these faux succulents.
Make sure the wreath is sturdy to support the weight of the succulents.
They come in so many different shapes and colors and look so real even though they are made from a rubbery plastic.
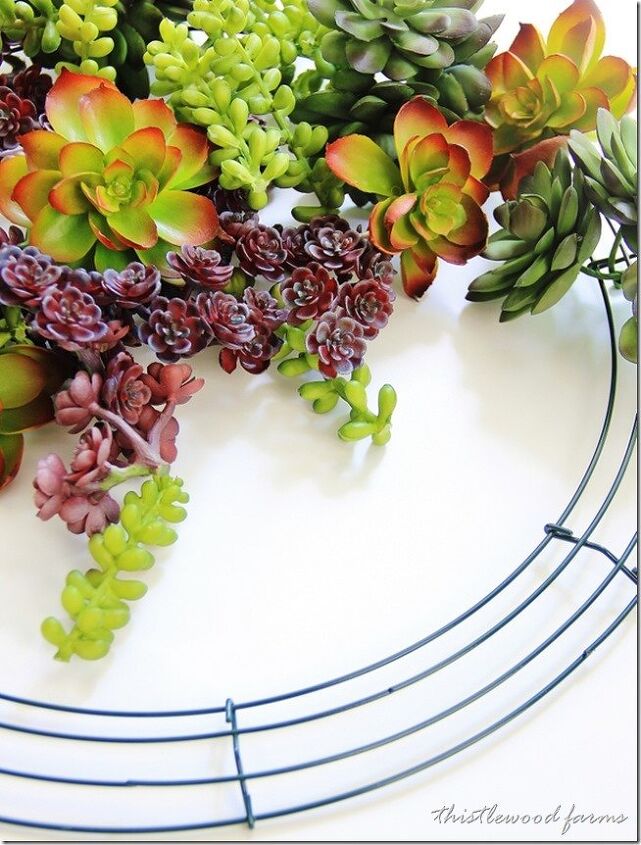
I chose four different succulents to work with.
Next, I cutting off the stems and separating all the succulents into groups.

Most of these succulents came with stiff stems. This prevented them from laying flat on the wreath.
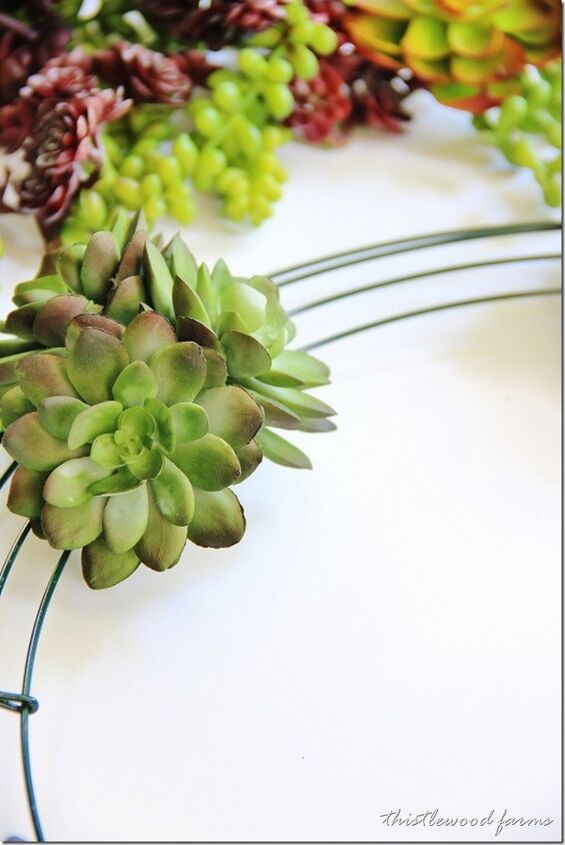
With wire cutters, trim the stem of the succulent as close to the back as possible.
Discard stem and flatten succulents to prepare them to be attached to the wreath.
These succulents came in groups of three.
(total aside: don’t they look so real).
They were too heavy to cut apart, so I just wrapped the stem around the wire and secured with hot glue.
This was my foundation. I repeated this step with 5 of these bunches. Make sure to have your heavier succulents distributed evenly on the wire wreath to make sure it hangs properly.

I laid out a pattern of succulents to make sure there was variation with the textures and sizes of the succulents on the wreath. The easiest way to do this is to add the succulents one at a time to the wire wreath form. For example, I added the orange flowered succulents first, then the larger green succulents, then the purple flowered succulents, and finally the smaller green textured succulents.
Keep gluing succulents to the wreath form until you have completely covered it.
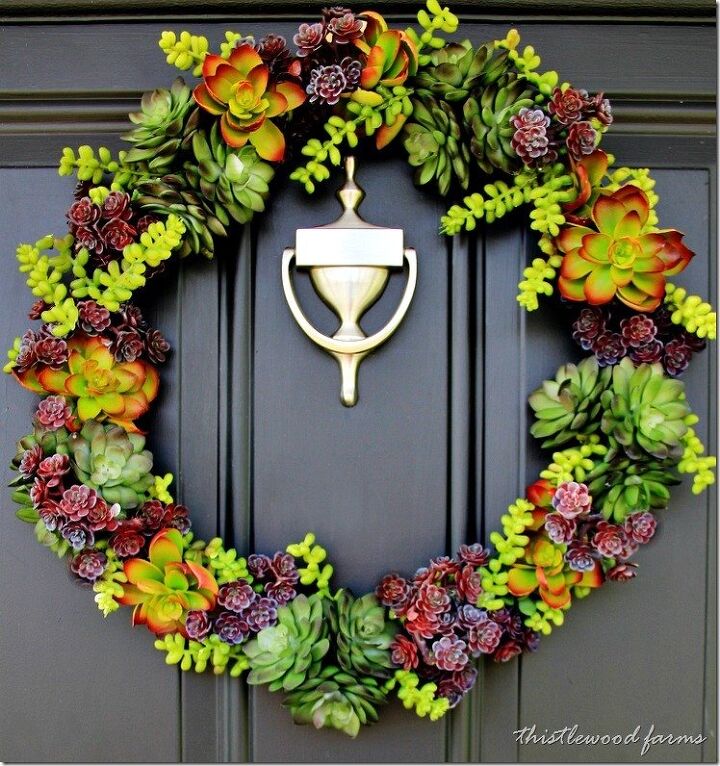
Be sure to check for hot glue strings on the wreath and then your wreath is ready to hang. Please note that the wreath is heavier than a normal wreath and should be hung on a flat surface. Here are a few suggestions for places to hang the wreath:
- The front door
- On the back of a door
- A wall
- Over a mantel
It's such an easy project to make and you can complete the wreath in under an hour.
Happy decorating.
Like this DIY project? Here are a few other projects you may enjoy:


Comments
Join the conversation
-
I saw the wire wreath and the succulents at the Dollar Tree, I will make one of my own
-
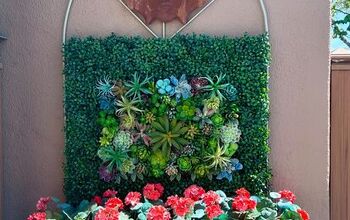
I used faux succulents to create an outdoor wall hanging. Will try the wreath next.


Frequently asked questions
Have a question about this project?
I love the idea but faux succulents are expensive. Anybody have hints on where to find them cheap?