


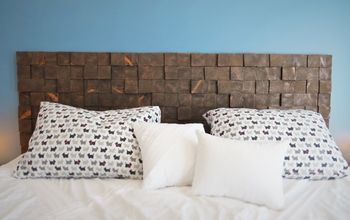
Colorado Wood Slice Headboard

As part of my quarantine crafting, I’ve been using up leftovers from past projects. This project repurposed a panel from an old closet door and some leftover paint into a custom headboard.
i’ve been meaning to build a custom headboard for my boyfriend. He needed something masculine to fit his very tall Cal King and not damage the wall in his rental apartment. I designed this headboard from natural wood slices harvested from trees on the Front Range of Colorado.
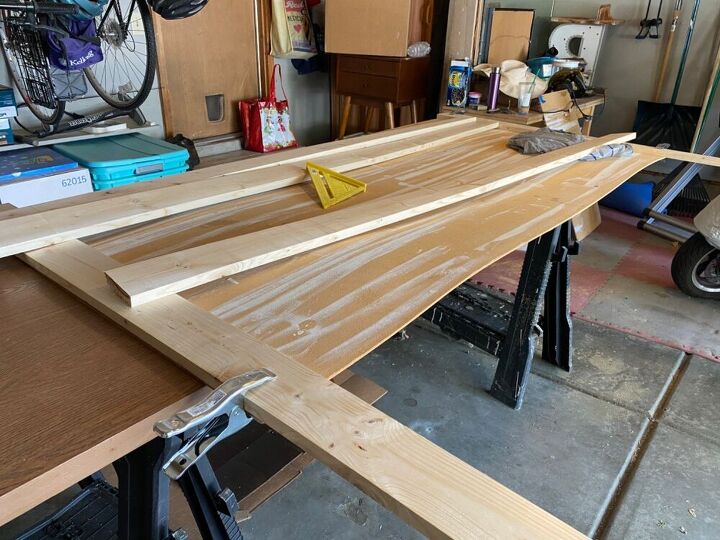
I have two large 1/8” thick pieces of paneling that had a former life as part of sliding closet doors. They are lightweight, so perfect backing for the headboard.
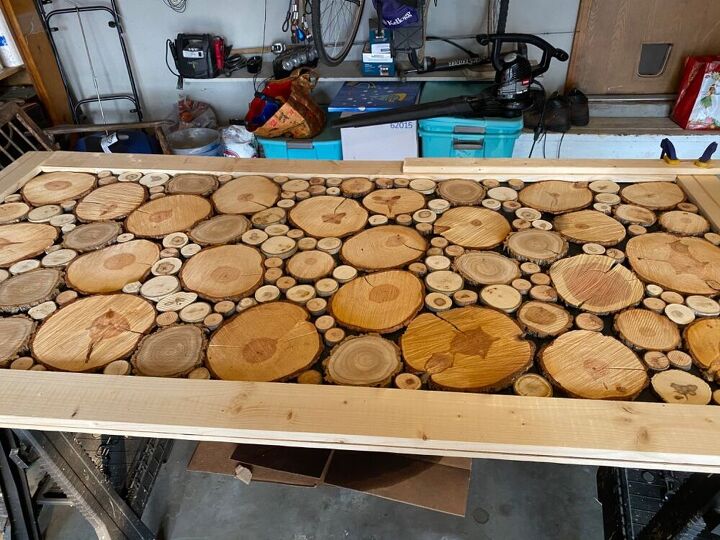
I used a circular saw to cut the panel down to 73.5” x 36” and cut pine 1x4s to frame the panel.
I found it very helpful to have lots of clamps available for this step.
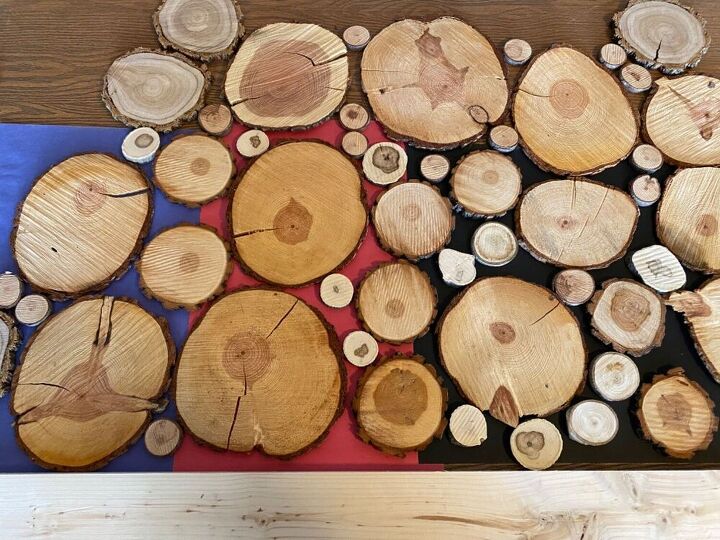
I have lots of leftover paint from past projects, so used Dollar Store construction paper to test out different color backgrounds before deciding.
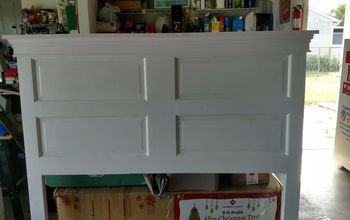
I painted the panel with Inkwell by Sherwin Williams - leftover from my house trim.
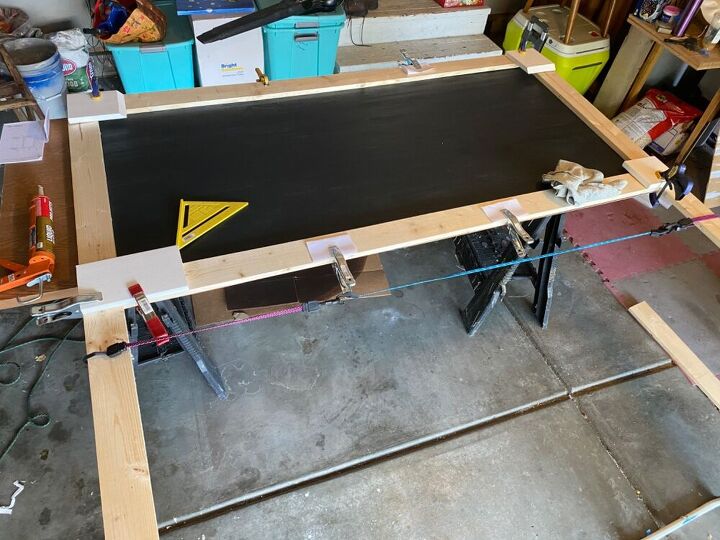
One the paint on the panel was dry, I attached the frame pieces with construction adhesive and clamps and let it dry.
I laid the frame face down on the garage floor and used a nail gun to secure the backboard to the frame in addition to the liquid nails. This enabled me to add some security without putting nail holes in the front of the frame. I used furring strips on the back to ensure the nails would go through the front and provide more stability.
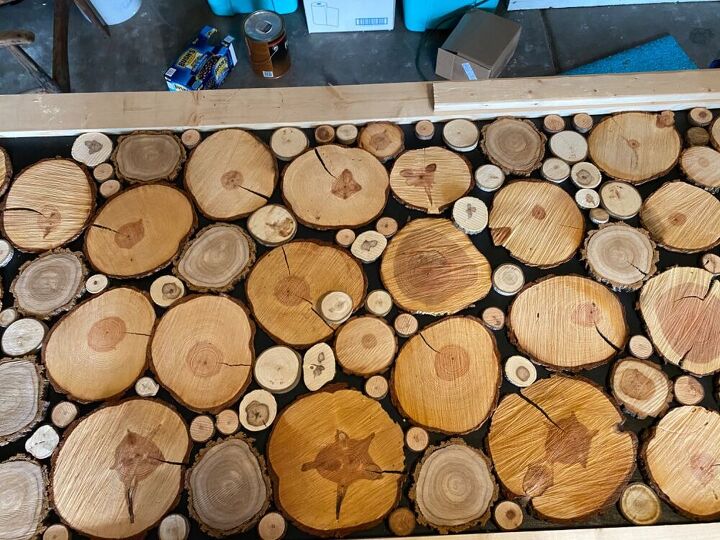
Next I planned the layout.
I had intended to cut wood slices from wood in my woodpile, but turns out that is super dangerous and hard to do without the right tools. Fortunately I found a local handyman selling wood slices cut to 1/4” and already dried.
It’s a bit like doing a giant puzzle. The key is to make them stack like a woodpile, so none of the pieces are floating.
Once I had it all laid out, I used Liquid Nails to glue the wood slices down one by one. I also used the chop say to cut additional tiny rounds from maple branches in my woodpile to fill in where needed.
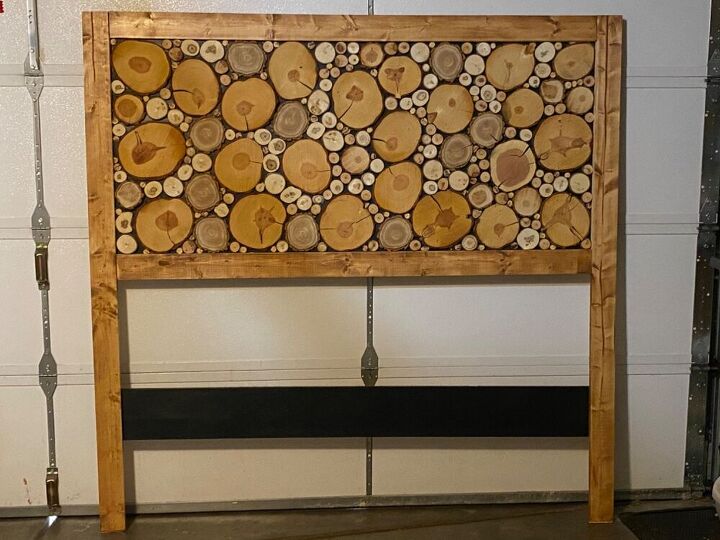
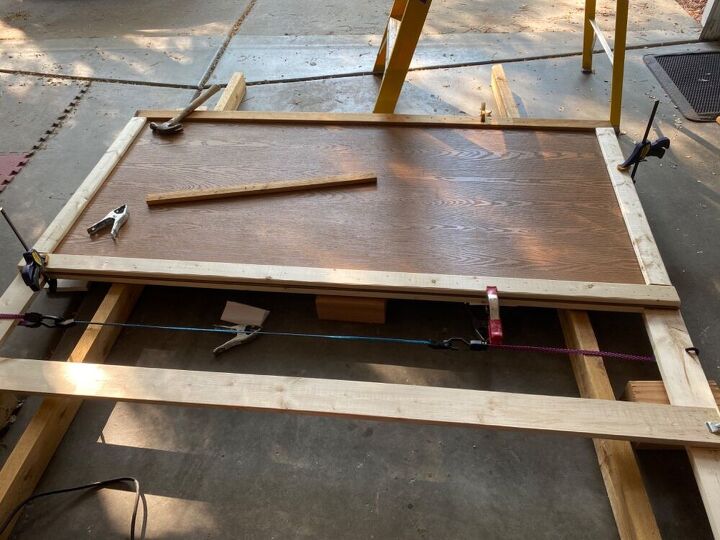
Ready for install. To add stability and enable the headboard to sit flush against the wall, I nailed a 1x6 from the back across the bottom and painted it to match the backboard.

Since this was a surprise, I was guessing on the height. We tested it in place and it was 5” to tall and the horizontal brace covered the electrical outlet. No problem! Grabbed the Circular saw and cut it down right there. We added stick on floor protectors to the back so it wouldn’t scratch the wall.
Now his boring bedroom has a dramatic statement piece.


Comments
Join the conversation
-
I normally am not really into the bare, natural wood kind of furniture, but this is beautiful. I think that doing it with just say a Tung oil sealer or something like that would work at some point, but until you feel the need it looks wonderful. I bet your boyfriend was really surprised and loved it. ☺️
-
Wow! What a great idea.


Frequently asked questions
Have a question about this project?
So all the pieces are sitting out there, meaning, there is no kind of coating/varnish/poly on them? Thinking of trying to keep them somewhat dust free or at least easier to clean...
Is it attached to the bed or does the bed frame keep it against the wall? I'm having an addition built and if I sweet talk the contractor he'll cut me what I need. This would fit in perfectly.