


Pretty Beachy Onsie!!

What’s a Onsie? It’s a one of a kind home decor piece created with a thrift store find. This little beauty started out as a silver tray with tiny feet. They are in abundance in most thrift stores and cost only a few dollars each. This little onesie will look pretty in any beachside home. And I guarantee you, it’s one of a kind!
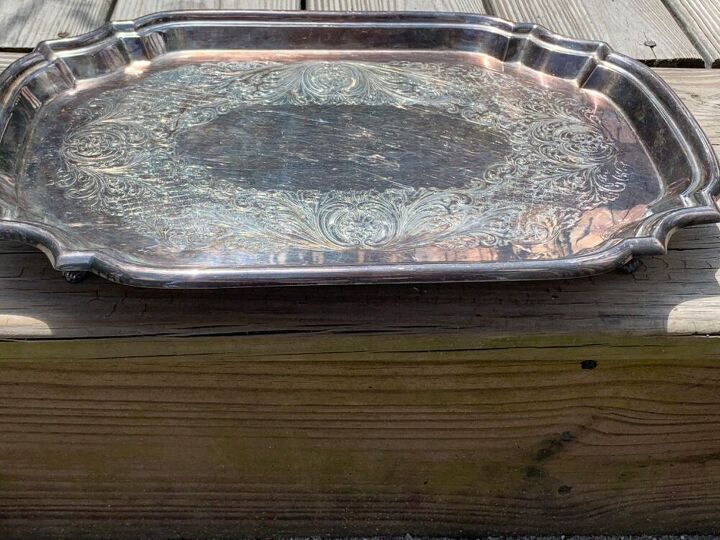
I bought this sturdy tray for about $2.
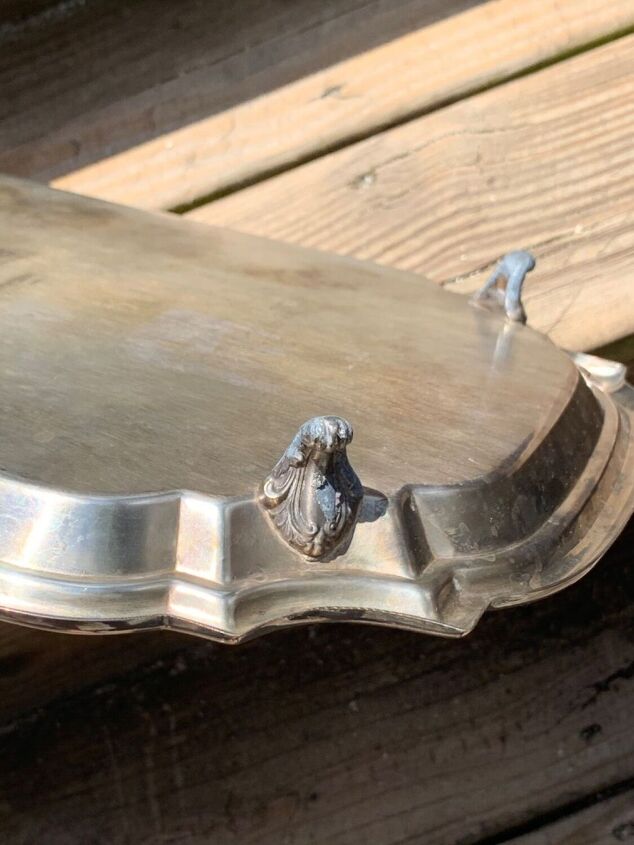
And look at those cute little feet!
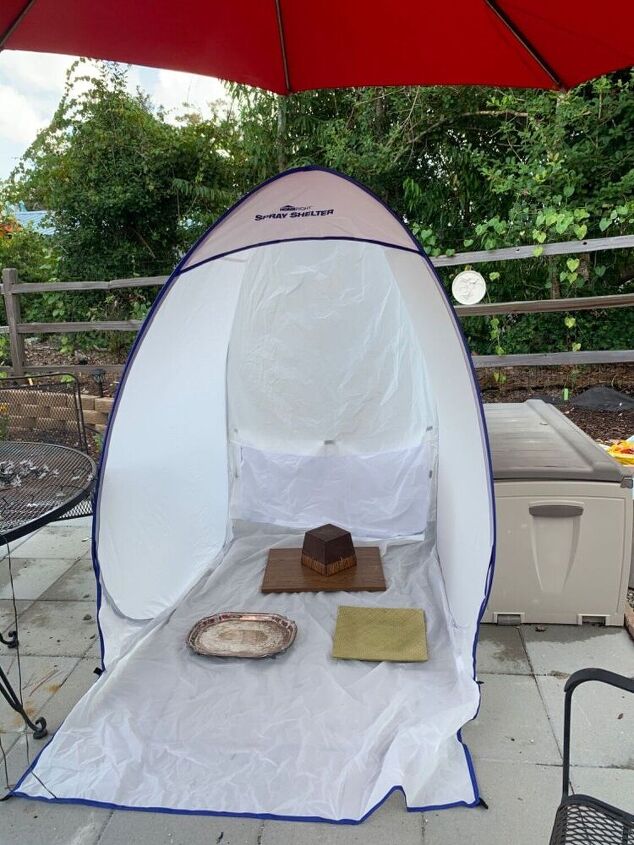
I decided to use spray paint because of how easy it is. And check out the spray paint shelter that my hubby bought me. The silver tray was one of three items I was spraying this particular day. First I sprayed the tray with a good white primer. Then I sprayed with rustoleum chalk paint in a real pretty soft blue.
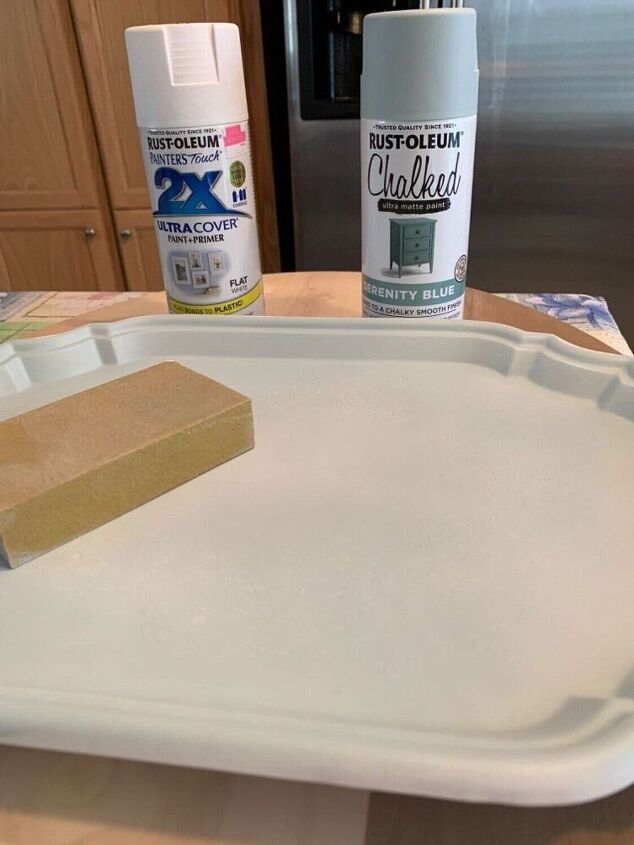
I took a fine sanding block to sand the piece. Since it had a white undercoat it was easy to sand a few of the edges for a distressed look.
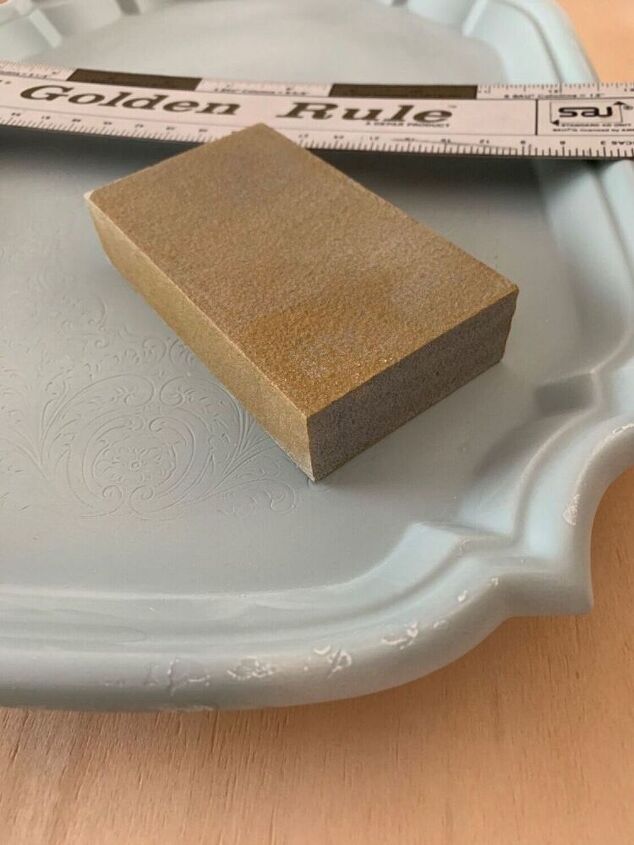
Here is a close-up so you could see the distressed edges. I did it very lightly for a light distressed look.
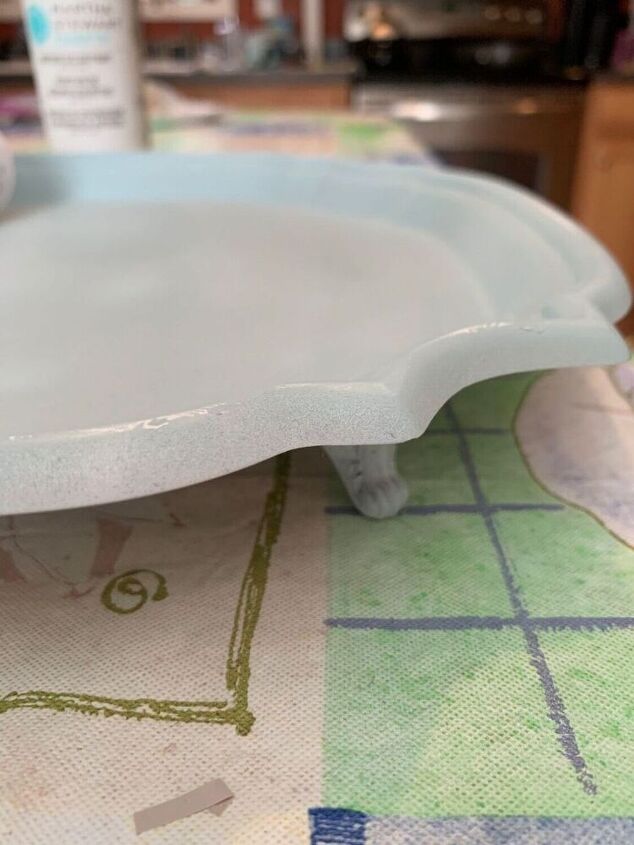
I decided to leave the bottom and the legs white. Here’s another close-up.

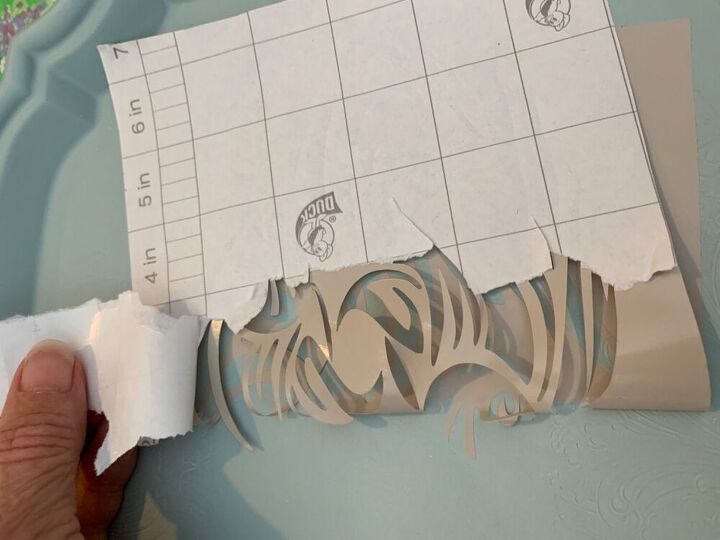
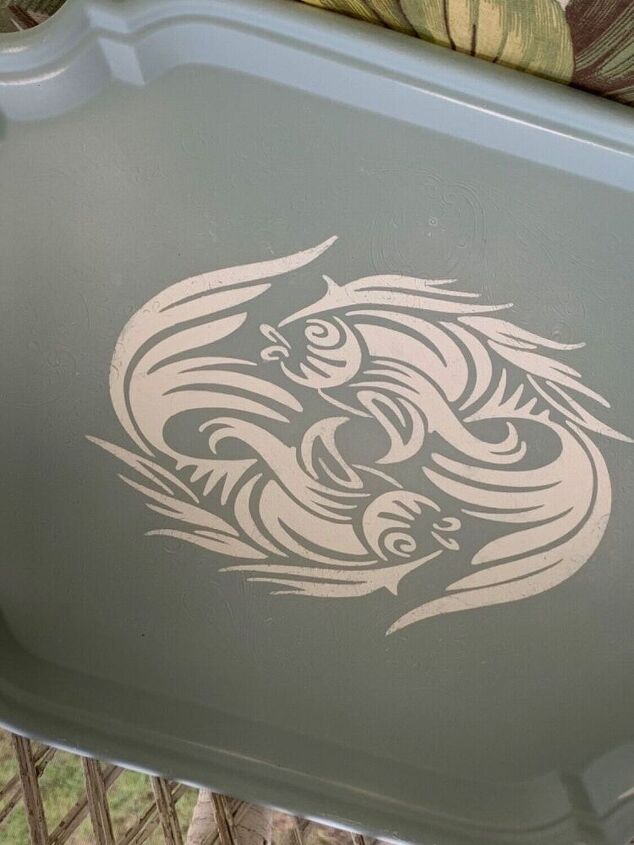
I used my computer to design the stencil and then sent the design to my Silhouette Cameo machine to cut the stencil. I use a very inexpensive shelf liner paper that I buy at Walmart for my stencil material. Cheap and a really good quality for this type of stenciling. I measure everything and then placed the stencil in the center of the tray. I used painters tape to tape it in place.
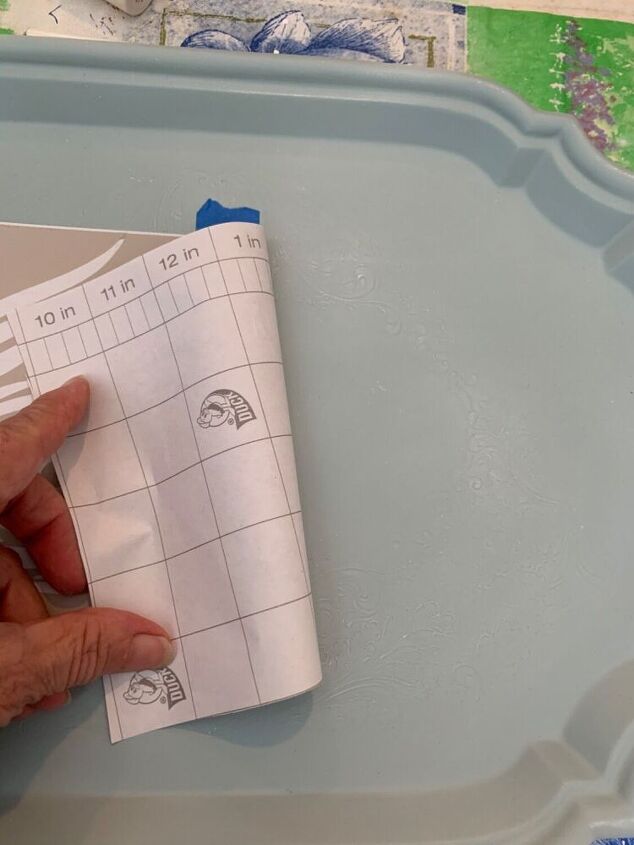
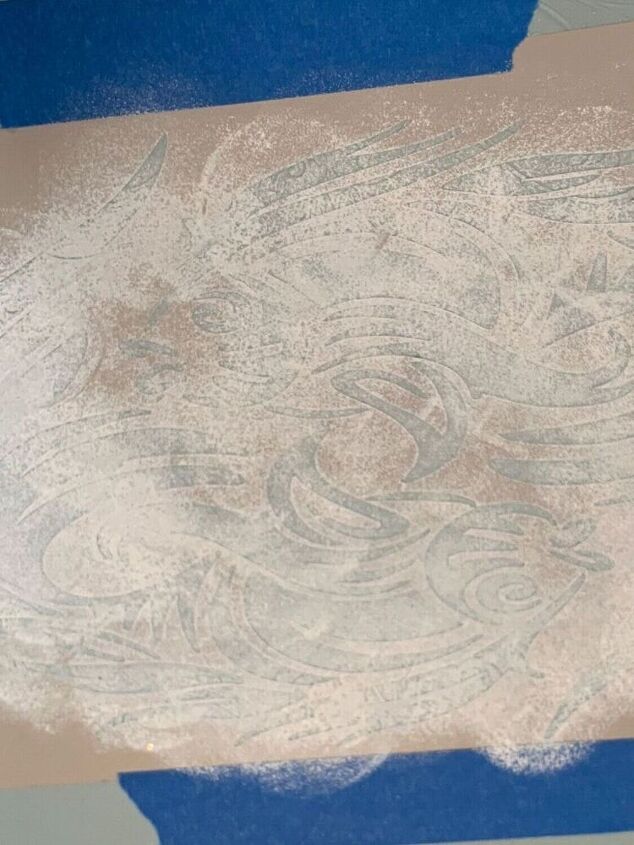
The painters tape will hold it in place as I’m peeling off the backing. I peel off a little bit at a time.
I learned the hard way that it is way too difficult to place a stencil down if you peel off the entire back first. So I peel off a small piece and then stick that portion down.
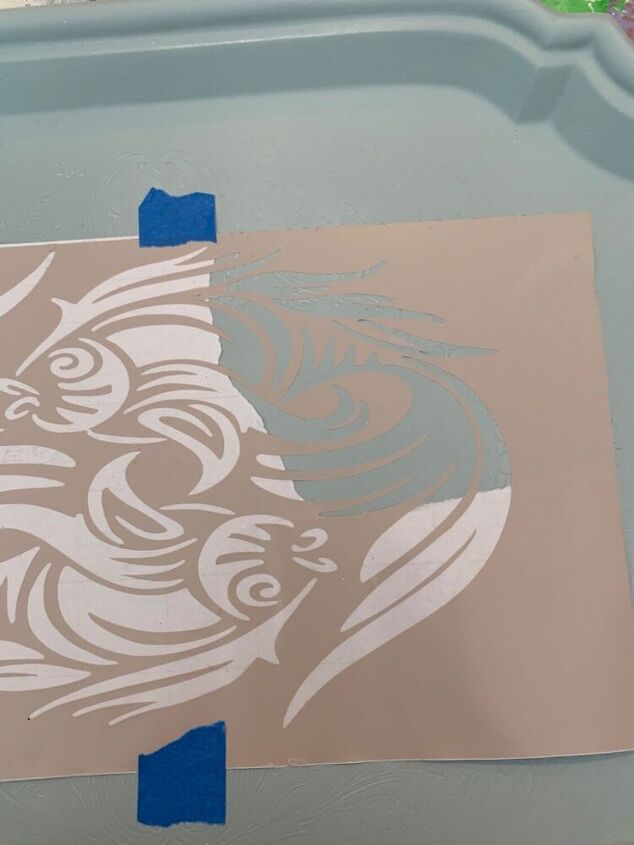
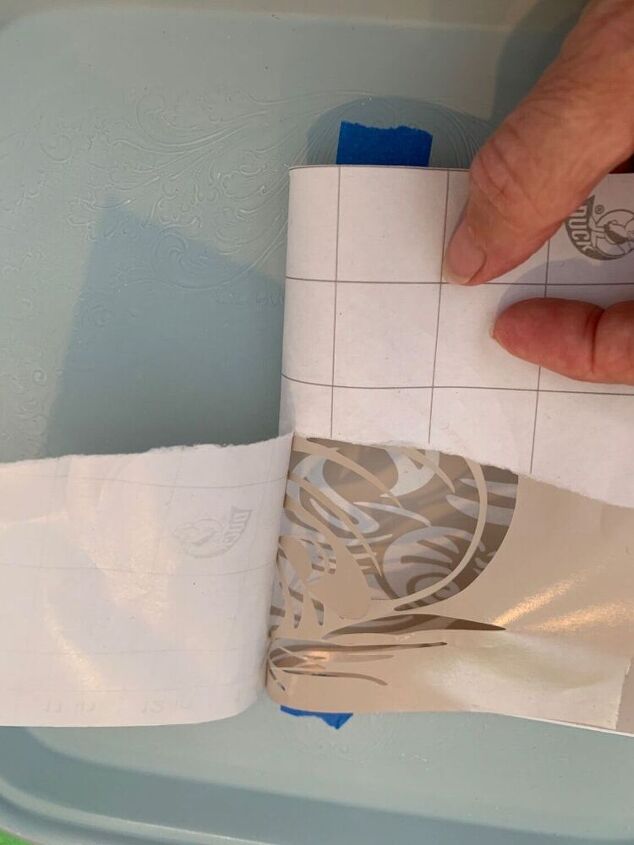
I then continue to peel off another small portion and stick it down. This system works particularly well if you have small or thin pieces in your stencil design.
Half the stencil is down and now I’m peeling off the other side. Again little by little. Peel, stick, peel, stick, peel, stick! See those very narrow pieces of the stencil? When the backing comes off they wiggle all over the place. That’s why it’s so much better to go slowly.
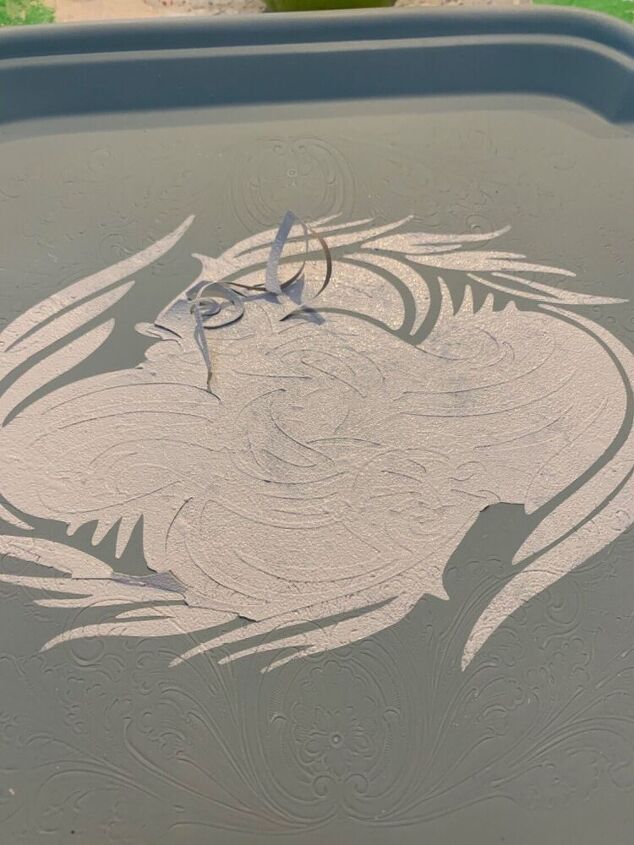
As careful as I was I still ended up with three spots that needed additional attention.
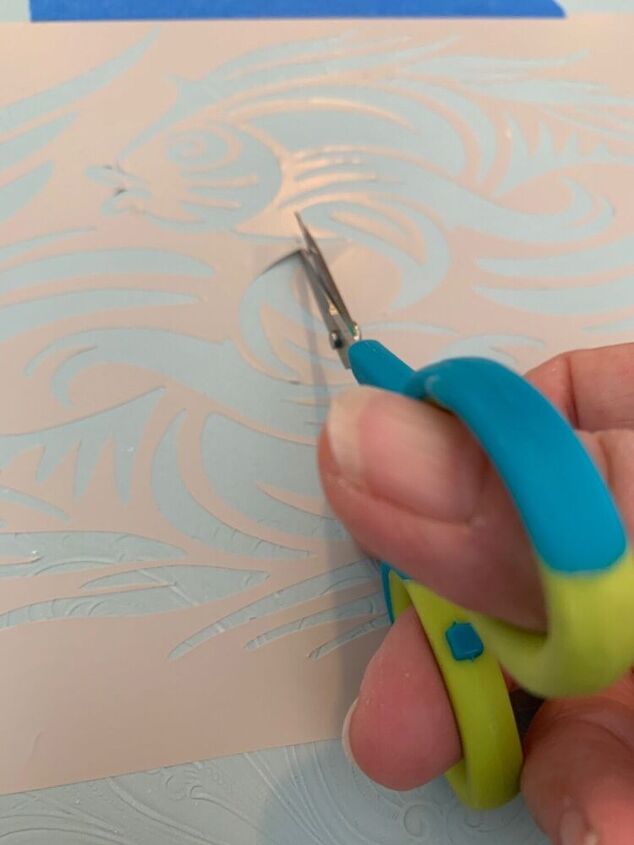
I used a tiny scissors to cut the area and then stick it down. Trust me when I say this works really well.
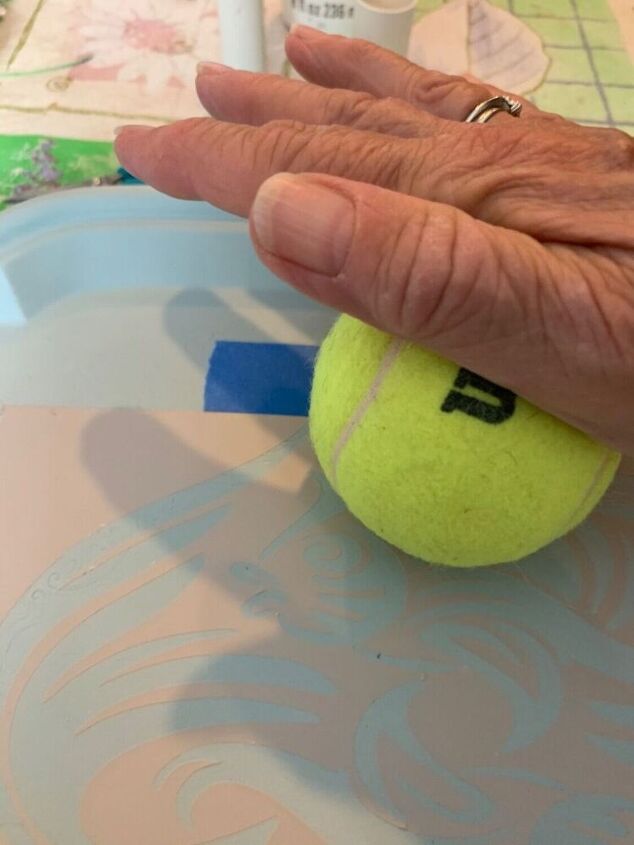
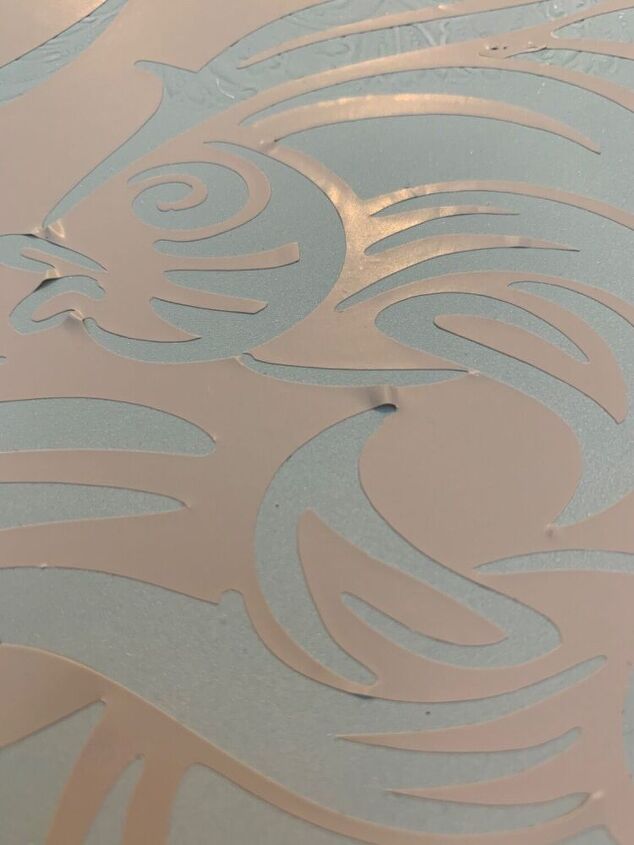
Next you want to press your stencil down firmly so paint can’t seep underneath it. If you have a tennis ball you can roll it and press down at the same time for a tight seal.
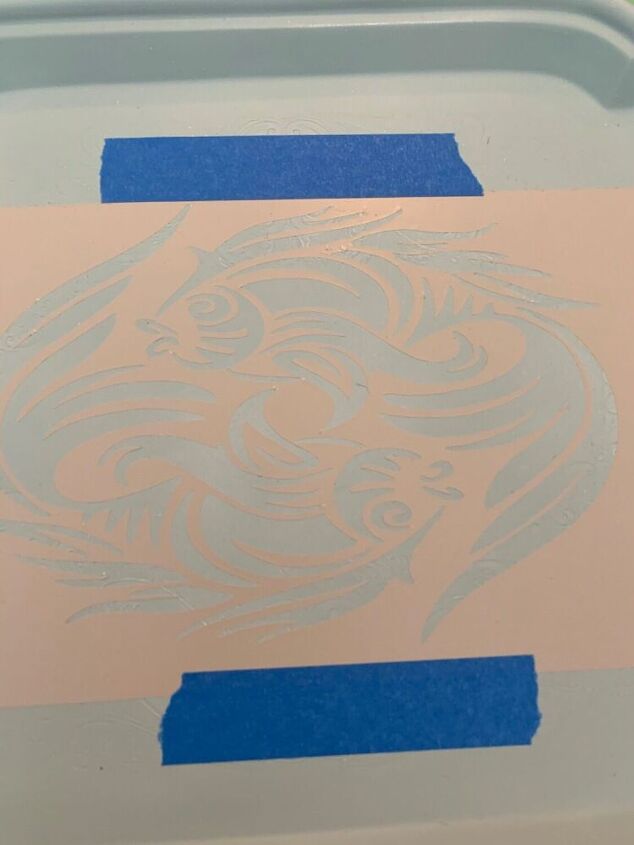
See how nice and flat everything is now? I add painters tape where the design is close to the edge. This will help me to not accidentally get paint where it doesn’t belong.
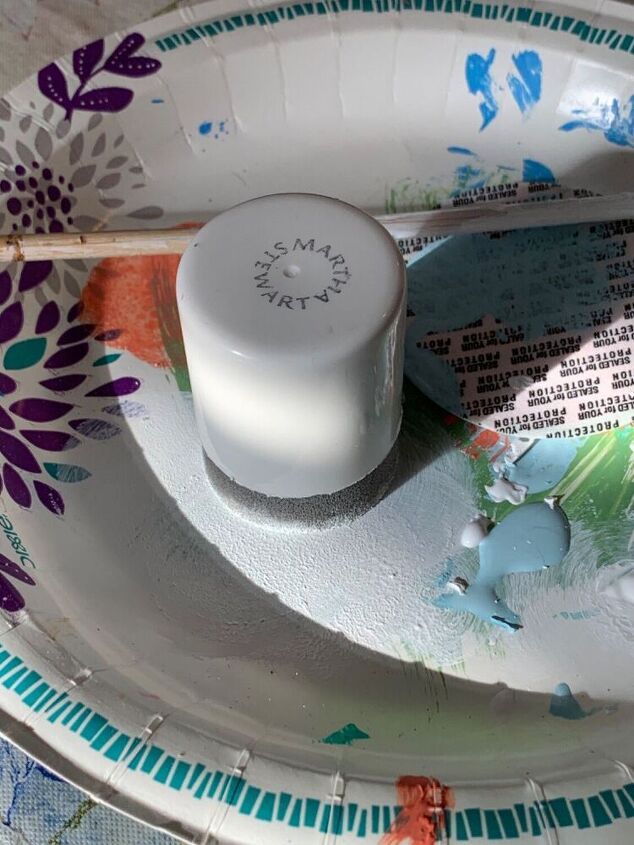
I use a Martha Stewart stencil sponges that come in different sizes. I put white paint on a paper plate, loaded the sponge and then pounced most of the paint off before I paint the stencil.
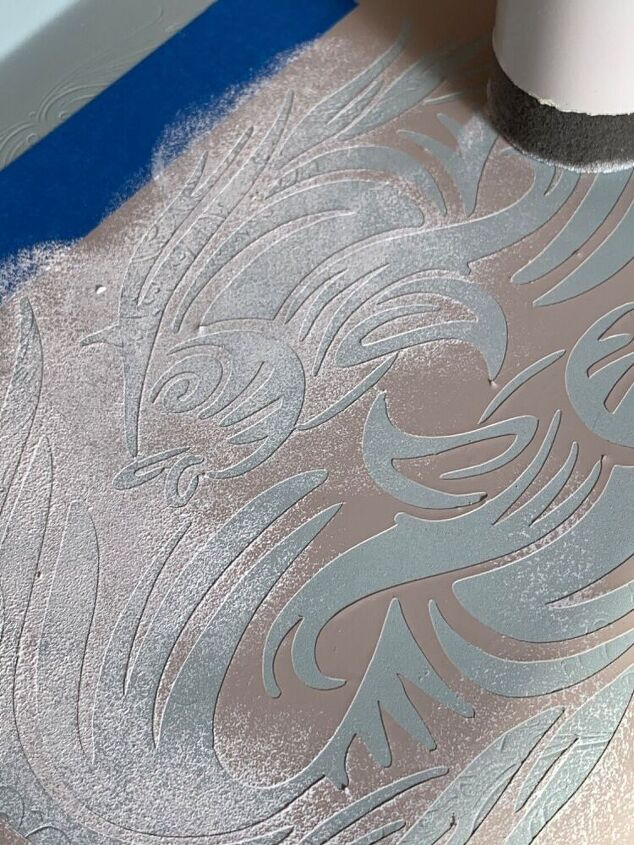
The key is to apply a small amount of paint and then do this multiple times to achieve full coverage. It will only take a few minutes to dry between coats. If you go too thick with the paint all at once there’s a good chance that it will seep under the stencil material.
I apply a second coat to accomplish a solid white coating. After the second coat I double check to make sure I hit all the areas. If not I just go back and do some touch up.
It’s best to peel the stencil up while it’s still moist and a little bit tacky. But you have to be very careful because the wet paint will get on your fingers. And you may end up touching the piece. I have a secret weapon that helps me to carefully peel off the stencil material.
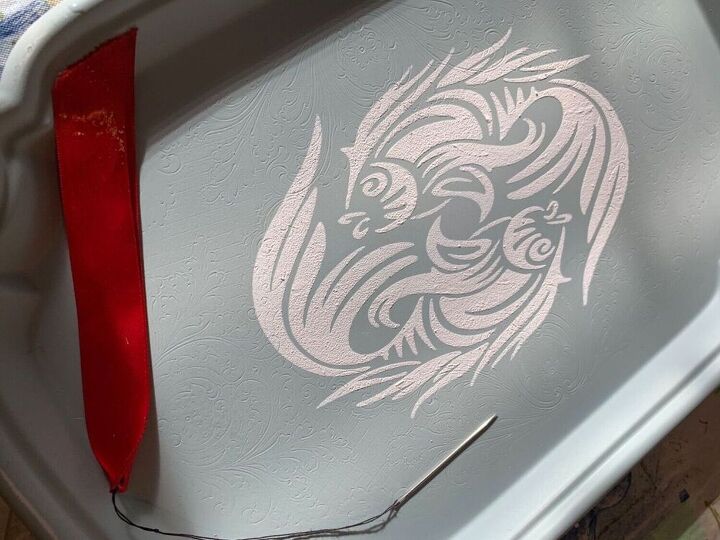
I use a large sewing needle to help me pull up the stencil material. And as you can see I have a red ribbon attached so I can always easily find my large needle. Just be careful not to scratch the tray.
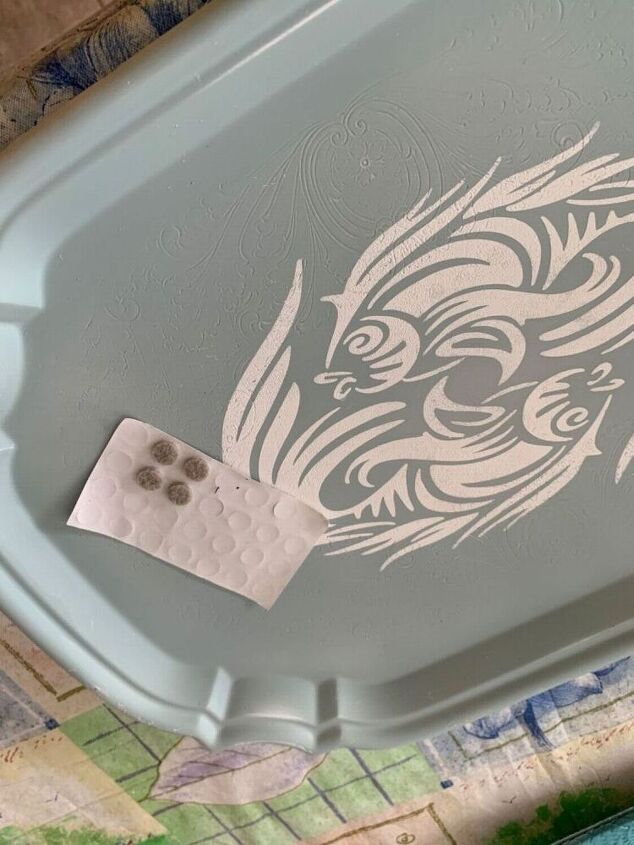
I added these tiny little pads to the bottom of the feet. They already come with sticky stuff on them. And they come in all different sizes!
Here’s a look at the final piece. To protect the tray I added two coats of a clear matte finish chalk spray. Top and bottom.
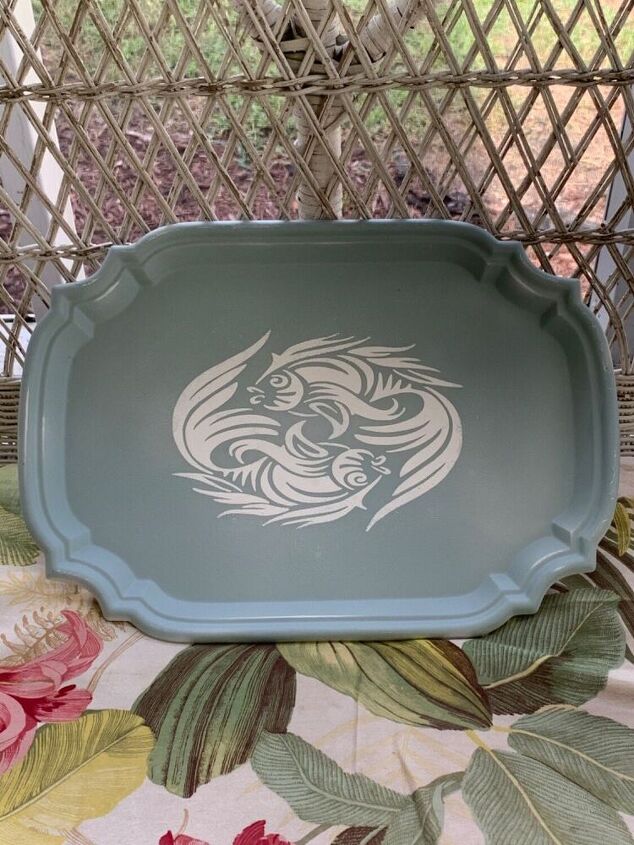
This little beauty is ready to go to the consignment shop. I can think of so many uses for it or it can simply be used as a decorative piece.
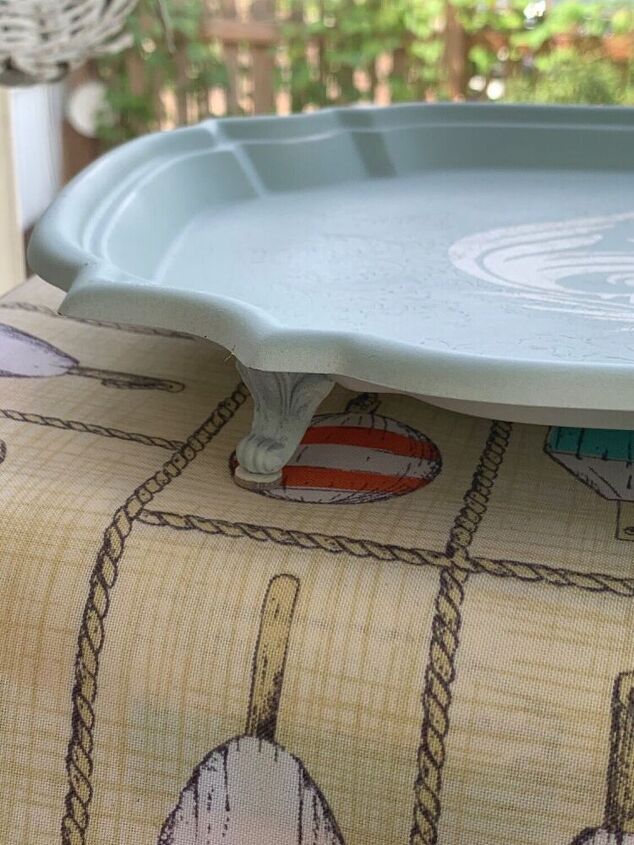
View of the feet! If you have any questions be sure to leave a message. I hope this inspires you to shop thrift stores and think outside the box.
Resources for this project:
See all materials


Comments
Join the conversation
-
Nice! I can do this!
-
The reason the trays are cheap. No one wants them. Lifestyles
have changed. To the first lady reread the project for your
answer.


Frequently asked questions
Have a question about this project?
Will the paint scratch easily and did you apply a clear coat to prevent this?
Did you sell this tray?
Those silver trays were very expensive. Is the silver worn off for them to be so cheap now?