


Repurposed $5.00 Television Stand From Auction
My husband and I love visiting our local auction house. It is a date night we both look forward too. With his crazy schedule (police officer schedule), we must enjoy every minute we can get together. Not to mention, it’s the perfect place to find pieces to repurpose. Here is the story of how to repurpose a $5.00 television stand.
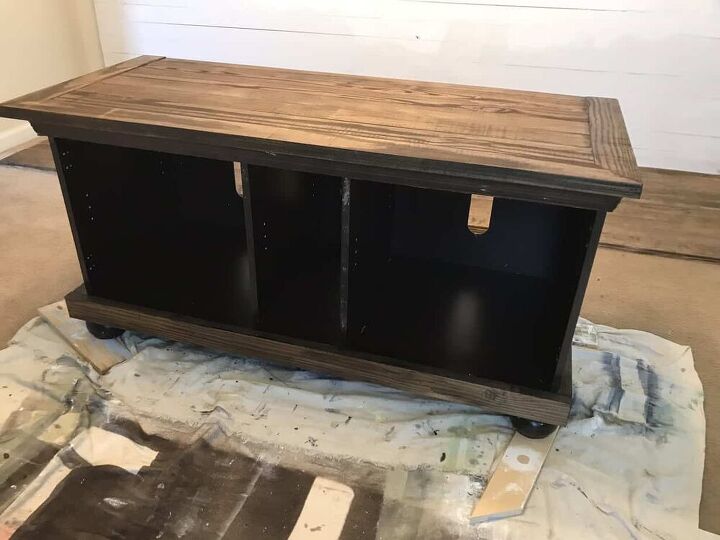
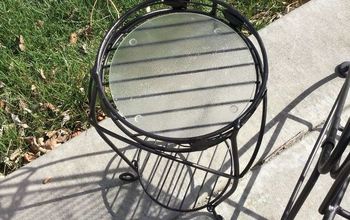
It was a black television console cabinet. It wasn’t in bad shape. The door just needed a new hinge. It also had bun feet! Score! Anyways, the top was scratched beyond repair. The piece was not real wood, so I knew I could not do a lot of sanding to remove the scratches. But that’s okay, it was still workable.
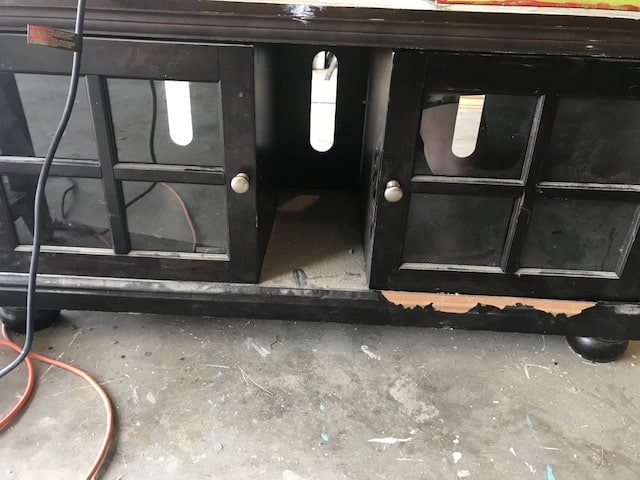
I waited patiently for the Auctioneer to make his way to the isle. There did not seem to be anyone else interested in the cabinet, which was a plus for me. I had agreed with myself that I would go no higher than $20.00. The bidding started at $5.00. I raised my bidder’s card, waiting to see if anyone would dare outbid me. To my surprise, no one did! Five bucks! I was super excited! You can see all our goodies we won over on my blog (christinafayerepurposed.com).
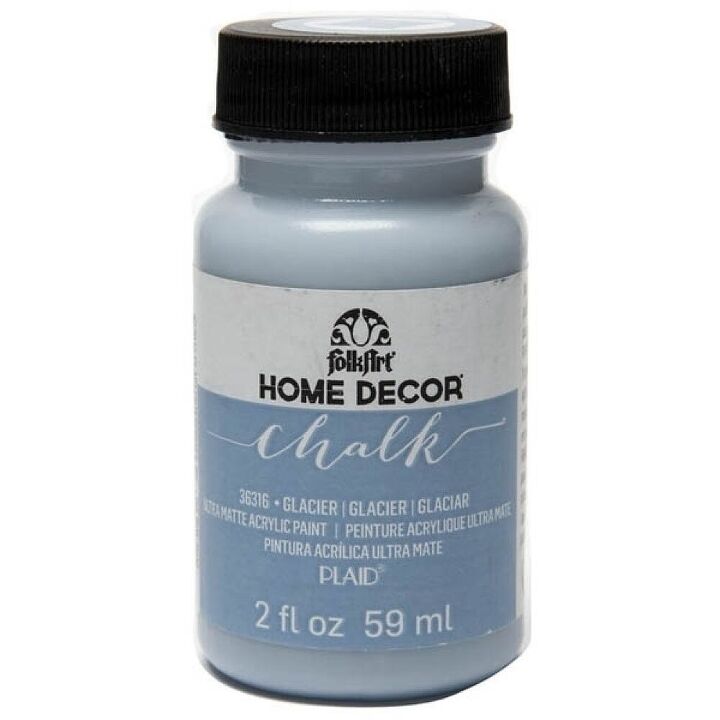
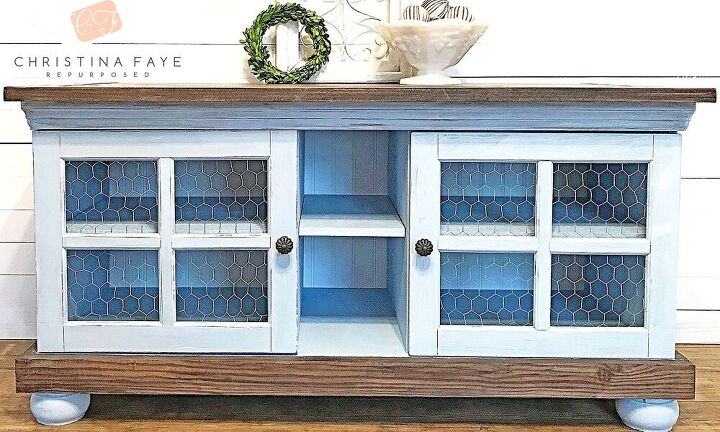
Next came the color choices. I wanted to give the bench a farmhouse vibe. Therefore, I did not want bright colors. After scanning the colors on Pinterest (my favorite place for inspiration) I found one I really liked! The color was called Glacier and it was made by FolkArt. It was chalk paint, which was a plus because I knew that I could not do a lot of sanding.
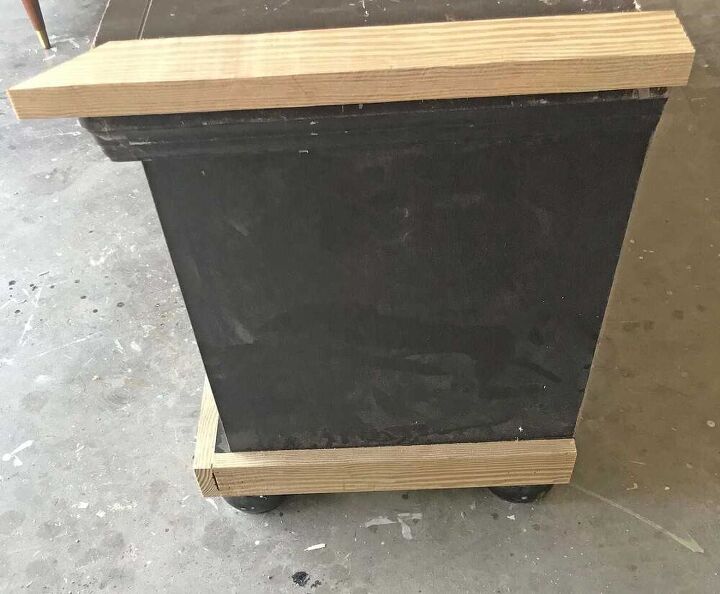
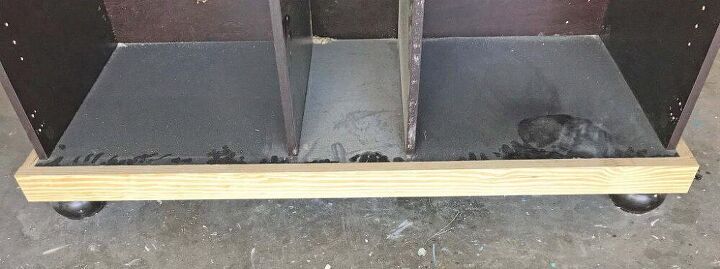
My husband started adding the new top directly onto the top of the cabinet. While he was doing this, I removed the doors, the glass in the doors, and the hardware.
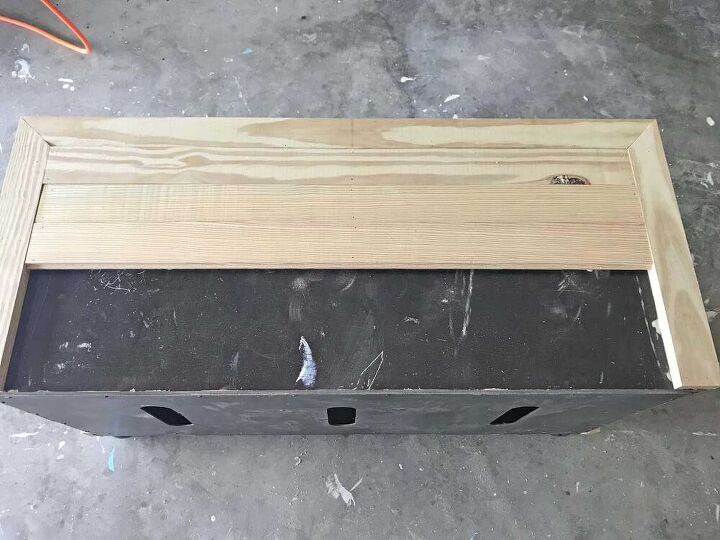
He also replaced the sides and bottom pieces.
I gave the piece a light sanding with Gator 220 grit sandpaper. Just enough to scuff it up so that the paint would adhere better. After, I wiped the piece down with tacky paper to remove any dust that was left from sanding. I then gave it a good cleaning with vinegar and water.
The stain I chose was Dark Walnut by Minwax for the wood. It is my favorite color stain! I gave all the new wood a coat of stain using a cheap bristle brush to get in all the nook and crannies, wiping off any excess with a lint-free cloth.
I painted two light coats of the chalk paint, allowing a 24-hour drying period between coats. I know that seems like a long time, but I have found that it gives the piece a more durable finish. Remember, two light coats are better than one thick coat.
After the paint and stain were completely dry, I felt it was, well, too blue. I decided to apply an antique glaze to give it an old feel and tone down the blue.
We then attached the beadboard back.
We used chicken wire (this is what we call it in Georgia, I know it has many different names) for the doors instead of glass.
I purchased two knobs from D. Lawless Hardware. I love this company! Their hardware is affordable, and they have a superb selection!
And here she is! Can you believe the difference?
Resources for this project:
See all materials


Comments
Join the conversation
-
I love it. That is the kind of project I want , inexpensive and short time frame.
-
Gorgeous!!😍


Frequently asked questions
Have a question about this project?
Question? What do you do with all the glass you remove and replace with chicken wire?
Beautiful piece, love your directions. Color choices are interesting. Were they selected to match an existing piece of furniture?