


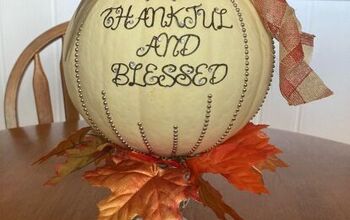
Dollar Store Textured Pumpkins

I love using pumpkins in my fall decor but the good, realistic looking ones really add up in cost! I used glue, some baking soda and paint to create a textured dollar store pumpkins that look a lot more expensive than they really are!
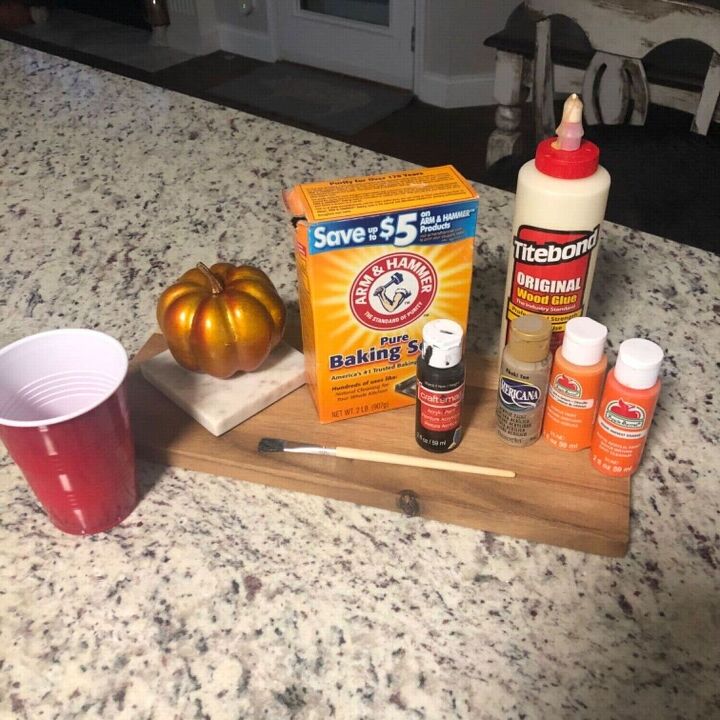
Gather supplies and make your paint mixture
You’ll want:
- Cheap foam pumpkins. I got mine from the dollar tree.
- Paint (acrylic or chalk is fine)
- Glue. I like wood glue because I think it is thicker and dries almost crackly.
- Baking soda
- A cheap craft paint brush
- Cup or old bowl to mix.
For the baking soda mixture, I use about 4-5 tablespoons of baking soda and slowly add in paint until it mixes up smooth enough that you can paint it on with your brush, but is still gritty and a bit lumpy.
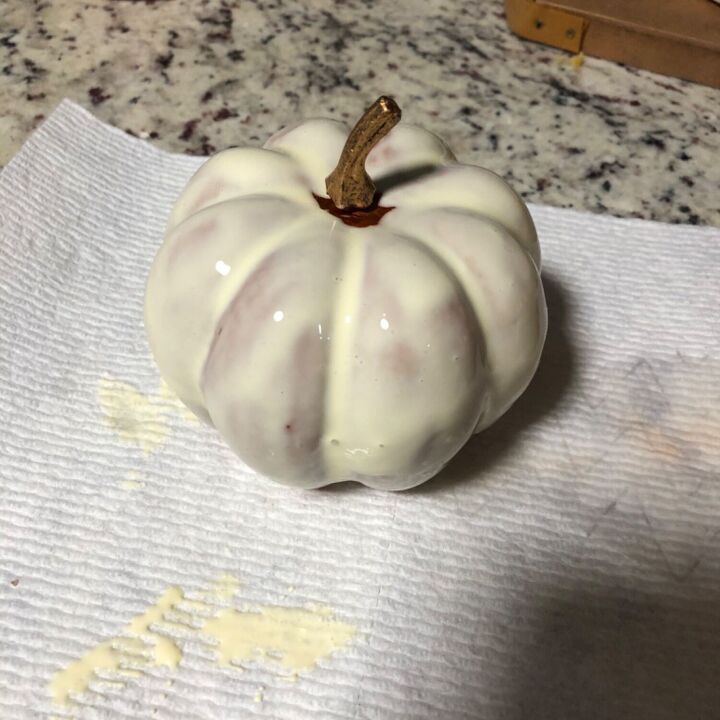
Add glue directly to the pumpkin
A lot of people like to mix craft glue in with the paint/baking soda. I’ve done that too and it works nicely! However for the pumpkins, I prefer to coat it in wood glue then add paint. You can let it drip and run down the pumpkin giving it that “warty” look of real pumpkins.
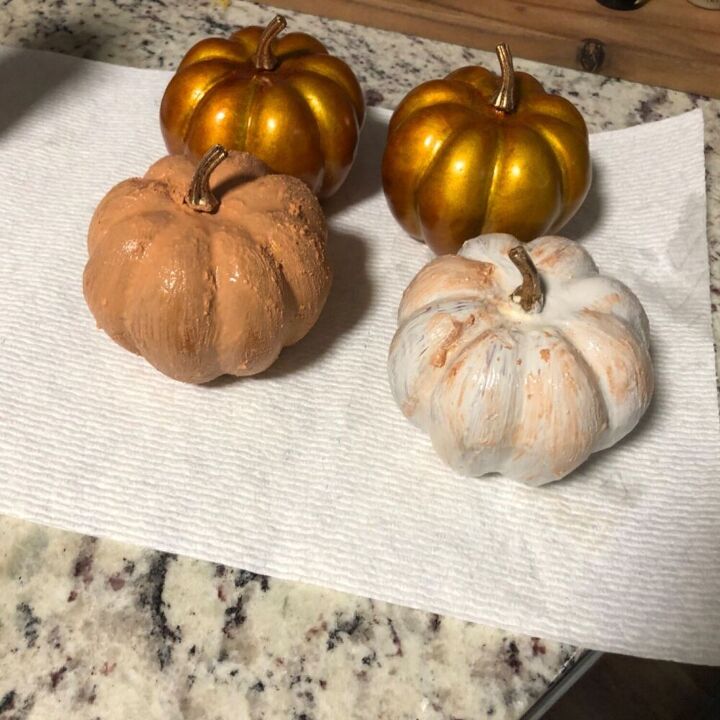
Add paint/baking soda mixture
You want to wait until the top layer of the glue is tacky. You can use a hair dryer on low, or a fan to speed this up. Once the top layer is tacky and not runny, you can add your paint and baking soda mixture all over the pumpkin.
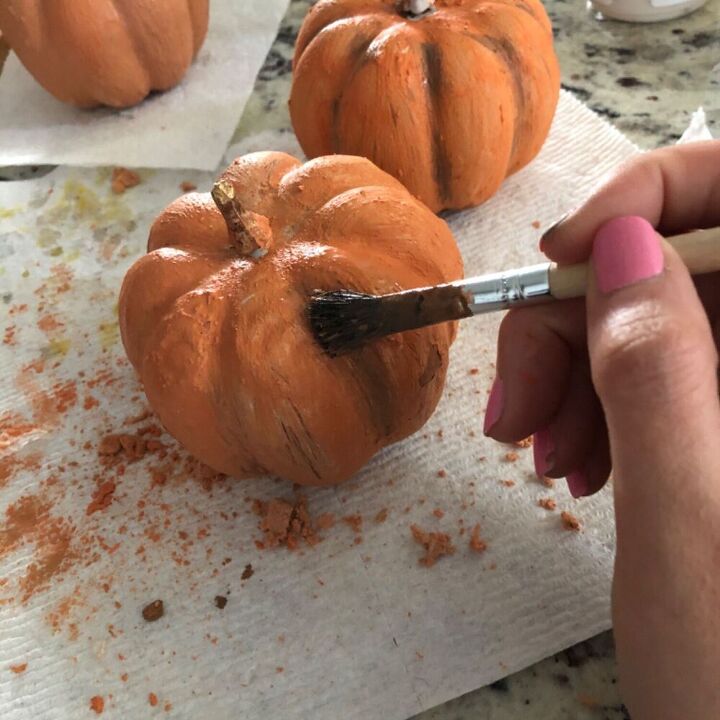
Add in some dimension
Go in with a darker color and add some dimension to your pumpkin. Paint it on randomly and not uniform, after all real pumpkins are not perfect! You’ll notice that the wood glue underneath dries with a bit of a cracked, streaky look. I like to leave this because it adds dimension to the pumpkin.
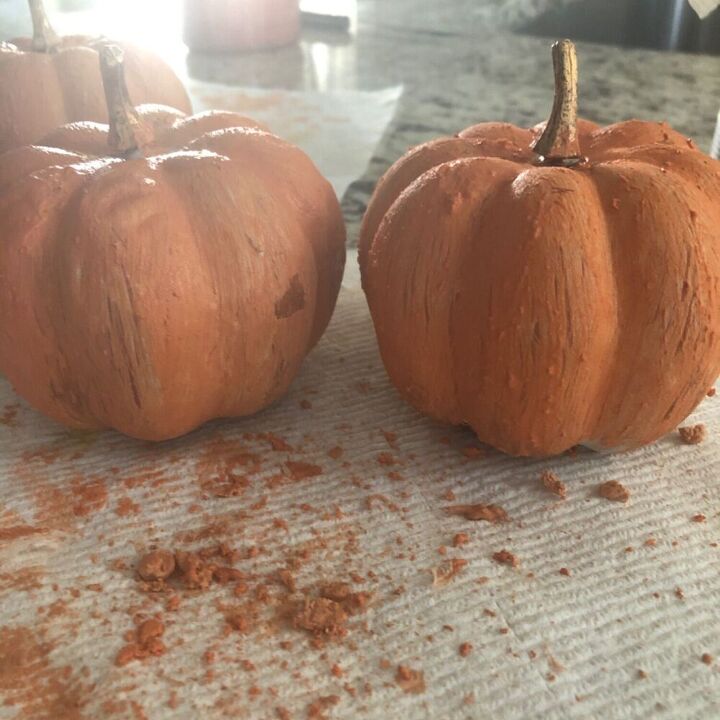
Remove loose pieces
You can use a brush, fine grit sandpaper or even just your fingers to brush off any loose chunks of baking soda paint once dry.
You might choose to spray your finished pumpkins with a spray sealer. I’ve never had issues with the paint coming off because the glue helps it bond, and mine just sit in a bowl, but you could add the sealer for extra protection if you’d like!
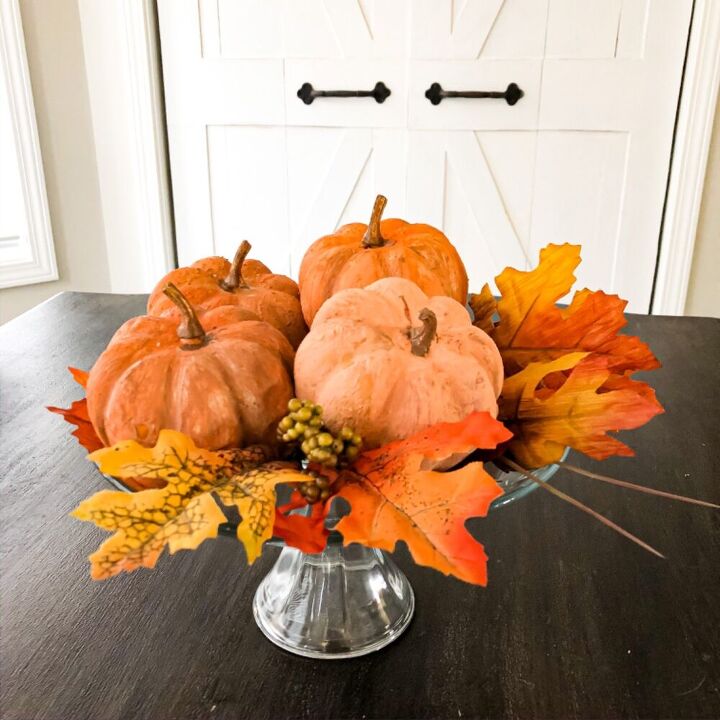
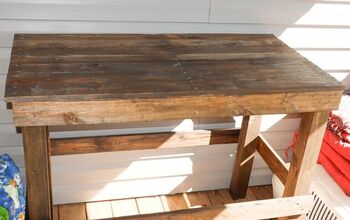
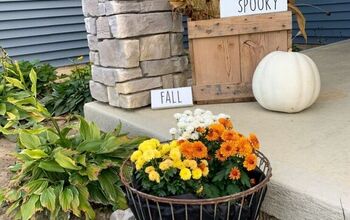
Add some leaves and now you have a beautiful fall centerpiece!
You can add them to a bowl or tray with some leaves or greenery and now you have a beautiful fall centerpiece!
What I like about this method is that you can cover a lot of pumpkins with a small amount of glue and the paint mixture. You can make a whole bowl full of these for a nice centerpiece on a large table, and it won’t cost very much!
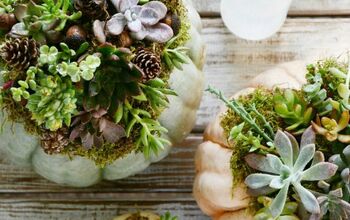
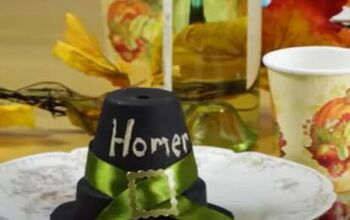
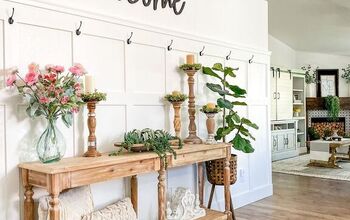
DIY fall centerpiece ideas


Comments
Join the conversation
-
To alleviate waiting for the wood glue to dry just use Plaster of Paris only it works just as good.
-
Why not buy real pumpkins for a centerpiece? They go back to the earth when its time to throw them away not a landfill. #globalclimatechangeisreal


Frequently asked questions
Have a question about this project?
How much paint to baking soda?
Will white glue work as well as wood glue?
How much baking soda?