


How to Reupholster a Chair | With French Country & Boho Flair
Do you have a vintage chair you would like to makeover? Does it seem a little intimidating? Scroll down and learn how to reupholster a chair with French country and Boho flair.Oh my, we are excited about this makeover! We are bringing together two styles in Ellie’s bedroom makeover, French Country and Boho. She loves the two styles and adding a bit of Boho flair to this French country piece is so chic.
If you are more of a visual learner, we’ve created a video tutorial for you.
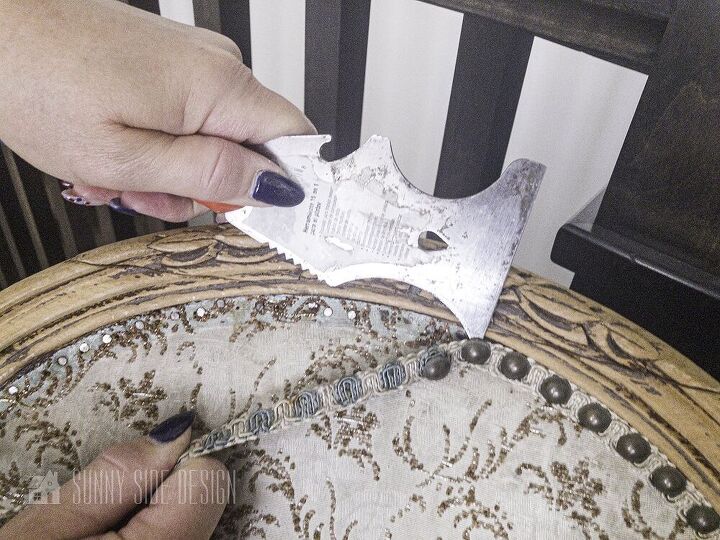
First of all, the old trim and upholstery will need to be removed.I began working on this project while we were waiting for the primer to dry on Ellie’s built in desk with shelves.I didn’t have all of my tools with me, so I improvised and I found another use for my painters tool!It worked great for removing the upholstery tacks and small nails that secured this fabric in place.
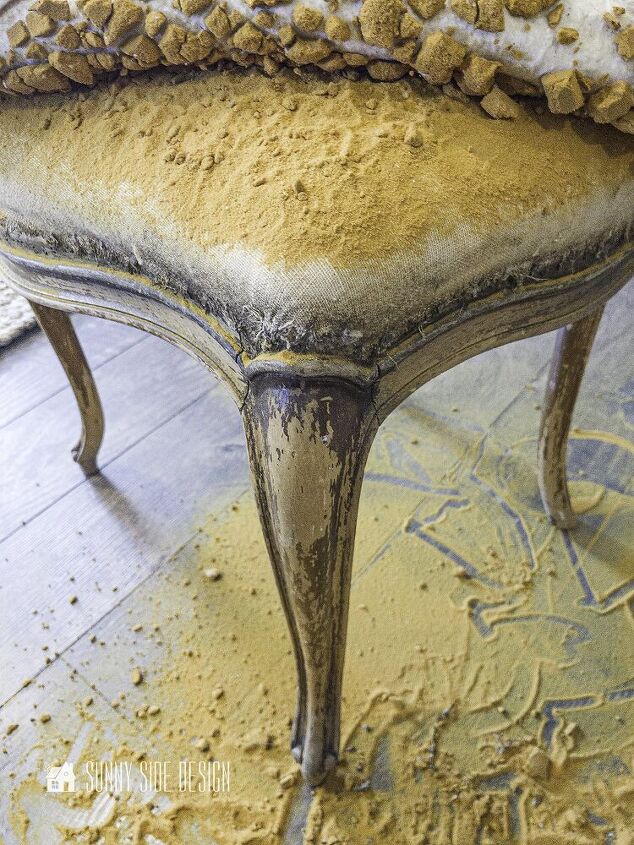
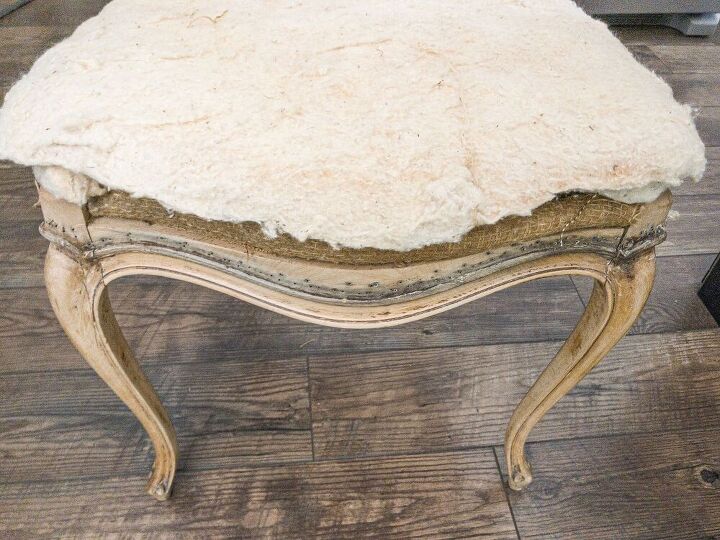
Once I had all of the fabric removed, this is what I found. The original foam had literally disintegrated in to this orange powder. What a mess!!!
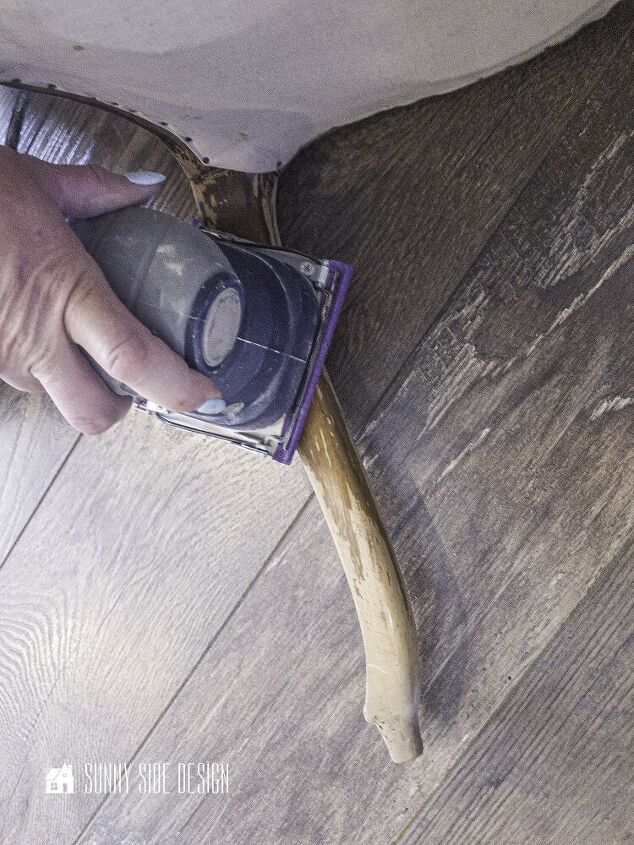
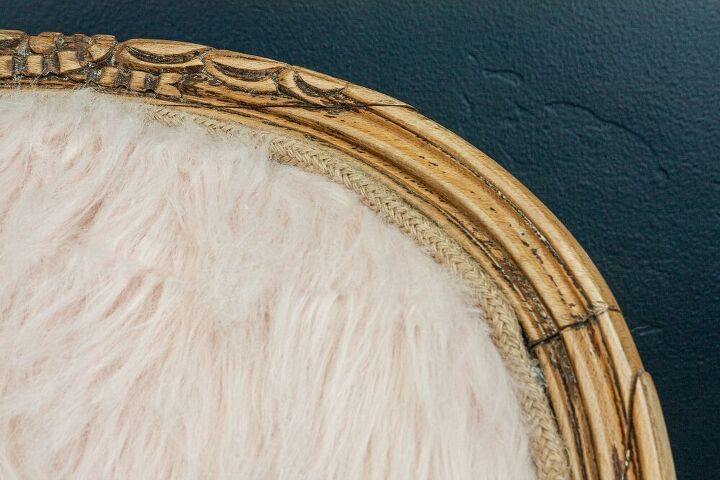
If you’ve been following along on Ellie’s bedroom makeover you know that we refinished her dresser with a natural wood look finish.We thought that look would also be great look for this chair as well. Most of the finish was already worn off, so really we just had to do a little sanding to take it down to the bare wood.We didn’t try to remove any finish from the carved areas. Isn’t the aged and layered look fabulous?!To protect the bare wood, yet retain the raw wood look, we applied Behr’s clear wax. Let it dry and buffed it. There is a tutorial on how to wax furniture here as well.
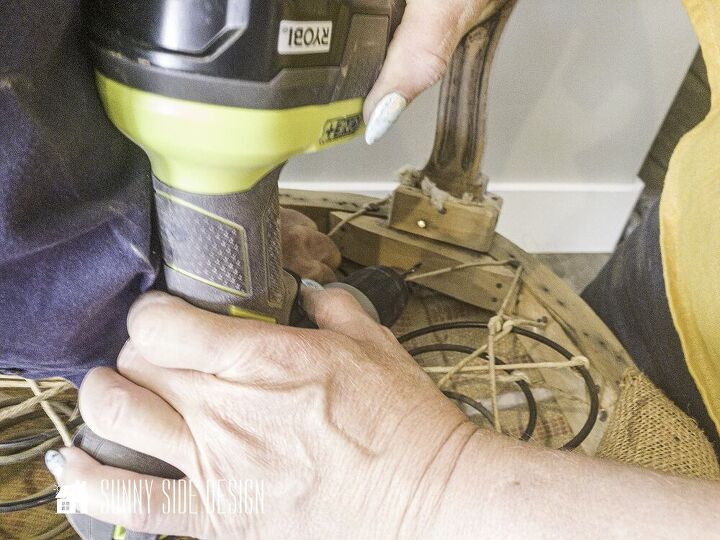
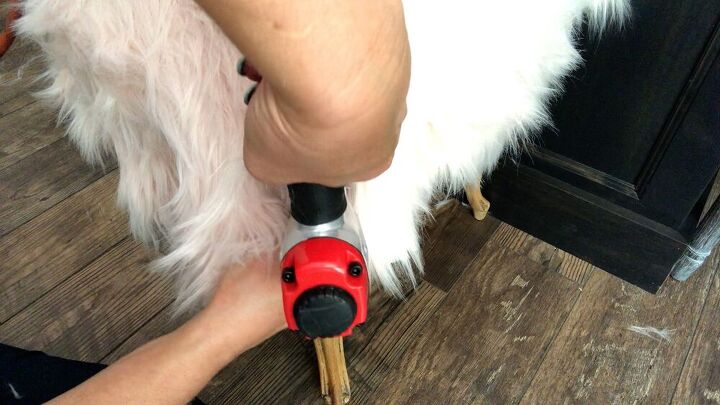
This chair frame was really quite easy to repair. The toughest part was fitting the drill in-between the springs. Once we removed the padding and pulled back the burlap it was clear what we needed to do to sturdy up this chair.The back leg portion of the chair was held in place by a small piece of wood that was nailed to the frame. Over time those nails loosened up.
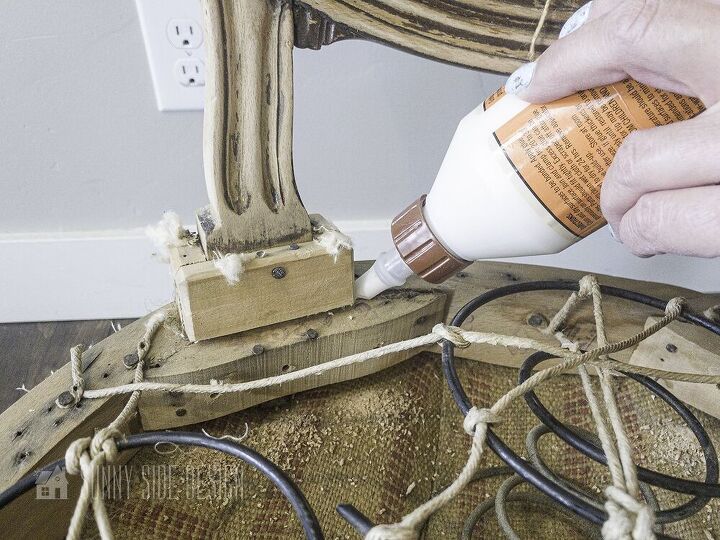
To make this repair, we drilled holes in the small wood piece, slightly larger than the screws we were using. We then put wood glue between the frame of the chair and this small wood piece.
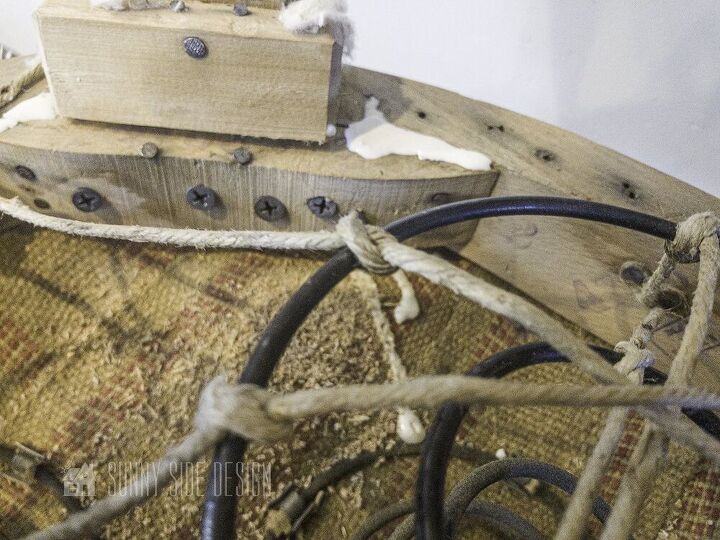
Then we drove screws through drilled holes into the chair frame.This method cinched up the gap and the chair legs became sturdy.
Now that the frame of the chair was sturdied up and we restored the finish we are ready for the fun part of this post. How to reupholster a chair with French country & Boho flair.Since the old foam had literally fallen apart we cut a new piece of 1″ foam, using the cotton pad as a pattern.PRO TIP: Cheap kitchen sheers from Dollar Tree work great for cutting foam.The old burlap was reattached and we placed the cotton pad on the chair.
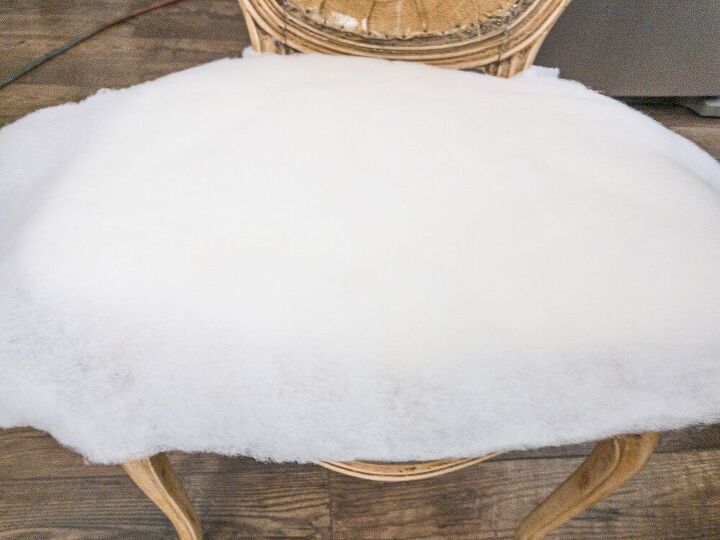
The next step to prepare to reupholster the chair is to place the foam over the cotton pad and cover the foam with batting.We cut the batting 3-4″ larger than the seat and draped it over the foam. Cut slits in the back for the leg piece that go up to the back.
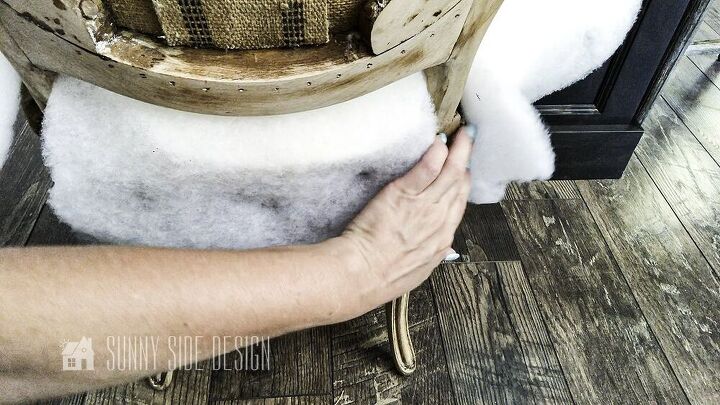
Pull the batting snug and secure with a few staples in the front. Repeat on the back and sides as well.You do not need a lot of staples in the batting. It is just to help keep it in place when the fabric is attached. Notice the slits in the batting where it fits around the wood.(To see more step by step directions (and images) of this step, you can see them in this bar stool makeover post.)
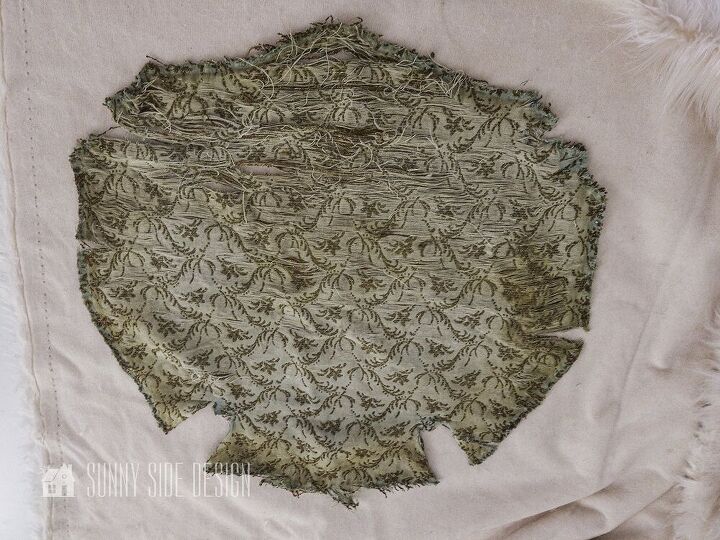
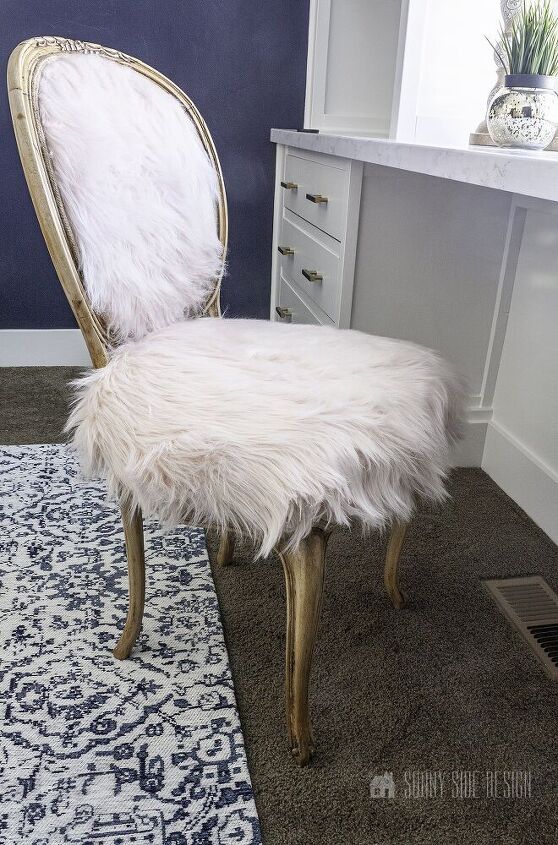
Look at this fun faux fur! It’s such an unexpected choice for this chair. However it adds such a fun design element. Remember Ellie really wanted blush faux fur somewhere in her room. What better place than her desk chair!Using the old fabric as a pattern cut out the pieces 3-4″ larger than the actual fabric.Make sure that the nap is going in the same direction on each piece.Cut slits in the faux fur where the notched area was on the original fabric.This will allow the fabric to fit around the back leg pieces.

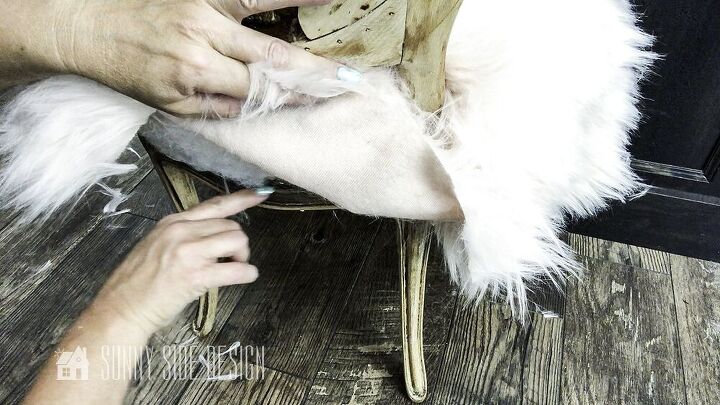
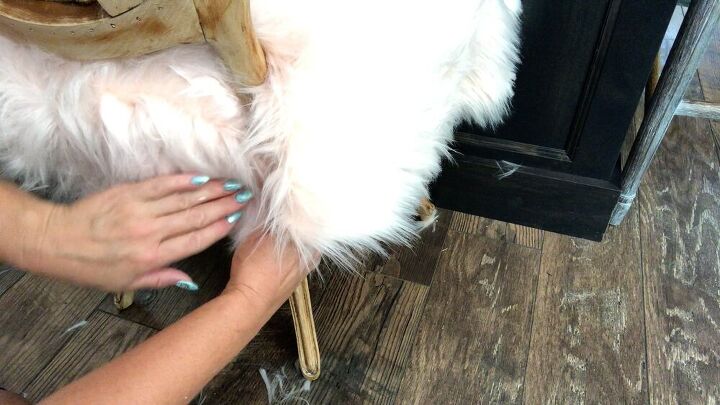
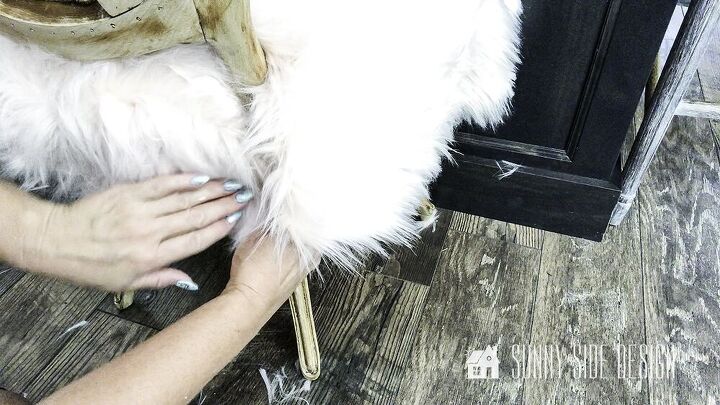
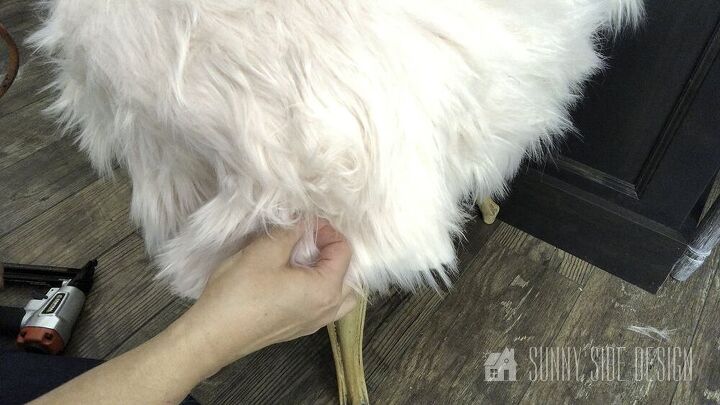
Place the faux fur on the chair, and fit it around the wood pieces.Note: Faux fur has a nap and you will want it going in the same direction for each piece. We have the fur falling forward on the seat and down on the back section.
On this chair there is a decorative edge that we will want to place the staples next to. You’ll want to get the staple as close to the ridge as possible.
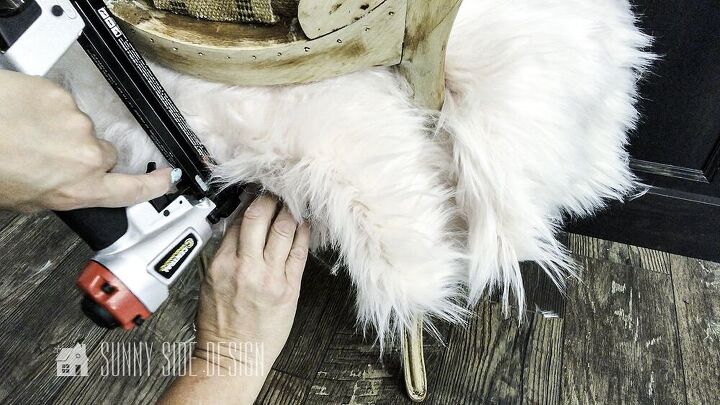
I began stapling the back edge first. Placing 3 staples across the back. Then I flipped the chair around worked on the front..
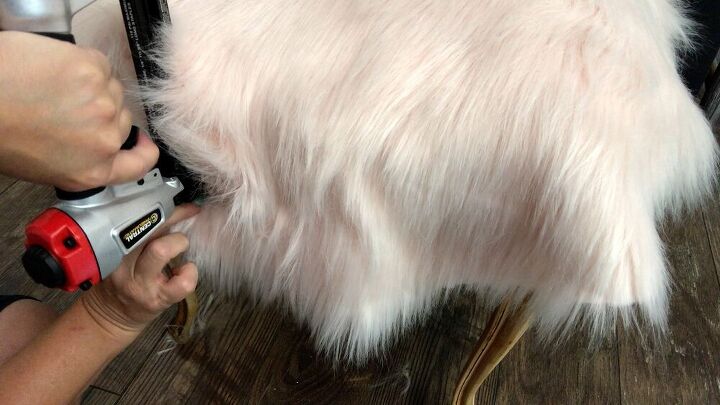
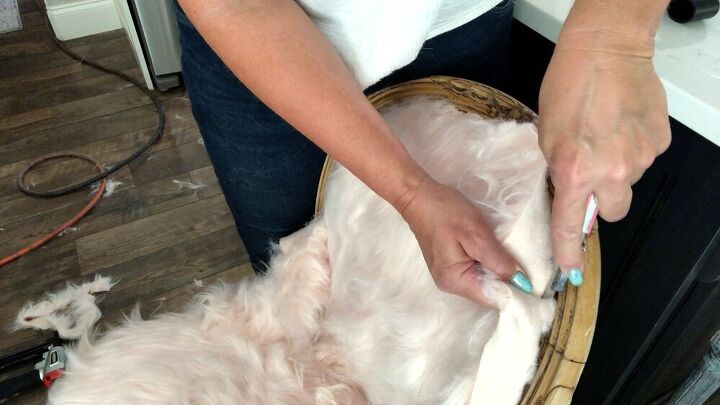
Before I secured the faux fur to the front of the chair I lifted up the fur so that I wouldn’t catch the long strands of the faux fur in the staples.We wanted the long fur edges to flow over the staples.Pull the fabric taut then secure it with 3 staples. I will fill it in with staples later. After it is secured on all sides first.Repeat this same process for the sides.
I recommend watching the video tutorial to see a little more clearly how I secured the fabric around the back wood pieces, as well as the front corners.To make a neat looking back, fold back the left side of the slit area. Secure with staples.
Fold back the right side of the slit area and pull it so that it slightly overlaps the left side. Secure with staples.
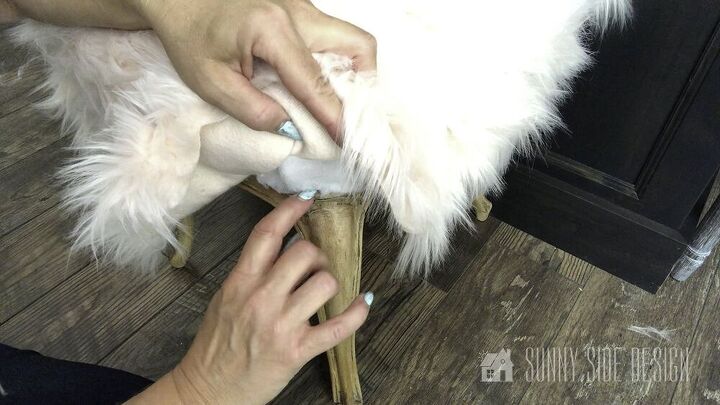
This is a little pet peeve of mine. Corners need to look uniform and neat. For this style of corner this is my method.Begin by finding the edge where the staple will be placed. I will first place a staple in the center of the front leg.
Pull the corner of the fabric taut and place the staple in the center of the chair leg.
Next form a pleat on the left of the center and pull it towards the center and secure with a staple.Then form a pleat on the right side of the center staple. Fold towards the center and secure with a staple.Repeat on the other front leg.Fill in staples all around the chair. They should be spaced about 1/2″ apart.
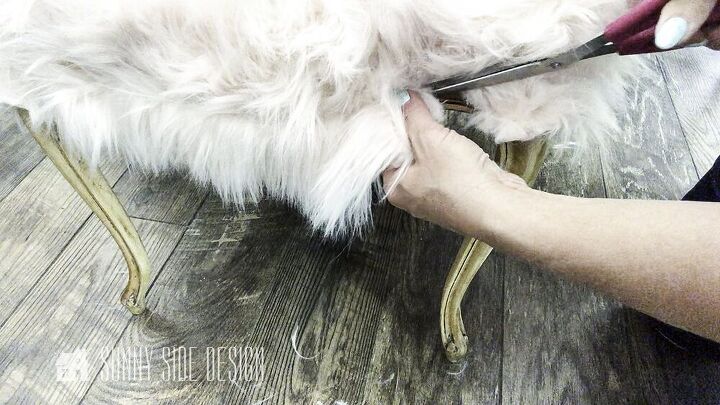
Trim off excess fabric. I removed the excess fabric from the seat area with my sewing scissors.
For the back of the chair I thought I’d try a utility knife. I like the way this worked, I simply folded the fabric forward and cut on the back side of the faux fur.This seemed to be a little easier with the fur. It would have been even better if I would have had a new sharp blade.

The final step it to add welting or cord. We chose a braided jute cord for this chair. (The same one we used on her new bed.)You’ll want to stop and start the cord in an inconspicuous spot. I started the cord for the back at the very bottom.Simply run a strand of hot glue and press the cord into position. To prevent fraying add a little hot glue on the cut ends.For the seat, I began the cord on the back side of the chair where it will be less noticeable. But with this long fur it would be difficult to see the seams anywhere.
Thanks for spending some time with us today. We hope you’ve found some inspiration here today!
Be sure to sign up for our newsletter so you never miss out on our latest projects!

Resources for this project:
See all materials


Comments
Join the conversation
-
The only issue with using fake fur is it doesn’t take much for it to begin to look flat/worn ( like excessive use) and if something gets spilled on it, it’s a mess.
-
Just a reminder for those new to faux fur. Do not cut with scissors! Cut with a new razor blade tool on the back of the fabric. You don’t want to cut off any length of that beautiful faux fur. ♥️


Frequently asked questions
Have a question about this project?
I have a chair with a leg that is loose and wobbly, and I have been considering ways to repair it. I was interested in the part of the post where you dealt with this problem, and I am confused. You said you drilled holes slightly LARGER than the screws. That's the part where I got lost. Could you please explain this as I'm sure I'm probably missing something. Thanks.