


DIY Stenciled Charger Place Settings
You can add a beautiful new look to your tablesetting with wood chargers. This post shares how to stencil and layer them for a more unique look on your tablescape.

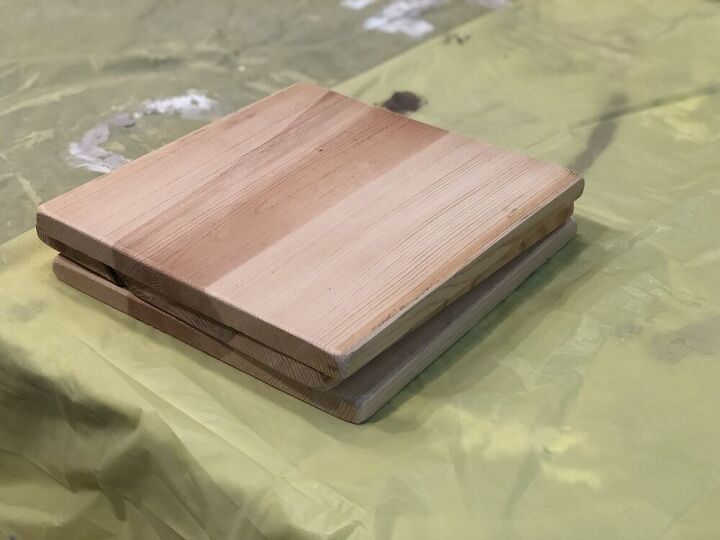
Cut wood pieces into a 12x12 inch board or a 12x14 inch board. You can use a 12 inch board from The Home Depot and ask them to cut it for you.
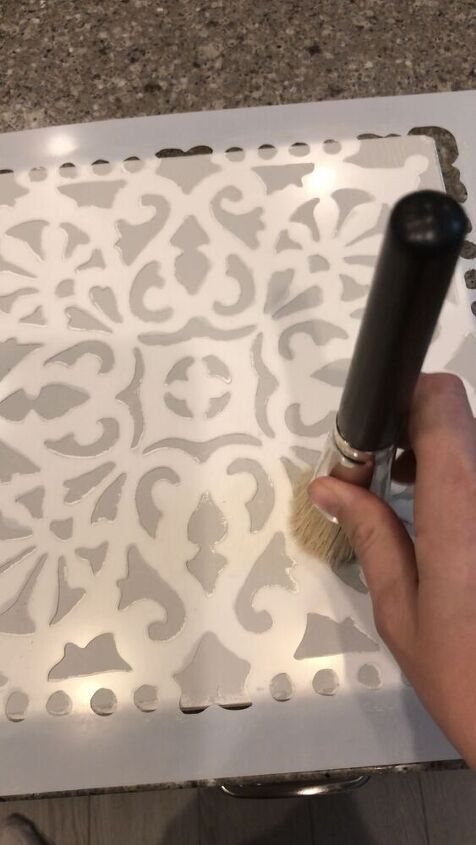
Paint the wood charger a base color and then let dry. Pick a stencil pattern that you like and place it on the charger. Check the directions of the stencil to see the best ways to add your print to wood.
Then use another color to paint the stencil. Once this step is dry, add a polyurethane top coat to protect it. A water base polyurethane works best as it will not dry with a yellow tint on lighter paint shades.
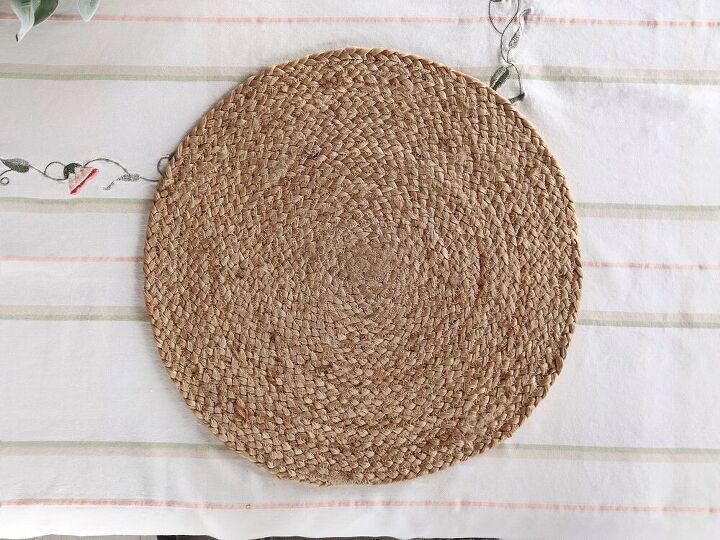
Layer a round placemat (jute is always a neutral tone) on the table.
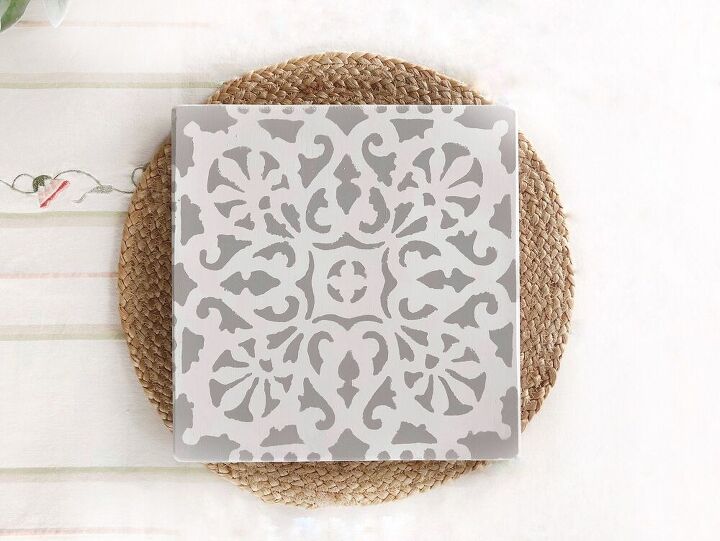
Add the stenciled charger next. Just right into the center.
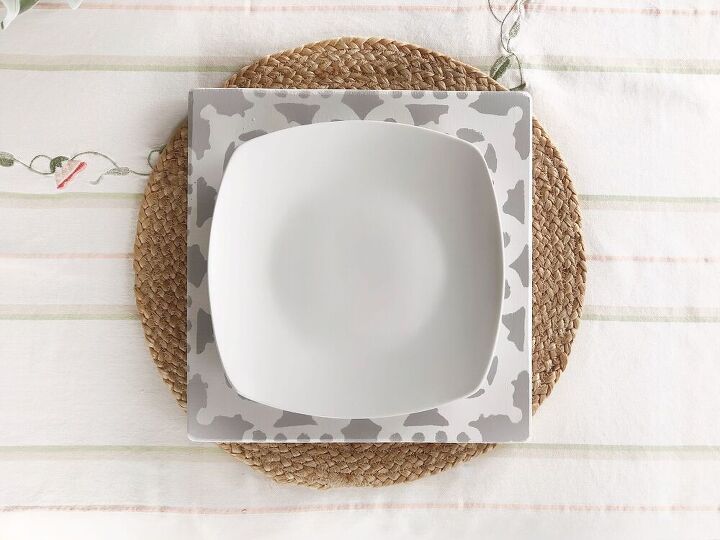
Layer a dinner plate.
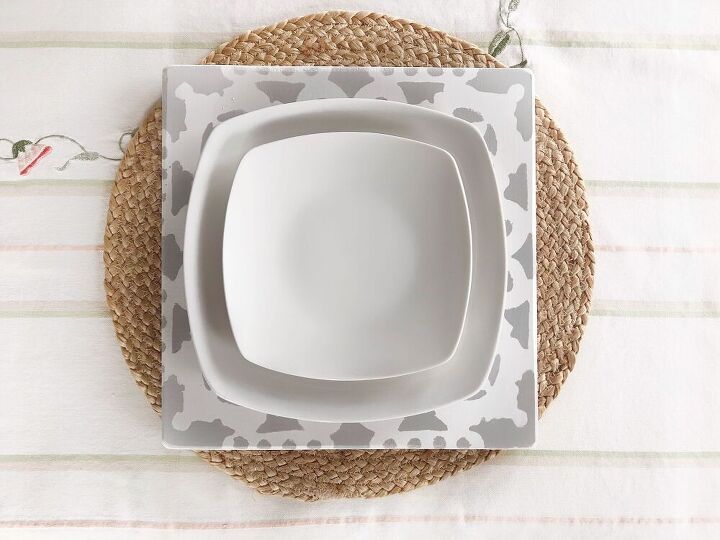
Layer a salad plate.
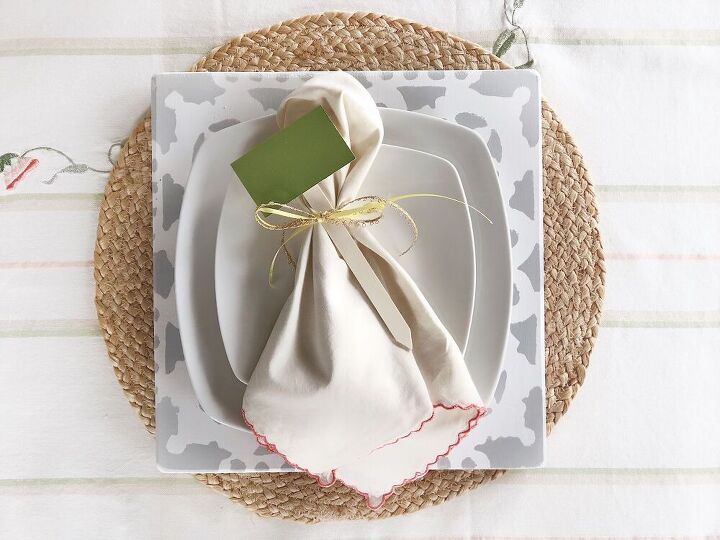
Layer a napkin.
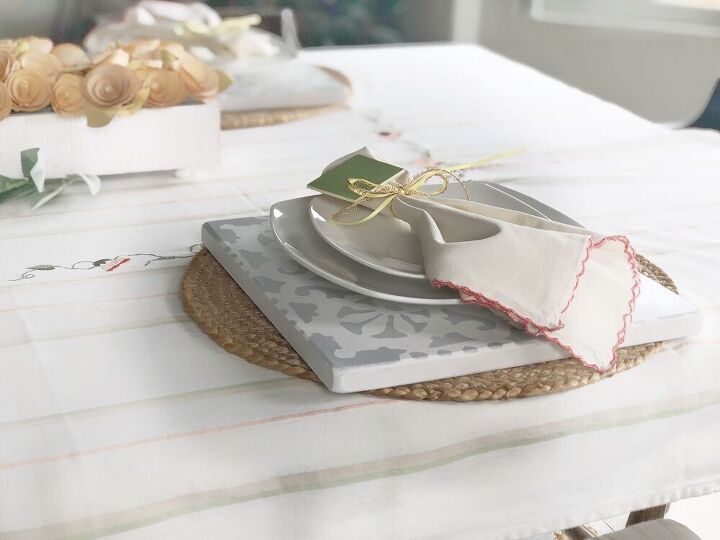
There you have it, a simple upgrade for any tablescape! These are so versatile and can be dressed up or down on a place setting! Try different colors and styles. Leave one site stenciled and the other side a simple paint color to make them more versatile.
Lastly, you can use this process with any scrap of wood that you find. Get creative on how to dress up your tablescape with stenciled wood chargers!


Comments
Join the conversation
-
very pretty table setting!!! I can visualize something in red for Christmas!!
-
What a great idea! You could even do a different pattern on the underside, or mod-podge a napkin rather than stencil. Yours are lovely: just a subtle bit of glam to an already beautiful tablescape.


Frequently asked questions
Have a question about this project?