


Pink Antique Dresser?? Indeed and Oh So Pretty
I am a huge antique fan so when I find one I usually scoop it up. When I posted it on my Facebook business page as stock to paint it was quickly called by a great customer and she wanted it pink! What the customer wants the customer gets but I did have some suggestions along the way. Lets see how I achieved her vision.
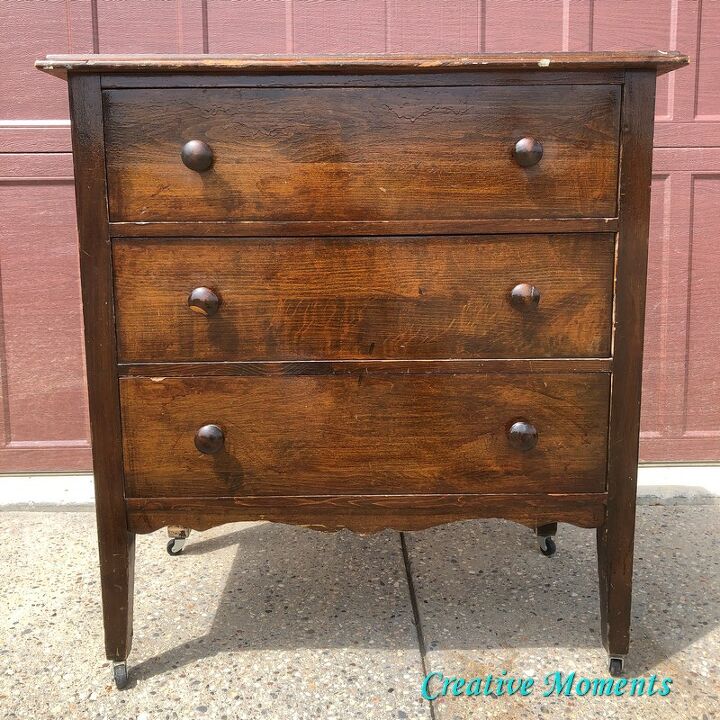
Here is the little dresser begging for an update. As you can see somewhere along the way it was clear coated but the paint job was terrible with drips and runs everywhere and lots of wear and tear.
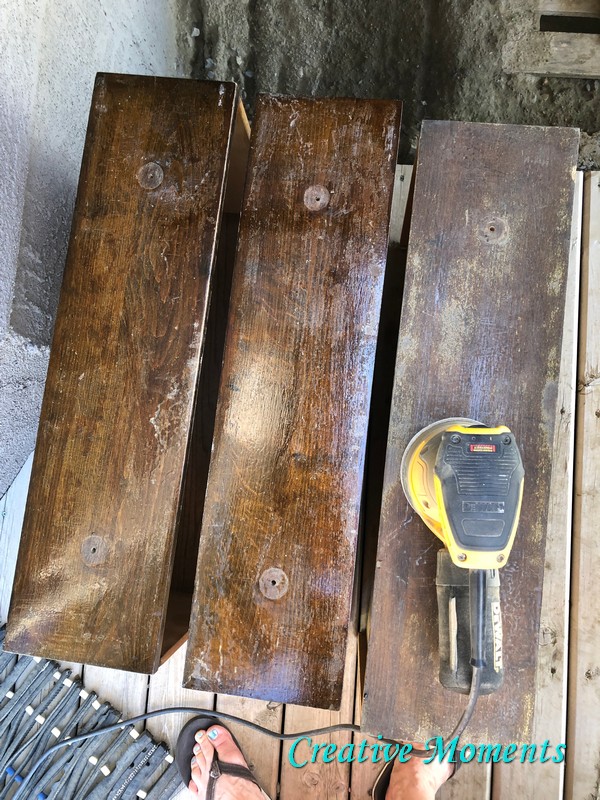
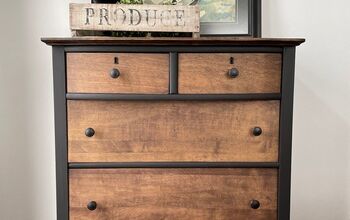
The hardware had been removed and it was time to address the drawer fronts. Rather then painting them the pink I suggested we stain them like the planned top for a two tone look and the customer was game. I started with my orbital sander to remove that built up layers of shellac and previous stains and clear coats. But this did not go as easily as I hoped so I resorted to my carbide scraper.
All 3 drawers were scraped clean then power sanded smooth.
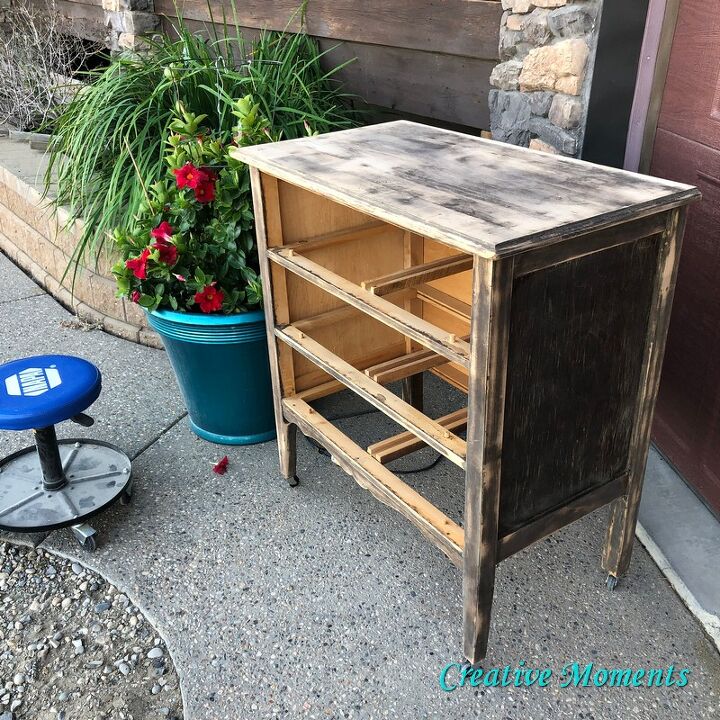
The dresser was hauled outside and power sanded after being scraped with the carbide scraper on the body and the top stripped with paint stripper.
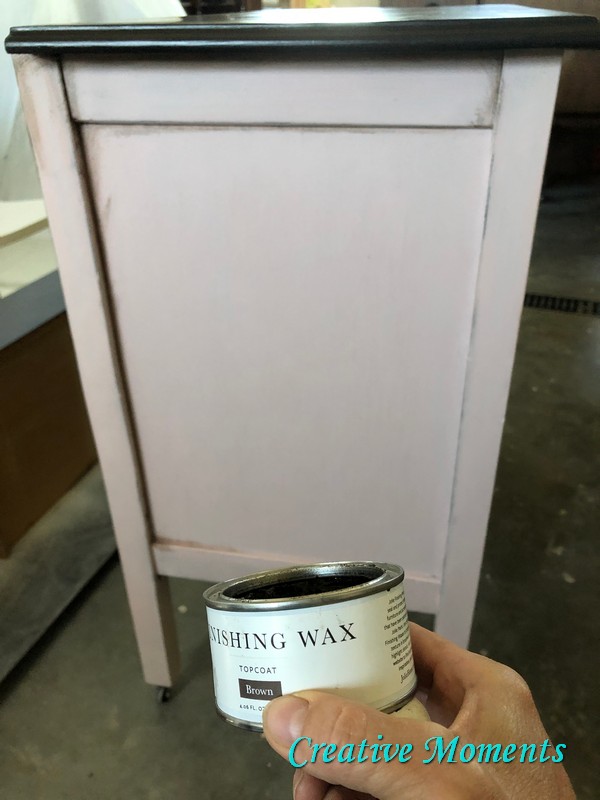
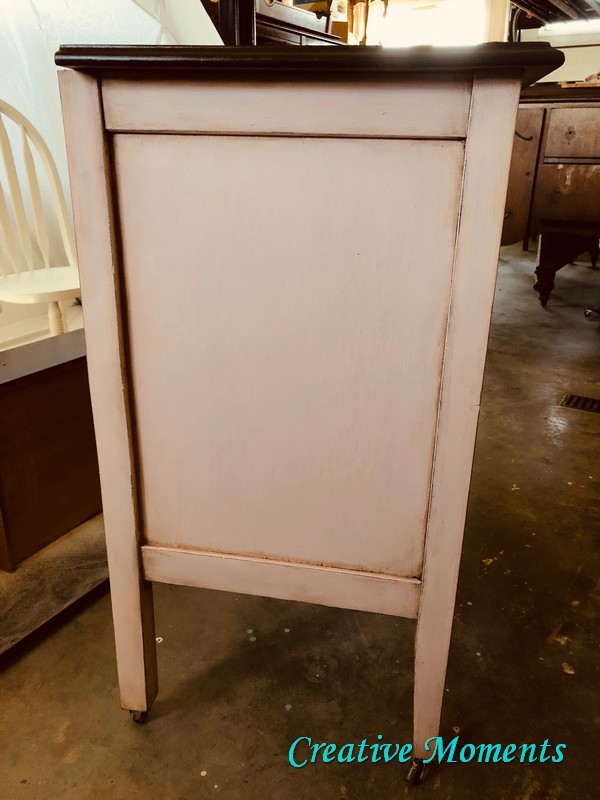
Using Jolie's fabulous wax brush, I sealed the paint with Jolie's clear wax. It is so smooth and easy to apply. Once it is applied I lightly wipe any excess off with a soft lift-free cloth. Then brown wax was added to keep an antique feel.

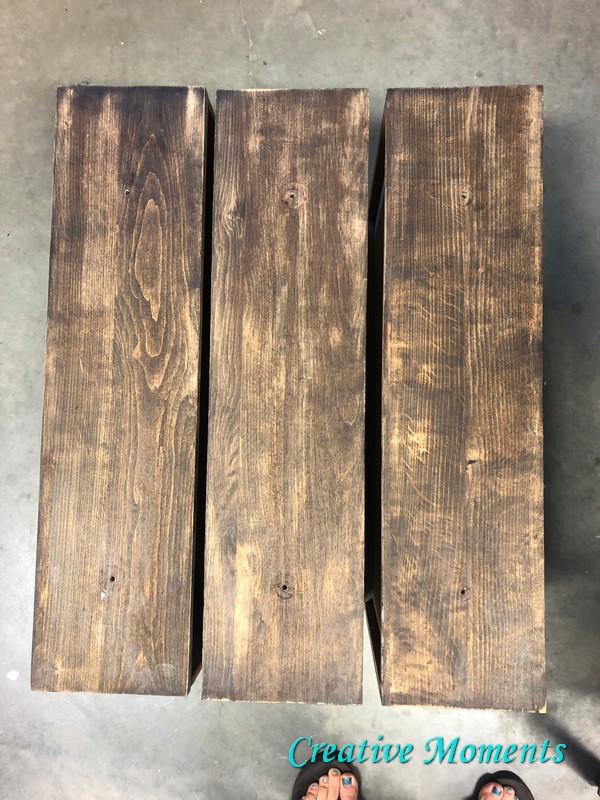
The dresser top and drawer fronts were stained using My favorite dark brown stain is Homestead House / Fusion Stain Oil Finish . It is easily wiped on and the excess wiped off. I put on 2 coats of cappuccino and 2 of natural . I had some vintage knobs in my stash I added and this beauty is complete.
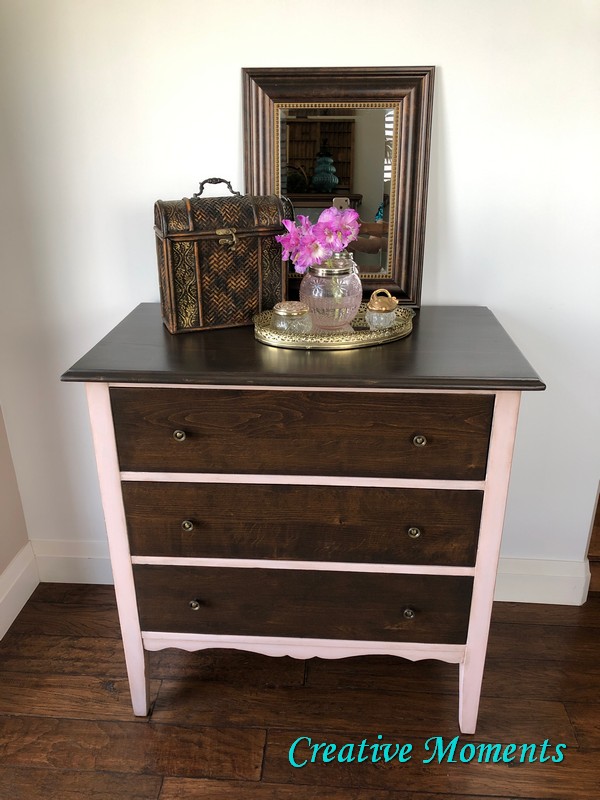
The customer was thrilled with the results and I too think it is a lovely soft antiqued pink perfect for this young ladies home. There are many more details, videos etc for this project linked below or
Pop over to my blog for more free home decor and furniture tutorials. Be sure to subscribe if you like what you see to get all my tutorials delivered to your inbox!
Resources for this project:
See all materials


Comments
Join the conversation
-
I personally cringe every time I see a beautiful old antique piece of furniture painted over.. But yours is just lovely.

-
I am usually not a fan of pink furniture but you have changed my mind because this is absolutely stunning!! I love the dark wood combo - really enhances the look. You did a fantastic job!❤️


Frequently asked questions
Have a question about this project?
I’m a real novice, but I’ve only ever used 1or maybe 2 coats of a stain. Does it really change that much as you use 4? Can you see the natural change anything after the darker cappuccino?
I have a piece of furniture, (chest of drawers) on wheels very similar to yours. You did an amazing beautiful job with yours. Do you think the dark stain would go well with a antiqued blue or teal color?