


DIY Walnut Keyboard Tray With Leather Wrapped Wrist Rest

Not long ago I posted a build of my dream desk setup. I spent weeks working on it and I was truly blown away by the reception I got on it (You can check it out here: https://www.hometalk.com/diy/build/furniture/building-my-dream-desk-44323259). Overall I was super happy with the desk but there was one glaring blemish that kept nagging at me. That damn keyboard tray. You see, I intentionally built the desk quite high so that it could also function as a workbench and was a little more ergonomic for a taller guy like me (higher screen level). A high desk isn't very comfortable to type and use a mouse on though, so I mounted a sliding keyboard and mouse tray on the underside of the desk. That lowered my input surface and allowed me to tuck the peripherals out of the way when I wasn't using them. So everything was all good then, right?
*sigh* Not quite.
It worked well enough. The hardware itself was good, the sliders and the arm holding the tray were made of metal and quite robust. The problem was the deck of the tray itself. It was made from cheap, flimsy, plastic. The whole thing bowed under the weight of my peripherals and, overall, it just didn't fit the aesthetic of my desk.
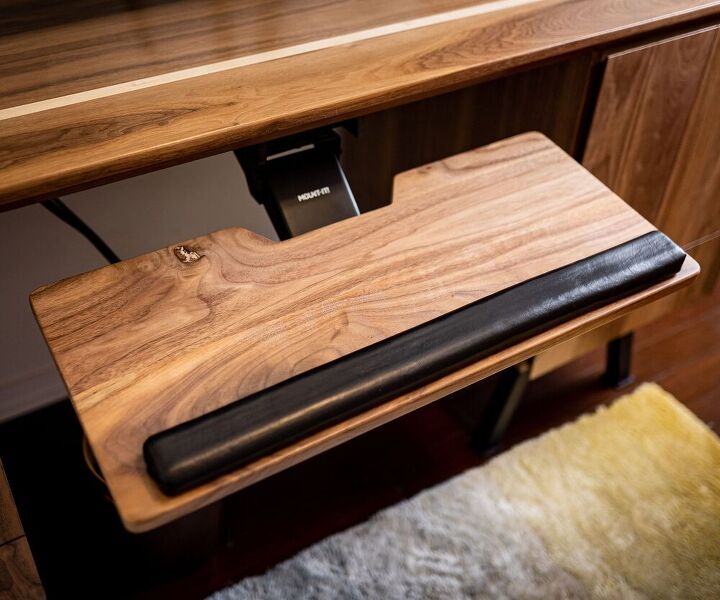
In this project I aim to fix all of those flaws and correct the most glaring blemish, on what is otherwise, my favorite project to date. Join me (and a couple of my friends) as I make a custom walnut keyboard tray with a leather-wrapped silicone wrist rest. A keyboard tray that's much more fitting for the desk it's attached to.
Before we start this project I should let you know that there is a video version of this project available. You can check it out here: https://youtu.be/gUvcllc_wLU
If you're into DIY and woodworking projects my YouTube page has all of my most recent projects and I've got many more in the pipeline!
I honestly think the video is the best way to see how this project is done, but I know some of you prefer to read about your projects. so if that sounds like you, don't worry I've got you covered there too, just keep on scrolling!
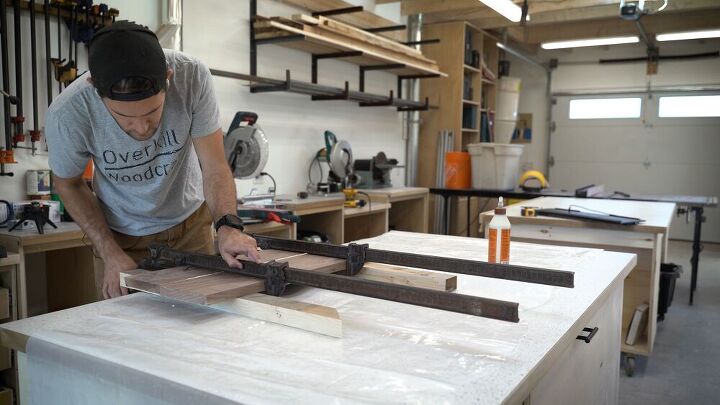
The first step of this project was really quite straight forward. I had 2 small pieces of walnut left over from the desk build. They were both ~6" x 30" and already milled and ready to go. So I grabbed a bottle of my favorite wood glue, applied it to one of the board and then clamped them both together to make a single piece that was ~12" x 30".
30 minutes later after the glue dried I took the clamps off and ran it through my drum sander to remove any excess glue and to smooth out the small, barely perceptible, seem running down the center of the board. It's time like these that I'm so happy I invested in this drum sander. It's not a cheap tool, but it turned a 20-minute sanding job into a 2-minute sanding job.
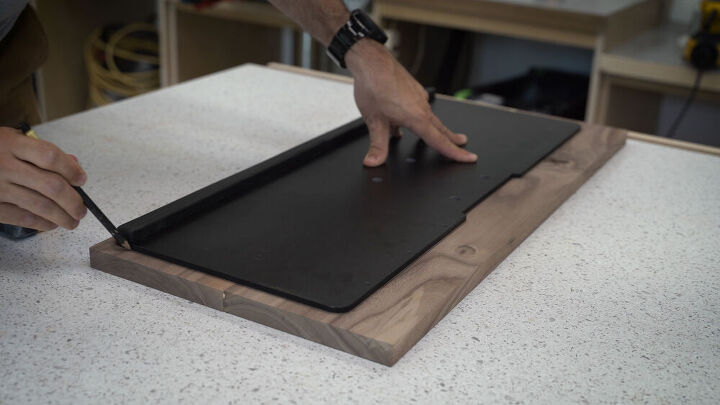
Since I was making what was essentially a drop-in replacement for the old deck I decided to use it as a template for the next deck. If it ain't broke, don't fix it, right? I laid the cheap plastic deck onto my freshly sanded walnut and then traced its outline.
I actually took a small liberty with the design and made it slightly deeper than the original tray, just to get myself a bit more room to move around my mouse.
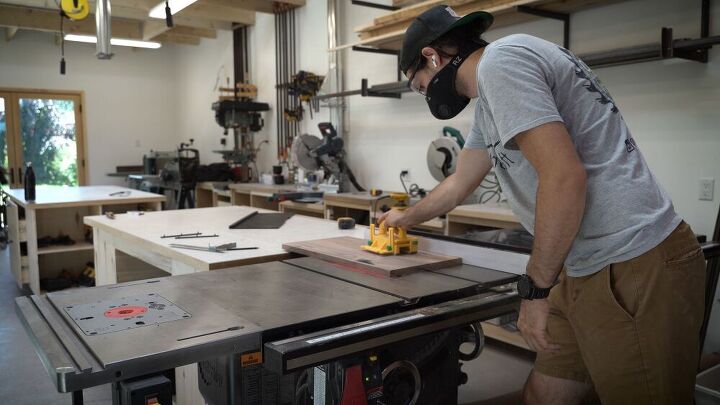
Using my miter saw and table saw I cut along the lines I had just traced. I used the miter saw to do the shorter, cross-grain cuts, and my the table saw to do the long rips along the grain.
The final dimension of the deck once I was done cutting was 12" x 26.5". Again this was the same width as the original deck, but about 2" deeper to give more working room.
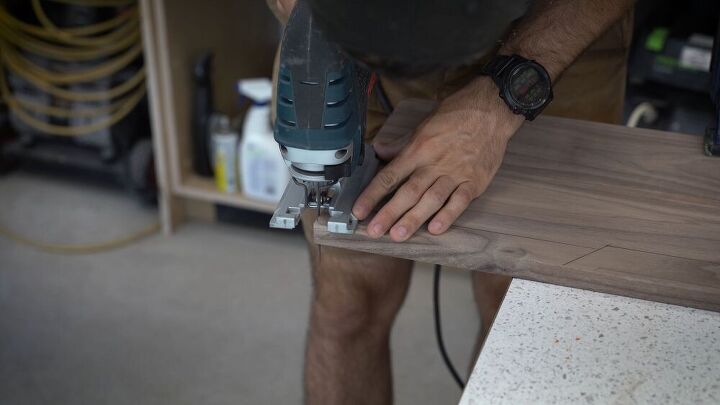
I decided I wanted to keep the rounded corners and indentation along the top from the original deck. I broke out my jigsaw and free-hand cuts along those traced lines. I find when cutting with a jigsaw it really helps to stabilize the front of the saw with your off-hand, even a slight bit of pressure on the base will help it stick to the line you're trying to cut much better. Obviously, exercise extreme caution anytime your hand is near the blade though.
I'm not bad with a jigsaw, years of using one on construction sites has given me a decently steady hand, but I still had to clean up the cuts afterward using a random orbital sander and some 80 grit sanding pads. This gave me a chance to smooth out any small imperfects and slowly carve the corners until they were all uniform.
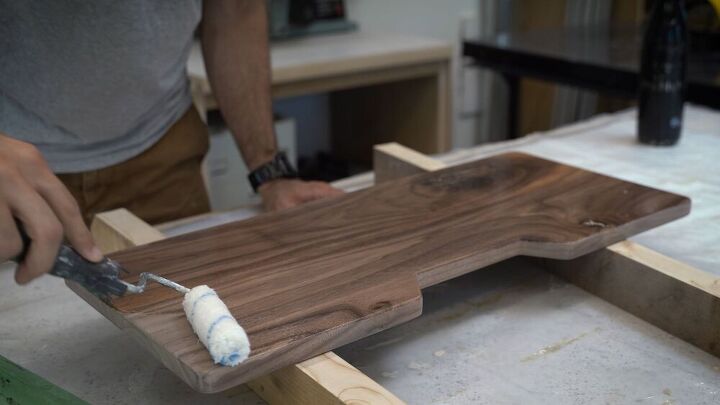
Finally, it was time to finish the deck with several coats of varnish.
I poured out some of my favorite water-based clear-coat into a tray and started rolling. The stuff I use is actually supposed to be a floor varnish, so it's extremely durable. Anyone who's used a mouse directly on their hardwood desk knows that mice have an uncanny ability to eat away at the finish over time. I guess that's why mouse pads are so popular!
I did 4 coats for maximum durability and sanded between each coat with 220 grit sandpaper.
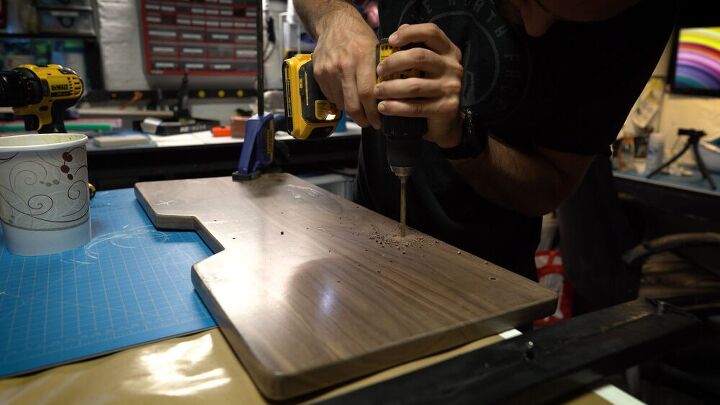
Once the varnish dried I took the deck home and gave it a quick test mounting. I used four 3/4" #8 screws and drilled through the original hardware up into the new deck.
With the deck in place, I checked to make sure the pivoting, height, and angle adjustment all still functioned properly. A few minutes of testing later and I was satisfied I hadn't screwed anything up too badly so I pulled the screws out, removed the deck and hopped back in my truck.
For the second half of this project, I was going to have to call in some reinforcements. I contacted my two friends, Ian and Robin, who run special fx and costuming studio here in Toronto called Builders Anonymous. They helped me build the wrist-rest for this keyboard tray, which believe it or not was the most labor-intensive part of this project.
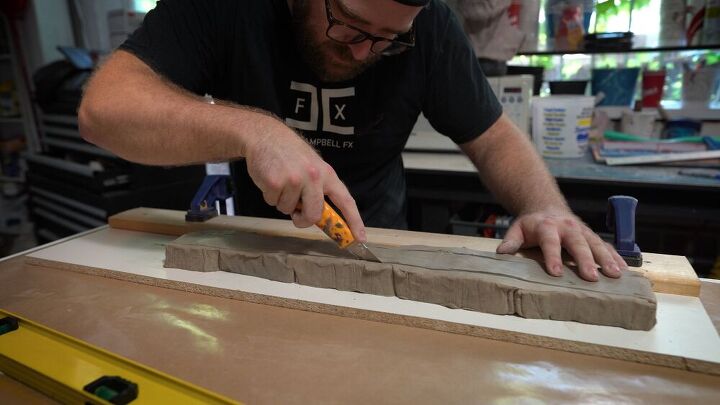
Over at the Builder's Anonymous shop, we wasted no time. The first order of business was sculpting the shape of the wrist rest out of clay. Ian told me an interesting story about the clay we used, it's called WED clay, which stands for Walter E. Disney. Mr. Disney commissioned its invention back in the day because his character sculptors were complaining that the clay they were using would dry out too quickly. WED clay will stay workable at room temperatures all day long, which is great if you need to sculpt something complex.
We laid out a long, thin, line of clay and carved away at using a knife until it was roughly the length, width, and height we wanted the wrist rest to be.
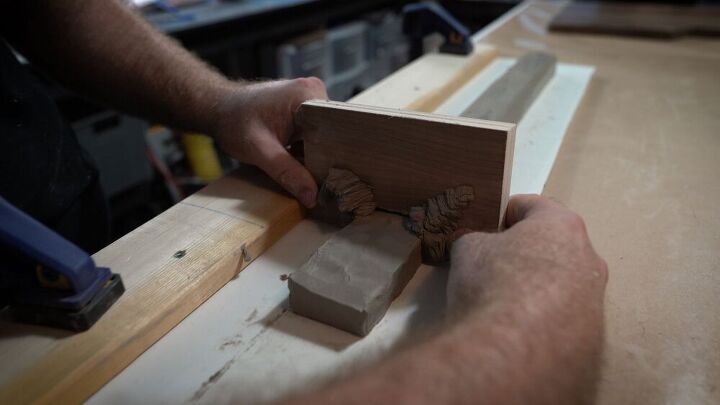
Before leaving my shop, I cut a small piece of plywood. That plywood had the profile that I wanted for the wrist rest cut out of it. We used that piece of plywood as a squeegee to shape the clay. Starting at one end we'd slowly drag it over the length of the clay pressing it into the shape of the cutout. It was kind of like those Play-Doh toys where you push the Play-Doh through a star shape. Except way more mature and adult. We're grown men after all haha. A few passes later and we had the shape we wanted.
A little bit of massaging with a damp sponge helped to smooth out any small lines left over from the shaping process. This left the clay sculpture with a nice smooth finish.
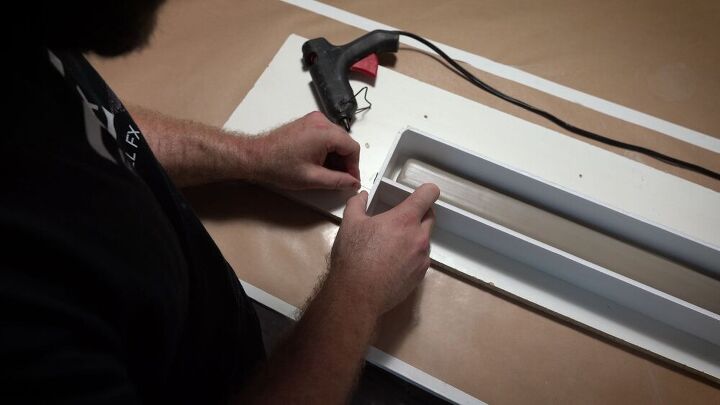
Next Ian set about building a small form around the clay sculpture. He used 1/4" thick foam core poster board and made the walls approximately 2" tall.
To stick all of the walls together and to the work surface, he used hot glue as well as a couple of T-pins. He made sure to properly seal form so that nothing could escape once we started pouring.
You didn't think the wrist rest was going to be made out of clay, did you? No, of course not, that'd be crazy.
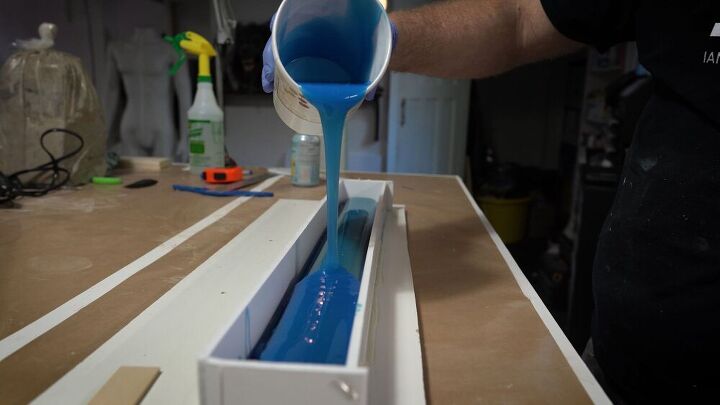
The clay sculpture was our positive, so the next step was to cast a silicone negative from it. Ian mixed up a batch of 4420 platinum silicone (I know next to nothing about silicone but it sounds impressive, right?) and poured it over the clay until it was level with the top of our form.
The 4420 silicone is a two-part mixture, there's an A and B component that you mix together at a 1 to 1 ratio (by weight or volume, which I thought was pretty cool!) and within a few minutes, its solidified into a firm gel. It was a particularly hot day so we had to work quickly. We actually did this casting in a couple of pours to make sure we had enough working time. The first pour just skinned the clay in a thin coat of silicone and then the second and third pours really filled up the form.
Once the silicone kicked and solidified we removed the form, all of the clay, and scrubbed the inside of the silicone mould until it was spotless in preparation for the next step.
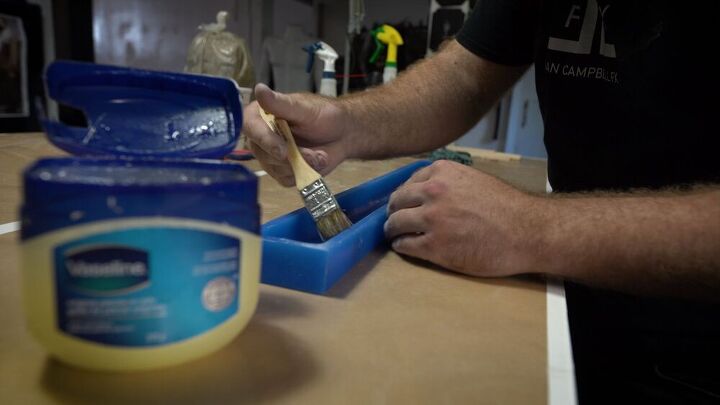
Silicone is a really interesting material. It's heat resistant, flexible, strong, and non-stick. So non-stick in fact, that basically the only thing that will stick to silicone is more silicone. Which is interesting, but also presented a little bit of a problem for us since we were about to use a silicone mould to cast our silicone wrist rest. To keep one from sticking to the other we had to coat the entire inside of the mould with petroleum jelly. The jelly would keep our two silicons from sticking to each other acting as a very thin barrier.
Finally, it was time for the main event: the casting of the wrist rest itself.
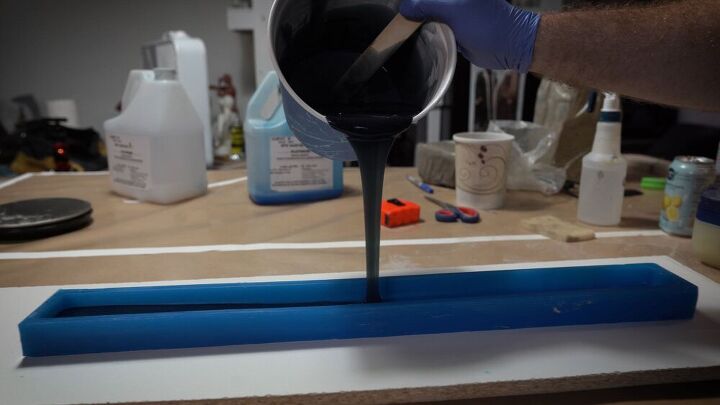
We mixed another large batch of 4420 silicone after doing a quick volume calculation. This time we added a black pigment to the mixture to help differentiate this silicone from the silicone we used in the mould. While not strictly necessary, it definitely looked cool, so I think it was worth it.
We then poured the still liquid silicone into the negative mould and a few minutes later we had the body of the wrist rest.
We were peeling the wrist rest out of the mould just as Robin showed up and started setting up to do the leatherwork. Don't you just love it when the timing works out like that?
Again, silicone doesn't stick to anything except silicone. So attaching the leather to the silicone was going to be a little tricky. Since we couldn't bond the leather directly to the silicone Robin set out to make a thin base that we could position under the wrist rest where we could positively adhere leather. The base would also give us somewhere to mount the hardware necessary to secure the wrist rest to the deck.
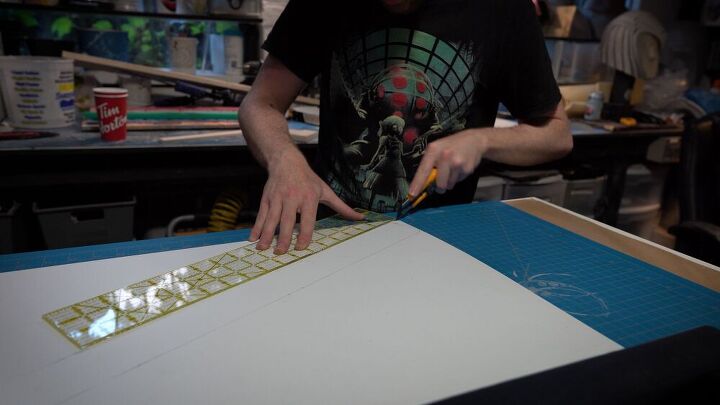
Robin started by tracing out the shape of the wrist rest onto a sheet of plastic styrene and then cutting that out by scoring it and snapping it.
Next, he did the same thing with a piece of vegetan leather. Styrene itself is quite weak and prone to snapping, so the idea here was to laminate the vegatan ontop of the styrene to reinforce it.
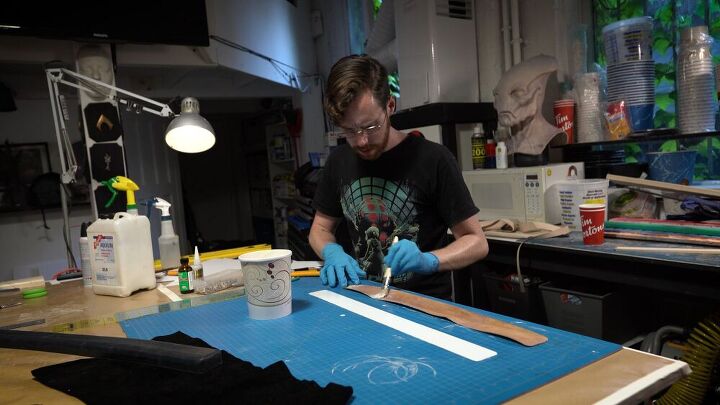
To laminate the vegetan leather to the styrene Robin used an adhesive called Aqualim 315, which looked and smelled remarkably close to wood glue I often use. I wonder if it's a not so distant relative. He brushed the Aqualim onto both surfaces and waited a few minutes for it to become tacky to the touch. At that point he began carefully bonding the two materials together by pressing both of their glue covered surfaces together.
He also used a hole punch to punch four equally spaced holes into the bottom of the base. These holes are where we would soon attach our mounting hardware, four 2 piece Chicago Screws.
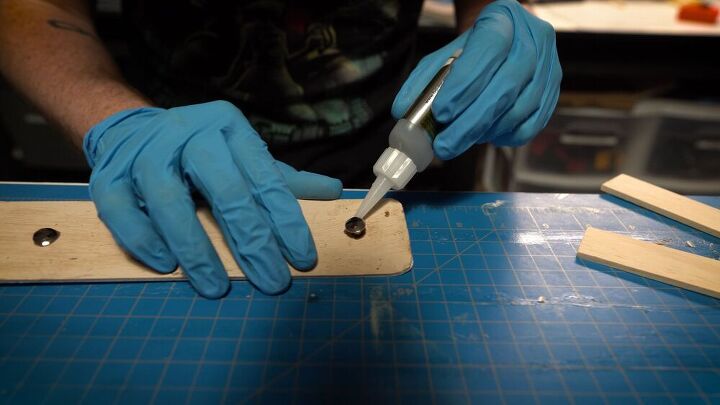
To secure the Chicago screws to the base Robin used some super glue along with a super glue primer. He painted a ring of super glue primer on the vegetan around the mounting holes, allowed it to dry, and then added a few drops super glue to secure the female side of the Chicago screws in position.
There's a saying in leatherworking (which I learned from Robin) "If it sticks to you, it'll stick to leather". Have you ever super glued your fingers together? Well, then you have some idea of how well these screws were locked in there. Since vegetan leather is basically just skin (cow skin) the super glue provided that level of adhesion for the mounting hardware.
Now came the fun part, wrapping the wrist rest in leather!
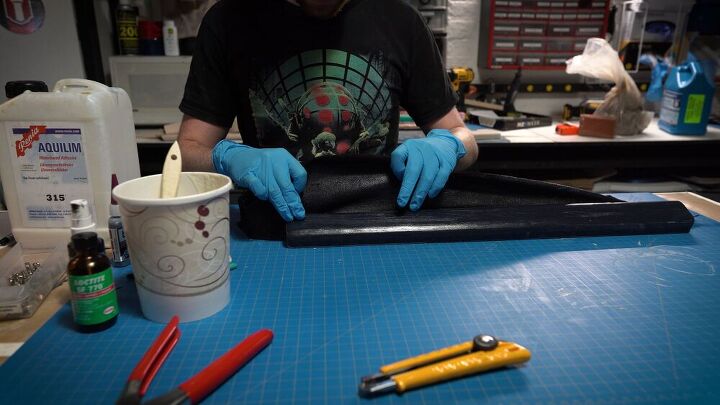
Robin painted on a generous application of Aqualim 315 to both the backside of the leather and the styrene base. He also painted the silicone in Aqualim while he was at it. Again, it wasn't so much about bonding the leather to the silicon permanently, it was more about getting a tacky surface temporarily to help him stretch the leather around the silicone.
Once the glue was ready Robin bonded one side of the leather along an imaginary equator line on the base. He firmly pressed the two together and seconds later we had a nice secure bond.
He then stretched the leather around the silicone and back to the other side of the base. This sounds a lot easier than it was. Robin had to work carefully and meticulously in order to avoid accidentally sticking the leather to itself.
Time for me to do a little bit of work instead of just holding the camera.
I had to modify the deck slightly to accommodate our mounting hardware. First, I drilled four 3/16" holes that corresponded with the Chicago Screws on the bottom wrist rest. Then I counter sunk each screw hole so that the screw heads would be below the surface of the wood.
Here we go, the home stretch!
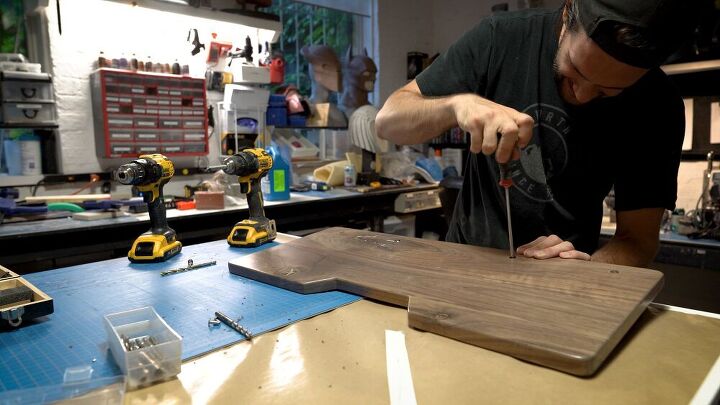
I lined up the mounting hardware on the wrist rest with my freshly drilled holes and screwed the two together using the male side of the Chicago screws.
And just like that, we were done at Builders Anonymous. I thanked Robin and Ian for opening their doors to me and assisting me in this crazy project and then headed back home to mount the tray!
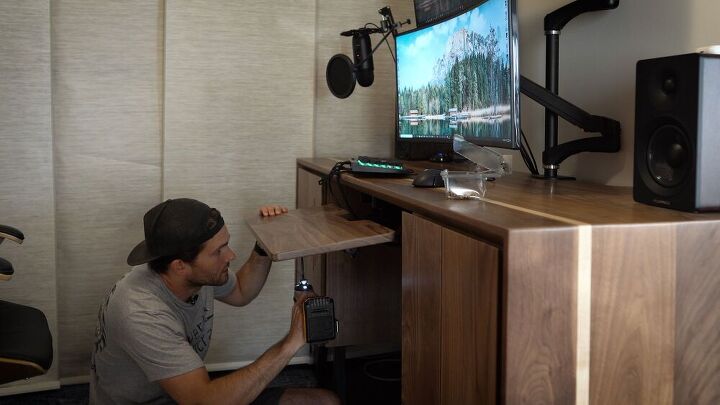
Back at home I re-mounted the deck to the hardware and got ready to install a couple of accessories.
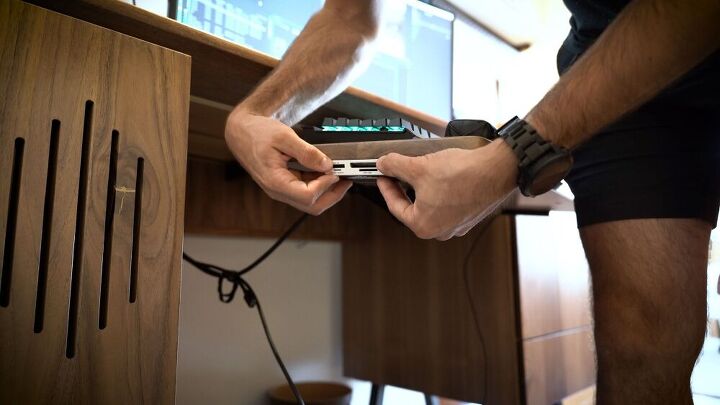
On my original desk build, I had two input hubs mounted to the underside of the old keyboard tray. That was a really handy feature and something I definitely wanted to do on this tray as well. So I grabbed the hubs off of the old deck along with some double-sided tape and put them on the new tray.
On the right side, I had a USB 3.0 hub with 4 ports. This gives me a quick and easy place to plug in flash drives, external hard drives, my phone, and etc. On the left, I have an SD card reader that I use for ingesting all of the footage I make when I do these posts and videos. Which is handy because that's something I do a lot of.
I really can't recommend this setup enough, they're almost completely out of sight, but easily accessible at all times.
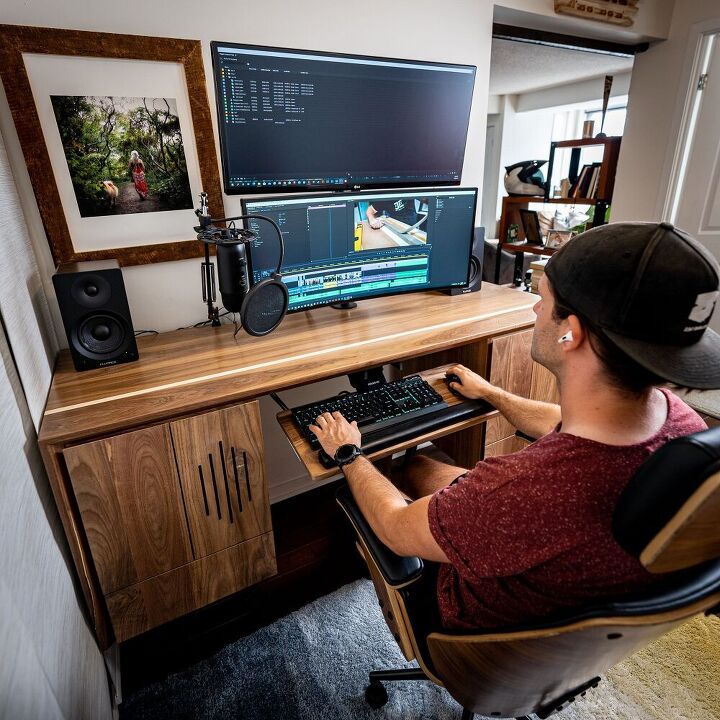
With everything finally set up all I had left to do was sit down and put it to use!
I popped the SD card out of my camera, plugged it into the reader, and started editing the YouTube video and writing this post!
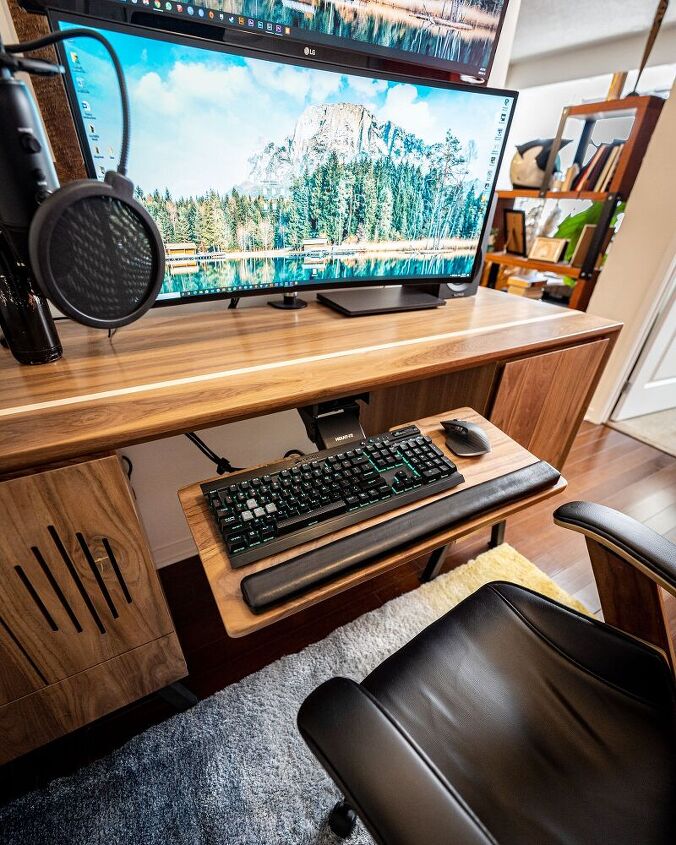
I'm happy to report that so far I'm very happy with this tray. Not only does it look much better than the old one it's also more functional. The increased rigidity of walnut means the deck doesn't flex anymore, and the whole tray is a lot more stable. The extra room is much appreciated on the mouse side. It's only a couple of inches bigger, but it makes a big difference. The new wrist rest is also a lot more comfortable than the old one, it's softer and with a nicer feel to it thanks to the leather. Overall I'm really happy with how this project turned out.
I hope you enjoyed this build! If you did check out my YouTube ( Youtube.com/Zacbuilds) and Instagram (@zacbuilds) to see the rest of my builds! I've got a ton of past projects and a bunch more in the queue for the future.
Also, if you'd like to find out more about making silicone moulds, sculpting, and leather working make sure you check out both Robin (@Robincareless) and Ian (@IanCampbellFX) on Instagram as well! Tell them I sent you.
Alright everyone, see you in the next build!
Resources for this project:
See all materials


Comments
Join the conversation
-
That's the dopest setup on the planet! I have an old iMac sitting on a 100 year old mochi box.
-
Impressive as ever on all your projects to your neat workspace. I wouldn’t want you to see mind😆.


Frequently asked questions
Have a question about this project?
What clear sealer did you use? I don’t see it but you did say it’s your favorite!