


How I Faux Stained Our Deck

We moved into our house in the summer of 2001 and I didn't do anything with the deck for the first 5 years. Since 2006, I have refinished our deck 9 times!
Since last year, I just added a clear coat on the deck floor & a little touch up paint on the railing, this year I knew it would need a good sanding and staining.
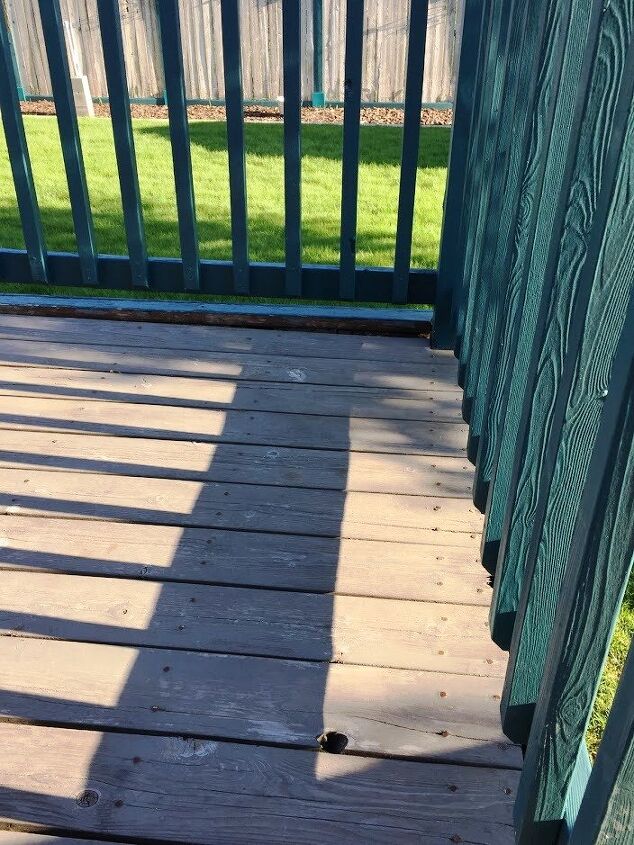
Last year, I noticed that the right corner of the lower deck was sinking. The deck floor in that area was easily an inch lower than the front beam that it was attached to. When I looked under the deck, I could see that the cross beam support was slipping down as the beam was rotted.
By the time I called our Contractor, James, this Spring it was almost 2" below the deck floor! He put us on his schedule for 'as soon as the weather cooperates'.
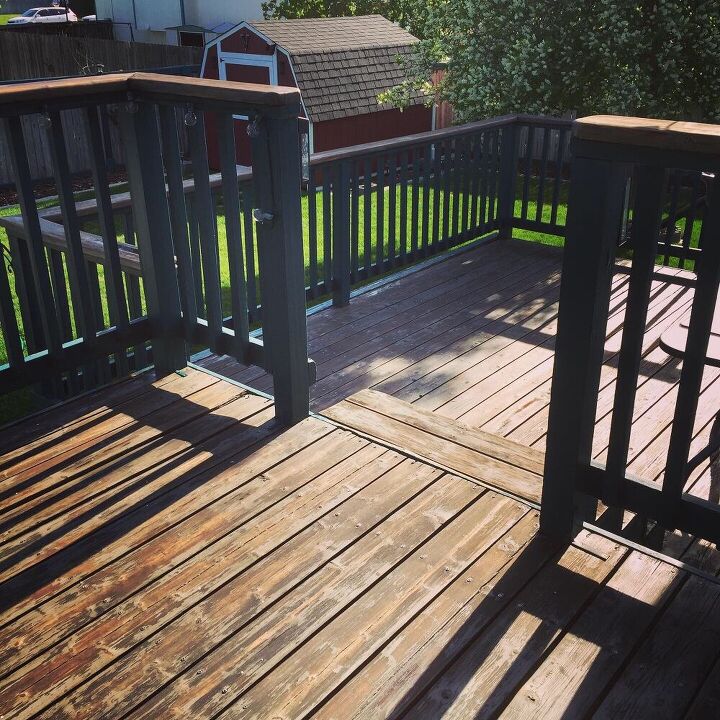
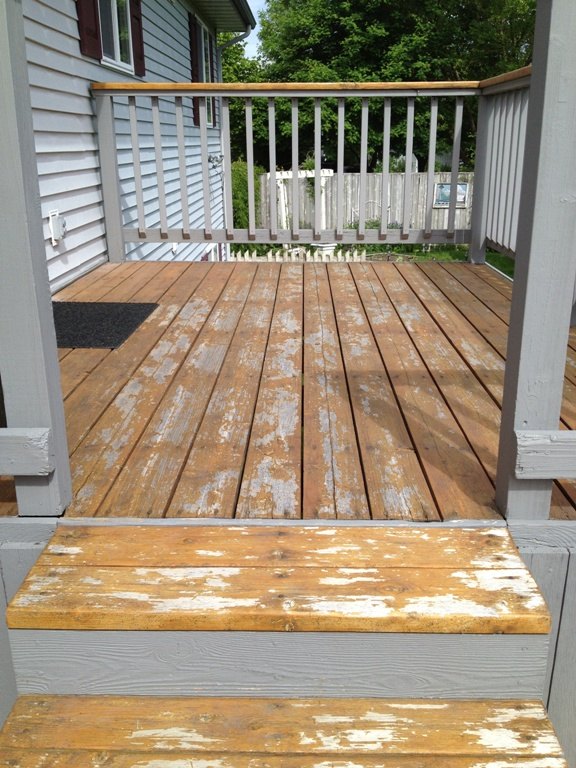
Since our summer season is short here, I decided to sand and stain everything but the lower deck: the upper deck, both sets of stairs, the landing above the lower set of stairs, and the top railing. As I was sanding, I liked that look that was forming - some bare wood and some areas where the old stain stayed in the grooves. I thought it would be cool to enhance the look by adding a clear coat so I bought a water-based product, Behr's Wood Treatment in Clear. When I finished sanding & had vacuumed the wood then wiped it with a lightly wet cloth, it was time to stain.
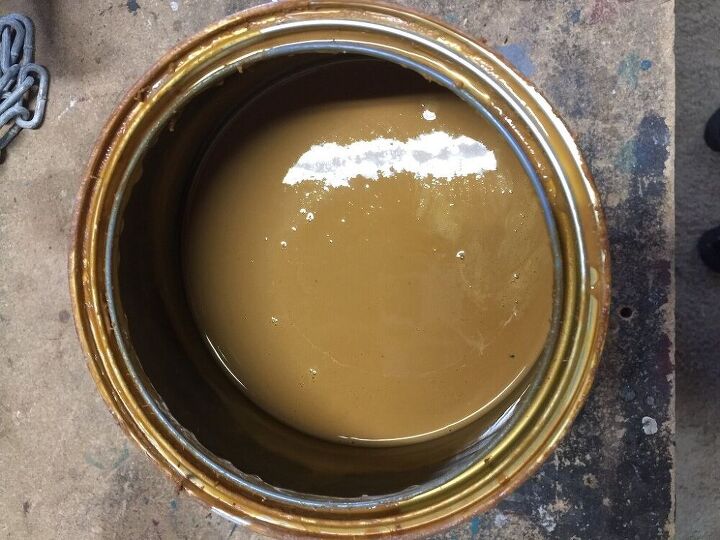
When opened the new can of stain, it clearly wasn't clear! What the??! Well, I thought, maybe it would go on clear (crazy, I know) so I proceeded to apply the new stain. Here is the can after I'd applied it to the top deck.
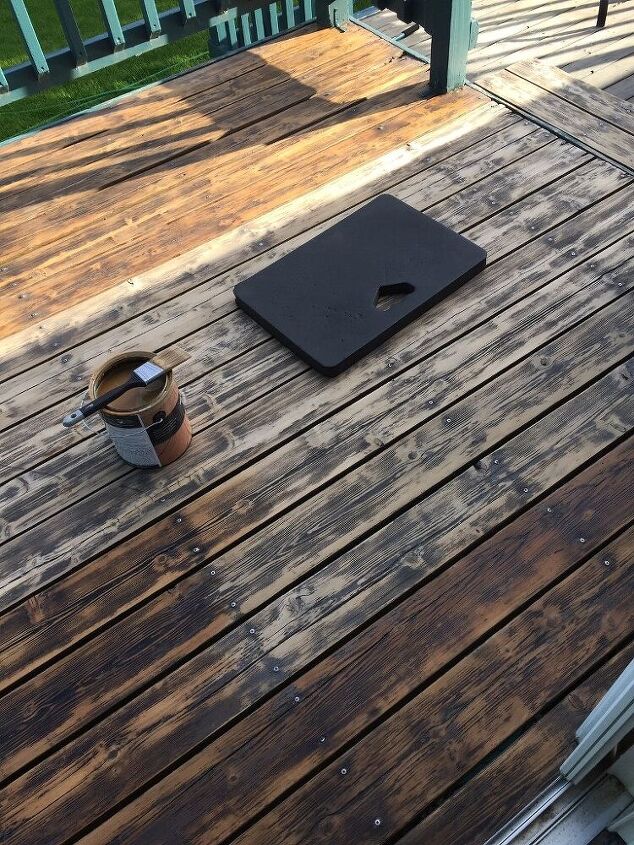
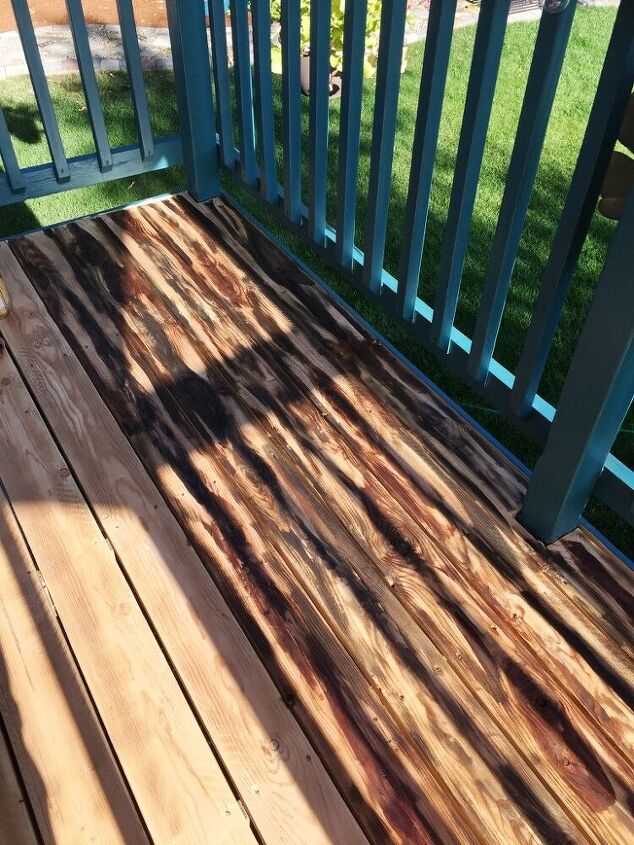
As you can see in the first pic below, as soon as I started applying the stain, it was obvious that the stain was, in fact, NOT clear. But, I was liking the look so I decided to continue using it.
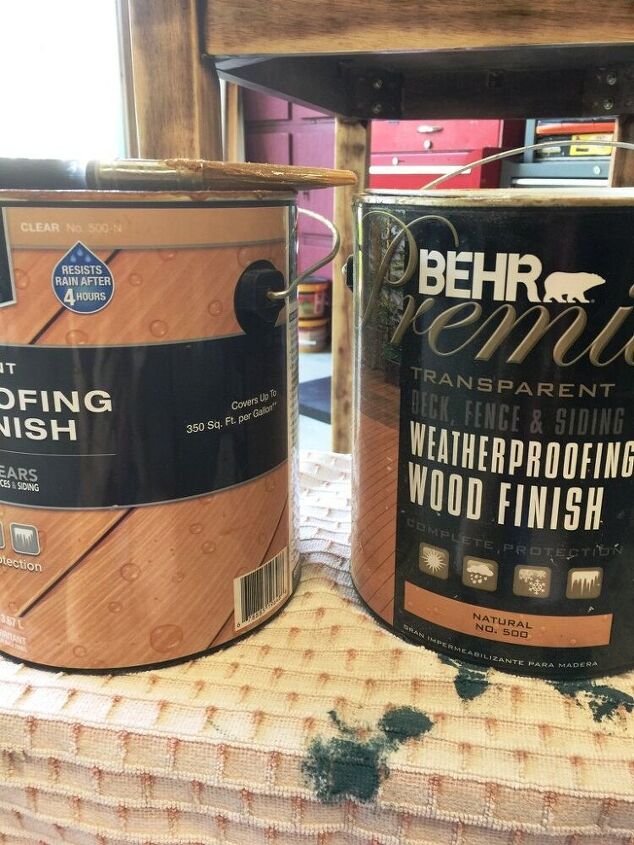
After I finished staining, I found the can of the stain under the workbench I had used in 2009. I was surprised that it was the same stain! The one I had on hand was called Natural and I had chosen it that year to make the deck wood a nice, warm brown. Here are the two cans....see how the new one (on the left) is labeled as 'Clear' and the one on the right is labeled 'Natural'? Then I noticed that Natural is No. 500 and Clear is No. 500-N. I am guessing that the N stands for Natural. Weird!
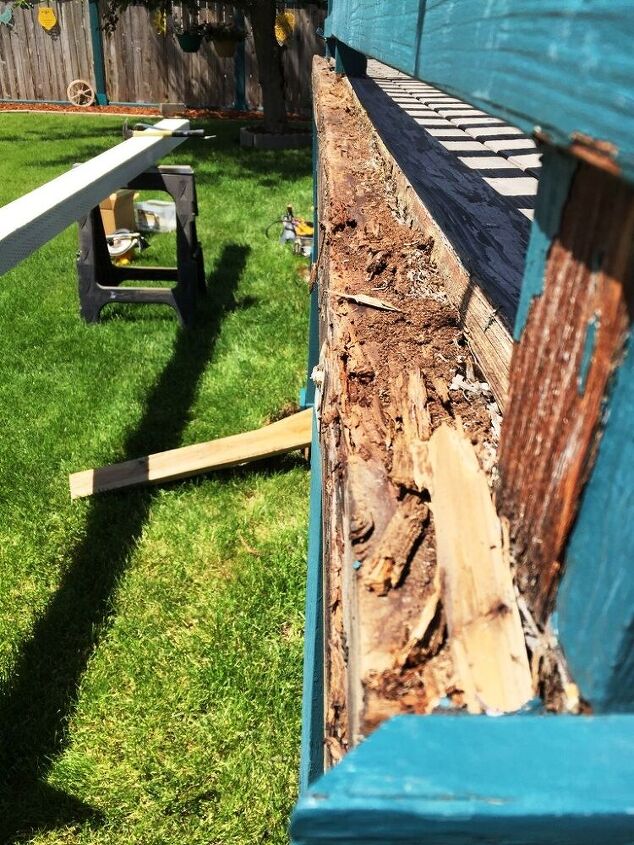
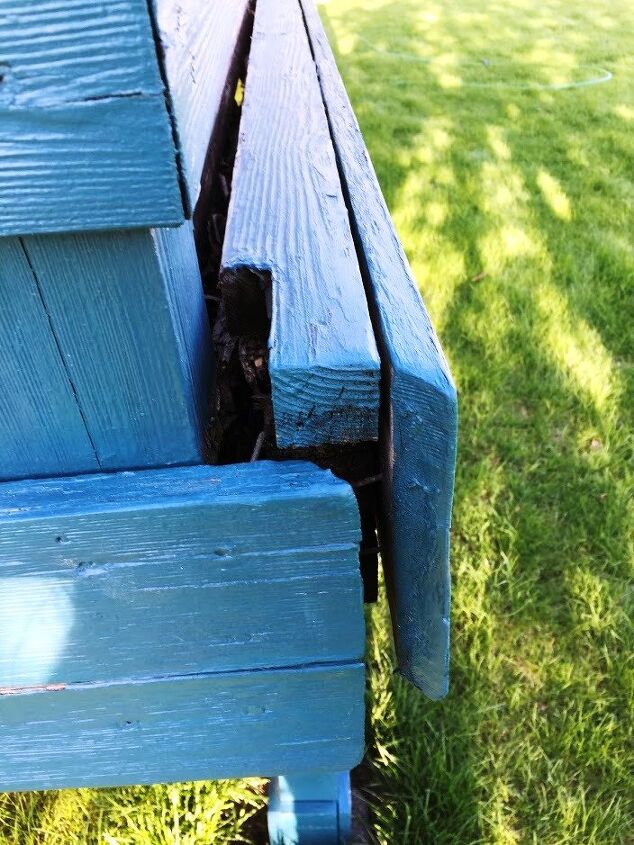
Not too long after I finished staining the parts of the deck that were not needing repair, James came over to replace the main beam on the lower deck. When he removed the facia board, we were both stunned at the damage that had been done to the beam. It wasn't rotted, it had been eaten away by the carpenter ants we have around here! The damage was shocking!

When the beam was removed, James was able to get an even better view of the cross supports under the deck. There was ant damage on several of those also so we made the decision to fix that issue. Instead of removing the cross supports, James 'sistered' in additional supports. So now, instead of one support every foot or so, we have two. When he inspected the underside of both decks, there were several boards that needed replaced as well as all the treads on the lower set of the stairs. Hubby and I decided to have all new wood put in on both decks.

We also had all the facia boards replaced. The supports, railing, for the most part, top rail, the landing above the lower stairs & the upper stairs are original.
I had been really pleased with how the top deck, stairs & top rail looked after I sanded and stained this year. I was sad to have to replace the boards on the top deck. I did use some of them to rebuild my potting bench ( https://www.myperpetualproject.com/lets-rebuild-the-potting-bench/) and have several boards left for another project.
After I discovered that the Behr product I bought this year was the same one I had used in 2009, I remembered that after the 2nd year, it peeled off the wood. Since the deck now had new wood, I wanted to make sure I sealed it with the best product I could.
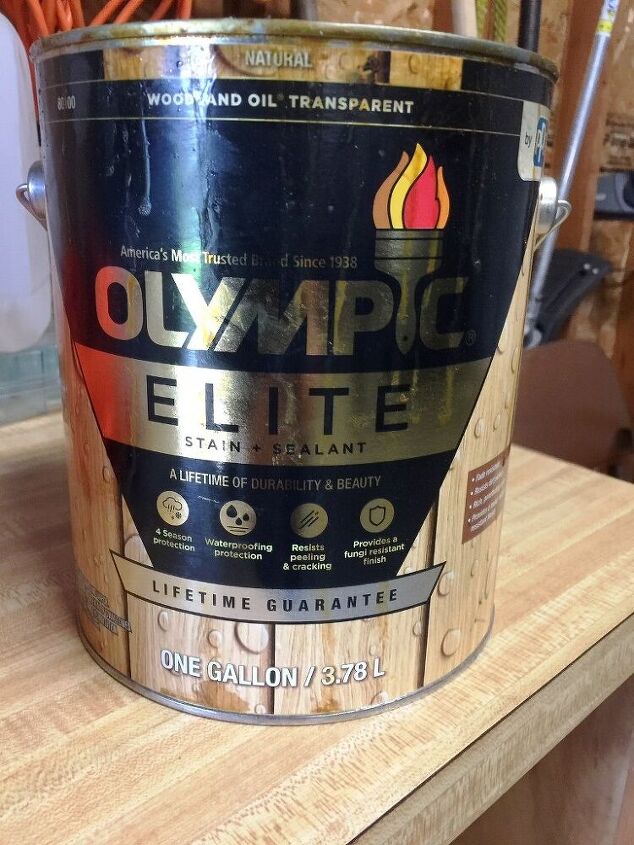
I did some research and decided to buy an oil based stain. I bought Olympic's Elite stain & sealer in a Natural color to mimic the Behr product I had used on the top rail and upper set of stairs. Since those and the landing were in good shape, I didn't want to resand and stain them. Besides, I loved the look!
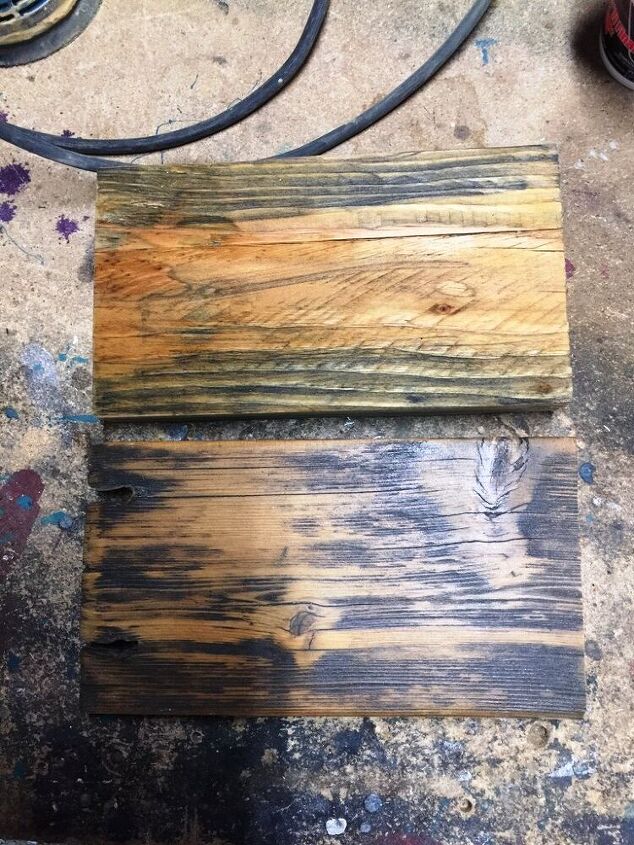
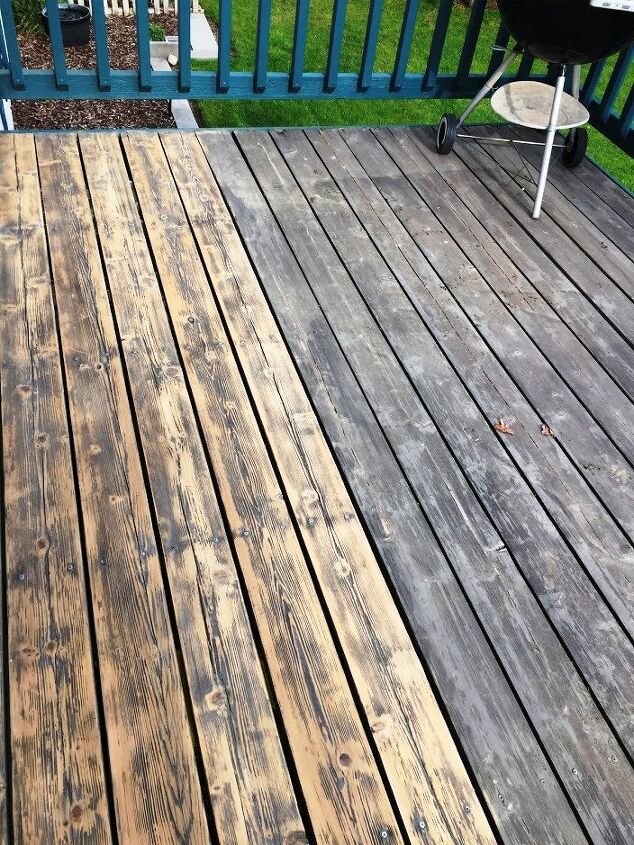
I wanted to try to match or at least coordinate with the stain I did before we had any repairs done on the deck. I bought an oil based stain in Ebony and used it, along with Provincial, a dark brown stain that I had on hand to recreate the weathered, worn in look. To see if that was even possible, I did a test on a couple of pieces of the new wood. The lower piece of wood in the picture is from the upper deck with the original stain, the upper piece is new wood that I faux stained. It looked pretty good so I thought I'll proceed with the deck!
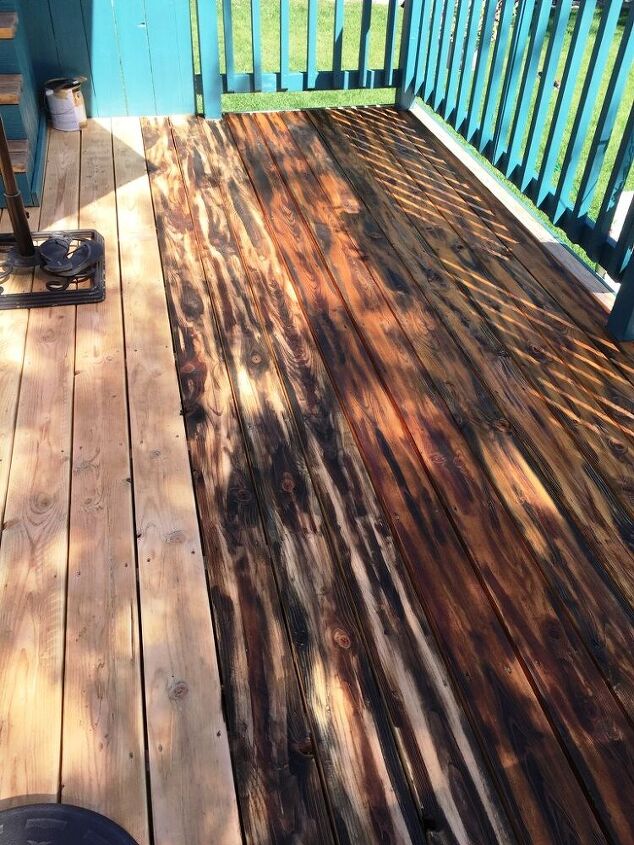
To apply the stain, I used a small artist brush, dipped it in the Ebony and streaked it on the wood. I then dipped the brush in thinner and did the same application with the Provincial stain.
When I finished a section of about 3 feet, and before either had a chance to dry, using a 2" brush, I applied the Olympic Natural stain on top. I did this technique on both sides of the stairs on the upper and lower decks.
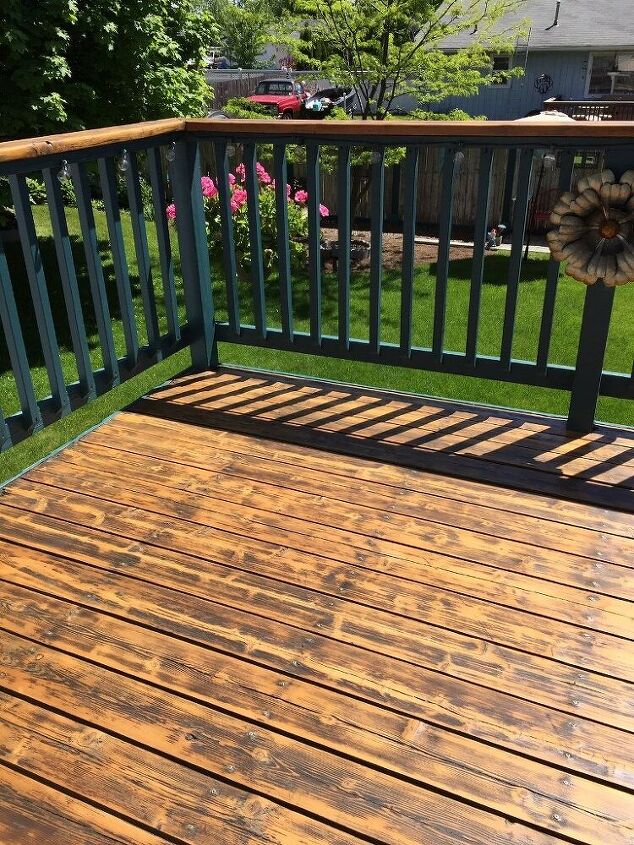
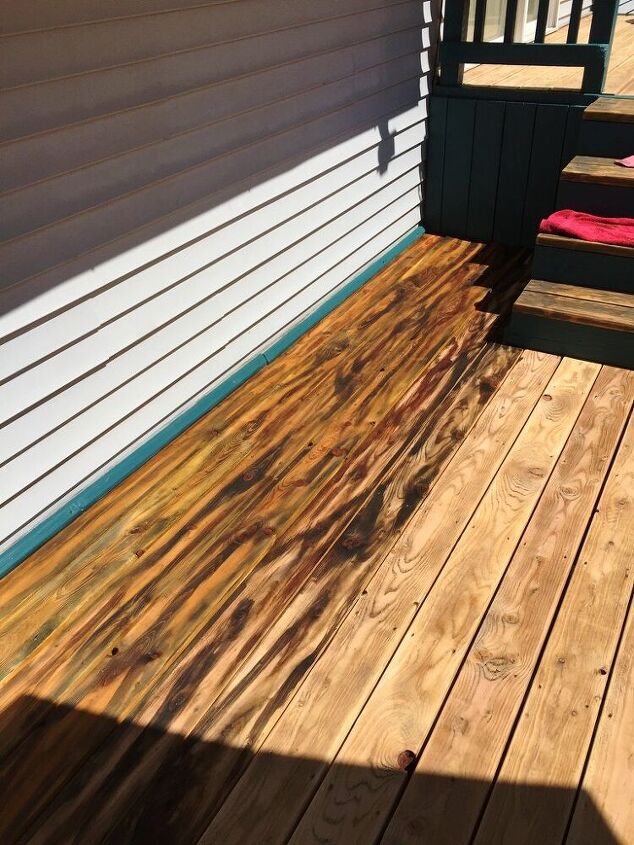
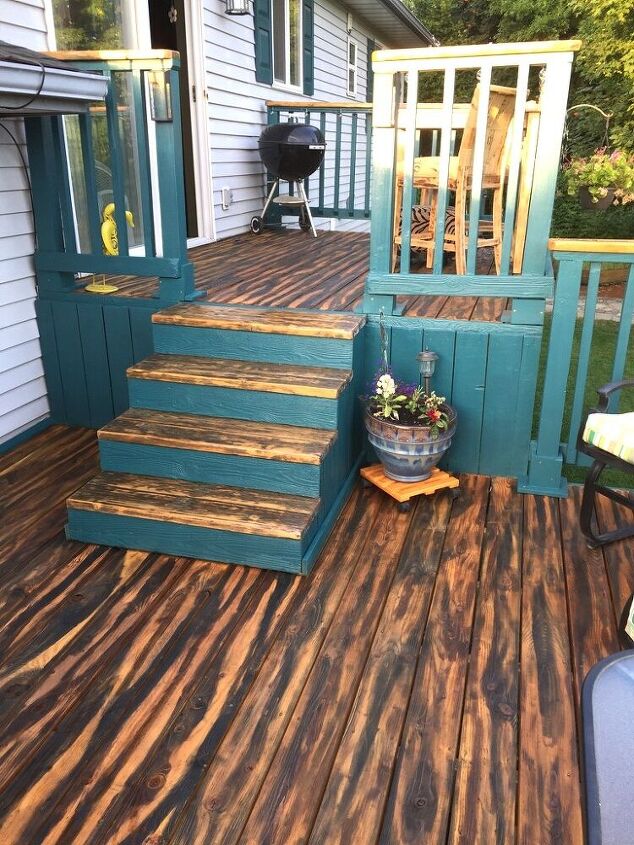
Here is where I was working right to left. Some of the boards took on a golden look where others looked more orangy/red.
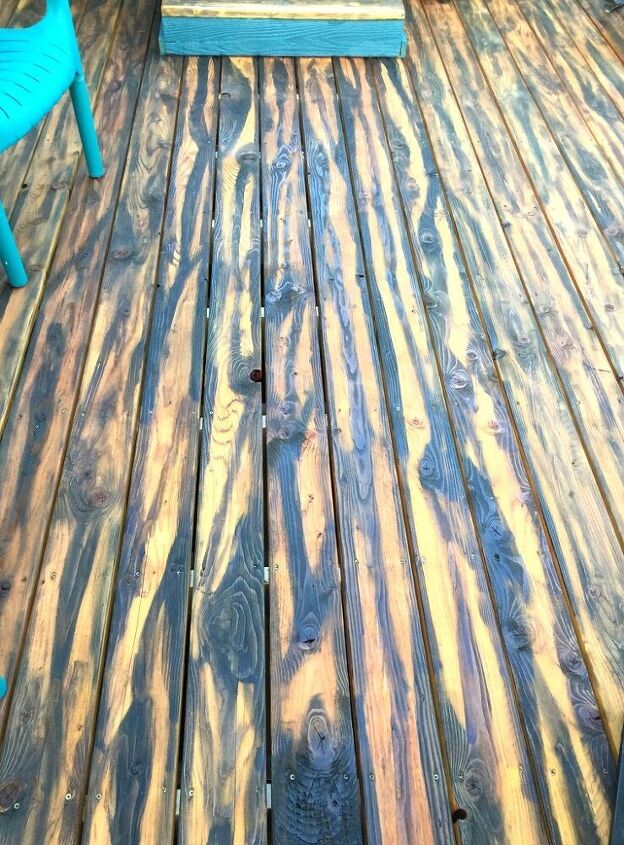
The last section I stained was the center 6 boards on both decks. The weather was hotter at that time and even though I used the deck umbrella for shade, the Ebony really sunk in before I could get the Olympic on it. Hubby loves it this way and I'm sure it'll fade but I feel it's a bit dark.
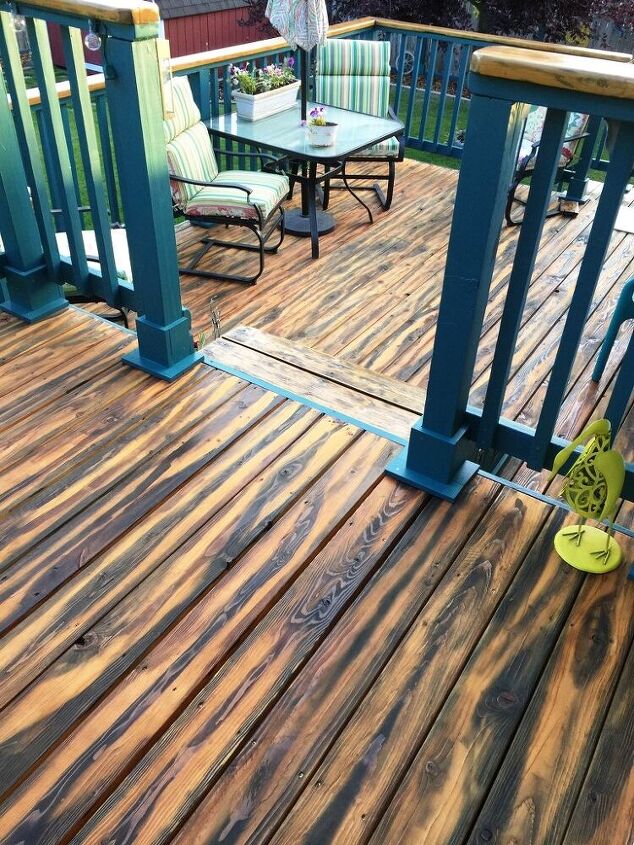
Once I finished with the faux stain, the original stained boards looked a bit dull so I applied 3 coats of Minwax Spar Urethane in satin (it does have a bit of sheen to it). It isn't made for flooring (they do have one that is though) but it's made for outdoor use and I had it on hand so I used it. Wow! Did it make a difference! I'm super happy with how the faux stain looks with the stairs & top rail.
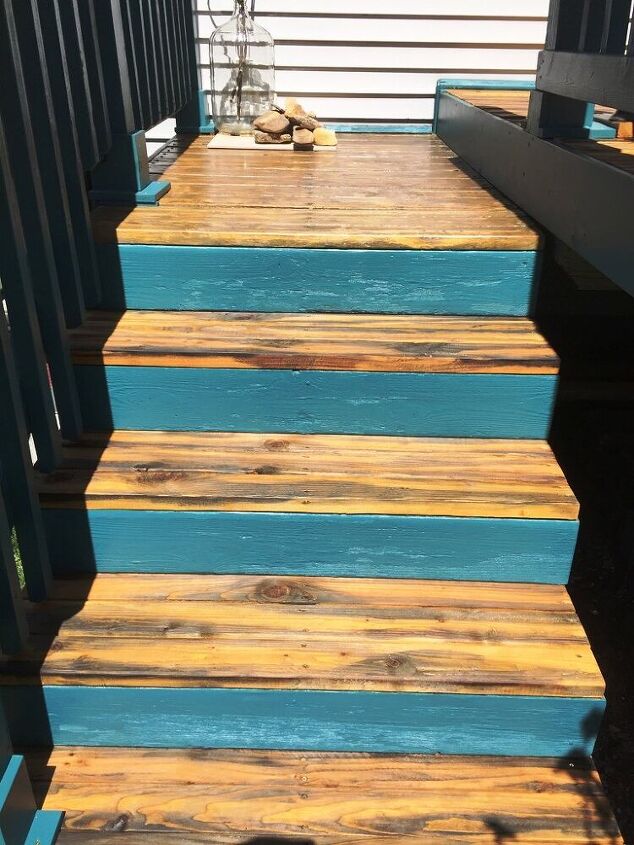
These are the faux stained lower stairs. The landing is the original stain. The Olympic stain was $45/gallon but it only took 2/3 of a gallon for both decks! Tremendous value!
*5" orbital sander
*Sandpaper discs
*Kneeling pad
*Shop vacuum
*Umbrella
*Olympic Elite oil-based stain in Natural
*Minwax Spar Urethane in satin
*Ebony oil-based stain
*Provincial oil-based stain
*Paintbrushes
*Paint thinner
Resources for this project:
See all materials


Comments
Join the conversation
-
Fantastic...i would love to do this...first i need to remove the blue outdoor carpet tiles the previous owner covered deck with after they enclosed :(


Frequently asked questions
Have a question about this project?