


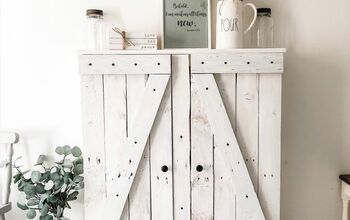
How to Build Storage Boxes Cabinet From Pallets.

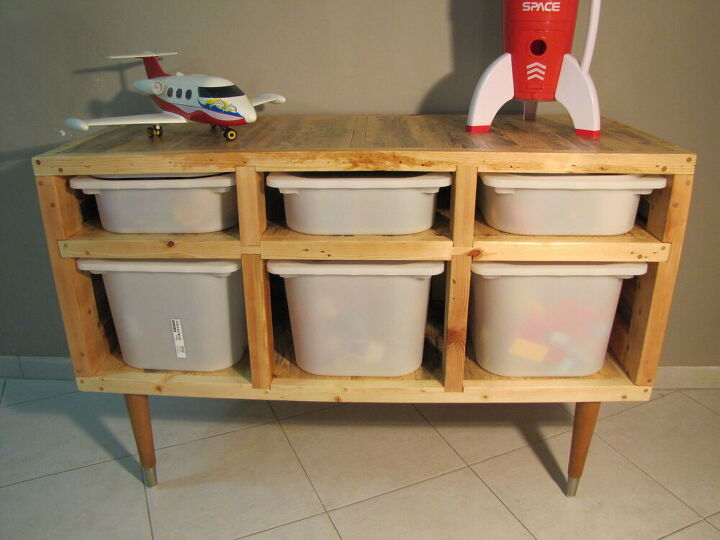
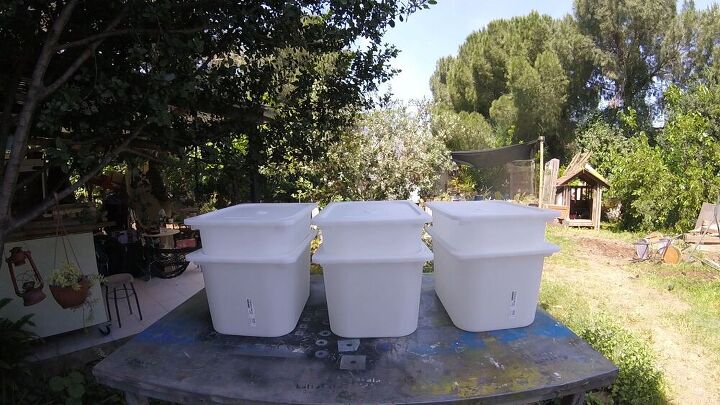
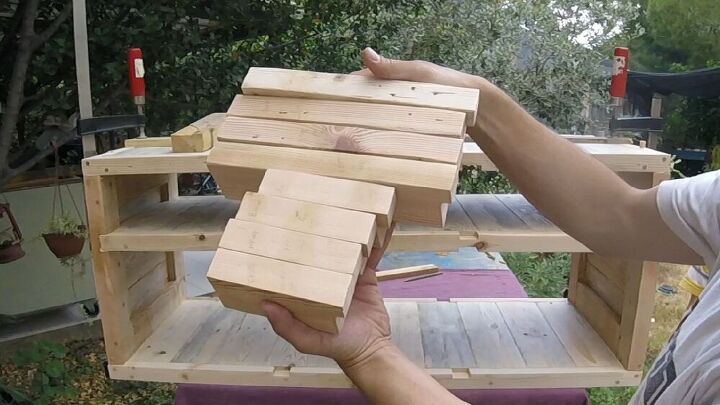
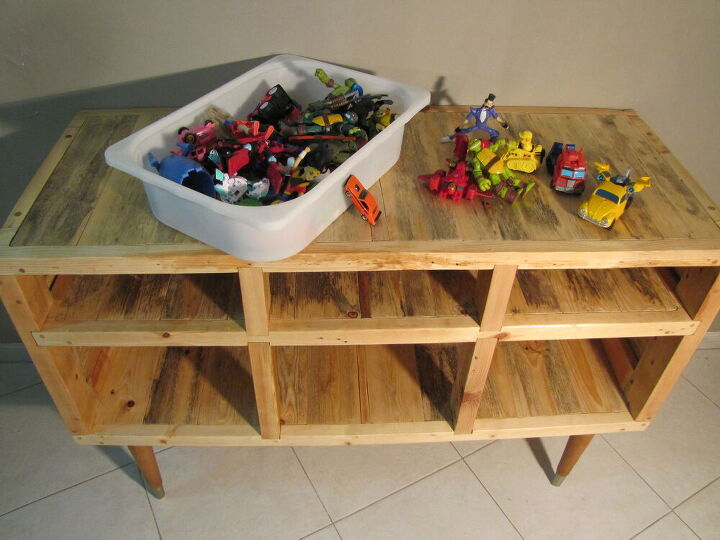
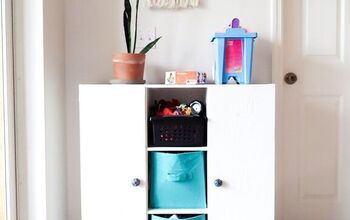
We bought from IKEA six plastic boxes to organize our son Playroom.
Three large boxes and three small.
I decided to build a nice and special piece of furniture that would contain all the boxes.
In this project I decided to challenge myself and build wood furniture without screws!
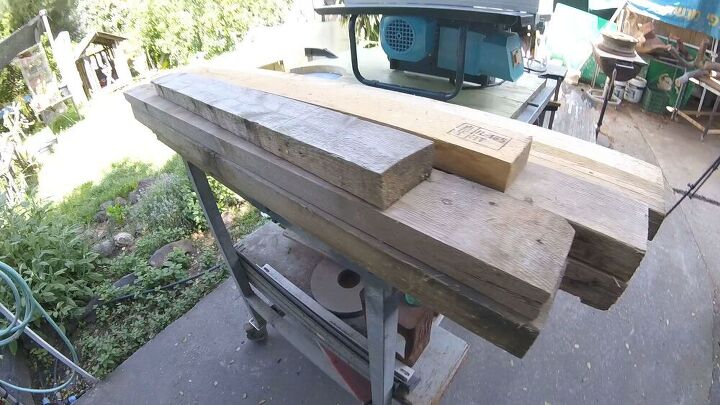
Most of the material I used is from old pallets, the frame is built from the thick wood that is in the middle of the pallets and for the covering I used the thin planks.
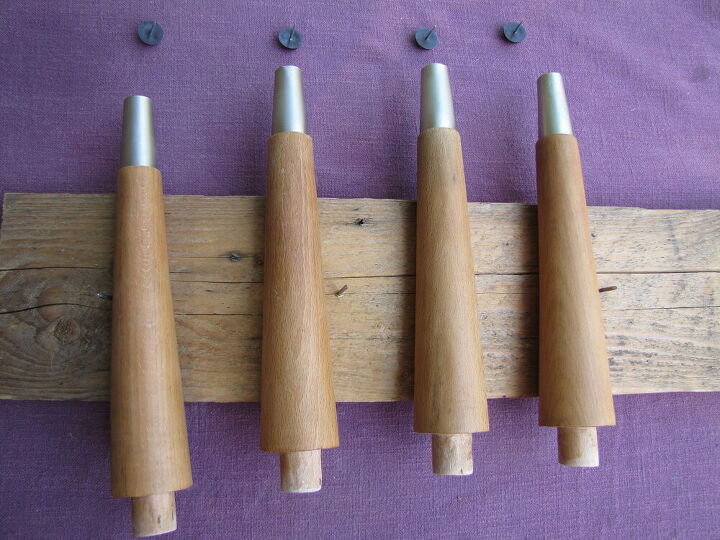
The legs I used for the cabinet are old wooden legs I found lying in a dumpster,
and I made a special brass cones for them.
You're invited to subscribe to my YouTube channel and follow all of my projects:
https://www.youtube.com/channel/UCkNrUodcQbCM8FDGpFouOrw?sub_confirmation=1
Facebook:
https://www.facebook.com/kultakaladesign/
Your support is much appreciated! 
New projects coming soon! 
My plan for the build was to use old Pallets.
the "skeleton" will be built from the thick planks of the pallets and The cladding will be from the top or bottom planks of the pallets that are thinner.
All the design is done in 3D software so that I have precise measurements for the execution phase.
I've collected a lot of pallets, I haven't counted, but I estimate there were six or seven pallets I used, plus a little bit of the Extras old beams I had.
I dismantled the pallets with a pallet baster (see video below), made sure to pull out all the nails so there would be no problems cutting !!!
With a table saw, I cut the thick boards to the extent that I had planned.
With Rotter, I created a grooves in the boards, with thickness of the cladding boards.
In some cases, I created the grooves with a round saw.
In this video, I show how I dismantle a pallet.
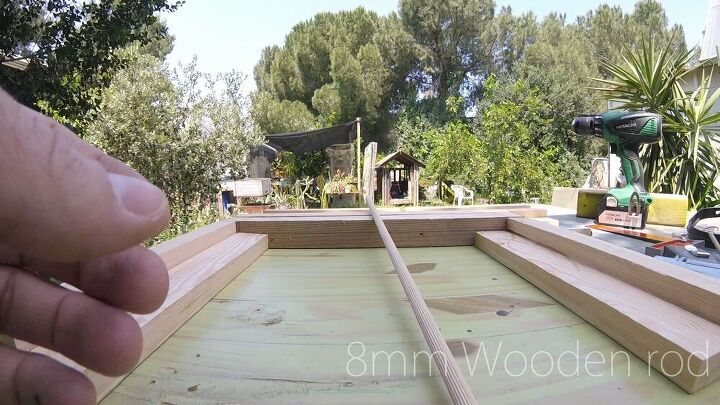
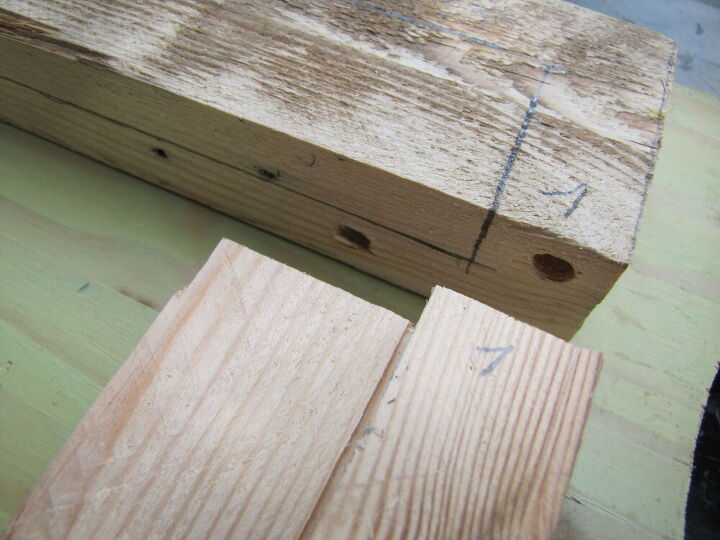
I connected the frames with 8mm-thick wooden rods, each corner 2 rods about 10 cm long.
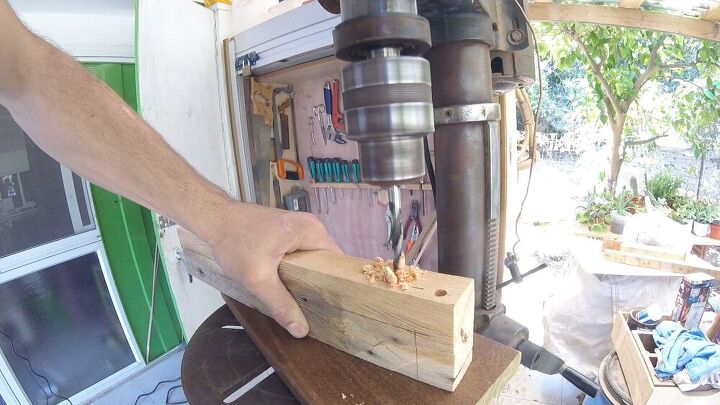
I drilled the holes (with an 8.5mm drill) at first using a drill press to make it as straight as possible.
then proceeded with a manual drill.
I applied glue in the connection areas, inside the holes and on the rods, and put it all together.
I checked that the frame was equal in diagonal sizes and clamped it all with 4 clamps.
After drying, I completed the grooves that would contain the cover boards.
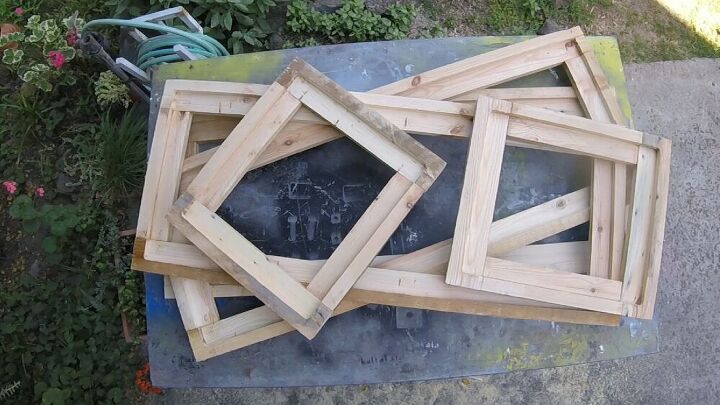
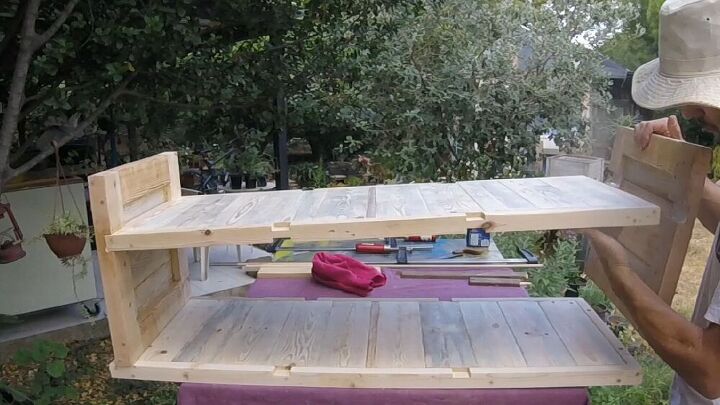
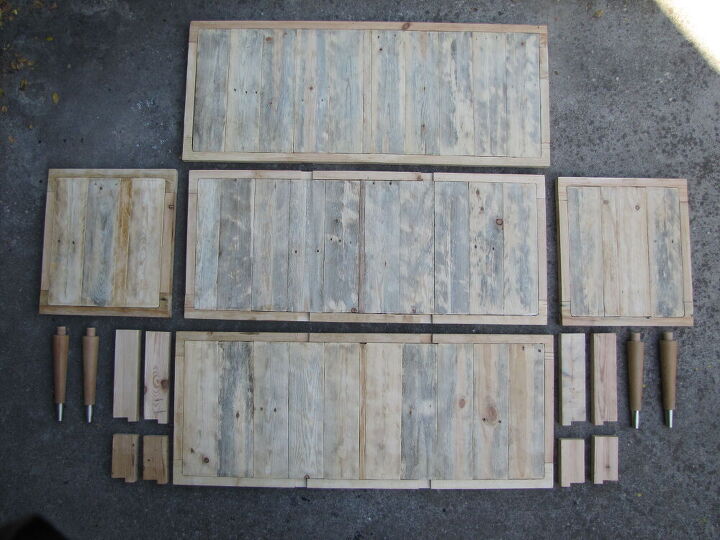
All frames are ready
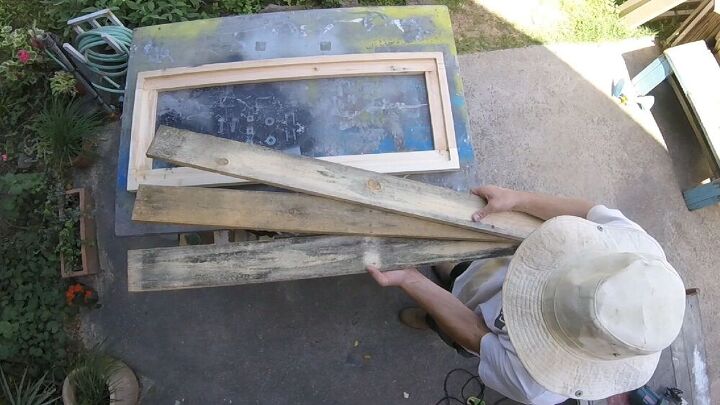
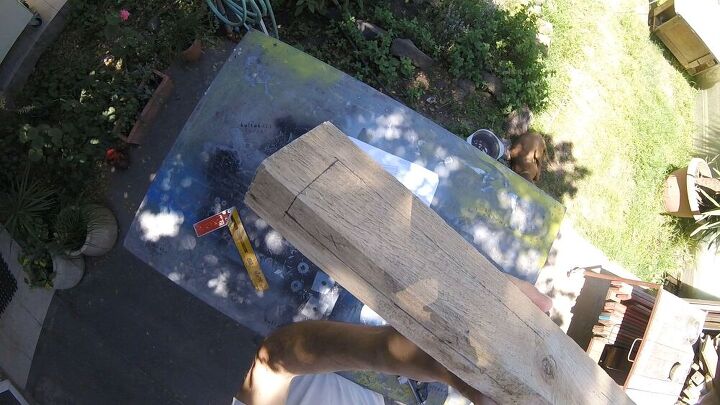
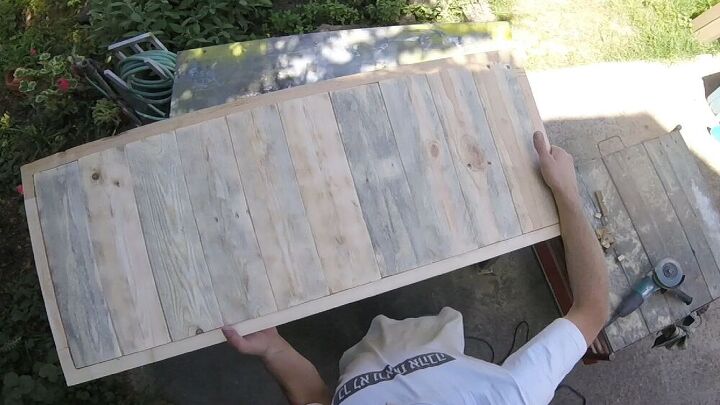
After I finished the frames, I started filling them with the upper boards of the pallets, cutting them one by one to make it good fit, after each cut I measured the size of the next board.
After all the boards was in place, I took an angle grinder with a flap disc and gently remove the top layer of the wood.
That's how the beauty of the wood was exposed.
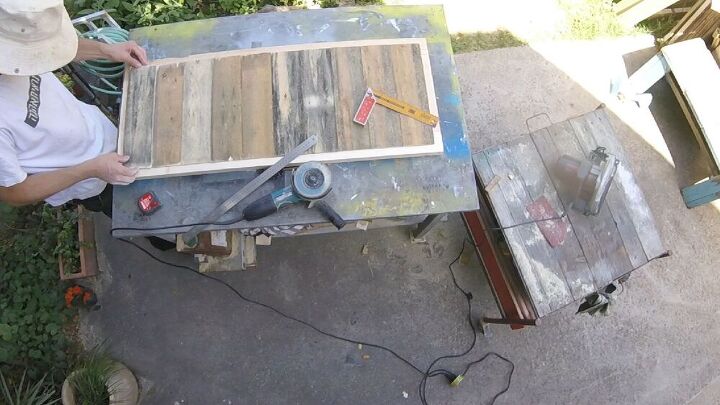
After sanding
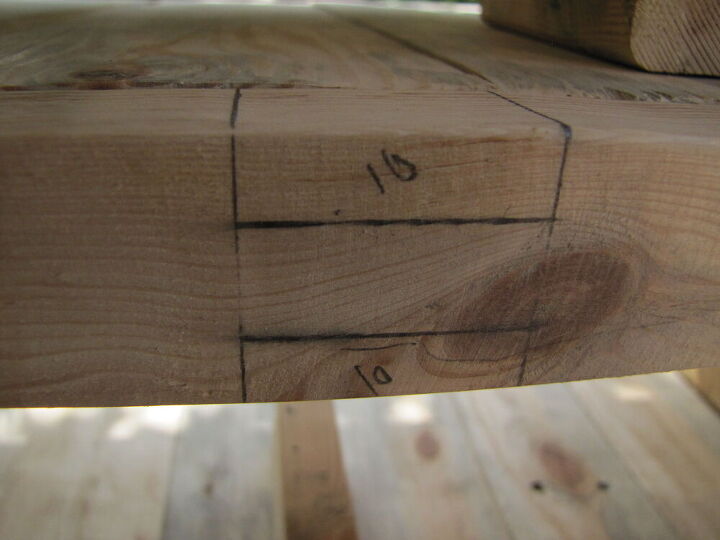
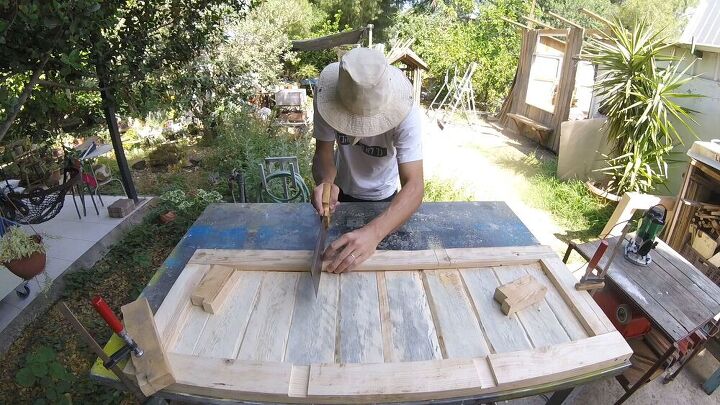
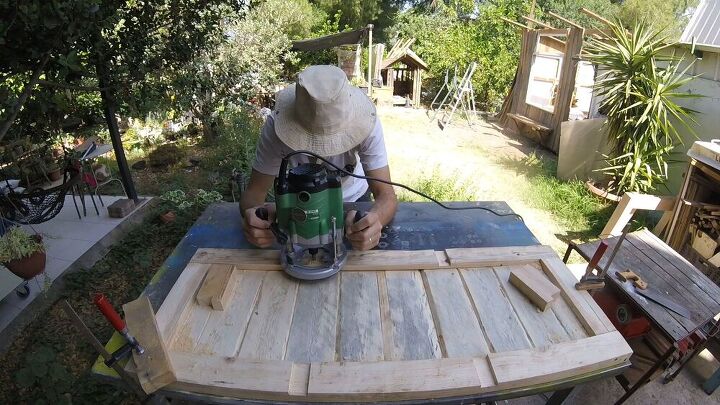
I created the slots with the rotter, marked the locations, manually sawed the boundaries of the slots and only later passed with the Rotter.
If I hadn't done it, there's a good chance the Rotter knife would have broken the wood even beyond the desired line.
Eventually, the boards is glued into the frame by carpenter glue – spread throughout the contact areas, place all the boards in place, then place wooden beams on both sides and clamp them until drying.
After all the glue dried, I sand all the surfaces again.
I dismantled those beautiful legs from an old bed that was thrown in the trash, there were black plastic cones that I really didn't like, so I decided to make my own beautiful new cones.
After a brief you Tube "study" that mostly included the question: "How to solder brass?"
I found out it really simple.
It turned out to be a small project within this whole project, so I also documented this process in another video.

Before the final assembly, I put all the pieces together and held them with large clamps.
I drilled holes for the connection rods (again 8.5 mm) totaled 8 holes for connections.
I put the rods in to see that everything was in place.
After seeing that everything was sitting in place properly, I dismantled everything and started applying glue to all the contact areas.
I put the wooden rods in, and clamp it all.
After drying, I sand it all again.
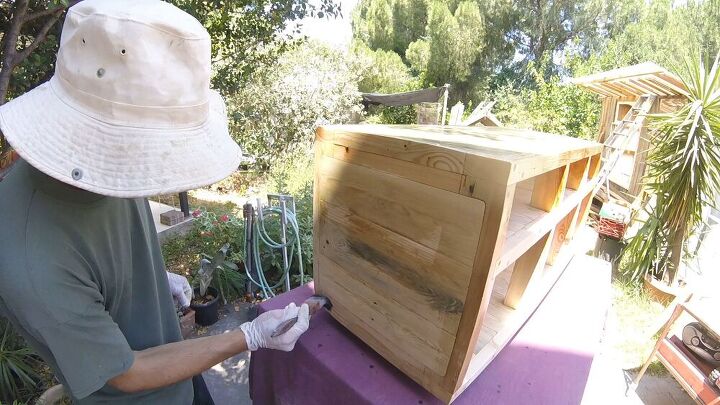
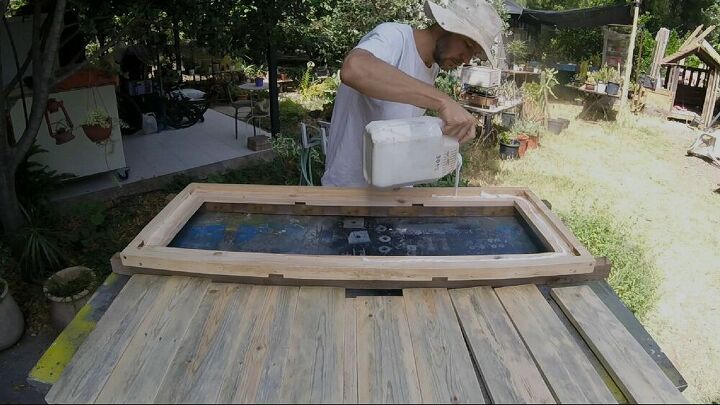
I painted it all with matte varnish.
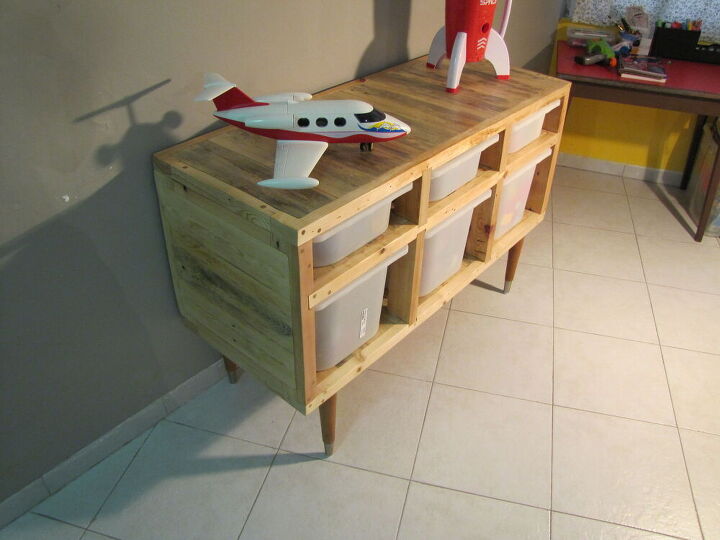
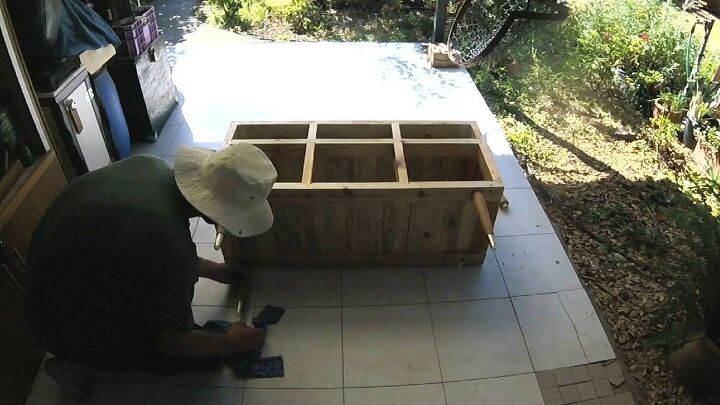
After the paint dried, I placed the cabinet in a straight area and glued the legs to the lower frame.
I made sure to check with leveler that everything was straight, and that there were no rocking.
It was a challenging project with lots of stages.
It took me a long time to finish the furniture, every free time was used for the progress of the project.
Conclusions:
The rotter in this project was very significant and helped create the grooves that I could not otherwise perform, especially in the corners.
The pallet wood is soft so using a chisel is not an option.
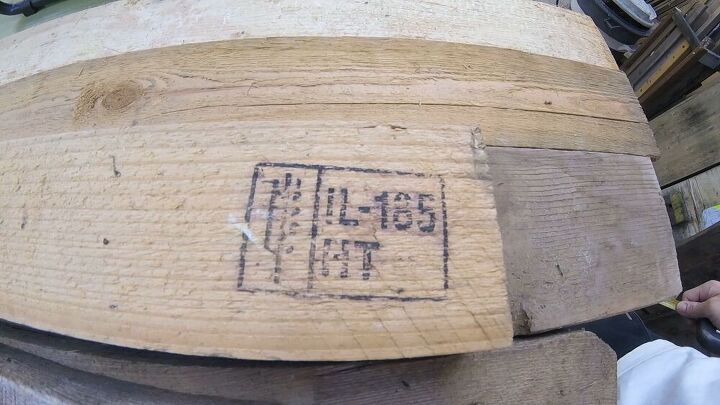
It is important to use only heat-treated pallets and not chemicals-treated!
Usually appears on every pallet of what treatment he's undergone.
Hope you enjoy the project documentation - if there are any questions or comments I'd love to hear.
Thank you 
Resources for this project:
See all materials


Comments
Join the conversation
-
Applauding you for the extra effort and great craftsmanship!! The upcycled MCM legs really add a finished look to the piece! 5 stars
-
Beautiful work! I applaud your use of materials that would have otherwise been wasted. More of us need to do that, whether it is furniture or handed down clothing. There is too much waste in our world! Most importantly, however, I applaud and recommend your putting time and effort into helping your child learn both the concept of organization and the habit of keeping his toys collected and organized when he is not playing with them. He is more likely to appreciate and learn the habits of organization and tidiness, valuable skills and habits all through life, with the assistance you have provided and the caring you have shown. And in the long run, you will have helped build a loving and caring relationship with your son, a far greater accomplishment than even a crafted and lovely piece of furniture.


Frequently asked questions
Have a question about this project?