


Master Bedroom DIY Fail

Do you ever feel like every diy you see out there is problem free and you wonder how does everyone do these things so effortlessly and never fail? Well I'm not one of those people. I do a lot of diy and reno's and sometimes I make mistakes or am out of my league! I felt it was important to show that it doesn't' go smooth all the time. It really comes down to your comfort level and what you are willing to live with, or without. This is one of those situations. I say "fail" in the title but really it's not. It's more of a "not how I imagined it would be" but didn't know how to verbalize that in the tittle!
Basically I am attempting to update the whole house myself. Right now it's dated and in need of some love! Due to my limited skills and current budget, I'm am hoping I don't make it worse!
The following is my master bedroom. I made a promise to myself to only do one room at a time until it's done because I'm known for having 20 projects on the go and it is not productive if you want to actually complete something.
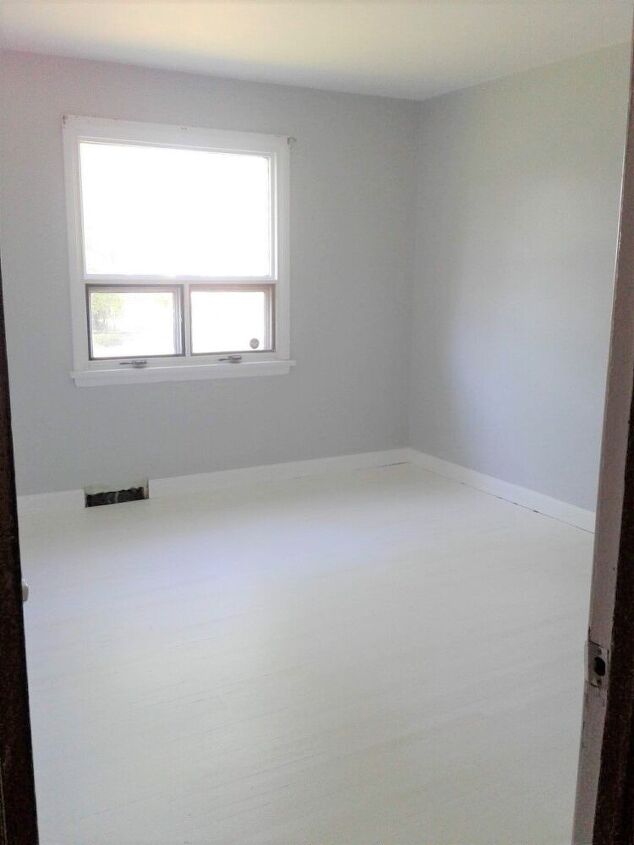
This is the master before. Not horrible, but now that I'm living back here, it's too dark for my tastes.
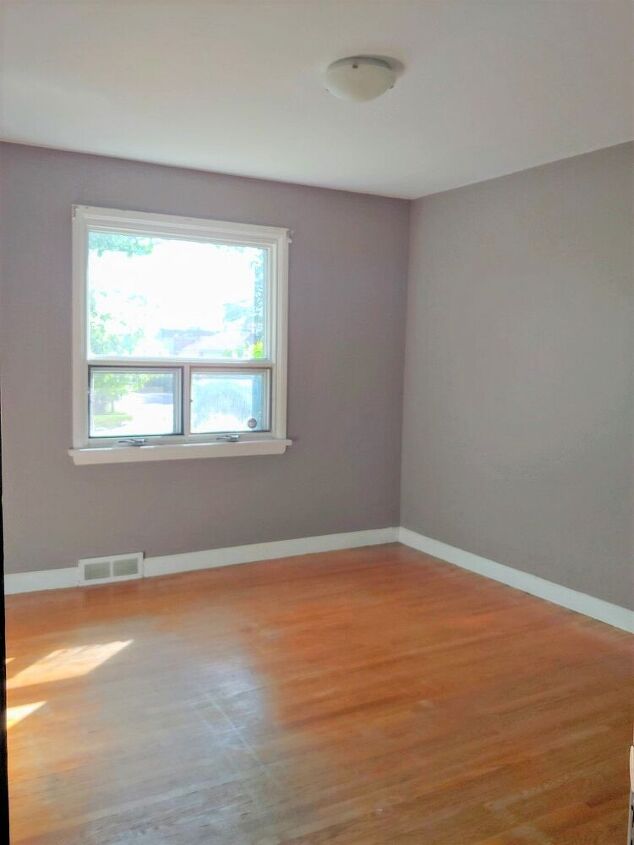
The floors were in horrible shape. In the pic they look not bad but up close they are scratched with black spots and gauges and worn out areas. I'm not a fan of the old hardwood look. These floors are original to the house which was built in the 50's. Because it's not in the budget to redo them now, I decided to wait for it....gasp...paint them! I know many will think I'm nuts but because the plan in the future to redo them all, I decided to take the plunge and go for it. It can't be any worse can it??
Normally I would paint from the ceiling down but because I was trying out my sprayer inside, and knowing I was going to also paint the walls and trim and would then be too lazy to cover the walls and trim, I started with the floor first.
I did a lot of research on this first. By research I meant pintrest and google. I did not sand or prime first. I vacuumed them and washed and rinsed after.
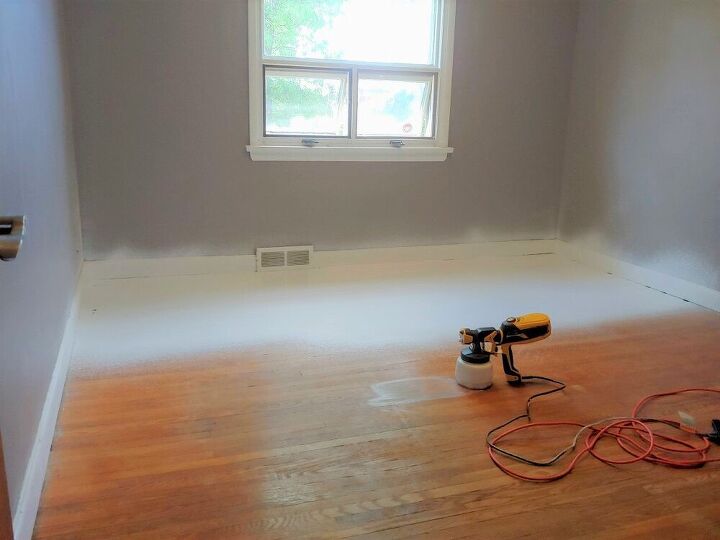
I have a love hate relationship with my sprayer. I love how fast it is but it's either me or the actual type it is but I have nothing but problems with it. I can never get what I think is a smooth finish. I have tried everything the manual suggests, and youtubed it. There are always little blobby dots. Luckily, I did a heavy first coat so it eventually blended. This used a lot of paint!!
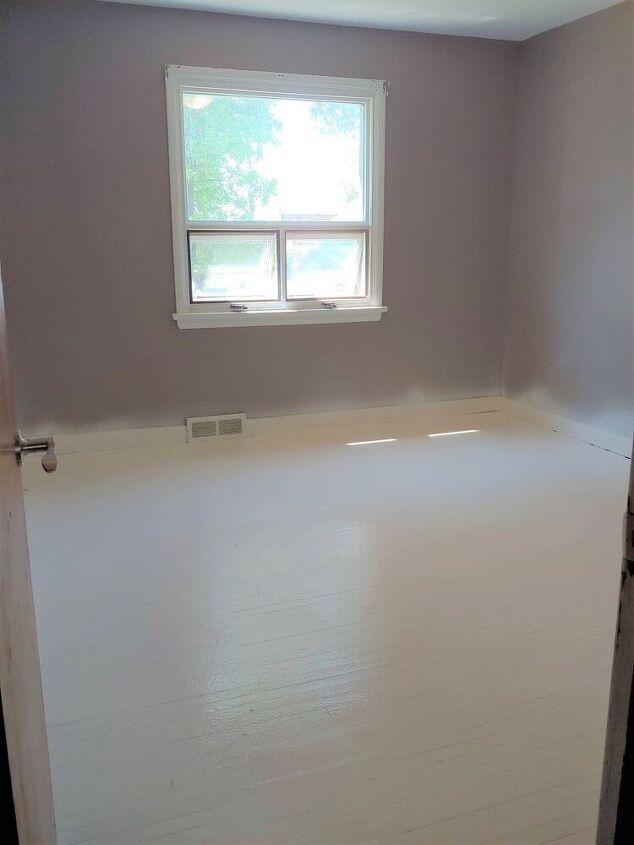
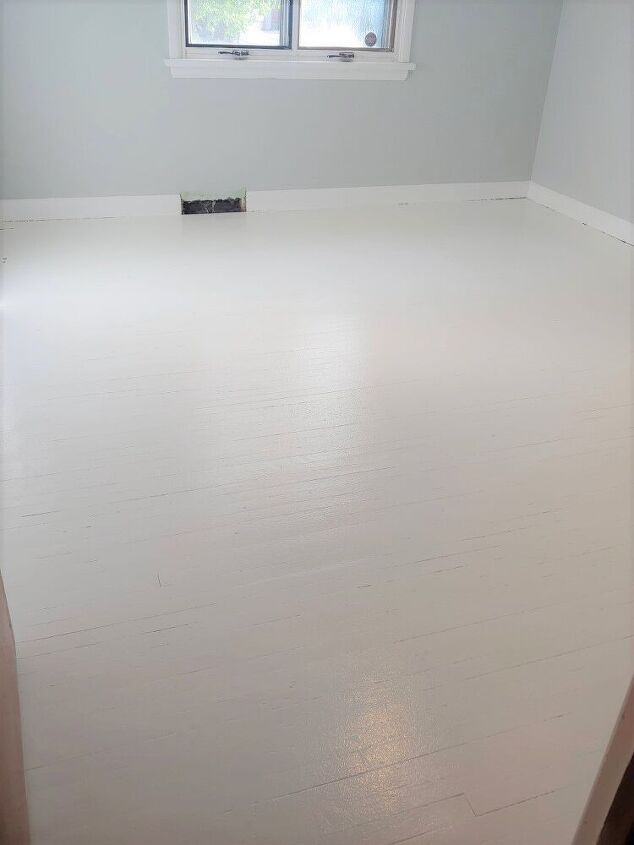
In the end, I did love the white look. It's clean and fresh and bright!
The mistake I made was not priming. I used Dulux floor paint and was told it didn't require primer. That was wrong. I did 4 coats on the floor. It still bled through in areas. Not a large amount and it actually doesn't look horrible, kind of rustic when you look up close but nevertheless, I will be priming the other floors when I paint the rest of the house.
On to the walls and trim, basic painting that is not big deal. Didn't take me long.
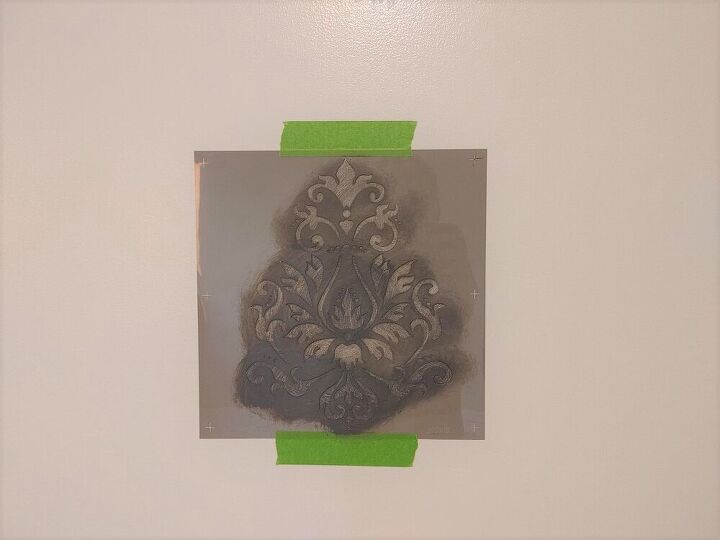
Next was the feature wall. I decided the quickest and cheapest way would be to stencil it. I found one I liked at Micheal's for $11.
This particular stencil has marks on each side to use to line it up when doing a pattern. I bought a little container of chalk paint, in a dark grey.
I had some stencil adhesive already to I just used that and tape on the top and bottom to protect the wall. When I stencil, I use a foam plate with a tiny amount of paint, load the brush and then off load paint onto the plate. I swirl the paint around in a circular motion with light pressure.
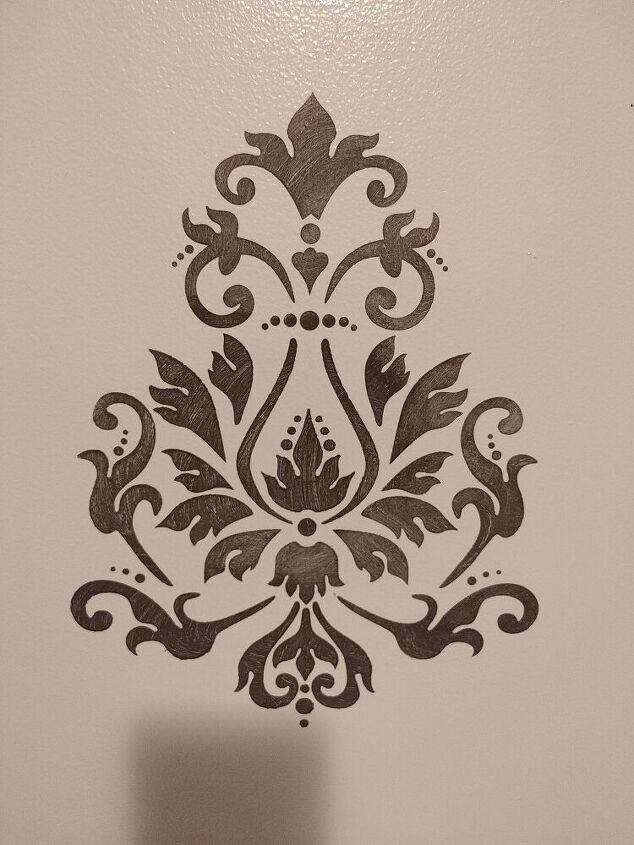
The beauty of stencil is you can have it light or as dark as you want. You just need to build it up if you want darker. I only did one coat, it's uneven in color with brush marks in it. I liked this look so I didn't do a second one.
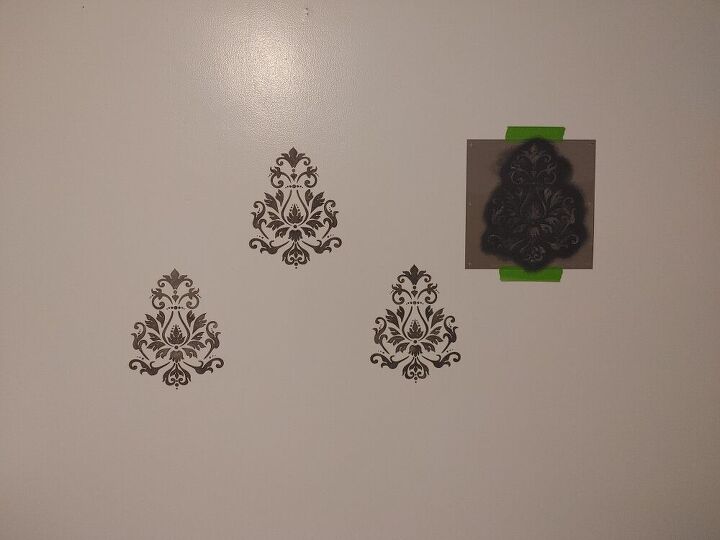
I continued the pattern on the whole wall. I didn't want half the pattern in the corner so I decided to just stop once I ran out of room.
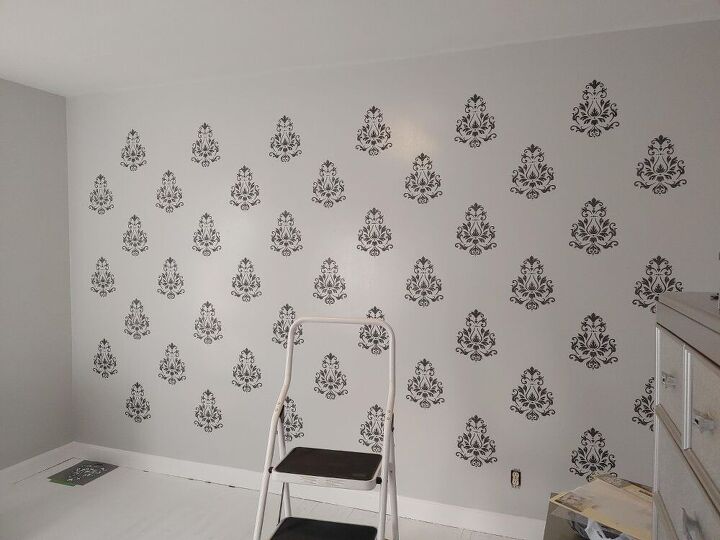
It actually didn't take long at all!
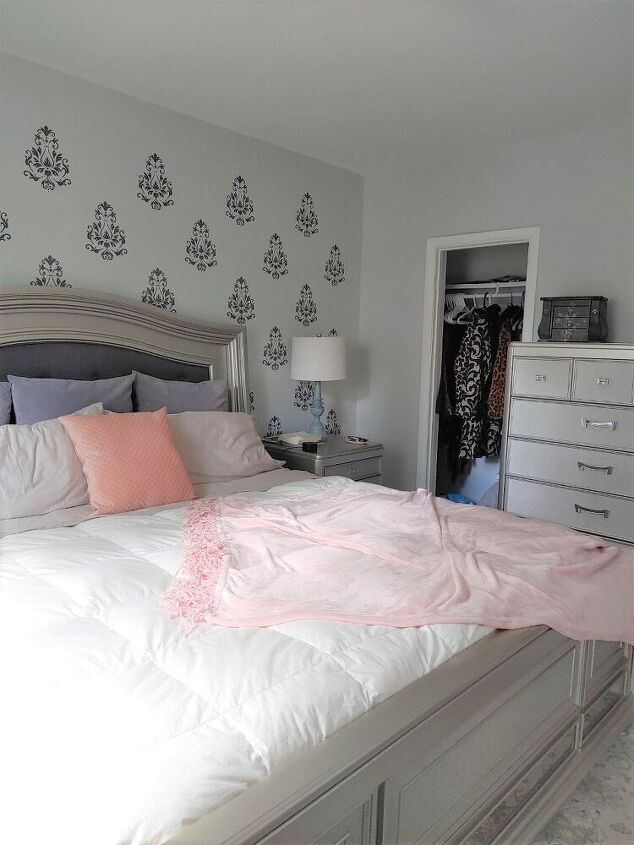
Now for the furniture. This was totally not planned but I came across this set while searching for a new fridge and fell in love! Here is where measuring and planning come in handy. I loved this set so much, it is so pretty and girly but I didn't even think of the size of the room!
So when it came time to put it all together, I was not happy with the end result. Again it's not horrible, I can live with it. But after setting it up myself, dropping the side rail on my toe and having the headboard fall while trying to put it all together, it is not going anywhere!! This massive set is staying here forever!!
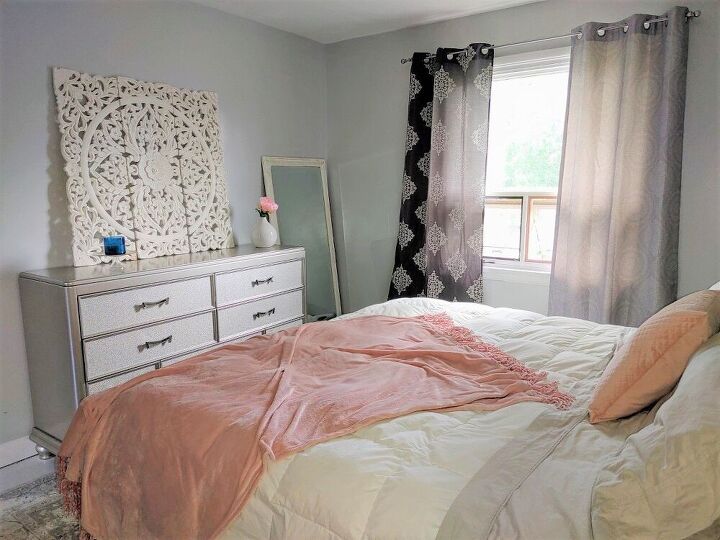
So in the end, this is the result. You will notice two different curtains, this is because until I find the right ones I have in my head, one of these sets will be used. I just haven't decided which one.
This project was bitter sweet. I enjoyed being able to do this whole room by myself from start to finish but because of my skills and the time crunch I was under, it was somewhat stressful and exhausting!
For now, this will do because I'm too tired to care.....well for now.....

I still need to add more decor and pictures.

So what did I learn from this? I was over my head.
Will I do it again? Yup.
PS cost does not include bedroom set, just cost to update a room.
Resources for this project:
See all materials


Comments
Join the conversation
-
I love the floors!! Did you poly over that also? You did an awesome job! Everything is beautiful! You basically just sleep in there so I think the furniture is just fine!
-
I love the finished product!
Well done!!🤗tfs


Frequently asked questions
Have a question about this project?
Color scheme is pretty. Like the bed against the stenciled wall. Can't see any design on the lighter curtain..like the darker curtain but would be nice to be layered with another lighter curtain, will the two go together?
Thought the stenciling was black which is why I said I would have chosen another color. Still would have gone with a lighter grey to tone things down a bit. Still in love with that bedroom set....elegant. Where did you ever find it?
I really like the end result. I like the stencils and the brushed antique look of the paint brush marks. I also like how they don't go all the way to the edge, it looks better to me to just stop before you end up going too far and having the stencils on the edge cut off. The furniture is a bit large but you aren't going to be ballroom dancing in there anyway so you can be thankful for plenty of drawers to store things. I'm not loving the screen on the dresser tho, the color is off white or ivory and I think might look better in the same color of the stencils and also not propped against the wall but rather hung. The mirror in the corner is also throwing something off. Could it be hung horizontally above the tallboy? Just thoughts since it is so close to being perfect.