


Easy DIY Planked Table Top Over Existing Table!
We have had this antique table in my family for many years, but it just wasn’t large enough for our large Sunday dinners. I asked my hubby if he thought he could enlarge it a bit for me. He and my son-in-law figured it out and in less than 8 eight hours they did it!
Step 1- Measure to decide the size of your tabletop
Our table originally measured 8 feet by 45 inches and I wanted it to be 9 feet by 48 inches. Mike and Kevin figured out they could achieve this by using 9- 8 foot premium pine planks going across and two more planks cut to the width of the table to cap the ends. This allowed me have both the length and width that I wanted.

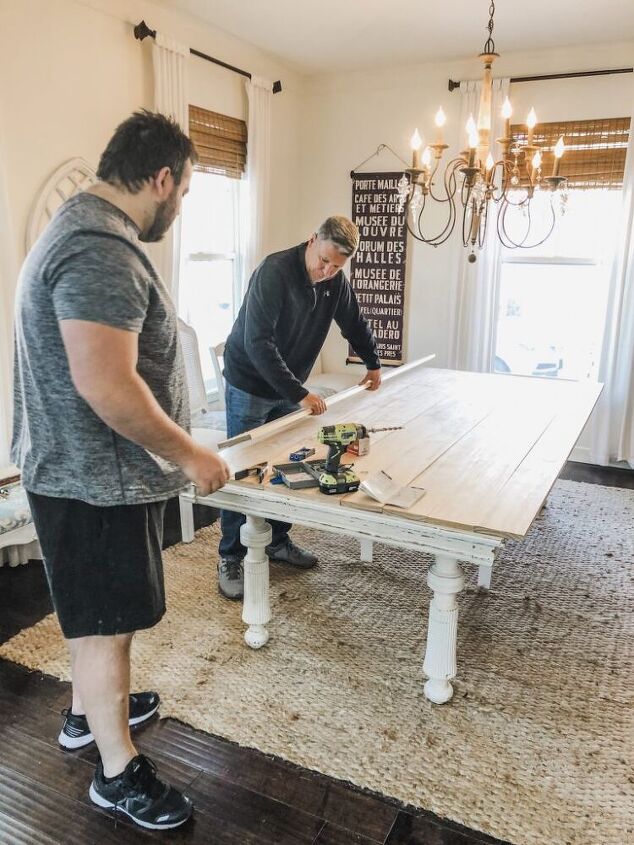
Step 2- Using the Kreg Jig pocket drill
They used a kreg jig pocket drill that allowed them to drill holes at perfect angles to tie all the boards together perfectly. This is a must have tool to create a planked table top. Once the top was finished they flipped it over and screwed the entire piece to the existing top.
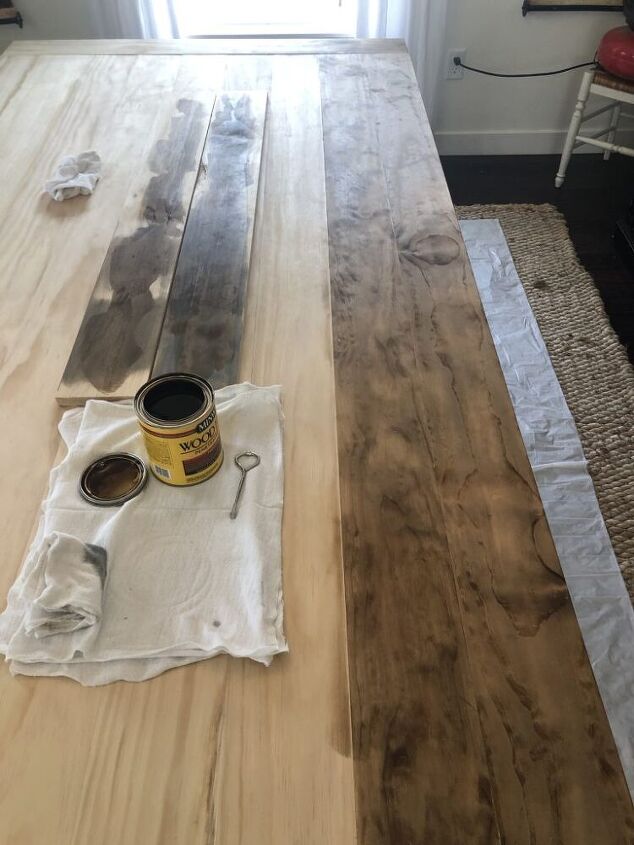
Step 3-
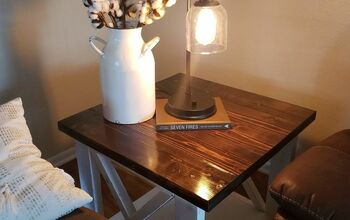
My hubby used Minwax Wood finish color- Provincial 211 and used a rag to apply it. Apply it going along with the grain. It only needed one coat and we love the color! We realized after he stained it that the wood is soft and we should have used a wood hardener product. Since the Farmhouse decor can have that roughed up look, that is what we are going for as the table will show dents and scratches.
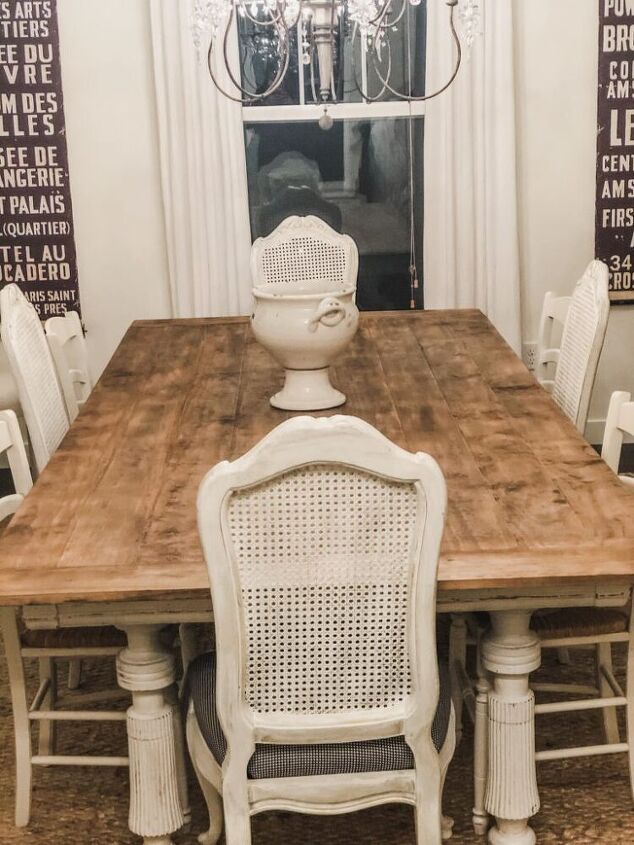
Step 4- The Finished Look
We could not be happier with how this table has turned out! There is just something so cool about saving this old table just by adding a new planked top!. Adding the stain brought a warmth to the room.
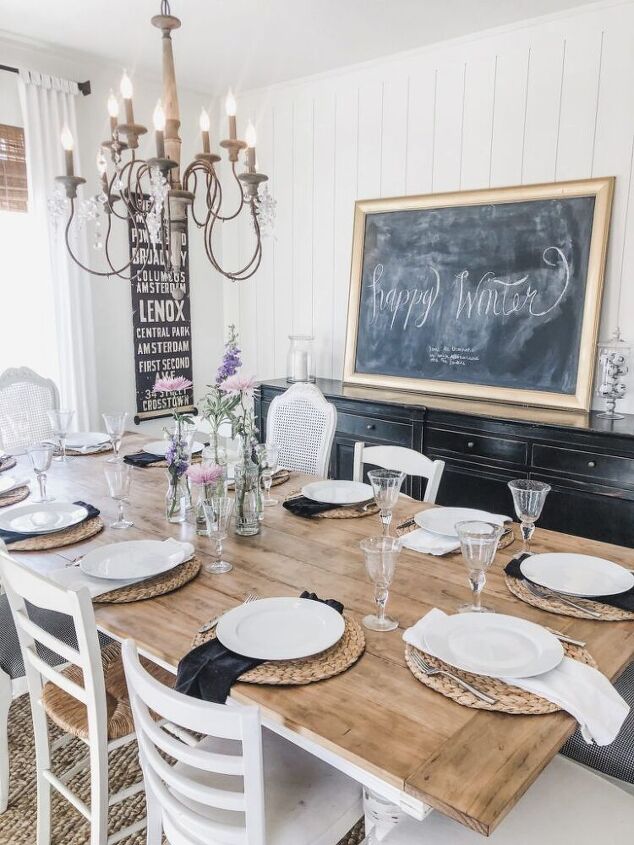
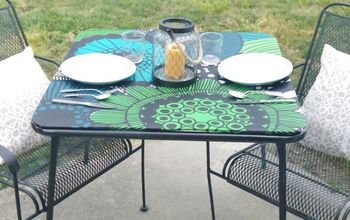
After we finished the table I decided to recover my chair seat covers. If you want to see how my dining room looked before we painted the walls white and re-did the table you can see it here. It is amazing how different this room looked when it was blue!
Resources for this project:


Comments
Join the conversation
-
PERFECT!!!
-
Gorgeous!!!


Frequently asked questions
Have a question about this project?
Did you only stain the top or did you also varnish ?
I don't hhave a rectangle table. Could I do this with an oval or other type?
Hi, I have an old tile top table that I want to cover this way. I was concerned that if I add much more overhang (so that you can't see the existing top when standing beside the table, if that makes sense) that it would make the table legs look too close to the center of the table. You added several inches length and width and it does not appear that way. Have you ever felt that way about it?