


Modern Bohemian Headboard Made With Shims
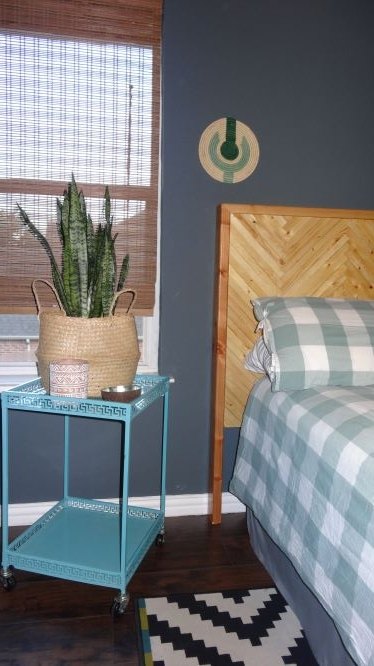
After replacing all the flooring in my upstairs, I was looking to update my guest bedroom decor. I found a few modern wood patterned headboard styles on Wayfair but they are really expensive. When I ran across a project using wood shims to create a serving tray, I came up with a similar design but on a larger scale.
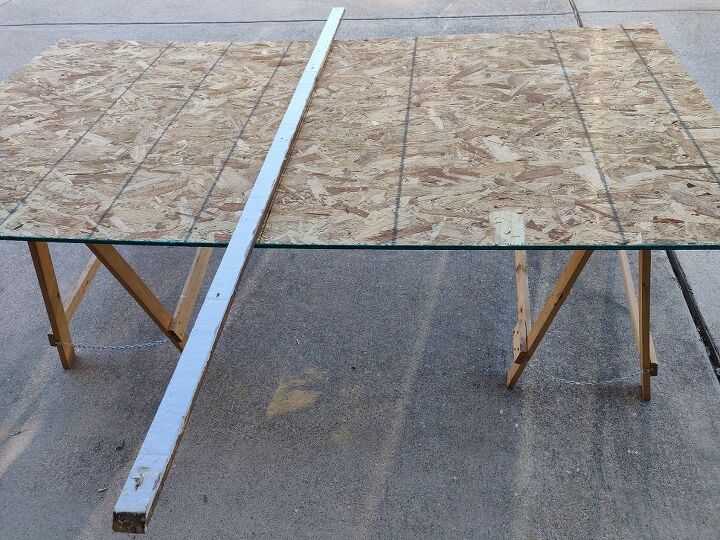
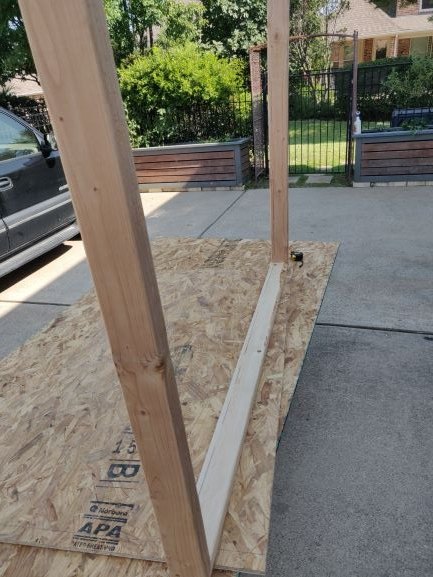
Decide on your base material, this will not show but needs to be strong enough to hold up to the weight of the headboard. I would recommend OSB (oriented strand board), but you could use plywood or particle board. Start by measuring and cutting the base. Full size headboards are 56 inches wide and queen 62 - I went with 62 but will add a board to install at either size.

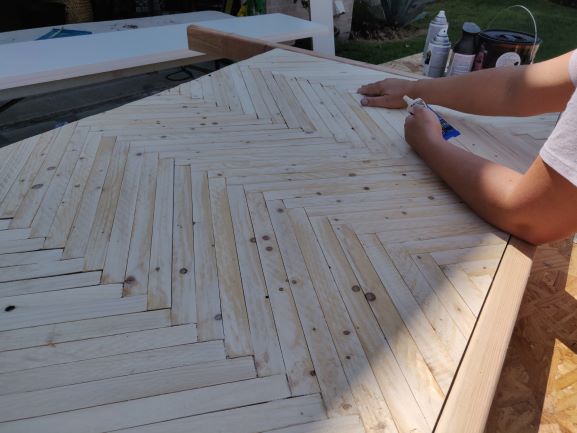
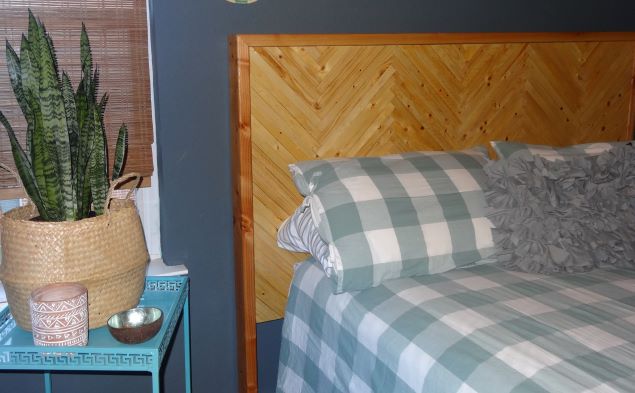
Start from the center of the board and start planning your design. I went with a herringbone pattern, which made it very important to start in the center. I purchased shims that came in a 40 piece pack. They measure about an inch wide and 12 inches long. They are NOT great quality, so some were too warped to use - look for the straightest ones or your design will get hard to keep together.
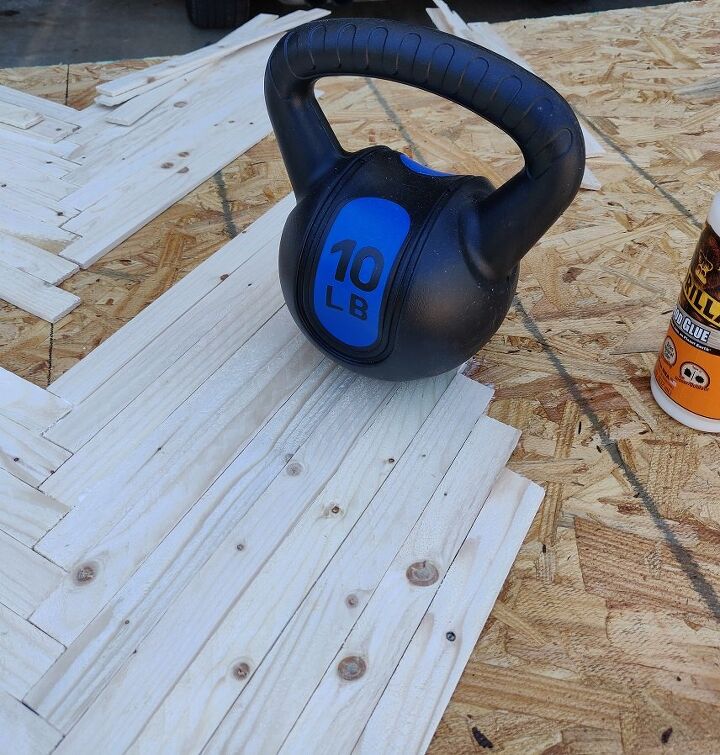
Use wood glue to attach the shims to the base board. I prefer the gorilla wood glue. You will want to weigh down or clamp any areas that are popping up. While the shims are very inexpensive, they do take a little work to "behave" correctly. I had to get creative with the weights once I was well into it...
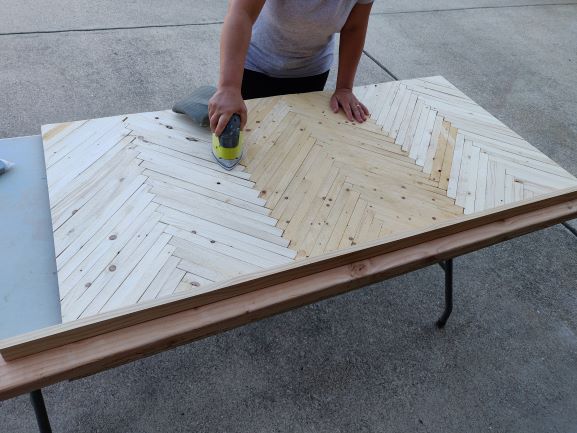
Trim off the excess edges with a circular saw and sand the entire attached shims/face of the headboard with a palm sander. Let the shims dry overnight before attempting to sand.
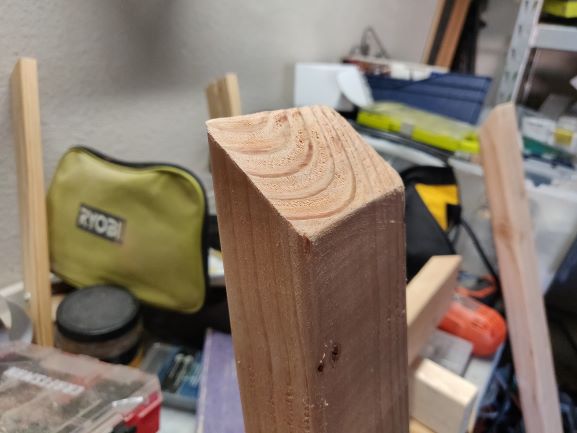
Use a table saw to make 45 degree cuts for the corners of the frame.
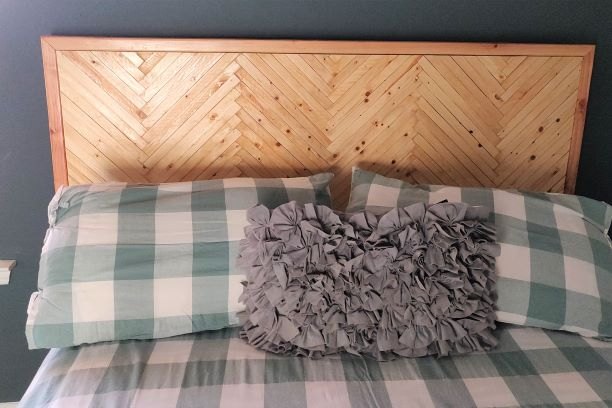
To build the frame around the headboard, I used 2 x4's cut diagonally at the corners and then attached smaller 1x2's on the back to attach it all together.
There were a few gaps and wood notches that I filled with wood putty and then I used Tongue oil as a finish, which brings out the natural wood color and protects the wood from water/air over time. I waited overnight and applied a second coat.


Comments
Join the conversation
-
I absolutely love your head board. I need one just like it. Wish I had some help as I will not use a power saw.
-
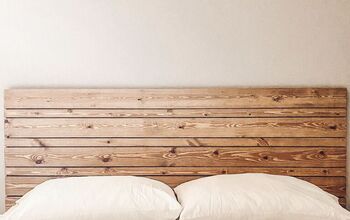
I made a very similar headboard for my first apartment in... 1977! Instead of shims, I used a bundle of wood lath strips for plaster. They are 4’ long and very cheap by the bundle.


Frequently asked questions
Have a question about this project?
Hi...
Curious about how you lined up the shims (thin-to-thick) for such an even surface..? Was it all accomplished with sanding..? It looks really good!!
How many shims are needed for the project?
Where do you buy the shams?