


Creating a Custom Vanity in the Bathroom

All about how to take a vintage or vintage inspired sideboard and create a unique double sink vanity for your bathroom.
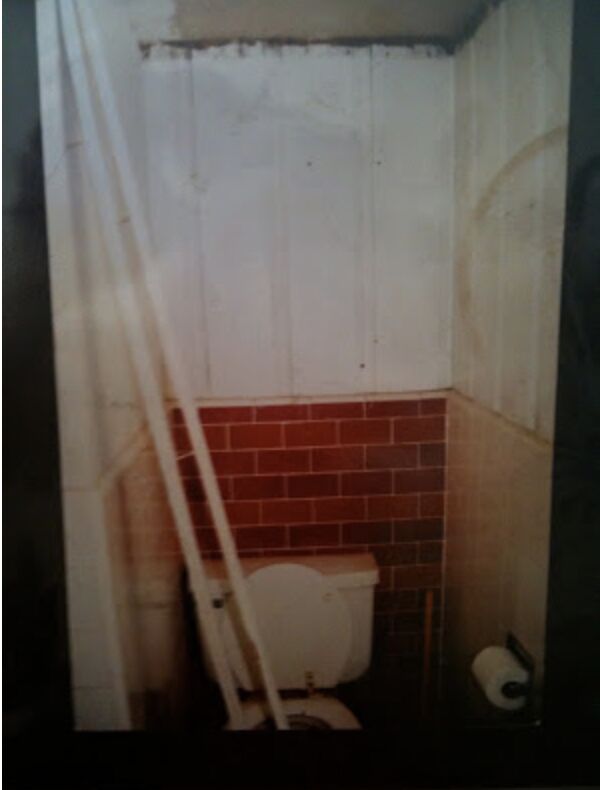
When we bought our vintage house- it had been abandoned and vandalized for over 60 years. Aside from the general state of things being very damaged and dirty- the bathrooms were some of the worst.
The BEFORE-Before- which is before we did a mini renovation makeover when we moved in- was shall we say- a hardware store tile special project. It had about 5 different types and colors of tiles on the floors, walls and in the shower- none of which matched. And lots of water damage on the unfinished ceiling and walls.
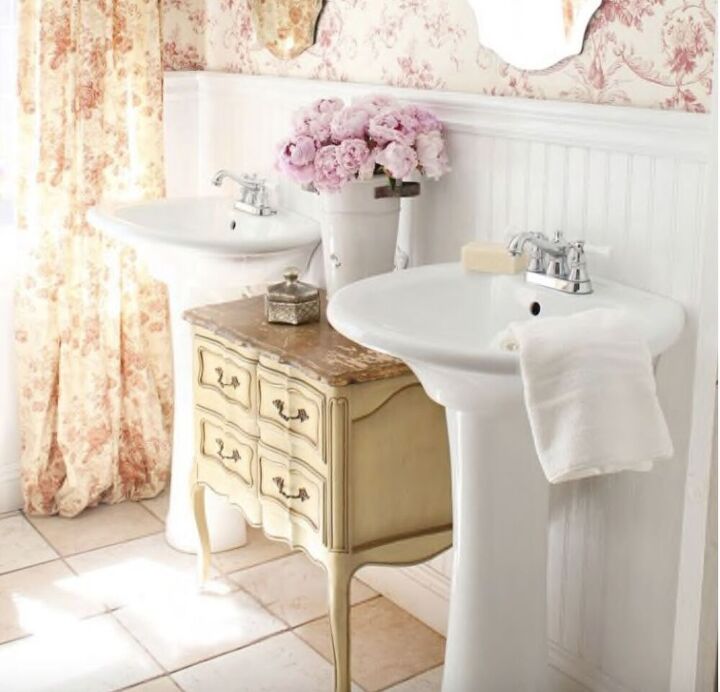
After a quick make it clean, safe and usable renovation when we moved in- we created a simple bathroom with beaded board, large checkerboard tiles and simple functionality.
The bathroom now had two separate sinks and a small vintage chest in between. It was never the final design plan- it was a budget makeover while we waited for the bigger renovation which involved replacing the floor and ceiling.
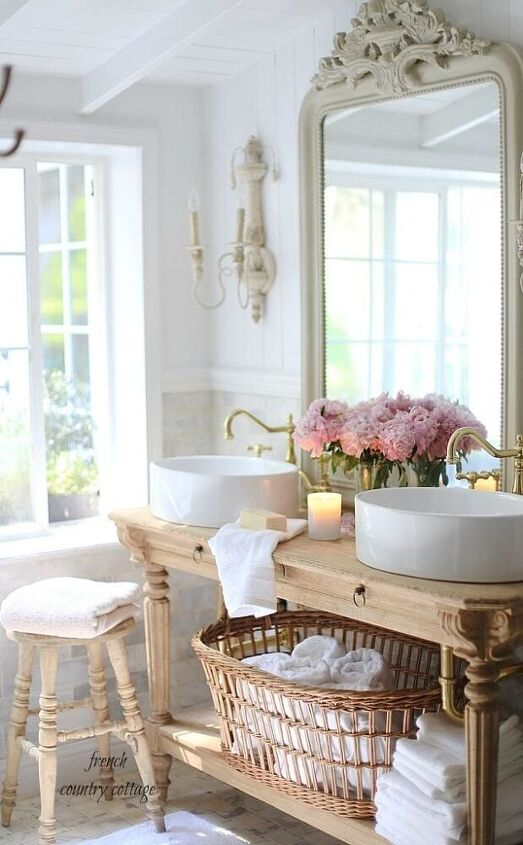
We wanted something that was more streamlined and that also offered a larger area for setting items in between and underneath the sinks.
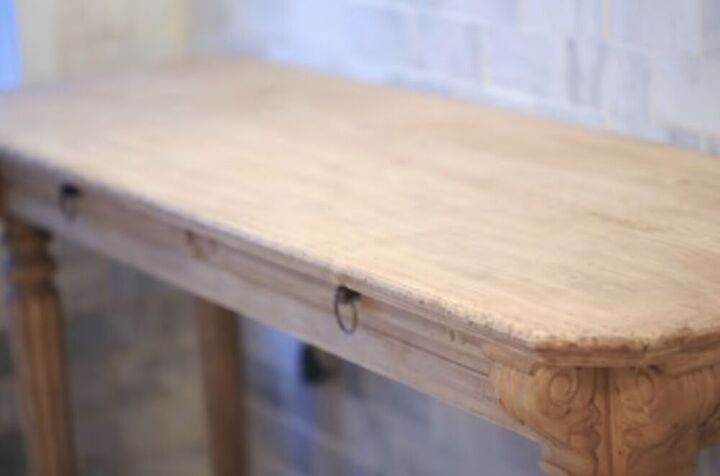
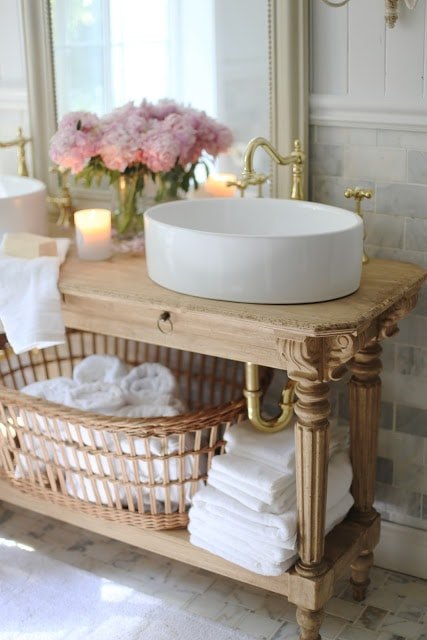
I found this beautiful vintage inspired console table and loved the look of it. It also had the right depth and length measurements for the space we were working in. Always make sure to measure- some console tables are quite deep - this is a perfect narrow size that doesn't intrude on the rest of the bathroom.
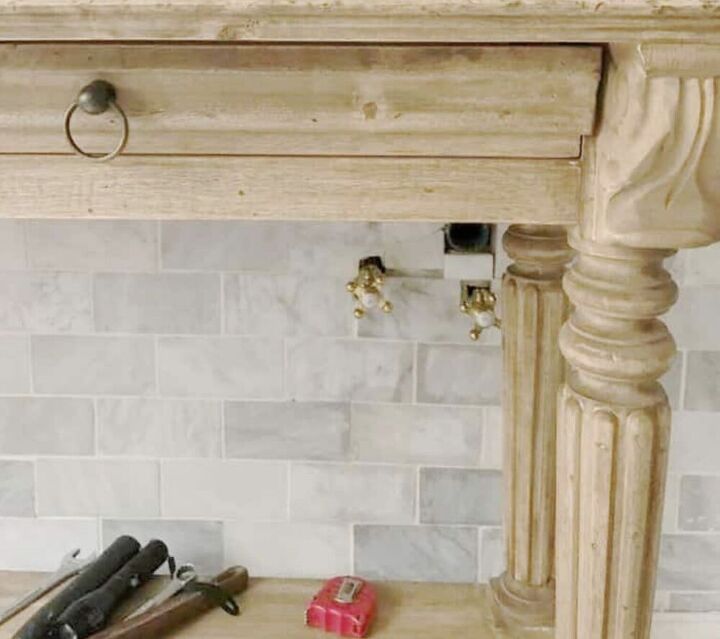
We started out but removing the drawers- leaving just the drawer fronts fixed in place. This allows an area for the sink drain pipes.
We cut two holes in the top for the sink drains to go through. Remember to use the kit or seal very well when adding on top of counter sinks such as these- they are prone to leaking.
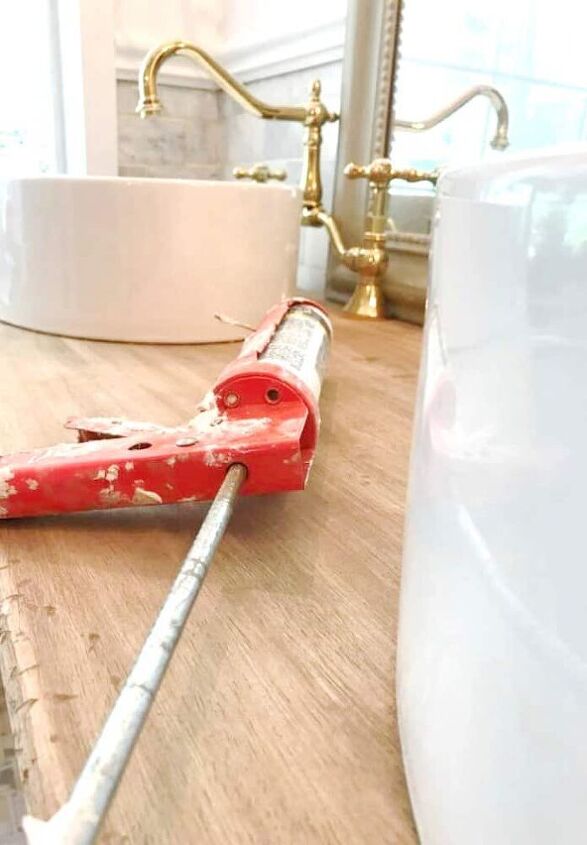
We used a small bit of silicone to ensure they were sealed well.
Hook up your drain pipes and get the water lines ready for the faucet.
Line up your faucet where you would like them to be- and cut the faucet holes in the top of the vanity. Seal well to make sure there are no leaks.
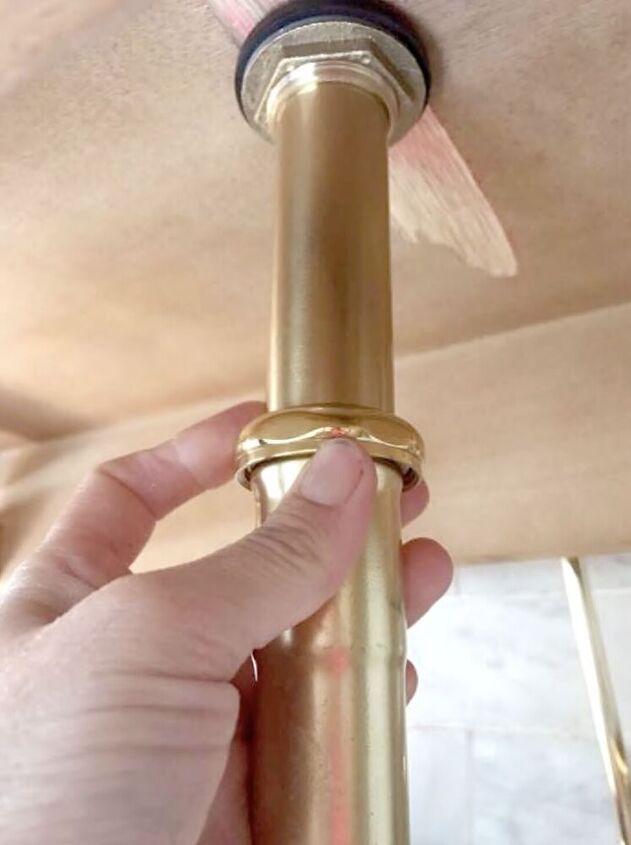
Attach your sink drain pipes and water connections underneath the vanity. A tip- since this vanity has an open area underneath - the pipes are visible. Instead of hiding them with a cloth- we decided to use brass pipes and make it look pretty.
After attaching and tightening all the connections for your drain and water lines- run the water and watch to make sure there are no leaks.
Make sure to seal the wood after everything is installed to keep it from being damaged by water and everyday use. And then- enjoy your custom created vintage inspired vanity.
You can see more of this vanity in my book French Country Cottage
Resources for this project:
See all materials


Comments
Join the conversation
-
Very beautiful.
-
Just so beautifully elegant. Shabby chicis great. How ever when it becomes an elegant look , it becomes a show stopper. Its just so beautifully done. I bet taking a bath or shower in here must be so relaxing. A claw foot tub would fit perfectly here with the round elegant shower curtain or none at all depending on how you have done that side of the bathroom, ah I cam just imagine the beauty here. Thanks for shafimg this room with us.


Frequently asked questions
Have a question about this project?