


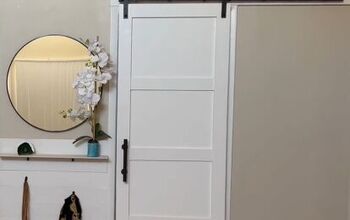
DIY Custom Barn Door Tutorial
13 Materials
$150
5 Hours
Medium
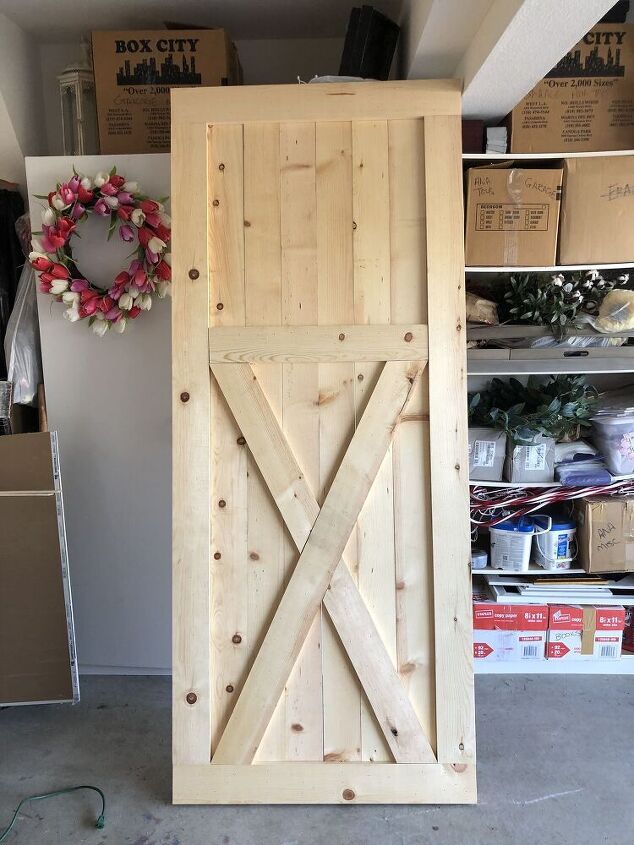
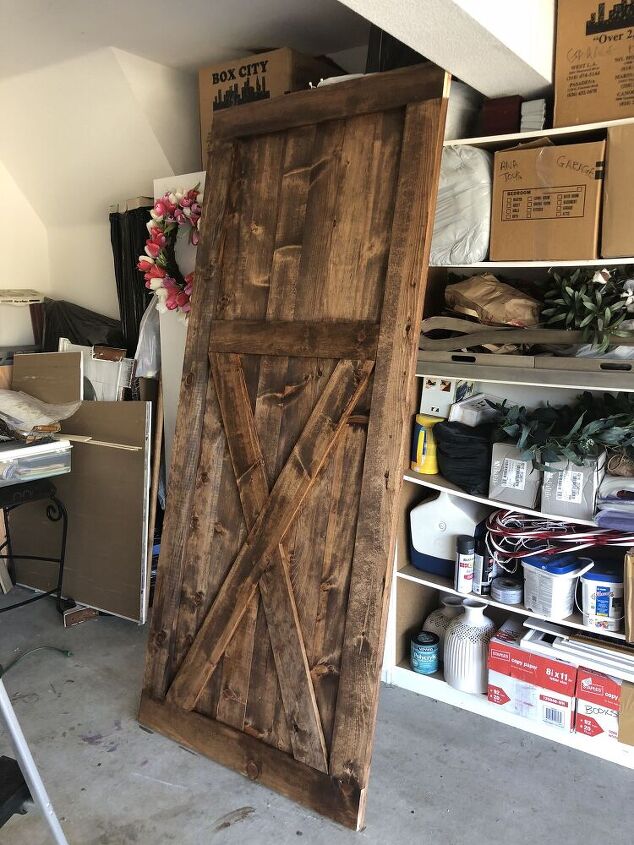
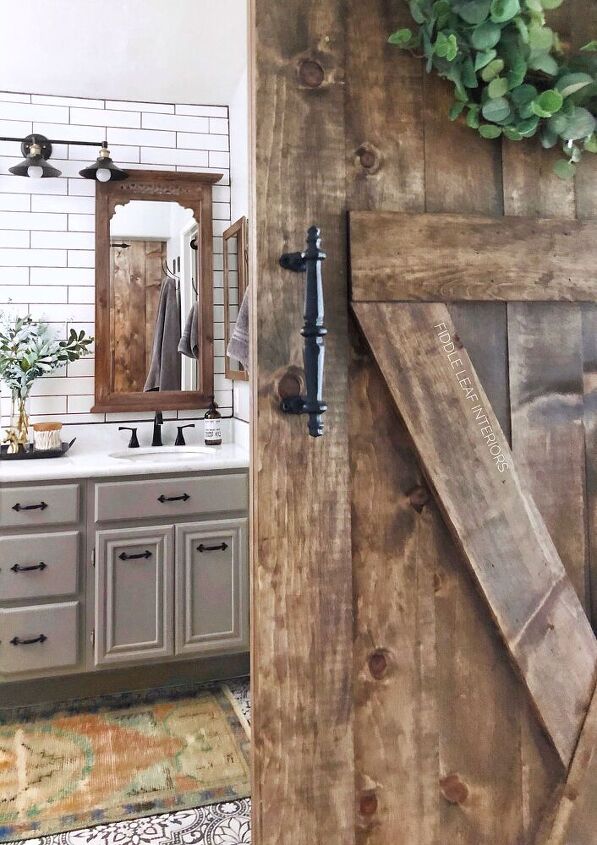
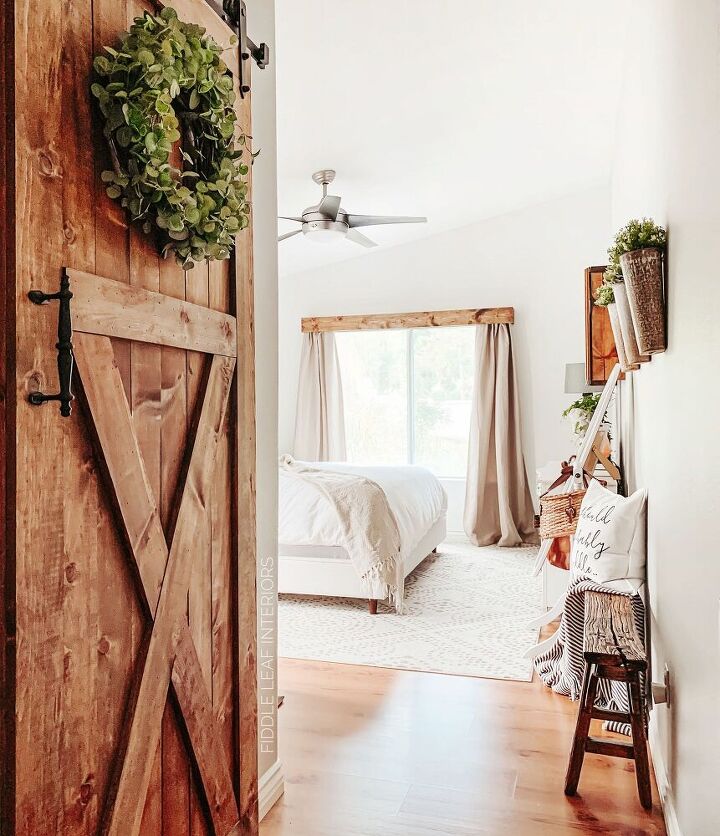
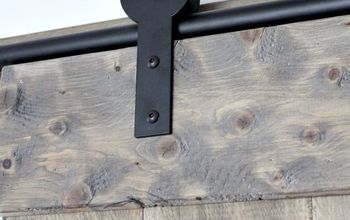
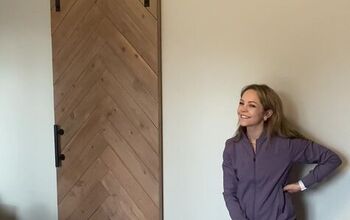
There are tons of ways to go about building a custom barn door, but in my opinion, this is one of the easiest and most traditional. Barn doors can be incredibly expensive if you purchase them pre-built ($500+), and you don’t have the ability to completely customize their dimensions or final look for your space. The build process is also fairly easy. That said, your barn door will be HEAVY when completed, so keep that in mind. You’ll also need to hang it using barn door hardware, which you’ll need to purchase according to your doors dimensions. The hardware will have specific hanging instructions that come with it, and you will definitely need two people for the installation/hanging process!(P.S. I'd love for you to come check out my blog and sign up to get all of these projects FIRST and straight to your inbox!)
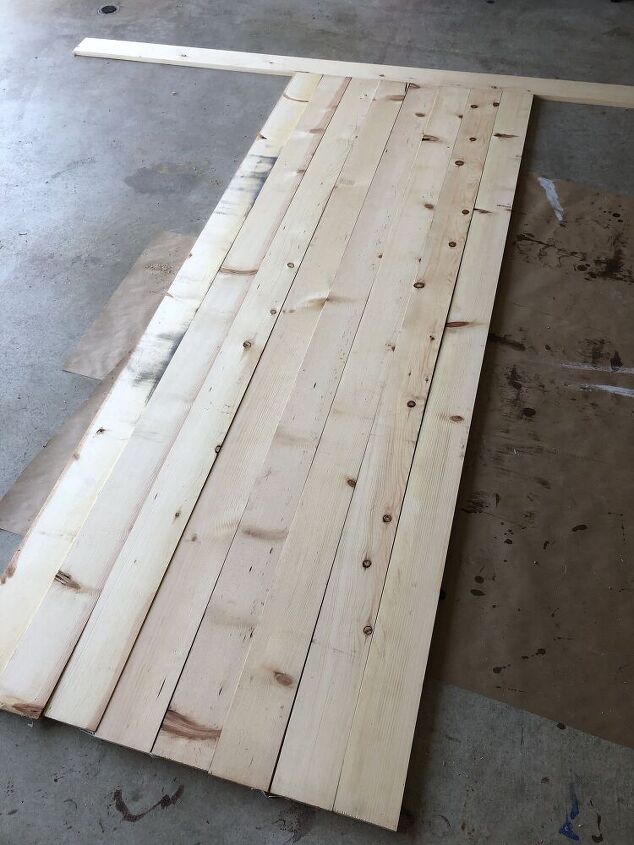
Step 1
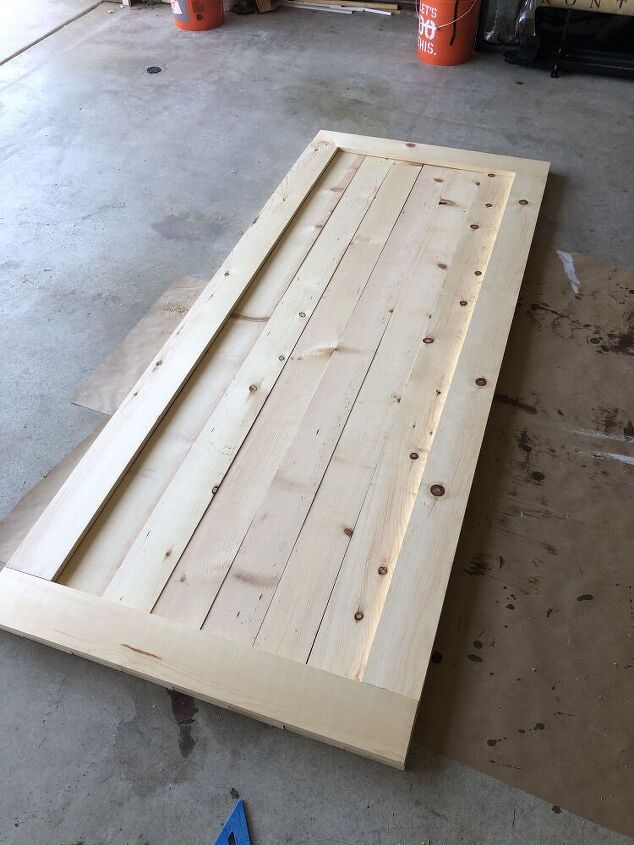
Step 2
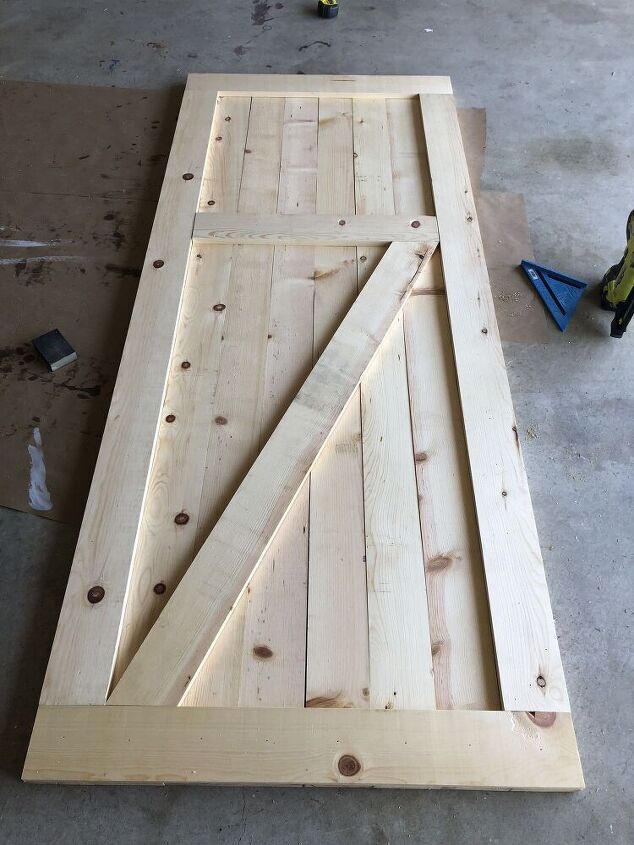
Step 3
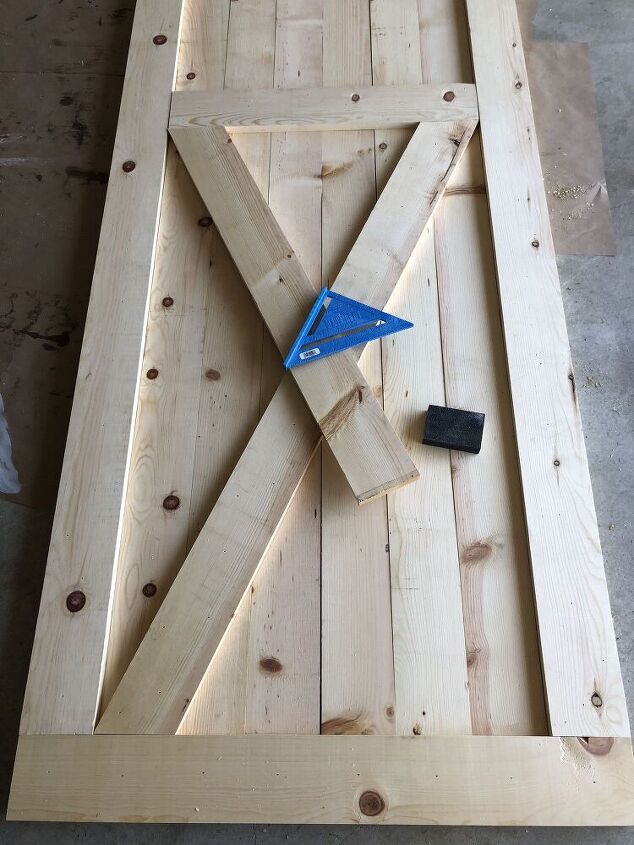
Step 4
Step 5
Step 6
Step 7
Step 8
Resources for this project:
See all materials


Any price and availability information displayed on [relevant Amazon Site(s), as applicable] at the time of purchase will apply to the purchase of this product.
Hometalk may collect a small share of sales from the links on this page.More info

Want more details about this and other DIY projects? Check out my blog post!
Comments
Join the conversation
2 comments
-
Thank you for great instructions! Your home is just gorgeous!
-
Love, love, love. It looks fairly easy to make. Cheaper than buyin'.......Great job!!


Frequently asked questions
Have a question about this project?
What did you use for you over window treatment ? Love the wood ! Do you have tutorial?? 🙂