


DIY: Trailing Rose Garden Planter

So if y’all remember from my DIY String Light Refresh post, then you know we bought a camper this summer! We’ve been really enjoying fixing it up and making it more of our style, even though it was pretty much move in ready. The outdoor lot to it was already landscaped beautifully as well, but there were just a few things we wanted to add to it, like this DIY: Trailing Rose Garden Planter! Keep on reading below to see just how simple and easy it is to add this cute DIY to your garden or patio space as well.
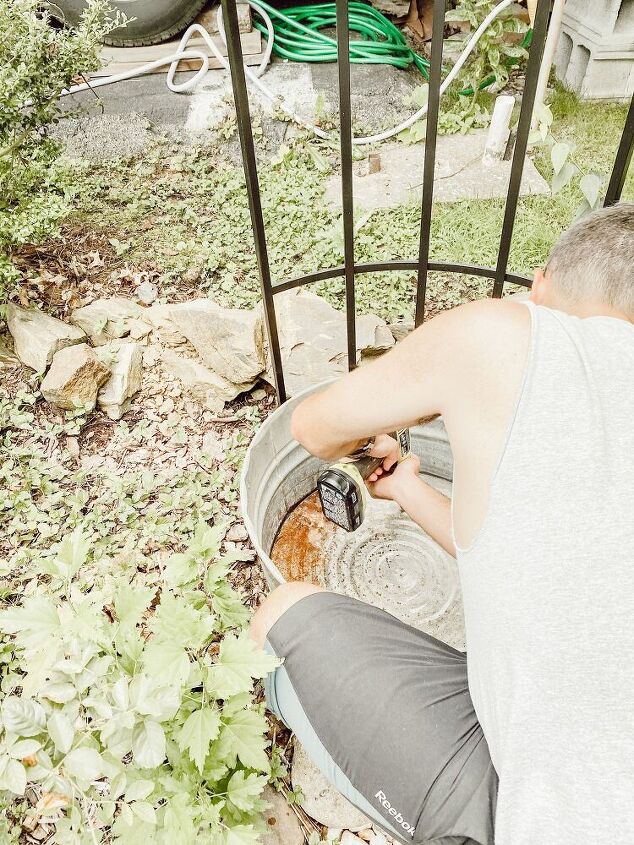
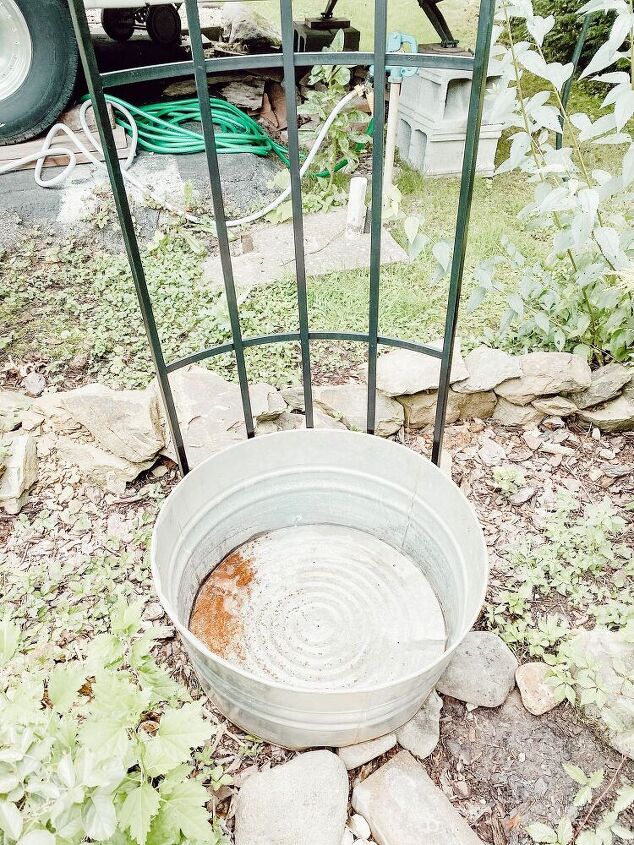
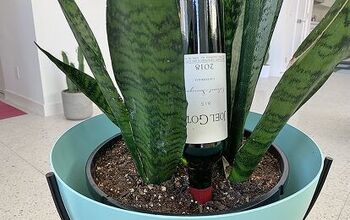
The first thing to do in this easy trailing rose garden planter DIY is to drill holes in the bottom of your bucket or tin- or basically whatever you are using as a planter. Just be sure there are enough drainage holes in the bottom to let all the water out when you water your roses!
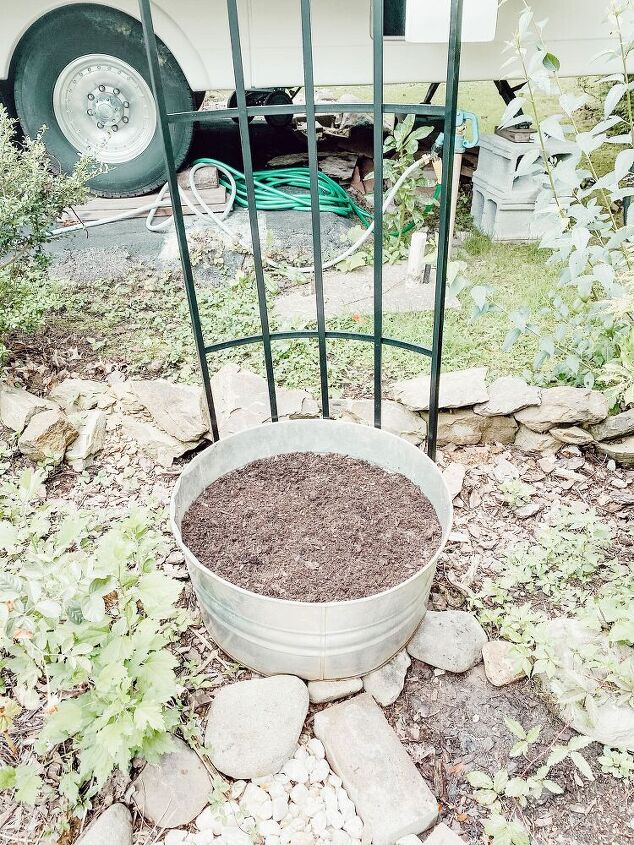
After you drill enough holes in the bottom of your planter, you can now fill it up with potting soil. You will definitely need a lot of it if you have a big tin like I did. We went through two huge bags and it was barely enough! I would recommend using a high quality brand of potting soil that is best for roses. Roses can be a little tricky to grow so it’s better to spend a little more money on better quality products to help them thrive.
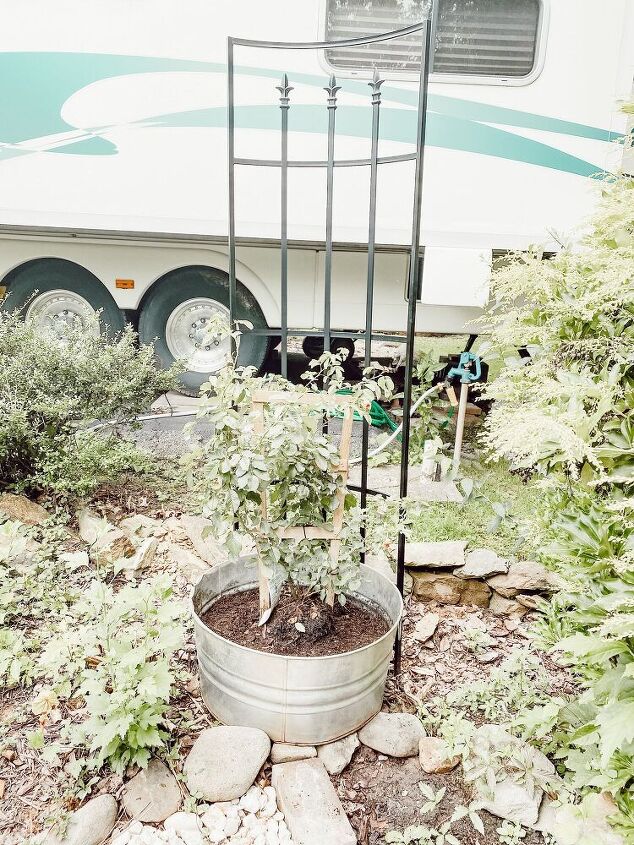
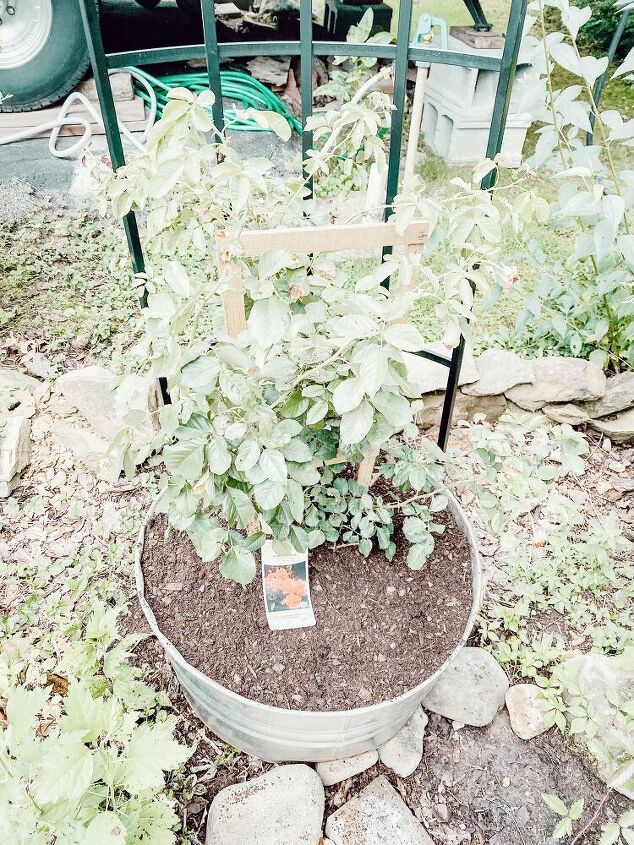
We filled up the tin about halfway full with potting soil and then placed the rose bush inside to plant it. After we got the rose bush in, we filled the rest of it up with the remaining potting soil. Now, our rose bush already came with a plant trellis so we didn’t have to add that in, but if yours doesn’t come with one, I would recommend getting one so the roses can trail upward when they grow.
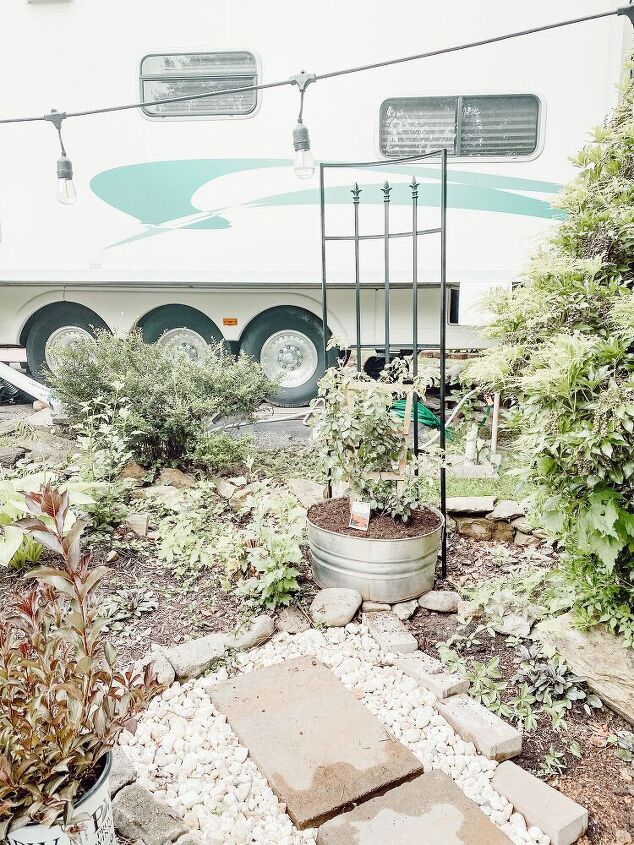
We also have a large plant trellis in the outside of our camper too (which you can see in the picture above). So we placed the tin filled with roses right in front of it. That way when the roses start to trail even higher, they have another trellis to latch onto! I am hoping it will really take off and grow tall here to give us a little more privacy in between our lot and the other camper’s lot beside us. It looked like the previous owners had planted something there already too, but whatever it was had died and there was a big empty space there that we needed to fill.
Resources for this project:
See all materials


Comments
Join the conversation
-
Thanks for the note.
That is why I said small plants. Holes are still needed as the original post told, so the bottles will not float.
-
Did this couple years back with everblooming roses. Gorgeous. Used oversized plastic pots (held 160 lbs soil). After about 5 years sooooo big. Cut back but still big. I removed. Those roses were so big roots blew out bottom of container and grew into soil. Had to cut pot off roots. Did nothing special but was facing south for winter and great afternoon shade for summer heat (did not water either). Sometimes you get abundance!😅


Frequently asked questions
Have a question about this project?
Love this, but how did you attach the trellis?
Where did u get the trellis? Thanks
Since the rose is planted above ground what do you do with it during the winter? Do you have to bring it inside?