


How to Make a Cork Board Organizer

Do you have an extra plank of wood laying around? Do you need a little extra organization in your life? Learn how to make a cork board organizer with this DIY tutorial!
To find more DIY inspiration for the home and family visit us at Hammers N Hugs!
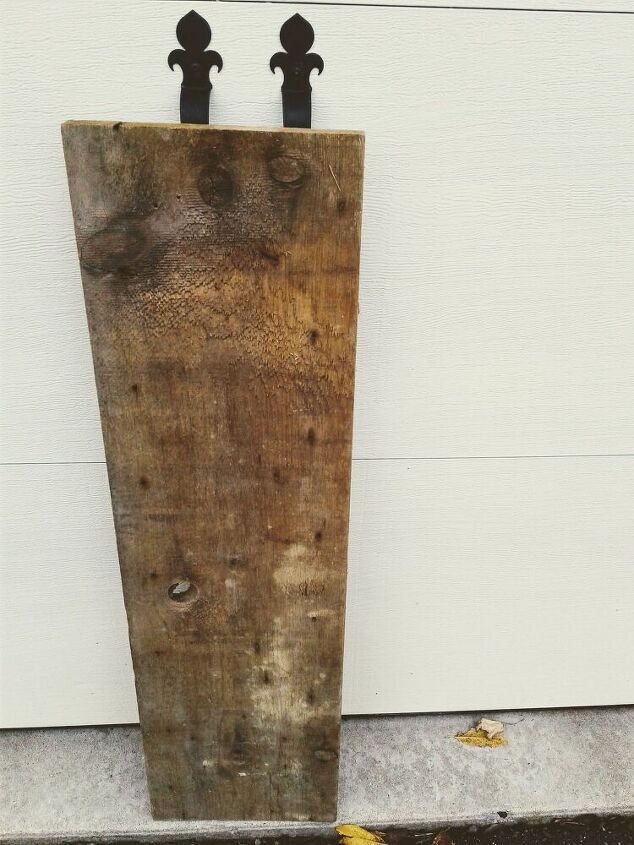
This plank of wood came from my grandfather’s 200 year old barn.
It had been sitting in our garage, and it became the frame for my cork board!
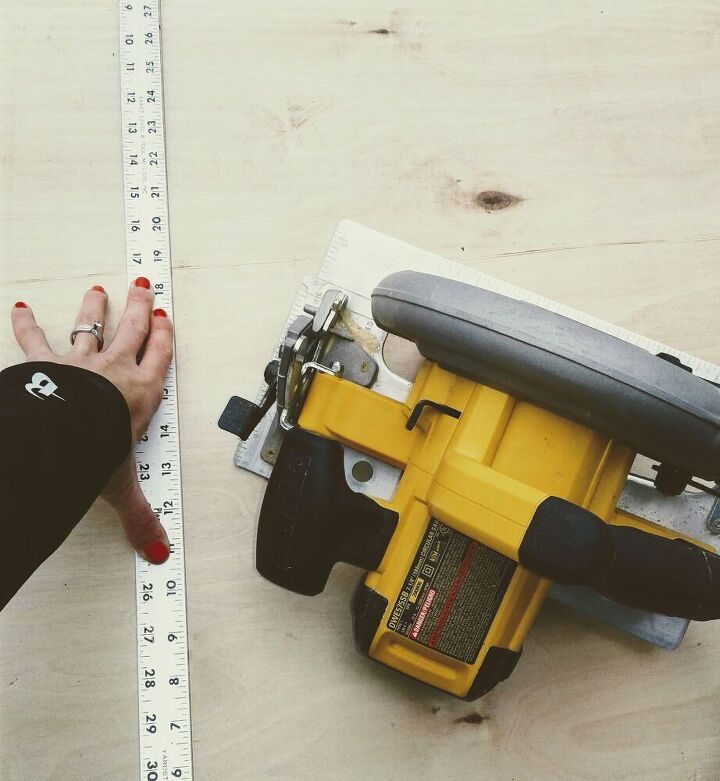
Find any piece of plank wood and note it’s dimensions.
Make sure you can get 4 pieces out of it for the frame.
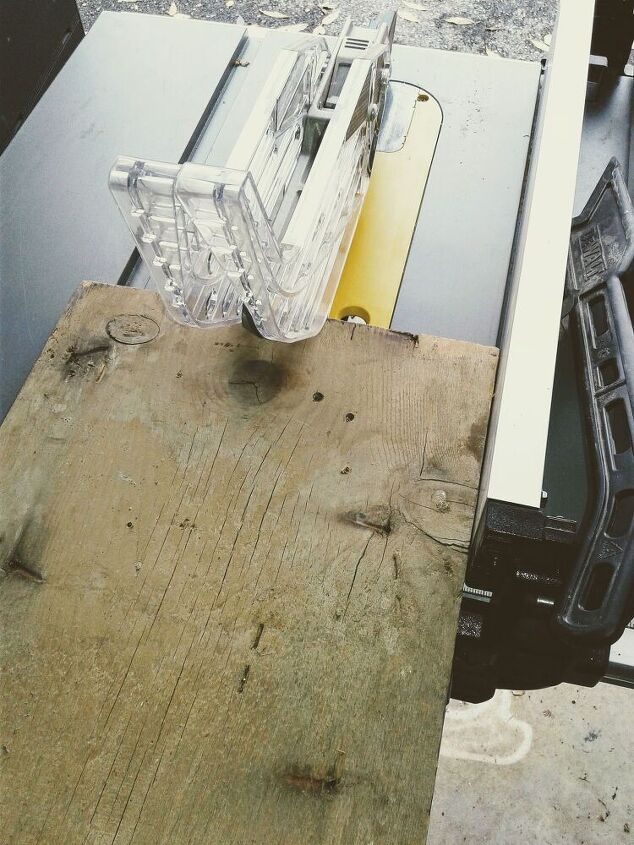
Cut your plank to give you the 4 frame edge pieces. In this case, I cut this plank vertically in 4 equal pieces to give me a square frame.
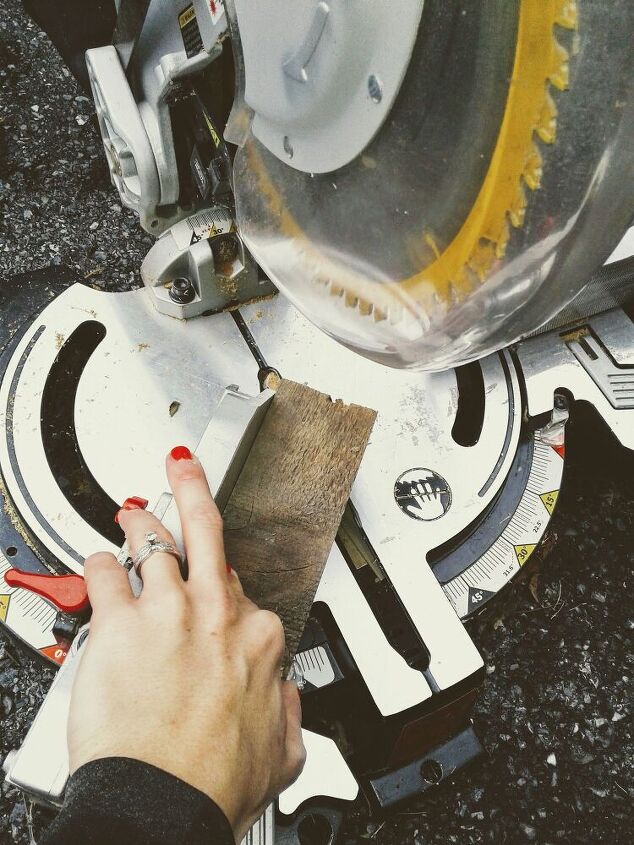
Once your framed edges are cut, use a miter saw to cut your 45 degree angles.

I threw in a couple brad nails with my Ryobi brad nailer (one of my FAVORITE tools) in the corners to help keep the frame together.
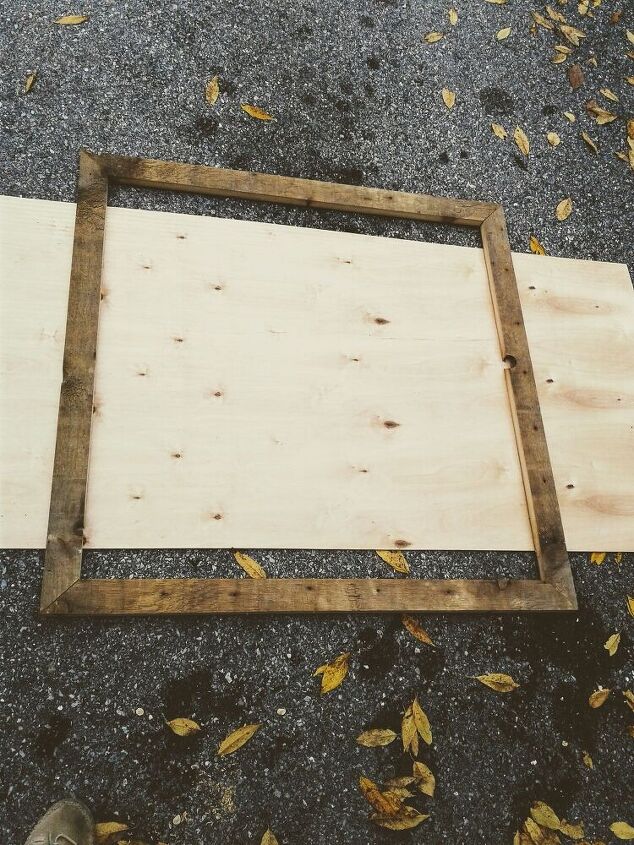
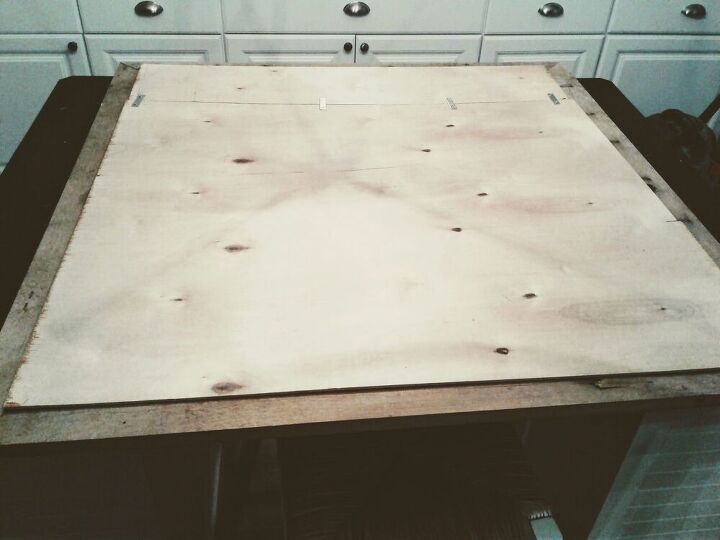
Use any thin (1/4″ – 1/2″) piece of plywood for the backing. This is what you will cover with cork board.
Lay your frame over the 1/4″ plywood and trace along the inside edge to create a border for the backing. As you can see below I had to use two pieces of plywood because my frame was too big.
After you have traced it take a straight ruler and extend those edges approximately 1/2″ or as much as it takes to overlap the back of your frame because you will need to screw it in to the back of the frame.
Cut the plywood backing with a circular saw.
Once the plywood is cut to fit as the backing to the frame, it is time to secure your frame and attach the cork board material!
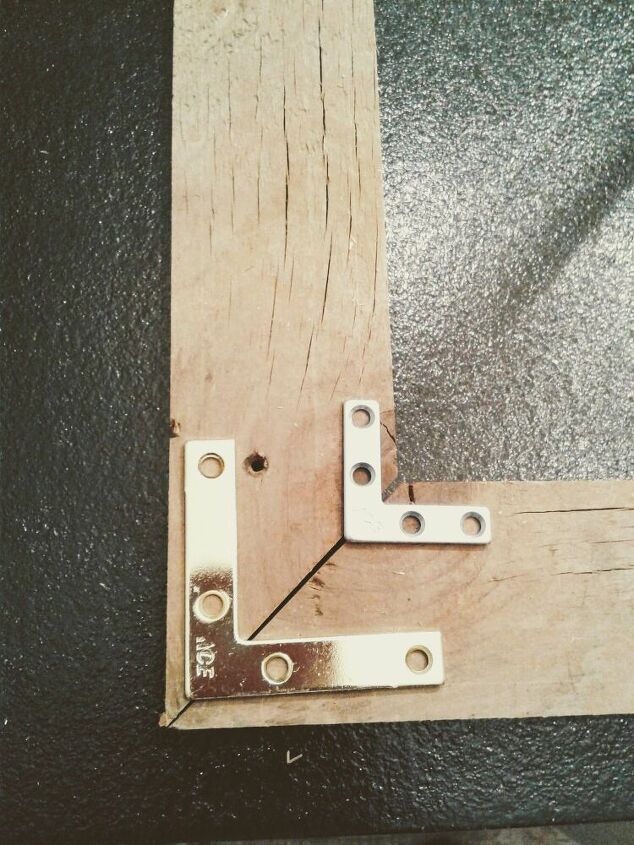
For this frame I used two L plates for each corner. A 2 inch brace for the inner aspect of the corner, and a 2 1/2 in brace for the outer aspect of the corner. Place the L plates in the corners and fasten with screws to secure your frame.
Double and triple check that your screws are not too long for the width of your wood or they will go right through to the front!
Once you have secured your frame with the L plates then lay your plywood on the back of the frame.
Secure with only a couple screws to hold in place.
You will need to take the back off again to cover your cork board with fabric. This is to keep the board in place while you attach the cork board.

Flip it over and start attaching your cork board. I used cork squares just because they are easier to handle, but you can also buy a roll of cork.
I used self-adhesive mounting squares as well as a hot glue gun to attach the boards to the plywood.
You are ready for the fabric.
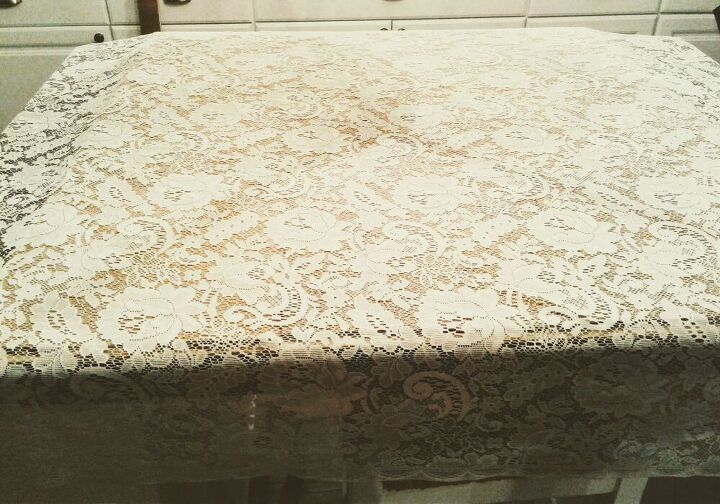
At this point you need to unscrew the backing, flip it to the front, and cover the cork board with fabric.
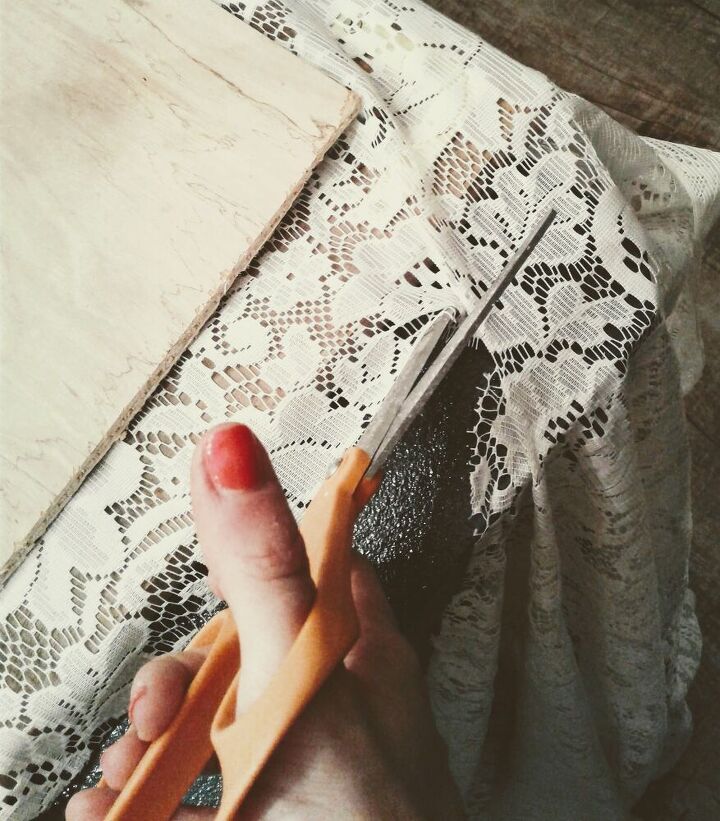
Cut around the edges leaving approximately 2-3″ extra to glue to the plywood. A fabric scissors is recommended if you have one.
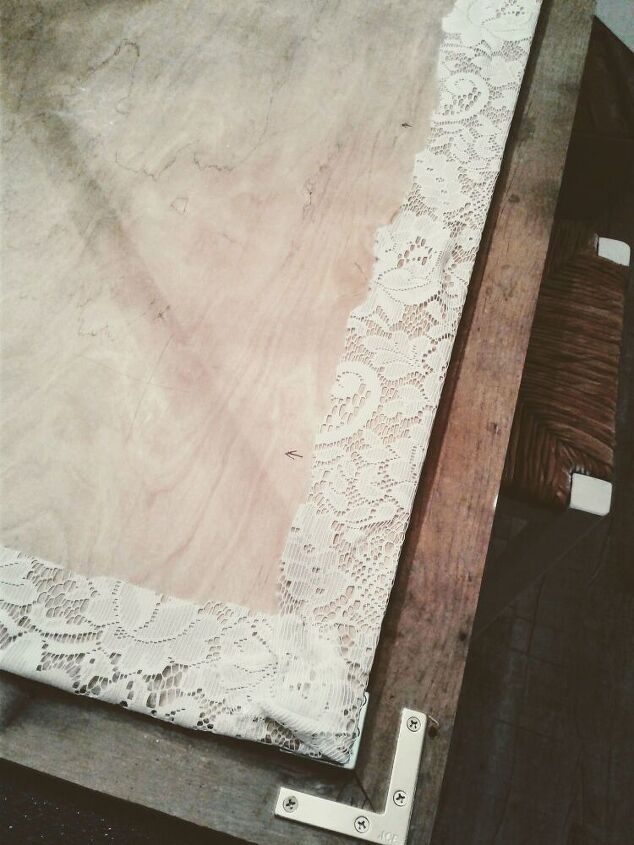
Glue the fabric to the back of your plywood and secure the plywood to the frame with screws.
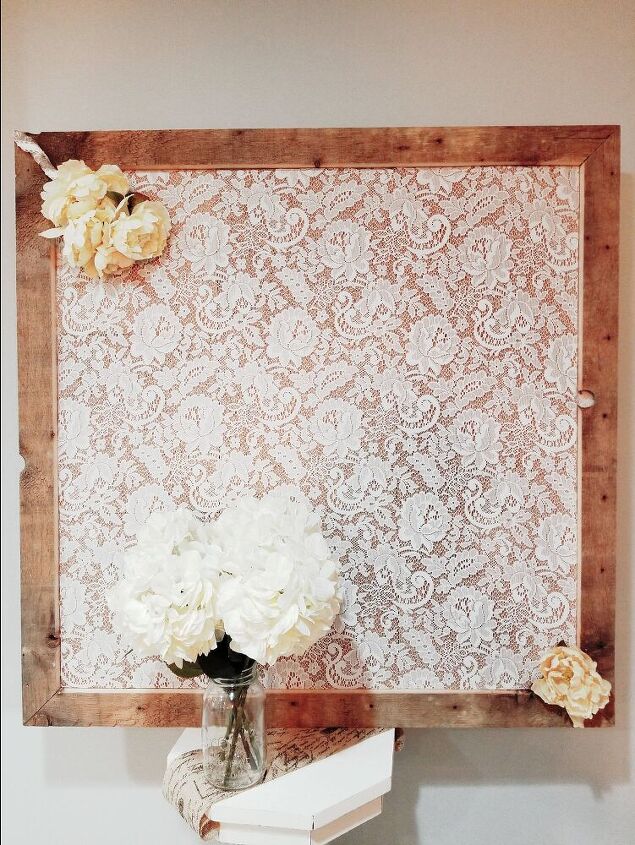
Add any other decorations you may want such as fake flowers, accent fabrics, or other decals.
Voila!
Resources for this project:
See all materials


Comments
Join the conversation
-
Very pretty and easy project! I like the idea of the lace over it so when the cork starts looking beat up you won’t see it.😊
-
Thank you!!


Frequently asked questions
Have a question about this project?