


DIY Vintage Inspired Stands
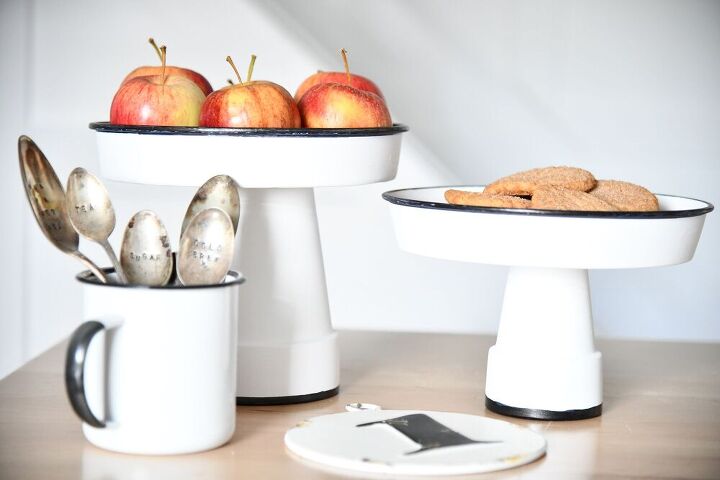
These vintage inspired cake stands are simple, inexpensive, and easy to make. These DIY vintage inspired cake stands are simple, inexpensive, and easy to make. We cannot get enough of them! You will love the end result, they turn out beautiful. These are perfect for cakes, cupcakes, pies, or even to hold your decor! There are so many choices on what you can put on display on your stand.
For this project, I wanted to draw inspiration from that old farmhouse kitchen life. Charming character, home-cooked baked goods, & time with family!I hope this project inspires you to be creative, find ordinary items, and create beautiful decor.
Be sure to check out the blog for more styles of DIY vintage inspired cake stands.
Step Find Your Supplies
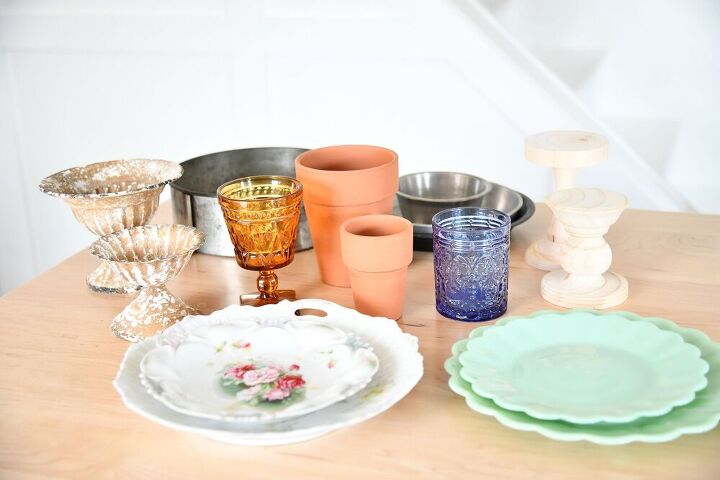
Be on the hunt for vintage plates, baking pans, glassware, and anything else you think could be a top or base for a cake stand. You can find these at any thrift store, or even vintage inspired items from your local decor shops.
Step Clean Your Items
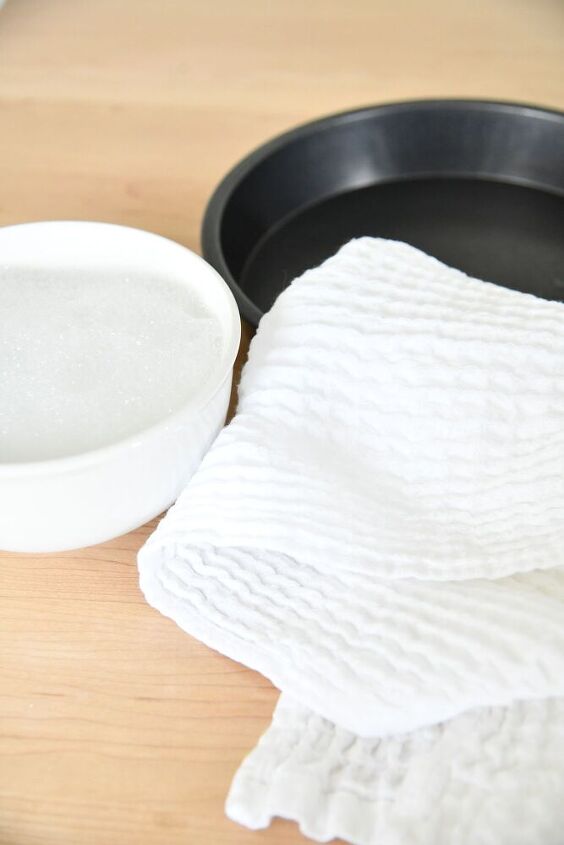
With this step you want to clean off your vintage dishes and pans, before starting the DIY project. It is important to make sure the area is clean of any debris or stickers before you move on to the next step. Anything on the pan or glassware will show through once you paint the item. So do your best to clean or soak of anything left on the items.
Step Pairing Your Vintage Finds
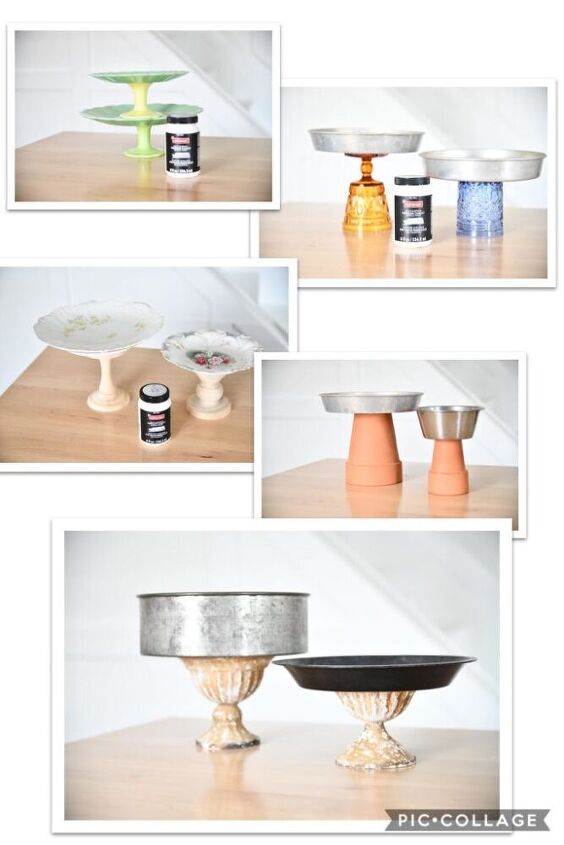
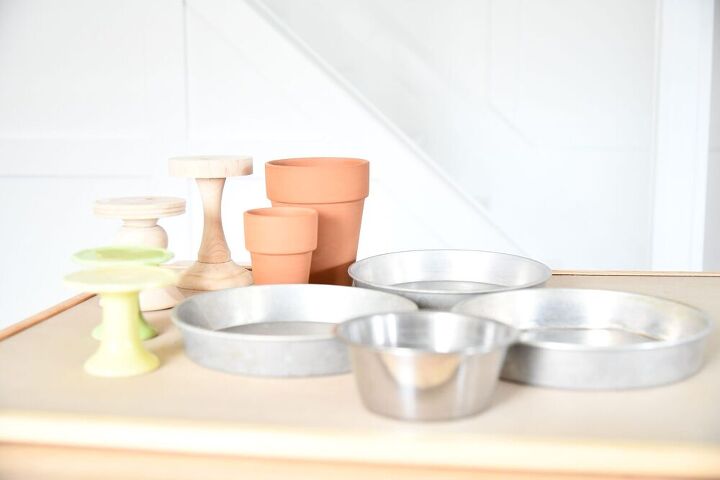
Next you want to decide which top you want to go with each base. This is my favorite part. I love to mix small and large pieces. You can use anything from an old baking pan, glassware, to vintage plates. This part of the process allows you to be creative and find your inner artist.
Step Creating Your Stand
Choose to paint, stain, or leave your finds as is. You can choose to paint, or stain, the base or the top item, or leave it in its original finish. Next mix and match your vintage finds to start designing your stand. You can always choose to paint the base, and leave the top section in it's original vintage form, or vice-versa.
Step Prepare to Paint
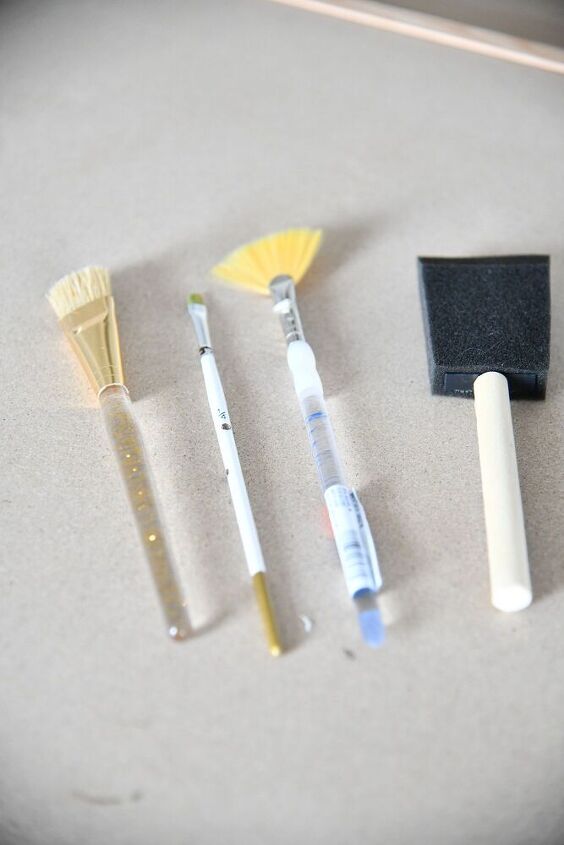
If you have decided to paint or stain, find a surface where you can get started. You want a space that can get dirty, you can lay newspapers or cardboard down.
You can use any paintbrush you have laying around, or pick up and inexpensive one from the craft store. For this project I used the fan brush. I wanted the pans to looked aged and this brush is perfect for that end result.
My Choice of Paint
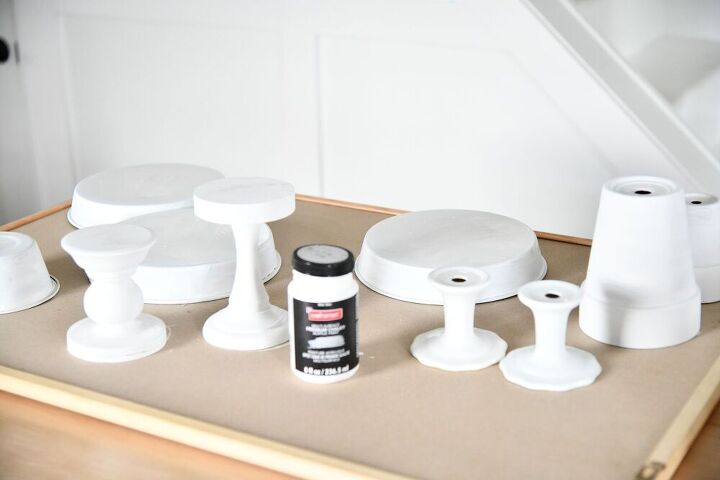
You can use any type of paint, in your choice of color. My go to is always chalk paint. It does not matter what brand. In this DIY I used the Craftsmart Michaels brand. Chalk paint offers a thicker coverage, which means you don't have to as many coats as a typical acrylic paint.
Creating the Enamel Look
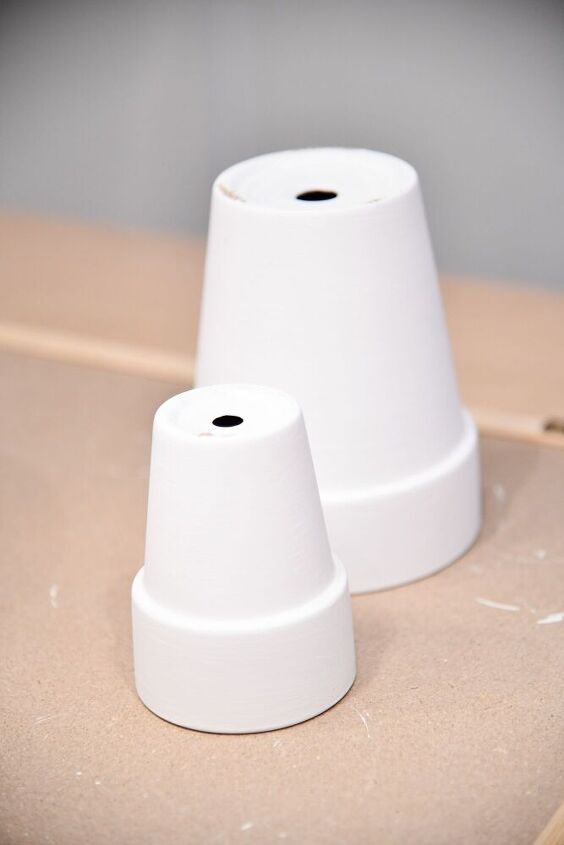
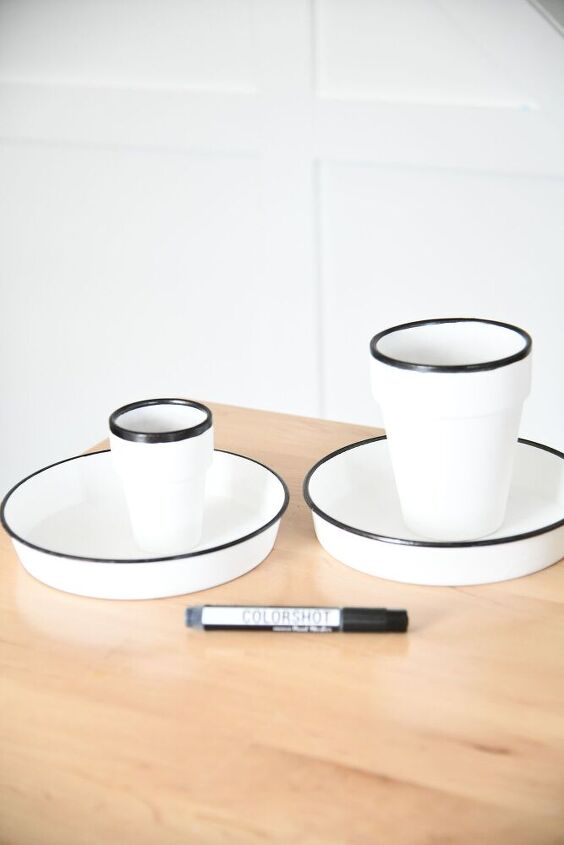
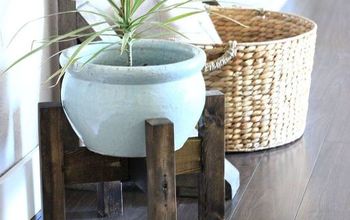
I love recreating the enamel pan look. To create an original enamel pot look, I went with white chalk paint.
Chalk Paint Pots
I love recreating the enamel pan look. To create an original enamel pot look, I went with white chalk paint. You will probably need about two coats of paint, if you are using chalk paint. You may need more coats if you choose a regular acrylic paint.
Paint Your Rim
You want to paint the rims of your vintage items, to give them the enamel look. This ColorShot Premium Marker made a perfect line. It was easy to use the paint marker to just go around the ring. The marker made a perfect enamel color ring, with the paint look, and no mess.

Get Creative with Colors
How cute would this enamel colored ring be for different seasons? Red ring for Valentines Day or Christmas? You could do fun colors for Spring and Summer.
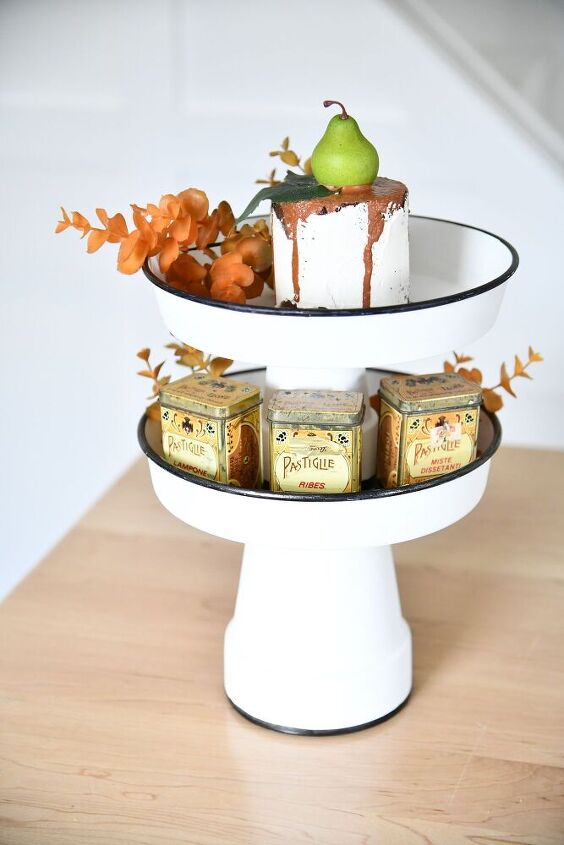
Create 2 or 3 Tiered Trays
This would be so much fun to even create larger stands. Have fun and enjoy your vintage enamel inspired cake stands.
Resources for this project:
See all materials


Comments
Join the conversation
-
What is the best sealer to use on chalk paint
-
I love the 'mix and match options you can have with the pans and stand. Not sure it'll work, but I'm going to try to glue small magnets to every stand and pan. They'll be interchangeable that way.


Frequently asked questions
Have a question about this project?
With varied kinds of items, what glue did you use?
Do you glue these? If not I’d be afraid it could all tumble.
First of all - love the great Idea and project... it's fun being creative adorable!... Now my three questions... In your list of supplies you've listed .. stain, not sure I remember what that was used for? Also.. don't you need a sealer? what happens if it needs washing - you know dust etc?? The paint marker wasn't in your list ... is that easy to find? craft store??? ok thx!!