


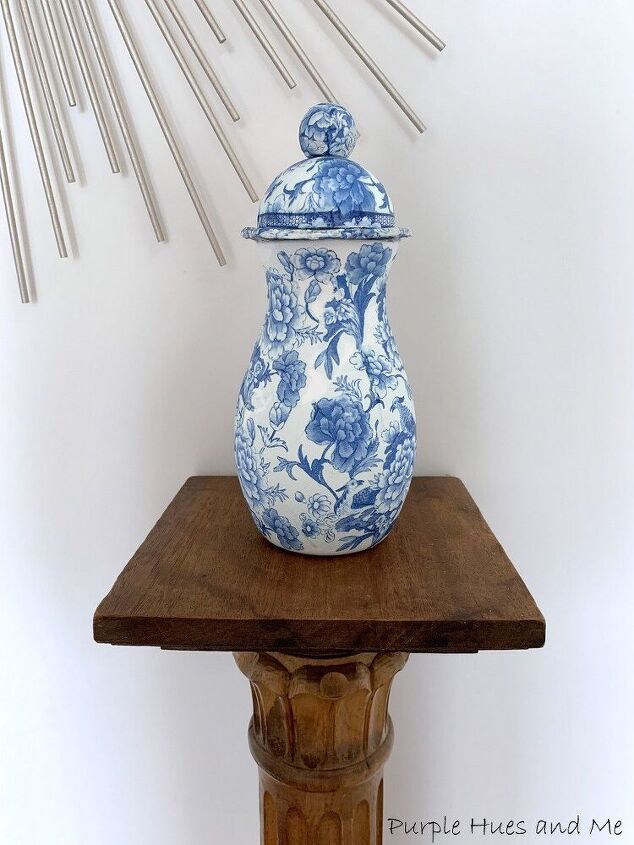
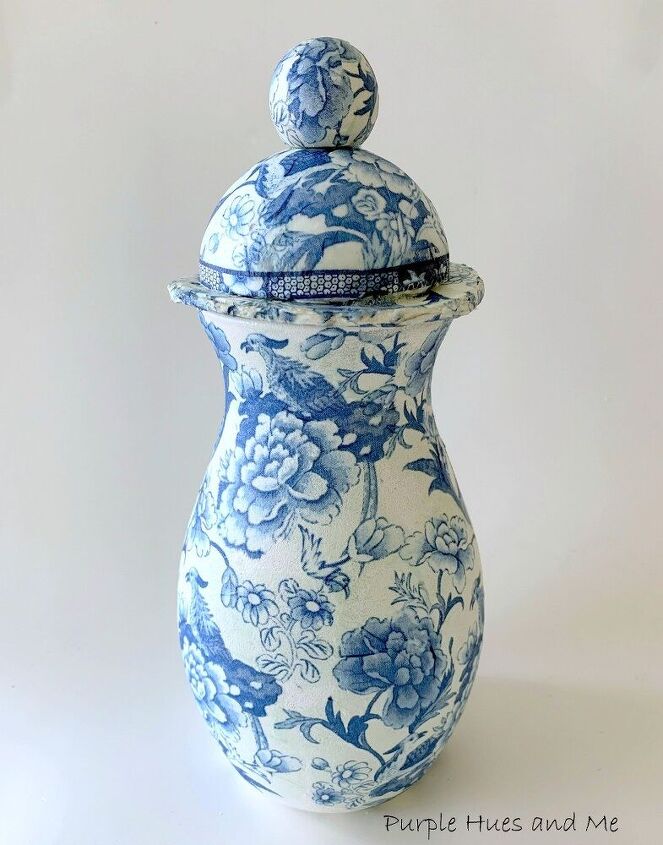
Decoupage Chinoiserie Ginger Jar With Lid DIY
I was recently a recipient of a giveaway on a All Things Dollar Store Facebook site. One of the members created a fun craft challenge using chinoiserie napkins she provided plus we had to use three additional items from the dollar store in our creations.I was one of the lucky ones to receive these goodies. I made a decoupage chinoiserie ginger jar with lid out of them. It was fun using as many items I could get from the dollar store to make this. If you'd like to make one too, here's how -
Let's begin by wiping down a clean vase with alcohol to remove any grease or oil and let dry.
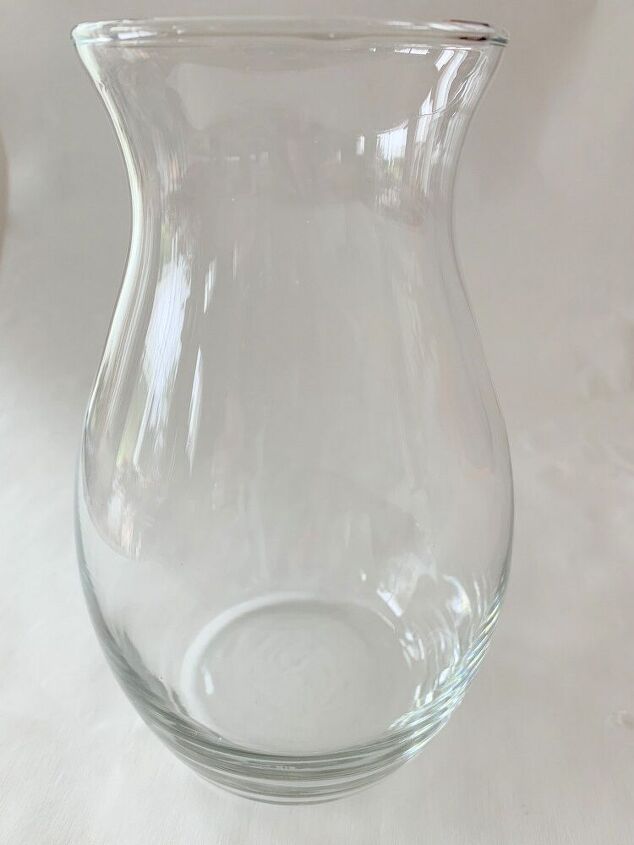
Then paint the vase using white acrylic paint and a sponge brush from the dollar store.

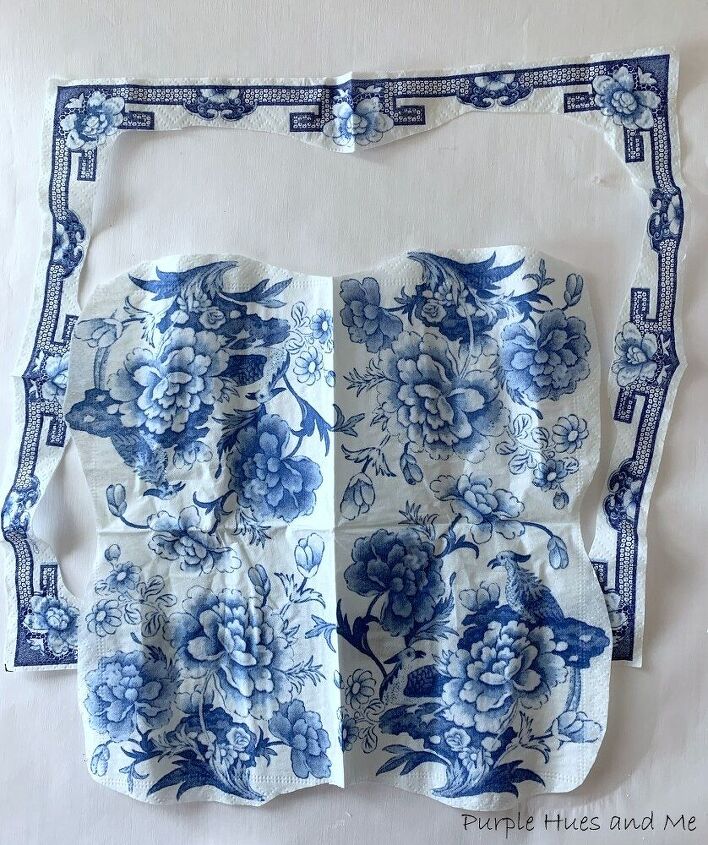
The napkin provided has an adorable border around the design which I cut out to use later.
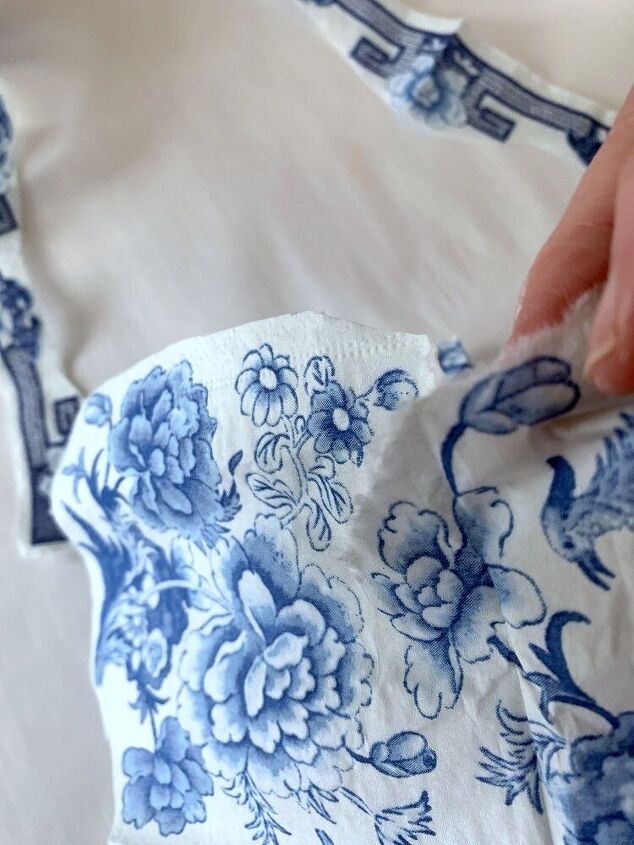
Next, start tearing out large areas of the napkins to use - and tearing off the hard edges created by the scissors. I like to have feathered edges instead of straight ones when I decoupage. They blend in much better and the edges are not as defined as the straight edges when dry.
Then separate the layers of the napkin, in this case, two white layers, revealing the printed side.
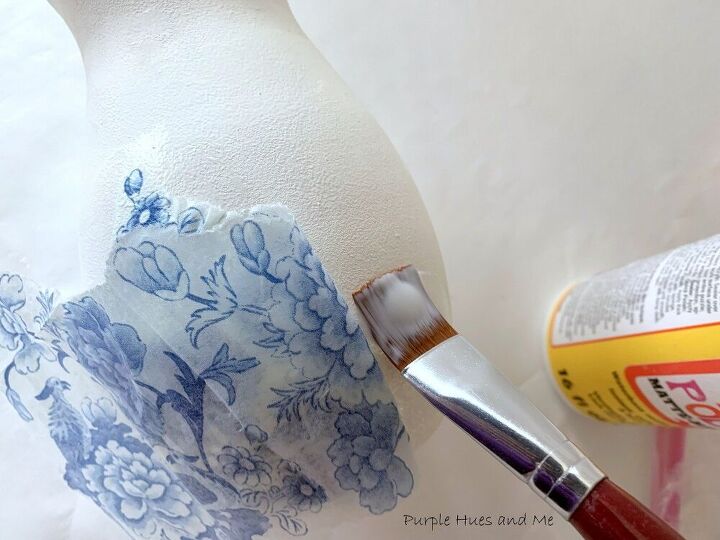
Next, apply a thin layer of Mod Podge to small areas of the vase and lay the napkin down on top, smoothing out in sections because of the roundness of the vase. Use plastic wrap to smooth out any wrinkles before applying Mod Podge to the top of the napkin. A wet napkin tends to lift up or tear if smoothed out with plastic wrap.
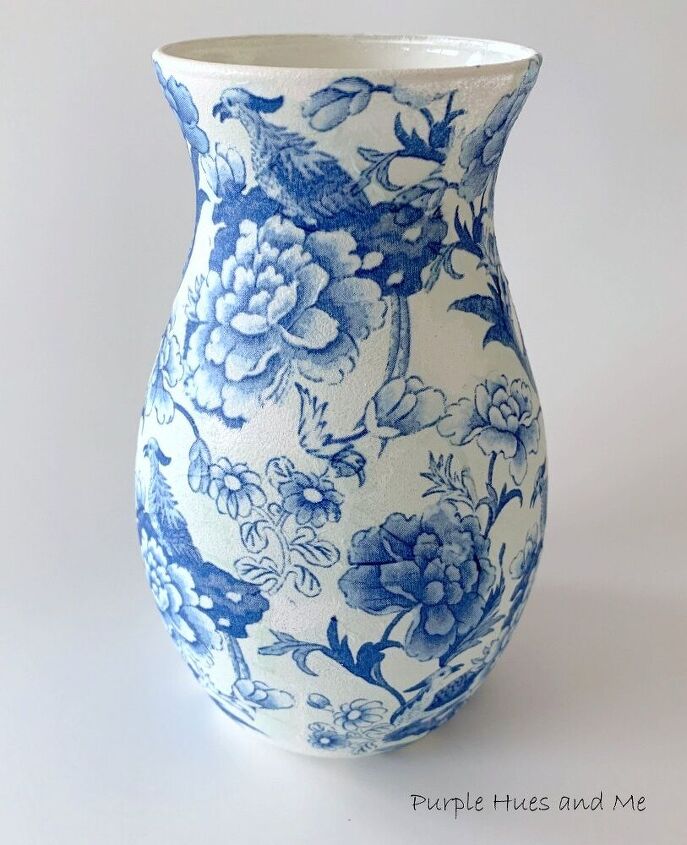
Continue adding sections of the printed napkin layer to the vase in the same manner as before . . . until the vase is completely covered. Fill in spaces with additional pieces of napkin designs using the same method, as before. And be sure to smooth out any wrinkles using plastic wrap before adding Mod Podge on top of the napkin. Let dry and then add a layer of Mod Podge to the entire napkin area to seal and let dry.
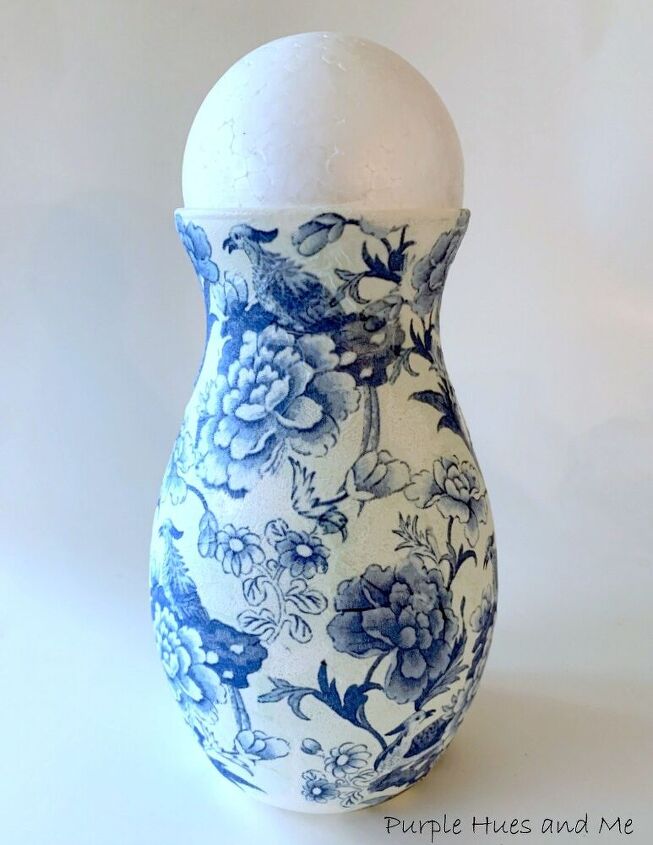
Place a 3-4" styrofoam ball into the open area of the vase that fits and sits evenly without falling through. Draw a line around the ball using the edge of the vase as a guide. Using a craft knife, cut the ball in half at the line mark. Decoupaging a styrofoam ball or even a half a ball completely with a napkin can be tricky. What I tried worked for me - but as I've discovered decoupaging different items, certain techniques don't always work. Sometimes, I amaze myself that it actually worked and other times, I've failed big time. The best part with napkin decoupage, most times you can just soak it in water to remove and start over.
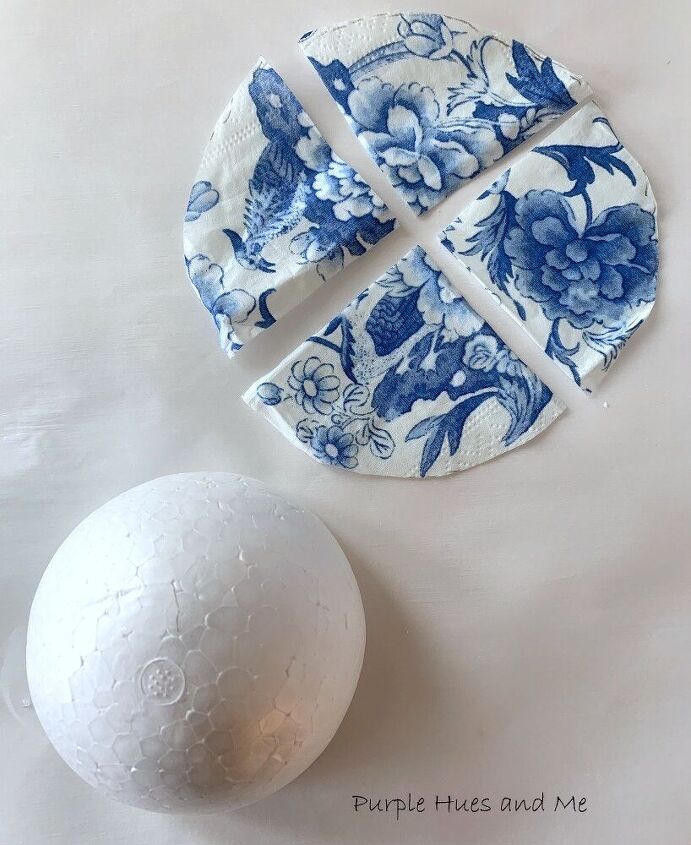
I found a round flat top that was a couple of inches larger than the styrofoam ball to use as a template for a circle to cut out of the napkin. Then fold the circle into four parts and cut out along the folds. Separate the layers to use the printed sides.
Next, cut slits in the bottom of the triangles so the edges would lay flat and not make more creases when adding the MP.
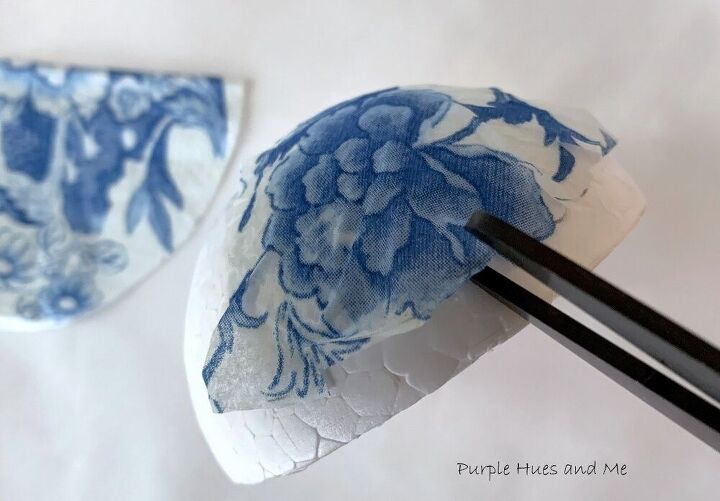
Then apply a thin layer of Mod Podge and smooth out the napkin piece over the area.
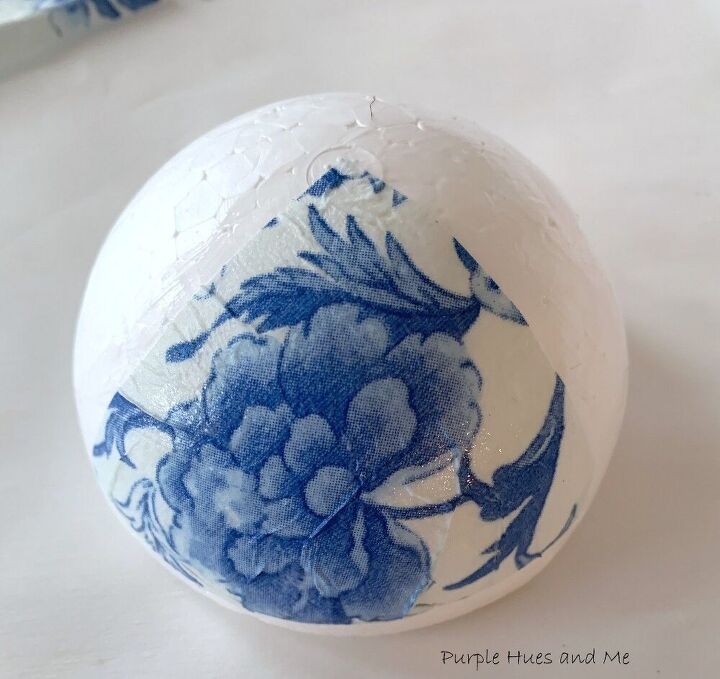
Next, matched up the next napkin piece and continued as before with the other pieces until the area is covered completely and relatively smooth.
Remember the napkin border I cut out in the beginning? Trim it to fit the area around the bottom of the dome and apply with Mod Podge.
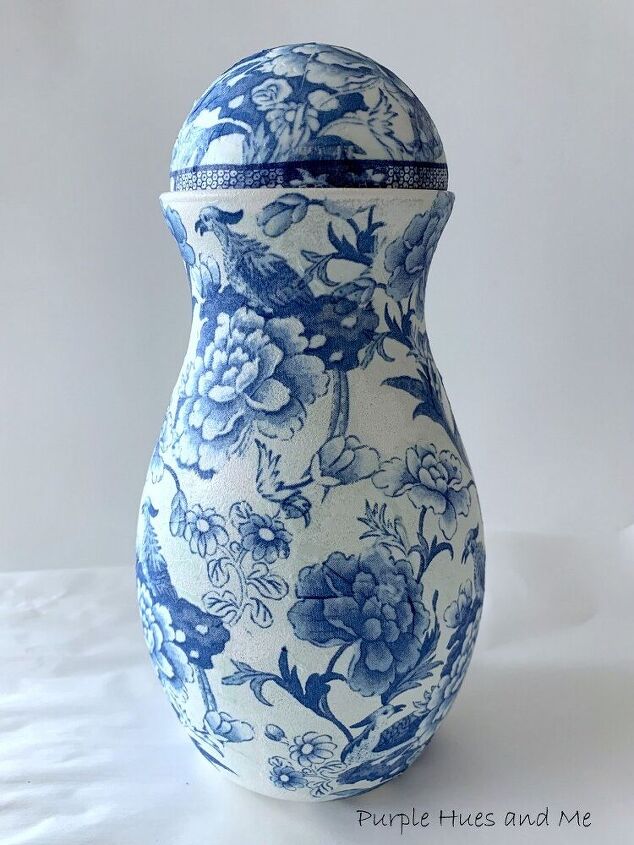
I'm loving the look, but I need to add a lip to the top for a more traditional ginger jar look! To do this, make a template out of thin cardboard . . .
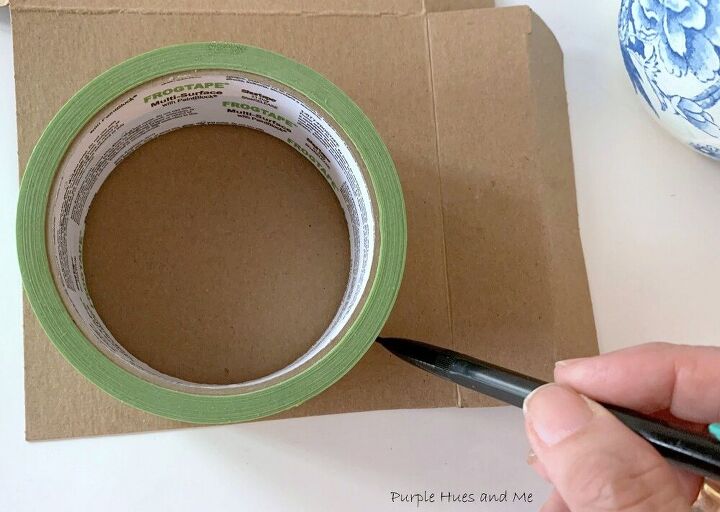
and paint white. Since the sides of the cardboard circle was open corrugated, I glued on twine around the edges thinking it would smooth out the sides of the lip . . . I continued assembling the lid, attaching the dome shape to the lip using a multi-purpose adhesive.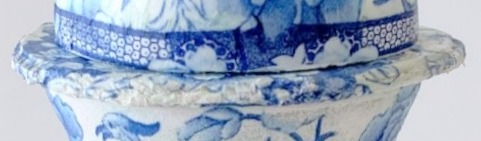 Paint a small wooden ball white and decoupage the same way as the dome . . .and glue it on top, completing the look!
Resources for this project:
See all materials


Comments
Join the conversation
-
LOVELY!
-
I have napkins, I have mod podge, and I have 3 thrift stores within walking distance. Thank you for the inspiration, I'm now off to find the perfect shape to be decopauged. If that's a word!!!


Frequently asked questions
Have a question about this project?
Where do you find napkins in the blue and white print ?
Yours doesn't look like torn pieces of napkin,but a solid piece. How did you make it look like that?
Wow very cool!