


DIY Mud Paint Pumpkins
Are your old faux pumpkins from years past feeling a little drab this year? Maybe they don’t exactly match your Fall color scheme? Don’t take them to Goodwill just yet! You need just 4 ingredients to transform your old pumpkins into a neutral and “found” masterpiece. This mud paint technique is everywhere, but I’d never seen it on pumpkins, and figured I should try it before purchasing new pumpkins this year. And I’m so glad I did! My DIY Mud Paint Pumpkins are so easy and have so much character and vintage charm. (P.S. I hope you'll stop by my blog for more home decor and DIY inspiration! And if you want to start your own blog but don't know where to start, be sure to sign up for the info list for my course - Beginner to Blog in 90 Days!)
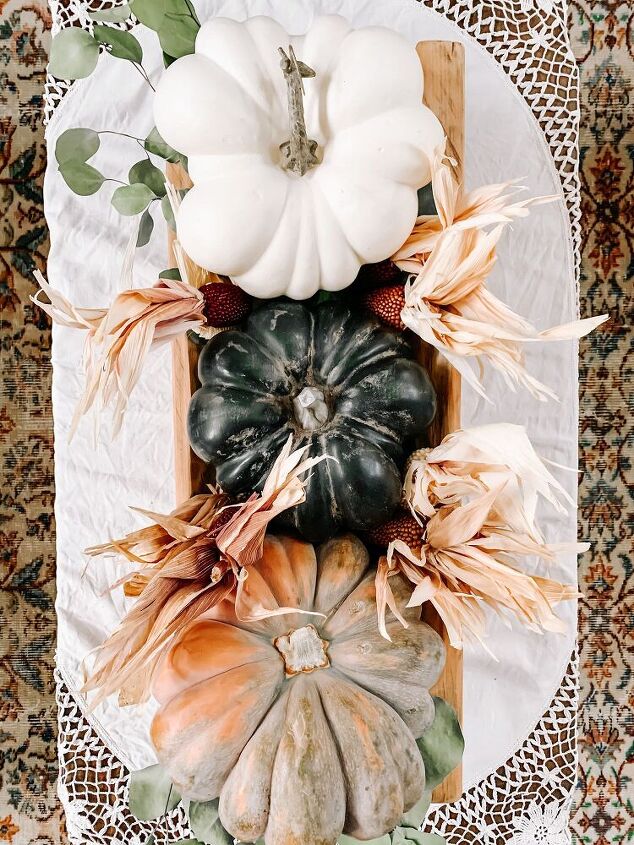
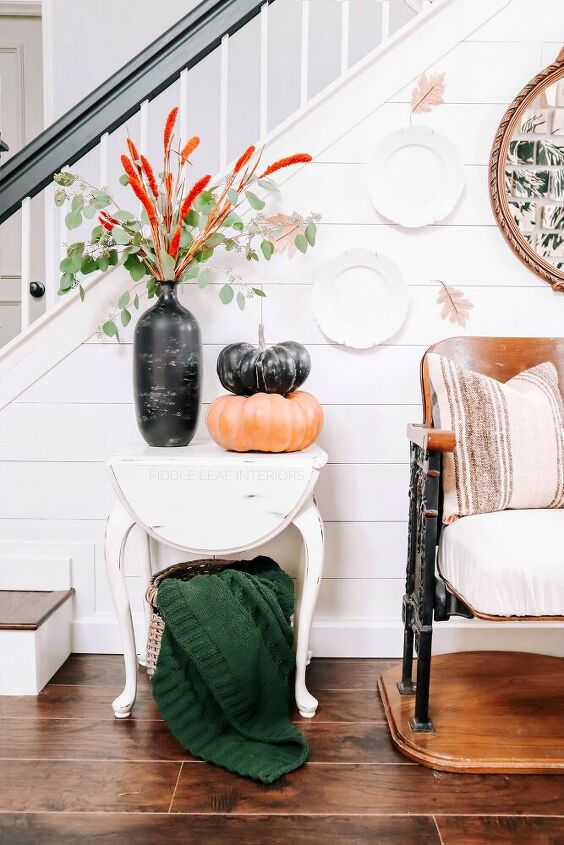
Doesn't the black pumpkin blend so well with the others? The mud makes the paint less harsh and fake looking!
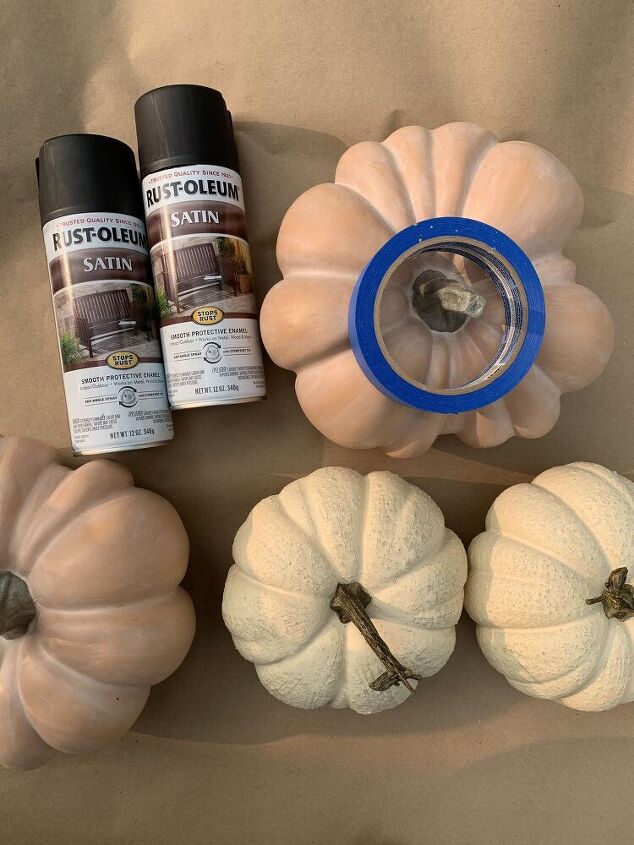
Clean off your faux pumpkins with a damp cloth. This will help the spray paint adhere smoothly. Using painters tape, tape off the stems of your pumpkins so they are protected from the spray paint.
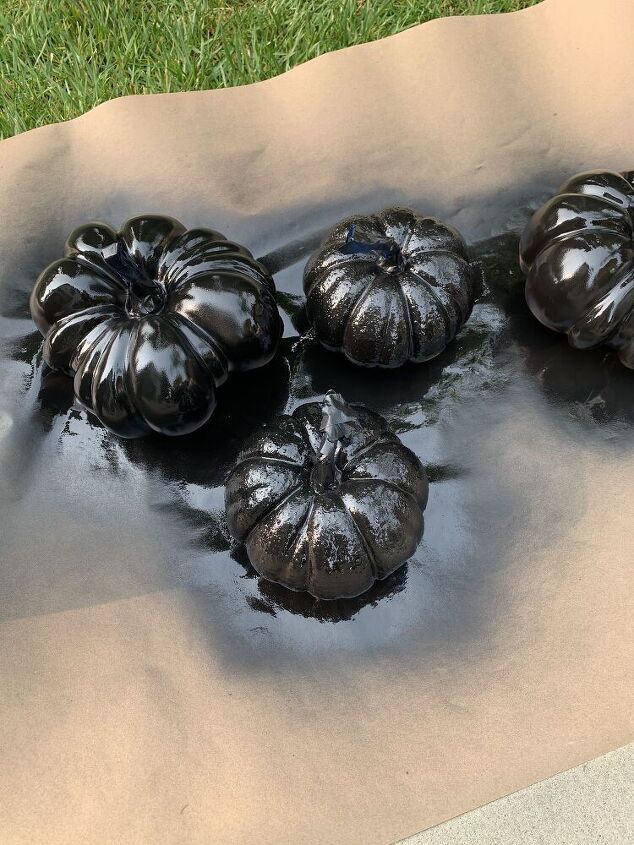
Spray paint your pumpkins. Multiple light coats are better and will help prevent drips.
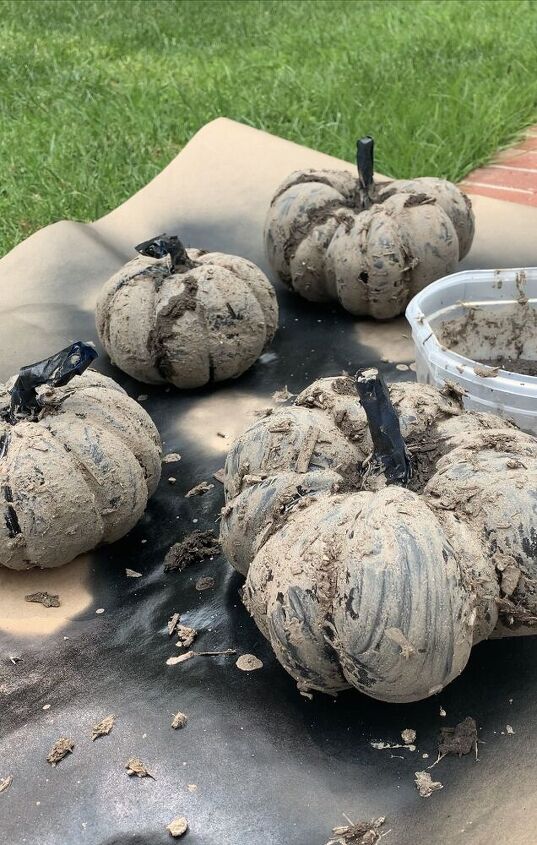
Mix up some mud from your yard in a plastic bowl. I made mine true mud, but depending on the look you are going for, you can use damp dirt as well (it results in a more subtle effect). Apply the mud to your pumpkins. The key is applying it in the direction you want your “patina” to come through in the end. On my pumpkins, I applied the dirt moving out from the stem, then down and around each ridge of the pumpkins (but it doesnt need to be perfect!) Allow your dirt/mud to dry.
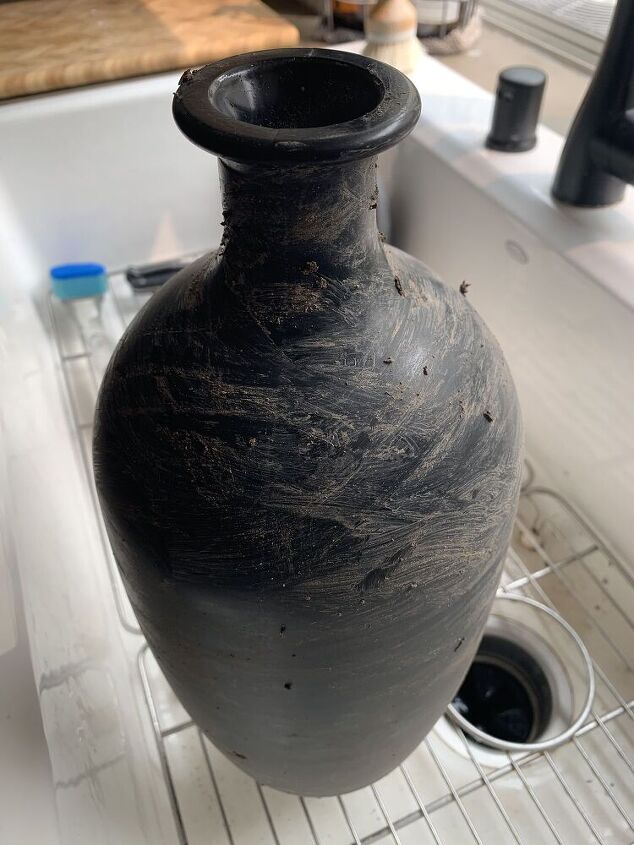
Using a barely damp cloth, buff off as much or as little of your dried dirt as you like. Make sure you buff off the dirt in the same direction as you applied it. Spray your completed pumpkins with a matte polycrylic spray. Now remove your painters tape from the pumpkin stems and that’s it! You can also do this same technique with white spray paint as your base, and on virtually anything – vases, lamp bases, etc (as inspired by Jaci Daly!) The black vase you see below is also dont with this mud paint technique, but I used a damp dirt rather than a true mud like I did on the pumpkins. (Here you can see a vase I made with the same technique).
I hope this inspires you to give your faux pumpkins a little refresh this year! If you try these DIY mud paint pumpkins, let me know in the comments below! And again, I'd love to see you over on the blog!
Resources for this project:
See all materials


Comments
Join the conversation
-
Finally, someone found something upon which this technique looks appropriate. It does look zombie-ish, or like something awful that was dug up out of the ground after having spent years there.
-
👍👍👍👍👍


Frequently asked questions
Have a question about this project?