


How to Make Your Own Long Curtain Rods for Cheap

Have you ever priced long curtain rods? Well, I have and they're not cheap! But I found a way to make long curtain rods that don't cost a fortune and, more importantly, don't look like you made them in 7th-grade shop class.
But first, the backstory!
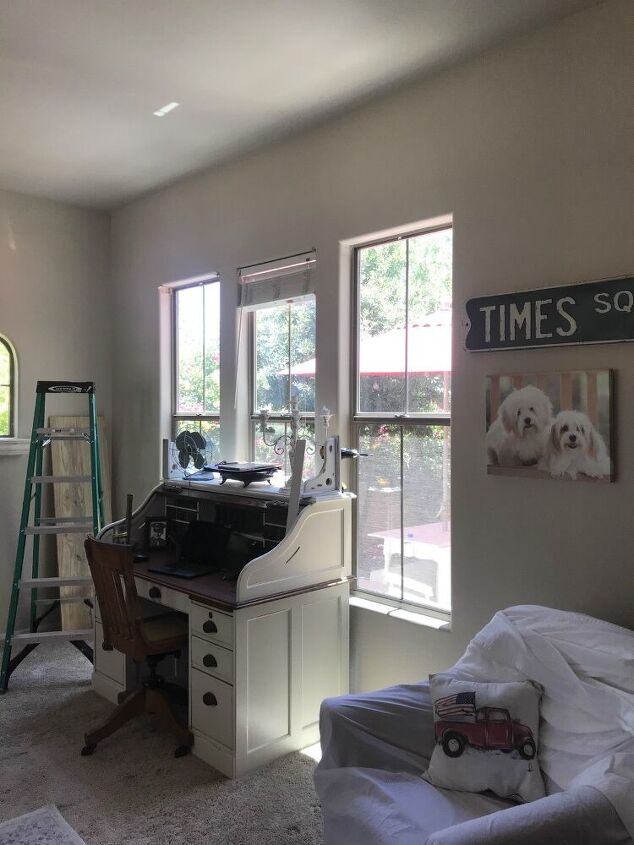
The front room (so named because it's the room at the front of the house) is easily one of the least-used rooms we have. Most of our time is spent in the back rooms of the house; the living room, master bedroom, kitchen and ALL of my workrooms are back there. The front room is mostly used by Jimmy and Greta to look out the front window and bark at things. Birds, people, dogs, wind... all the things!
I knew the day I moved into this house that the blinds had to go and that I wanted to replace them with a nice wooden corbel and curtain rod combination. The problem is that I've never been able to find the right look for it at a price I could justify spending. Having the warmth of real wood is part of the design of the room but nobody has wooden curtain rods long enough to cover our 3-window setups, over 8 feet. And there are two in that room ( 6 windows).
There are several DIY tutorials on making long curtain rods out of metal rods, conduit or PVC pipe but that really takes away from the look and warmth of wood. I also didn't want to get something that would require a middle bracket to hold up the rod, so it had to be sturdy material. Of course, Lowes and Home Depot didn't have anything that long... nobody did! I found some longer wooden dowels, but evidently, there's a heavy tariff on wooden curtain rods... they were over $100 and couldn't be shipped to our area.
The hubby had the bright idea to use a threaded connecting rod to join 2 pieces together, but after doing a little research and testing, he found out that it wouldn't provide the necessary strength. Plus he would have to be able to drill exactly in the center of the ends of the dowels. Center-drilling precision isn't really his strong point. :) But coming up with workarounds is!
He had the bright idea to join 2 dowels together using an angle cut. After verifying the idea with Google (of course, he wasn't the first one to do it that way) we were off to Lowes to buy 4 6-foot 1.25-inch wooden dowels (2 sets of windows) at $7.98 each before the military discount (thanks Lowes!) And thanks to my hubby Dee for his service! :)
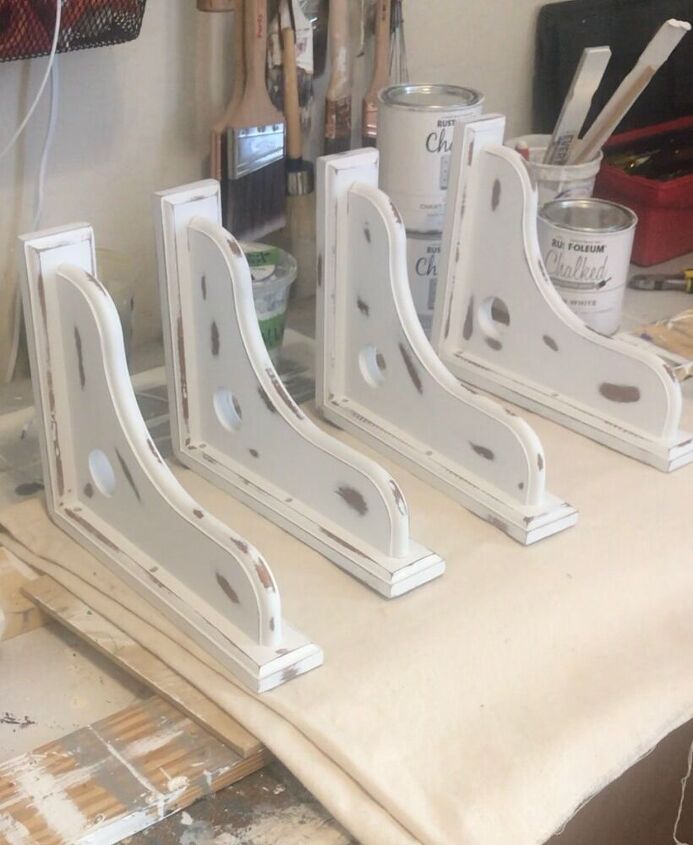
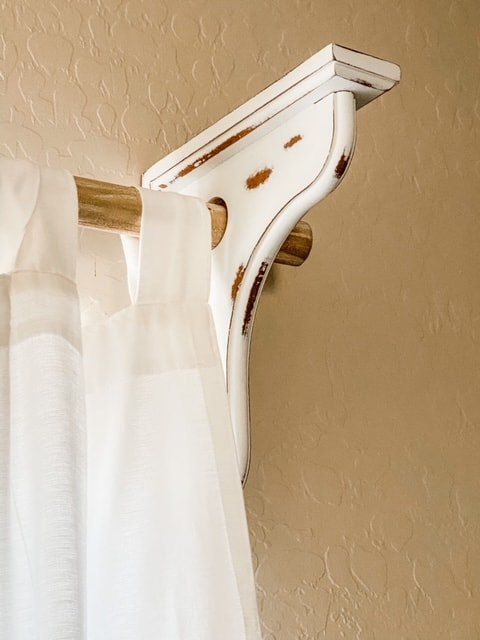
I already had the corbels and had found them at Goodwill for $5 each. Btw, I hate the stickers that Goodwill uses to put their price on things because it is SUCH A PAIN to get off. Especially from wooden items!!!
But these corbels had a bit of extra gunk on them that made them unusually tough to clean off. Someone had stuck super-sticky foam pieces on the tops and backs of each of them (I don't know why!) and I couldn't get them clean. Goo Gone, scrapers, baby oil, light explosives... it just made them worse. So I cleaned them off as much as I could and told myself nobody would be seeing that part of them anyway. Sometimes good enough is good enough!!! Anyway...I cleaned up the corbels, sprayed some white paint on them and distressed them.
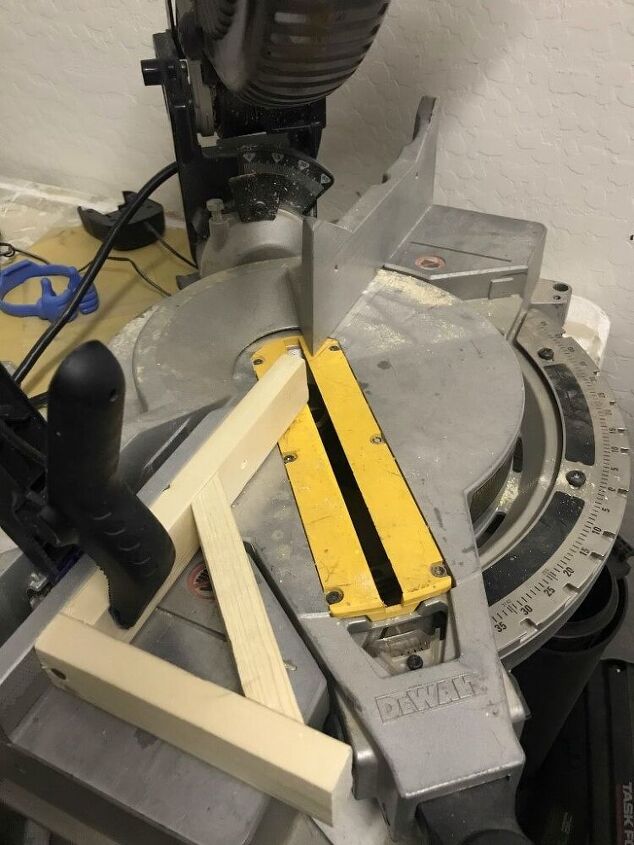
We tested Dee's angle-idea with some scrap dowels we had laying around. (Doesn't everybody have scrap 1.25-inch dowels?)
We found a problem in that the angle of our saw only goes to 50 degrees. That wouldn't provide nearly enough surface area, so we had to improvise a bit. Using a bracket Dee built as a proof-of-concept for some garage storage, he was able to get another 30 degrees. Maybe one of you math geniuses can tell us what the angle actually was; all we know is that it worked! And I was mostly singing songs and playing with the dogs while he was doing all the math stuff anyway (math is NOT my strong point!)
We ended up with approximately 8 inches of surface area on each cut, which was enough to get a good solid bond with some wood glue and a couple of nails.
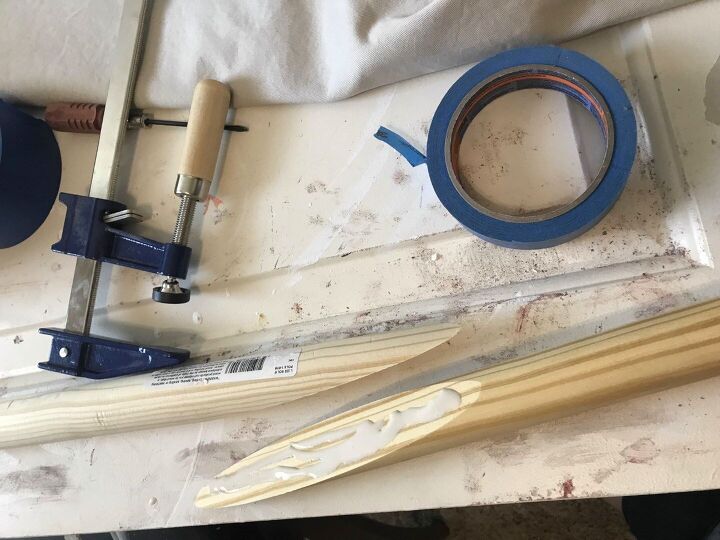
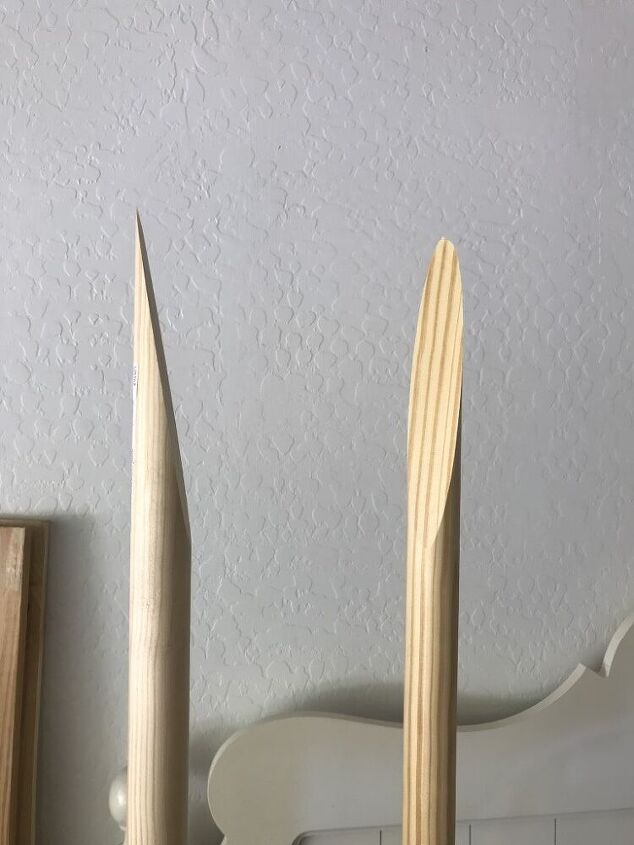
The cuts actually worked (I almost never doubted they would) and everything lined up perfectly! Dee swiped a little wood glue on the angle cut and taped them together really tightly.

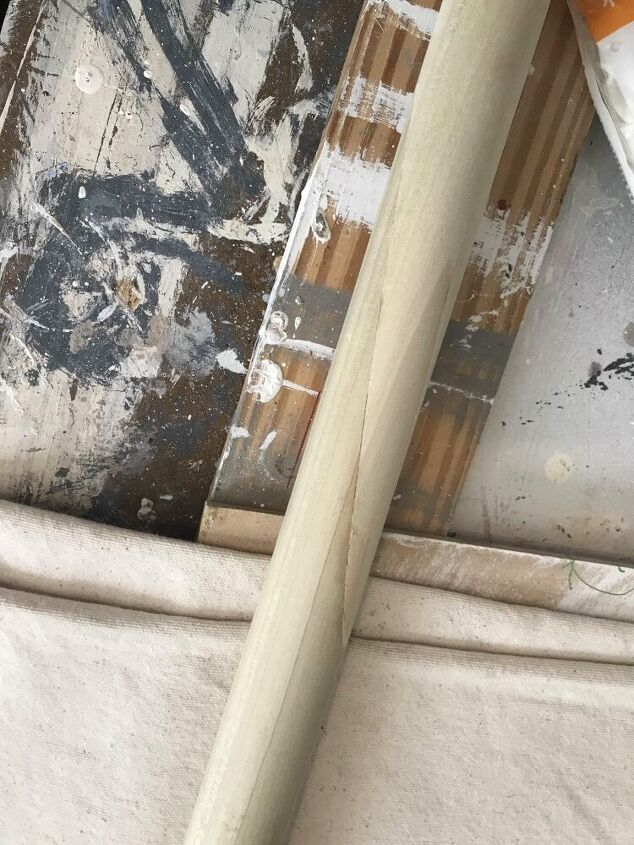
After letting them dry for 30 minutes, he sunk a nail in each side with the nail gun, took off the tape and started sanding. Each needed a touch-up of wood filler in a couple of places but turned out almost seamless.
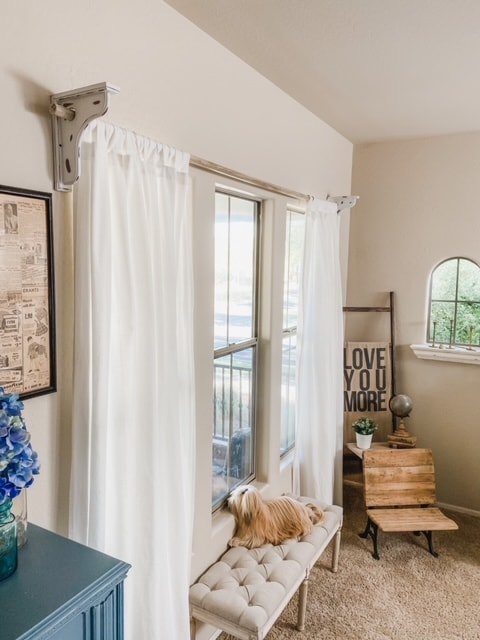
Dee cut them to the right length and I slapped a coat of paint on each rod while he hung the corbels. After some dark wax was rubbed on to the long curtain rods, they were ready for hanging. It was curtains for them!
They turned out exactly as I had pictured and were super cheap and easy to do, well except for the math part, but that was Dee's job anyway!
Occasionally I think about putting a shelf on top of them and then I remember that was the 80's and is best left in the past!
Happy DIY'ing,Cindy
PS: Be sure to visit me on Instagram @somethingpaintedwhite
Resources for this project:


Comments
Join the conversation
-
It looks so fresh and breezy. I would do the shelf thing. lol😊
-
Rods are perfect and a shelf is a great idea!


Frequently asked questions
Have a question about this project?
You won't put a shelf because it's so 80s , should we do away with antiques since they are sometimes 100s of years old or the farmhouse style ?
Why not the shelf? It would look great! So it was done in the ‘80s, it would still look good today! Personally,I think it needs a shelf with some nice artifacts perched on it.