


Create Your Own Fall DIY Chalkboard Wreath
Fall is here, and I’m getting in the spirit with these gorgeous chalkboard wreaths. They’re perfect for fall, but what’s really cool is that they can be adapted to any season. You can customize it to your own preferences and choose whatever colors and tones you like. I chose to keep mine to solid colors and nothing too loud, but you do you! Follow this easy tutorial and before you know it you’ll be bringing fall into your own home.
Tools and Materials:
- Chalkboard
- 10” Evergreen form
- Greenery
- Faux sunflowers
- Faux berries
- Velvet pumpkins
- Scissors
- Hot glue
- Command strip
- Plier cutters (optional)
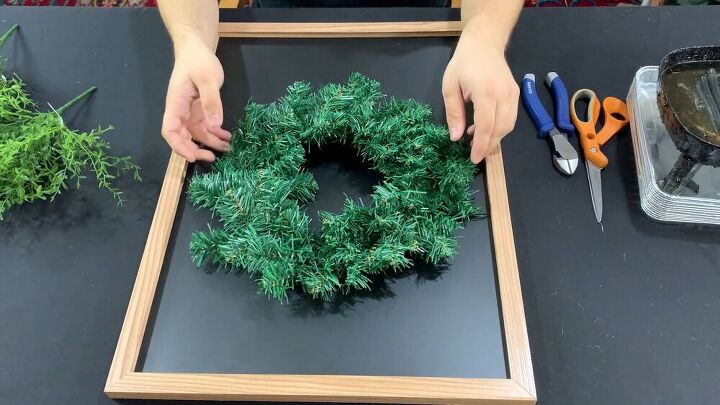
When you’re done, your wreath is going to be hung onto a chalkboard, so you want to make sure the sizes match up. I used a 10” wreath, but you can also do this with a much bigger wreath. Alternatively, you can keep your wreath small but use a bigger chalkboard and write fun things around the wreath as well. Make it yours!
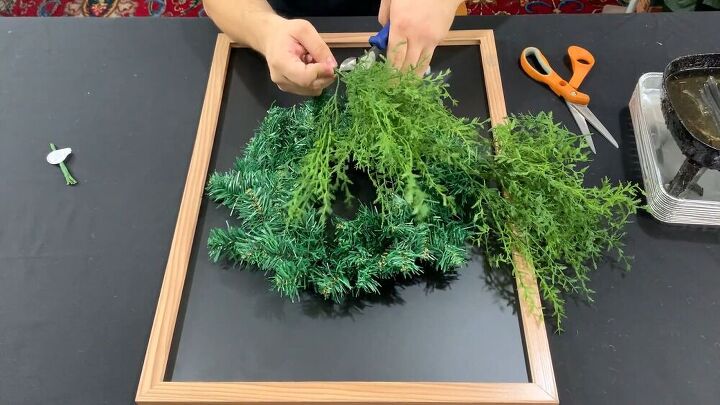
You don’t want your greenery to stick too far out of your wreath, so after you separate the pieces, use your cutters to trim off the ends of the stems.
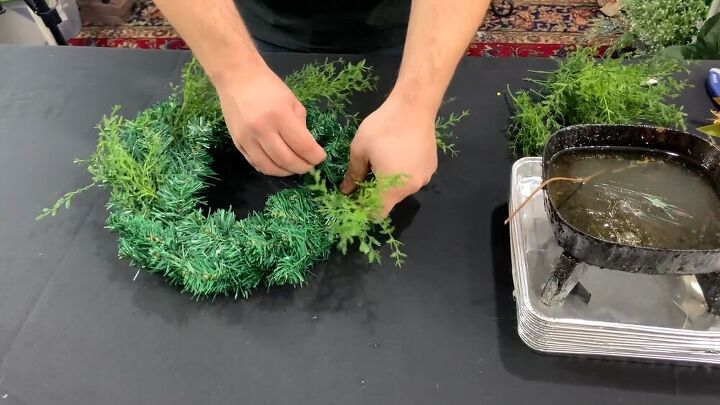
Now you’re going to insert the greenery into the wreath. First, apply some hot glue to the end of the stem, then stick it in where you want. I like to use a hot glue skillet, where I basically end up with a bowl of hot glue that I can just dip my stem into, but you can use a hot glue gun, too. With a wreath like this, you want to put in your greenery all facing in the same direction, otherwise, it looks sloppy. So start somewhere then go clockwise around.
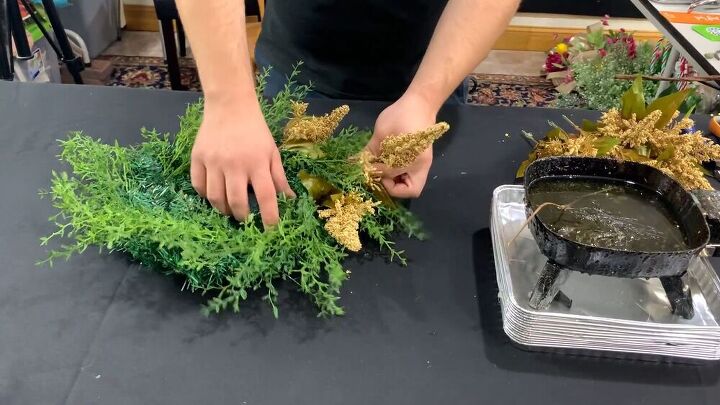
Follow the same process as before, but this time with your berries. I chose to use these more neutral ones, but feel free to go with more colorful ones if you prefer. Again, keep them going in the same direction around the outside of the wreath.
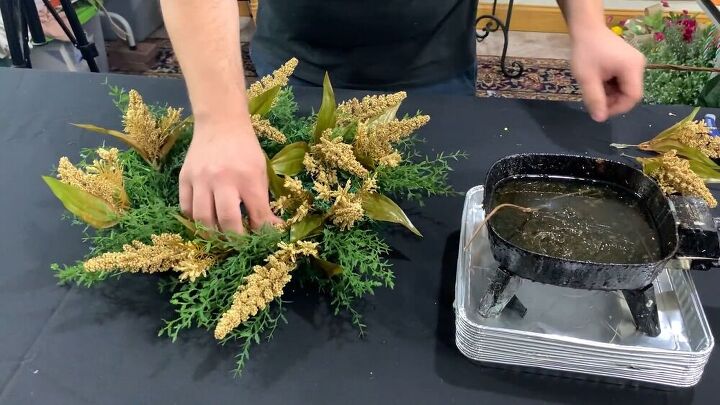
Once you’re done placing your berries around the outside of your wreath, follow the same process, but this time sticking them around the inside of the wreath.
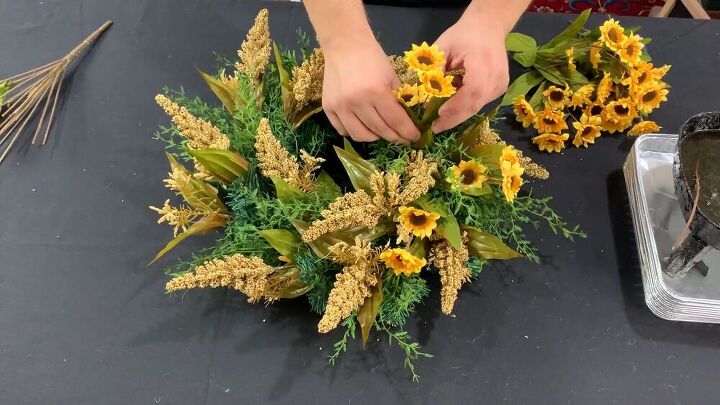
You guessed it, same process! Before you start inserting your sunflowers, though, you’re going to want to trim off the ends of the stems but first push the leaves up so that you’re cutting off just the stems and not the greenery. Then go ahead and add your glue and put them in, angling them all in the same direction.

If your velvet pumpkins come attached to a stem like mine did, cut them off. Then add your glue and stick them into your wreath, scattered around as you see fit.
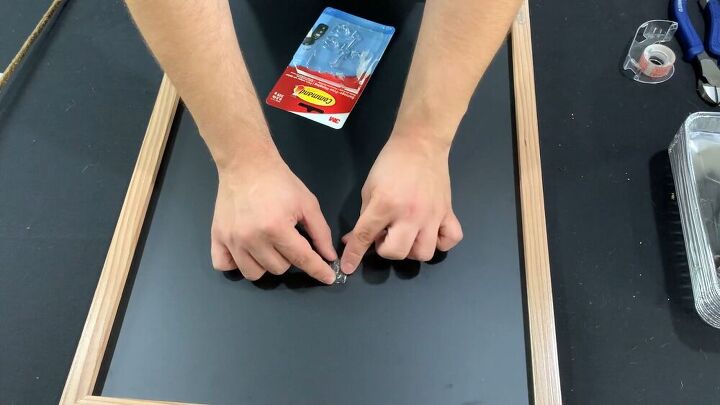
Now that your wreath is complete, you’re going to attach it to your chalkboard. I chose to do this with a simple Command Strip. You can use something stronger if you prefer, but since I’m just using it in my home, I wasn’t too worried about it — if it falls I can just pick it back up. Give your strip a little bit of time to set into place, then stick your wreath to it.
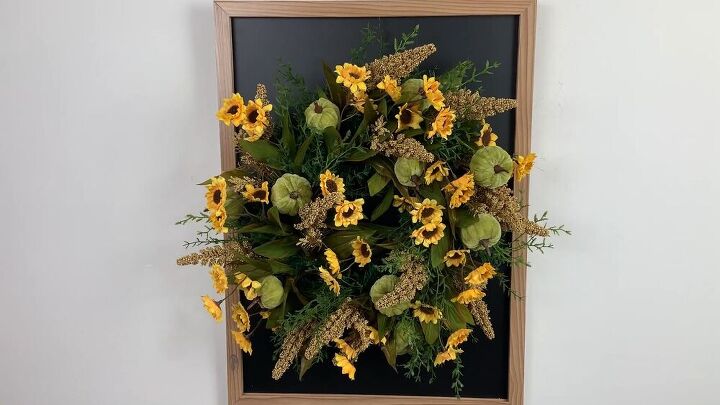
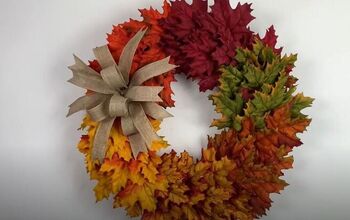
And there you have it! A gorgeous fall wreath to bring the season inside! This project is fun to do and I love how much you can personalize it. I chose to use colors that blend in together because I like how you might notice more elements the closer you look at it. You can also do it with different vibrant colors, though, and it will look really cool. Are you going to make your own DIY fall wreath? Show me what colors you chose! Drop a pic in the comments below.
Resources for this project:
See all materials


Comments
Join the conversation
-
Great project! :)
-
Great use of a chalk board. The nice thing about this is that you can change the flowers out for the various seasons we have especially in New England. Love it.


Frequently asked questions
Have a question about this project?