


How To Make a Pillow From a Reusable Shopping Bag

I have a collection of reusable shopping bags.
It's like the collection that I never intended to have. I just couldn't help it. I would be checking out in line somewhere and there they would be the reusable shopping bags.
One day I was looking at all those shopping bags and I had the best idea.
What if I made a pillow?
It's SO EASY.
I challenged myself to make the pillow with things I already had around the house.
Here's the step-by-step on how to make a pillow for FREE.
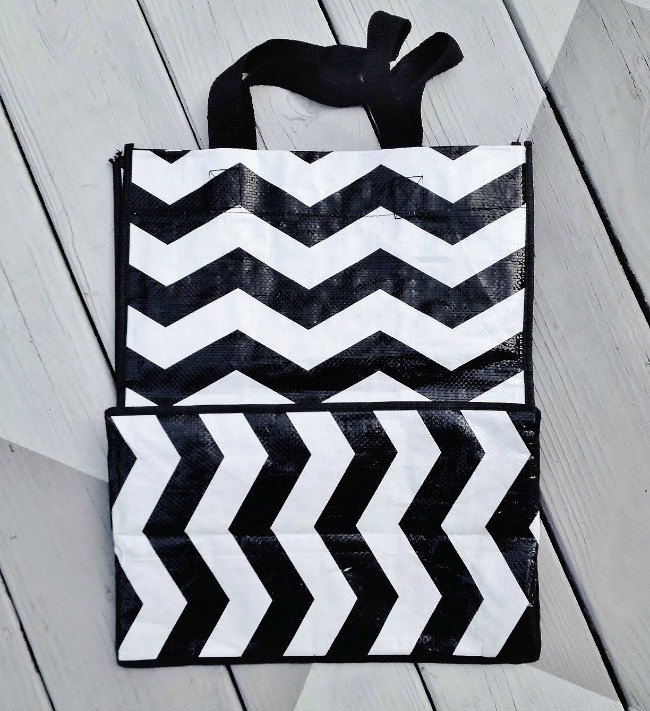
I have three of these bags and I wanted to make three pillows.
Vertical bags work so much better for this pillow project. It also works better if the bottom of the bag is square rather than envelope.
Start by cutting two rectangles from the bag.
Cut at the edge of the trim to maximize your pillow space.
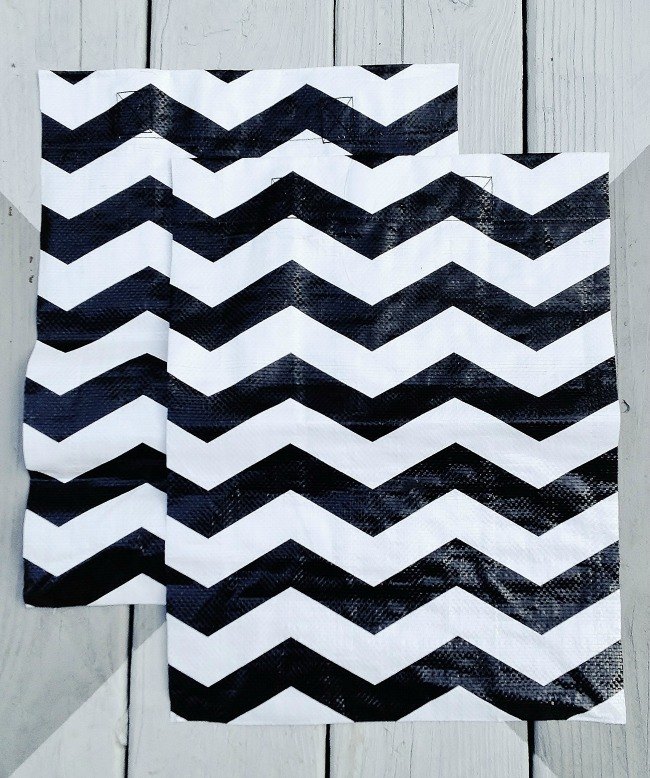
When you are done it should look like this.
I left the cute stitching at the top but you could cut that off if you want.
Check to make sure the rectangles you have cut are the same size. Trim off an excess to make them even.
I just stitched seams on three sides of the pillow on the outside.
It's important to only sew the bag on three sides (as shown) to leave an opening for the stuffing.
You could always use fabric glue if sewing is not your thing and make this a no-sew project.
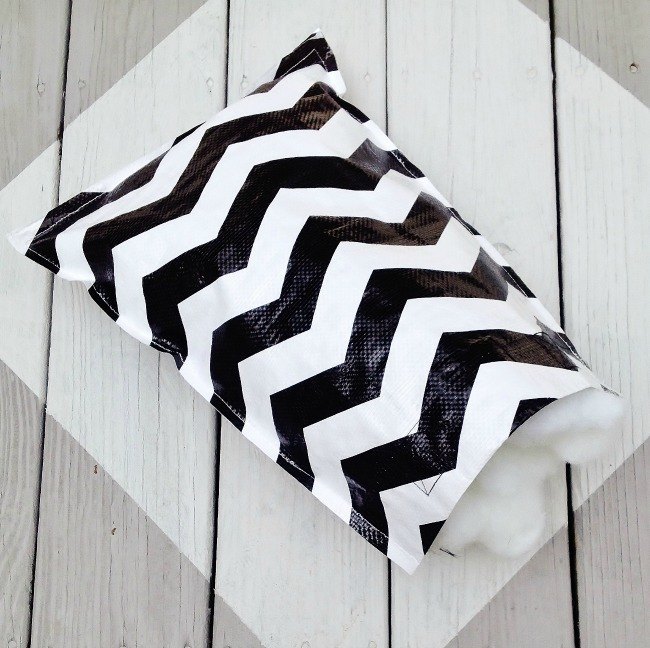
Now you have the start of your pillow.
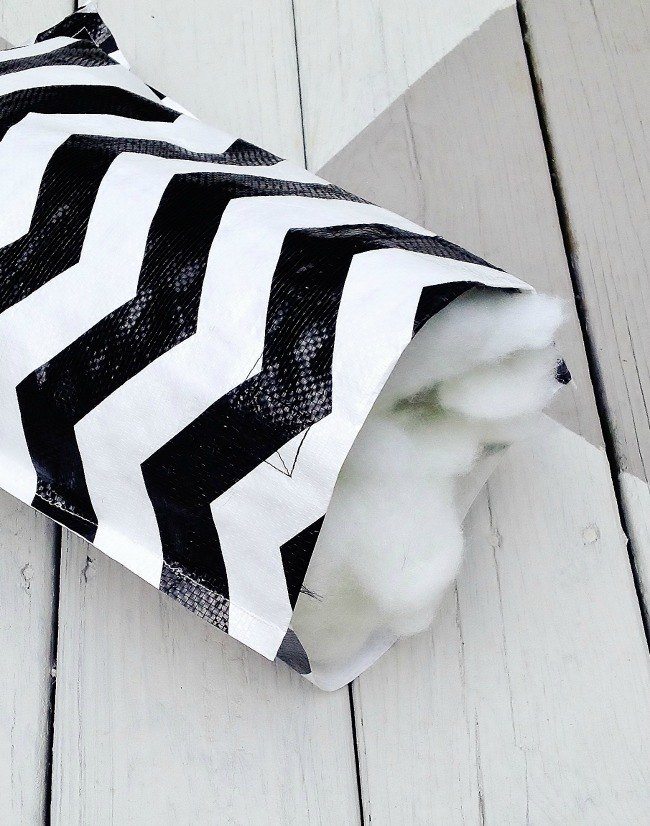
Stuff the open end of the pillow.
I filled it with poly-fill and then pushed the poly-fill to the very back so I could sew it closed on the end. This was a green project for me and I wanted to reuse things I had on hand, so I used stuffing from another pillow. If you choose to do this, make sure to pull the stuffing apart so it's fluffier.
After the pillow is stuffed, sew the end of the pillow closed.
That's it!
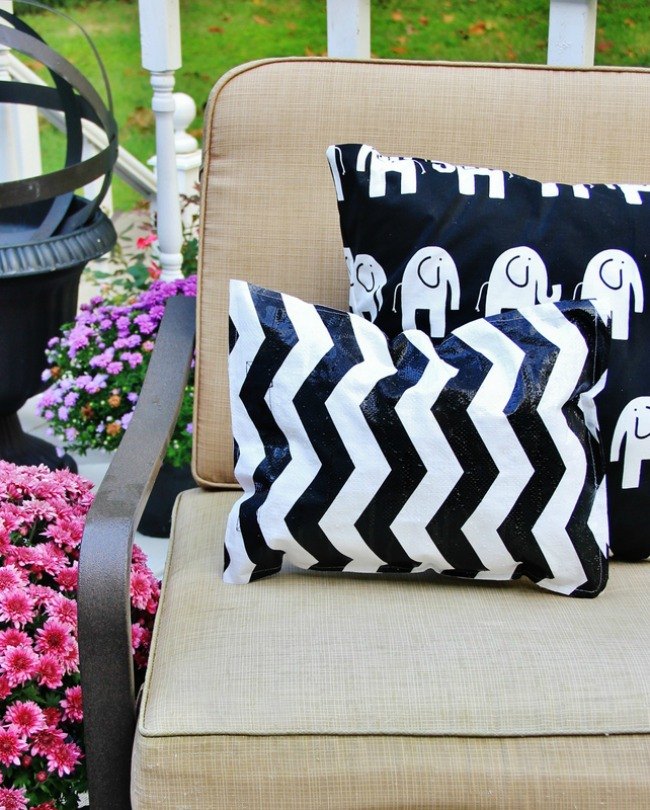
Your pillow is ready to decorate with.
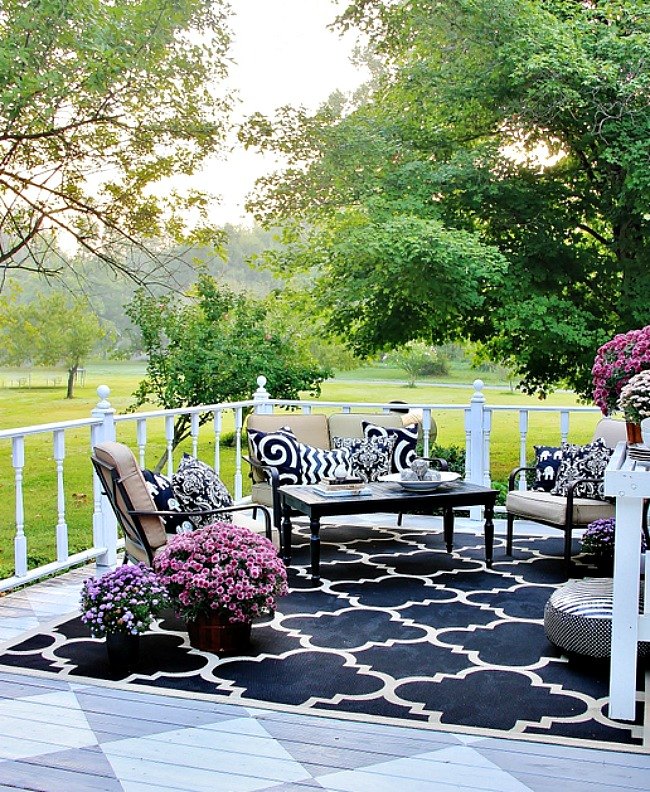
Here's the finished pillow on the back porch. I added them to the benches and mixed them in with the other pillows. You can't even tell the difference.
It's the PERFECT green project for your home and the perfect solution for what to do with all those reusable shopping bags.
Here's to upcycling what you already have to create something beautiful.
Looking for a few more upcycle projects? Here are two of my favorite:


Comments
Join the conversation
-
Gorgeous seating area. The pillows make it Pop. I would like to do some pillows but I use the few shopping bags I own. I'm going to pick up a few from the dollar store. Last time there they had some awesome prints.
-
Love recycling ideas and I have many shopping bags. I also have two pillows on their way out that are currently used for displaying pins, but the filling will be recycled after they go. Thanks for your idea.


Frequently asked questions
Have a question about this project?
My pretty shopping bags are plastic coated and hard...
not soft for a comfortable pillow. Are your pillows “ just for show?”
Your back porch is gorgeous!!
I love working with gift bags. I love to use them as art