


How to Paint a Perfect Two-Toned Table
I recently decided to learn how to make furniture. I don’t know about you, but I’ve been getting my DIY on something fierce lately.
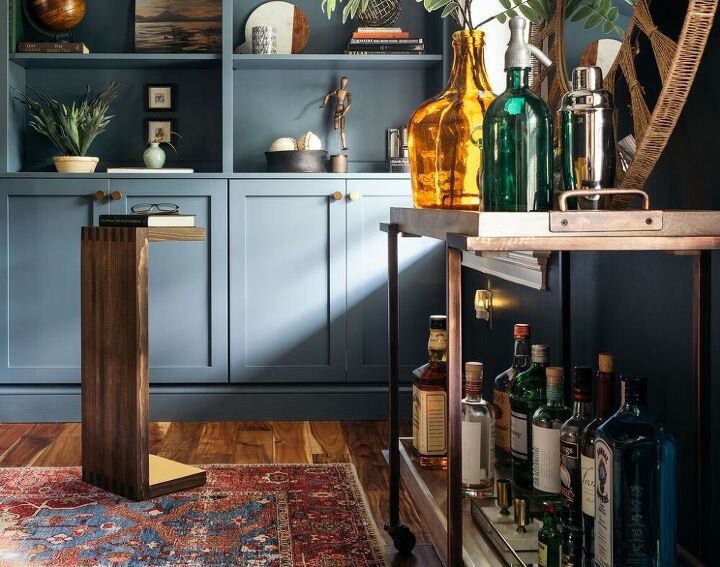
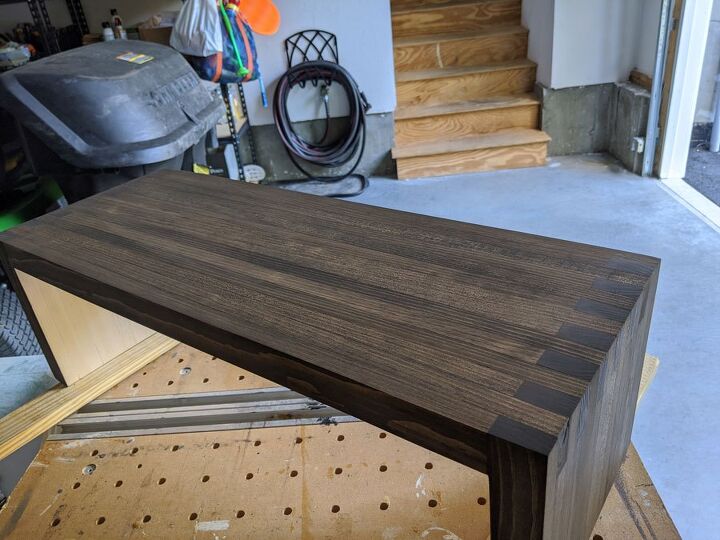
I finished building my first piece, a c-shaped side table, and wanted to do something special for the finishing. So I came up with the idea of a peekaboo color pop on the underside of a richly stained exterior.
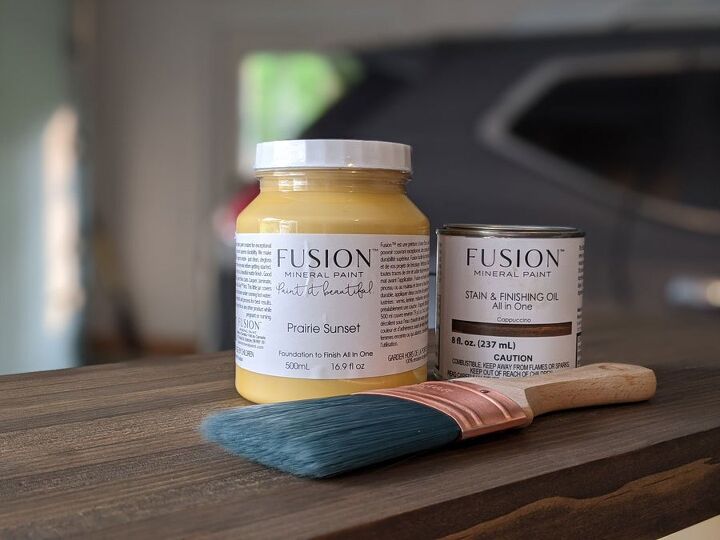
In this post, I’m going to show you how to create a modern two-toned finish. I used Fusion Mineral Paint and SFO (aka Stain and Finishing Oil) but I've also included recommendations if you decide to go with more standard paint and stain.
Essentially we’ll be staining the exterior of the table, and painting the interior. Since I used Fusion Mineral Paint and SFO on raw, well-sanded wood, no real prep was needed, but if you use a different product, I'd recommend starting with a wood conditioner prior to staining.
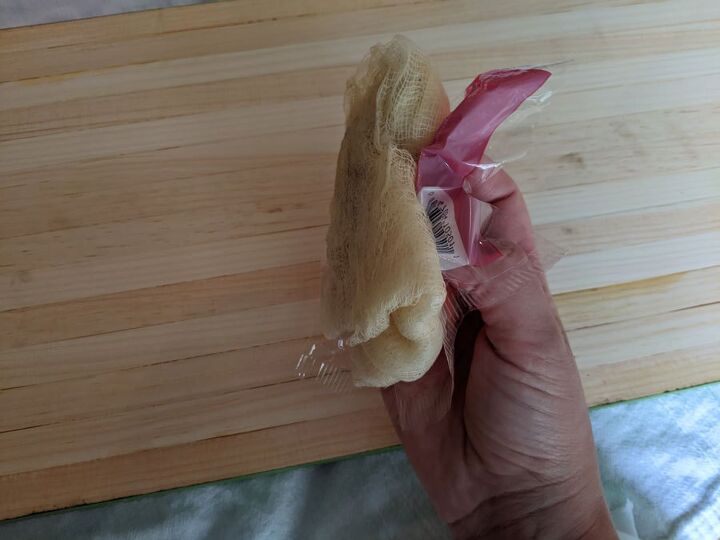
Assuming that you’ve already sanded your whole piece with the same grit sandpaper, wipe everything down with a tack cloth. Be sure that your entire piece has been sanded with the same grit (I went through many grits to get a silky smooth finish and ended with a 220 sandpaper). By using the same grit, you’ll allow the wood to receive the stain evenly and wiping with the tack cloth will ensure that all of the dust particles and sawdust have been removed from the surface.
If you’re not using the SFO, apply a coat of wood conditioner before staining. If you are, then you get to move straight to the next step!
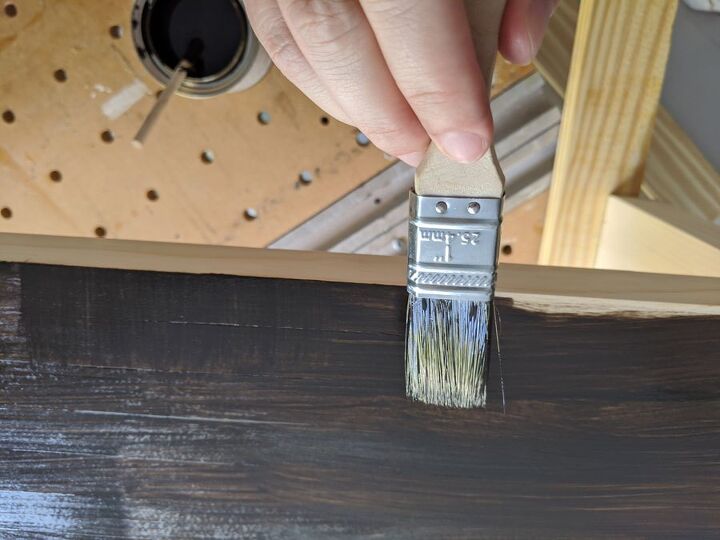
Next, you’ll apply the stain in a smooth, even coat, let sit for 10 – 15 minutes, then wipe away the excess with a rag. Sloppy staining will make any project look like a hack job, no matter how amazing the piece underneath.
This step can trip some people up, so if you feel like you need some staining 101 tips, visit the original post for a few easy hacks.
Before moving on with your finish, allow the stain to cure for a minimum of 24 hours. 48 is even better. We’ll be taping over some of the stained areas in the next step and we don’t want to mar the smooth finish we worked so hard to achieve!
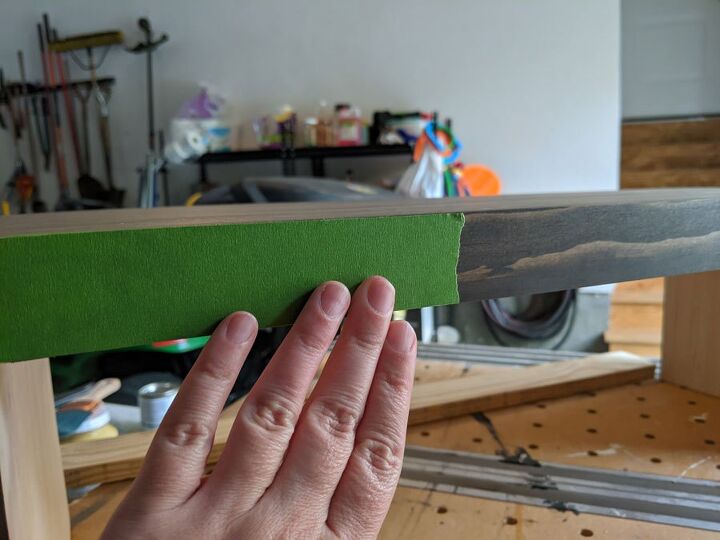
Using painter’s tape, precisely tape off all of the stained edges that will meet a painted section. Here’s where you’ll learn my secret to perfectly crisp edges when using both paint and stain.
The first, obvious, step is to align your tape as perfectly as humanly possible to stained edge. Really get down at eye level and check that your tape goes right to the edge, but not over. Use small pieces of tape to make this easier.
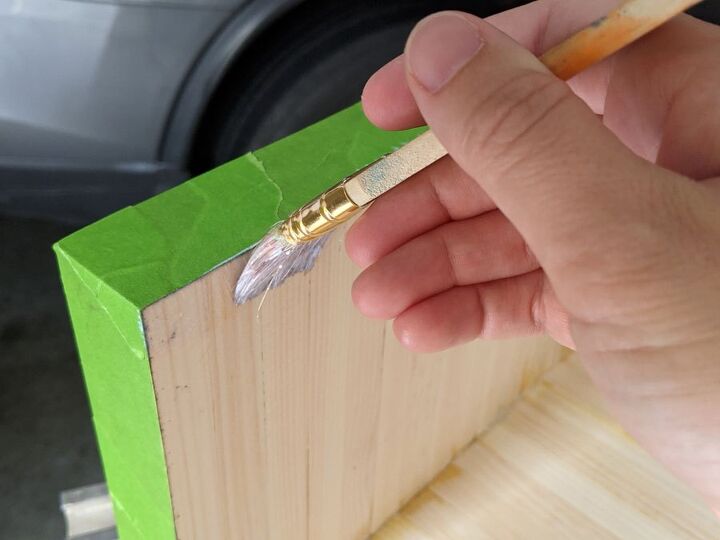
Next is the magical part: you’re going to seal the tape edges with Mod Podge. I know I know, it sounds weird. But hear me out.
If you’ve ever painted, you know that paint almost always bleeds under painter’s tape. No matter how well you think you have it stuck on. Liquid always finds its way into tiny fissures. A standard fix to the issue when doing a two-toned paint on paint treatment is to paint the edges of the tape first with the color you’re trying to mask. The reason for this is that the coat of paint creates a seal in the same color you’re trying to protect. So any bleed is going to come from the color that’s already there.
Make sense? OK, now, with stain, you can’t do that for two reasons:
- It won’t create a seal
- The stain that bleeds under the tape will create a dark line because you build a darker stain color with each coat
But Mod Podge? Mod Podge is clear. And creates a seal!
So, paint a layer of MP along the edge of the tape, painting into the edge to encourage a little bleed. Then, wipe off the excess with a cloth. Let dry for 15 minutes.
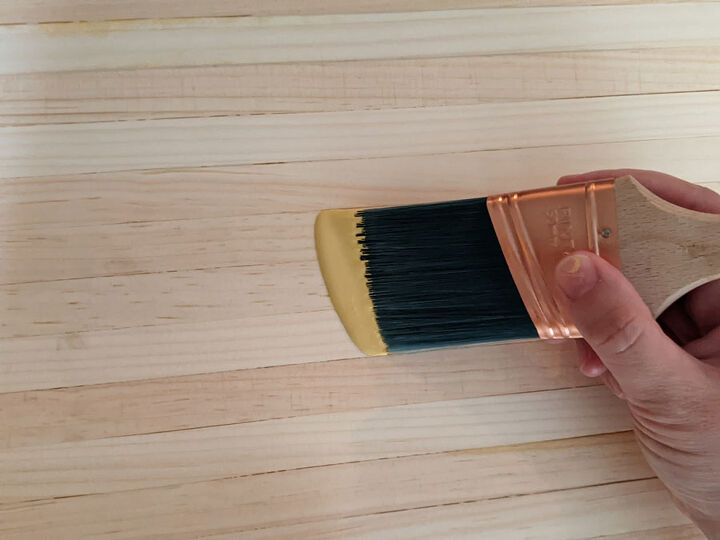
Finally, paint the underside of your piece. Again with the magic of Fusion Mineral Paint on raw wood — no prep required! I was a little concerned that the wood would soak up a ton of paint and I’d need 4 or 5 coats, but the coverage was amazing and I was able to get a solid finish in just two coats. Plus the topcoat is built in so that’s another step saved.
If you’re using another type of paint, I might suggest a coat of primer first plus a topcoat. Otherwise, you’ll be painting forever and might end up with scuffs after a period of normal use.
Even with the tape sealing, I’d recommend you be gentle while painting near the tape edges. Don’t paint into the tape or use a super wet edge. Pretend the tape isn’t even there and that you need to freehand it, and you’ll end up with edges as perfect as these:
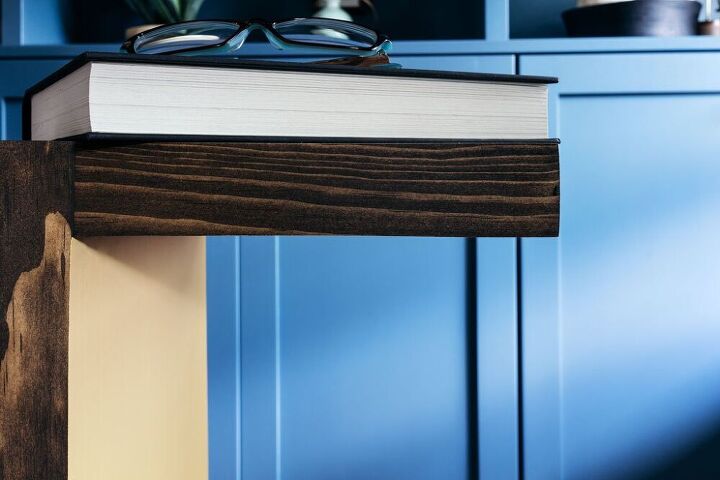
So good right??
Leave the whole thing to dry for another day before calling it done. You really want that surface to have time to dry. The SFO will cure in about three days, but wait a full 10 days before attempting to clean it.
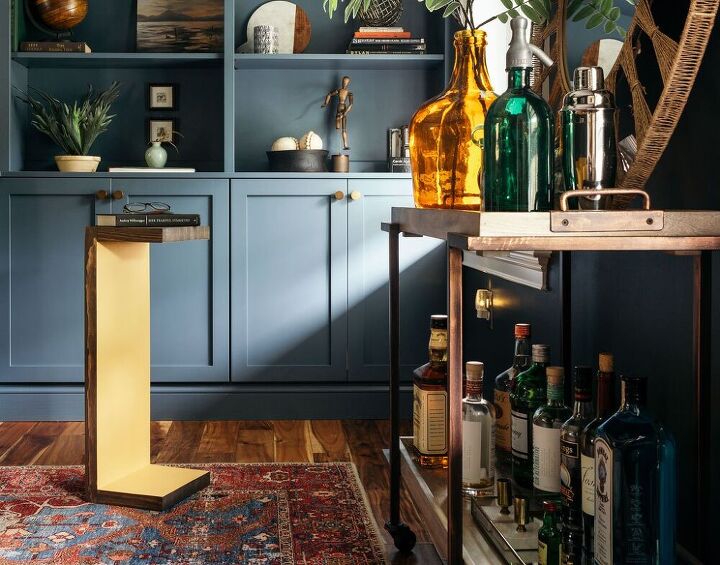
Will you try this project? I hope so! It’s a great finishing technique to add a little modern punch to your next furniture project.
Love the tiny table but not really a builder? I have a great round-up of tiny drink tables perfect for the upcoming holiday festivities :)
Resources for this project:
See all materials


Comments
Join the conversation
-
So true about so-called "painter's tape." I've used green Frog tape on several projects, and was very disappointed to see bleed-thru when I pulled the tape back. I am definitely going to pick up some Mod Podge and experiment on a small piece. Thank you!
-
Thanks for the tips - especially the Mod Podge! Will definitely give it a try! Great project - looks fantastic!


Frequently asked questions
Have a question about this project?
I would love to know how you built this table! I love it!
I have just one question that I didn't see the answer to. Did you pull the tape off while the last coat was still damp or did you wait until it was completely dry? I had problems with the painters tape pulling some of the paint off so that it looked like the edges had been chipped. I am sure it was because I allowed the paint to dry. but if you pull it off to soon you have a problem too!
What? Where's the table?