


How To Paint and Distress a Mirror Frame

So I found a $15 mirror frame while I was out antique hunting and transformed it into something that fit my home esthetic better by using a little fusion mineral paint and some antiquing glaze. This was such a fun project to do and I am so happy with how it turned out. I will give you all the tips and details on just how I painted and distressed this mirror frame and I will show you just how easy it was! I was surprised it was so simple and easy to transform it into something I love even more. Keep on reading for the directions.
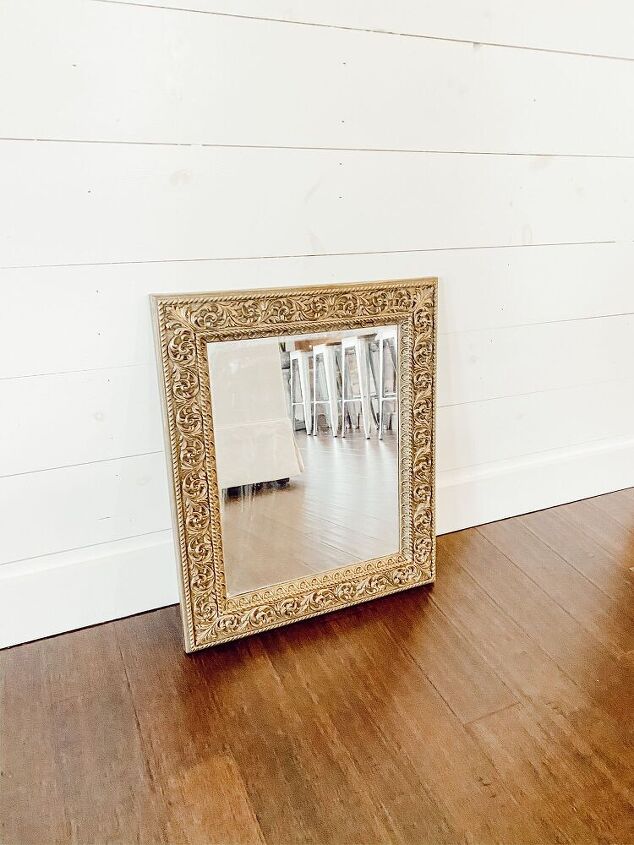
Here is what the mirror looked like before. This gold is just not my style and doesn't match my home decor I already have.
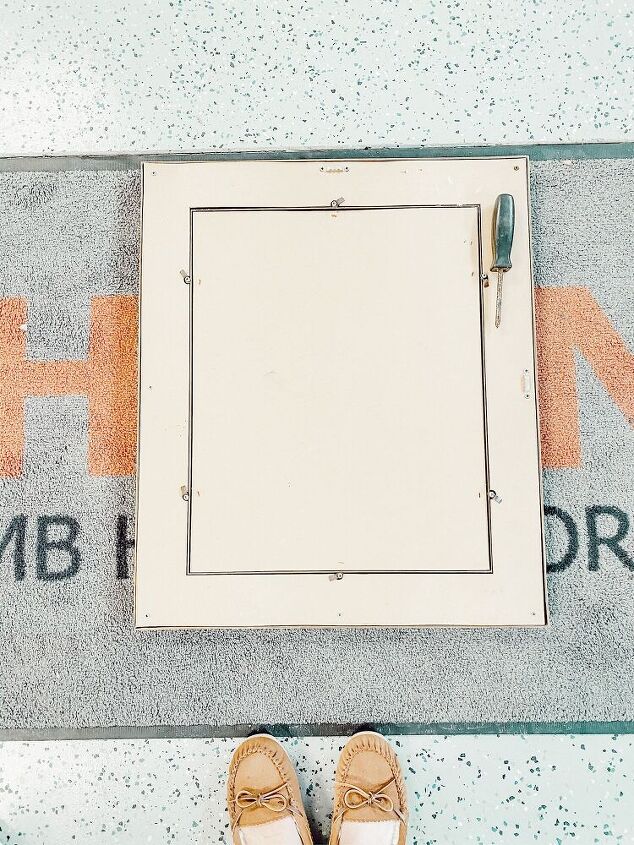
As you can see in the picture above, the frame came easily off from the mirror which saved me a lot of time since I did not have to use painters tape around the mirror!

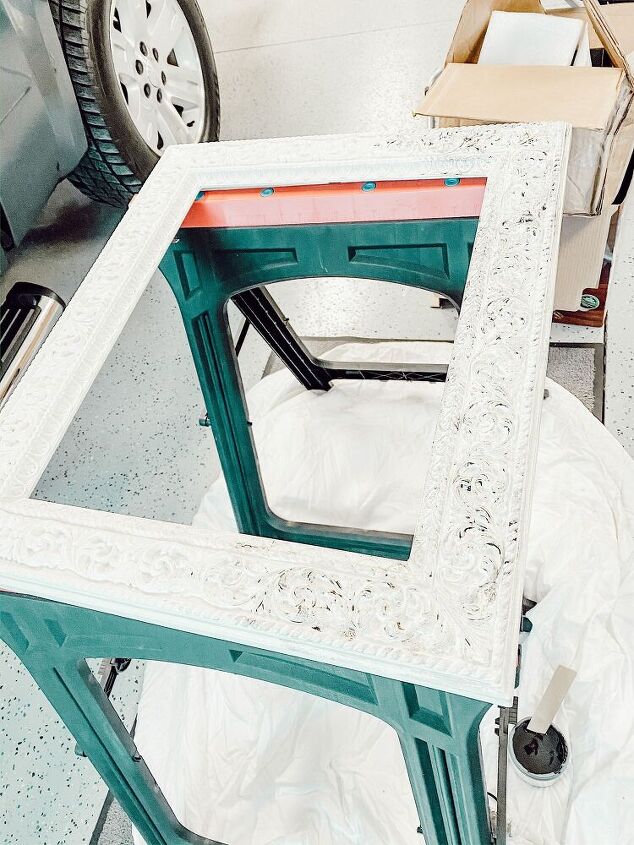
So after you washed and dried your mirror frame, the next thing to do is apply the first coat of paint! Like I said above I used fusion mineral paint in Raw Silk for this project but you could use whatever paint you like best and whatever color that will work best for your home. I was very impressed with this paint and I only used a small sample sized pot for this entire mirror. The sample size is only 1.25 fluid ounces and as you can see the mirror frame was pretty large and intricate so the coverage on fusion mineral paint is phenomenal.
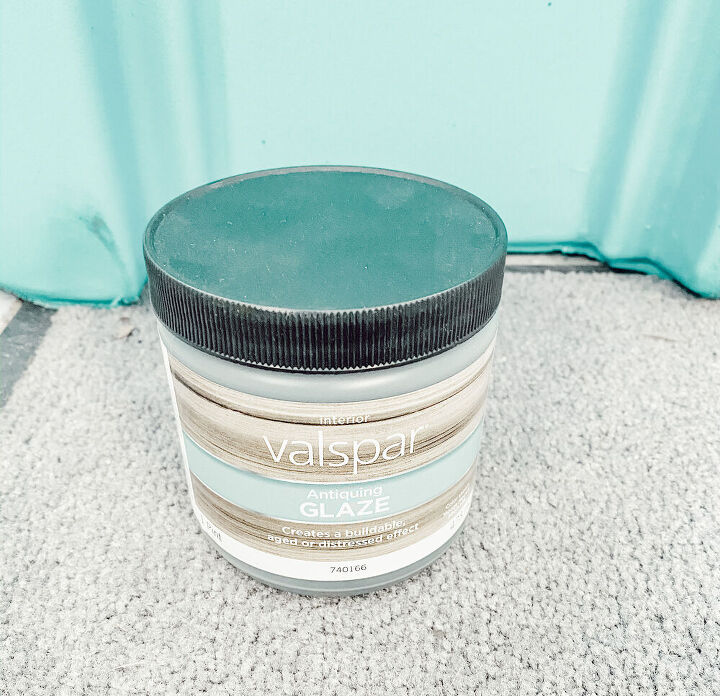
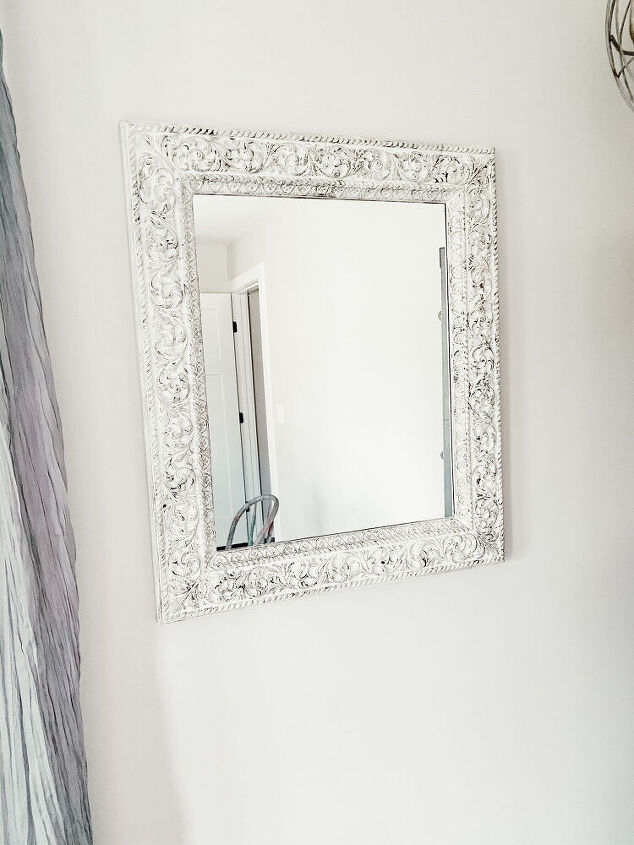
After your frame is completely dry, now you can apply the antiquing glaze! This was super fun to me to do because I have never used antiquing glaze before and I was also impressed by this product as well. It definitely gave the painted mirror frame a distressed look to it, which is what I was going for. I used the antiquing wax pictured below. You don’t need much at all to do this. First, I mixed the glaze well and then I used a damp rag and dipped it in there, getting just a tad bit on the rag. Then, using small circular motions, I applied it all around the mirror frame. I used more in some spots to give it a darker appearance and then less in some spots to give it more dimension. It really made the appearance of the mirror frame look antique and vintage which is definitely my style! Click here to view the exact glaze that I used for this project.
Again, after applying the antique glaze, I let the mirror frame dry overnight. I wanted to be sure it was completely dry before I hung it up. It is also important to note the drying time if you are just painting the mirror frame with fusion mineral paint and not applying the antiquing glaze- Curing time with all acrylic paints is 21 days, but painted surfaces can be used gently after just 24-48 hours of drying time. However, longer dry times and curing times are required when painting is done in high humidity and cooler temperatures. So use your best judgement to determine when your mirror frame is completely dry from being painted and distressed!

The last step is obvious, but once you have let your mirror frame dry completely, it is time to hang it up! I wanted to hang it in our office because I had some wall space next to my lockers that needed a little something. And I think it is the perfect touch! I love how the painted and distressed mirror frame looks next to my old, rusty lockers. It’s like it was made for this space!
Resources for this project:
See all materials


Comments
Join the conversation
-
The mirror came out very pretty.
-
The original was so much prettier! I don't know why people think that if they paint something a different colour it looks better.


Frequently asked questions
Have a question about this project?
I have a similar mirror in my bathroom, what paint would you suggest?? Thnx in advance ❤️