


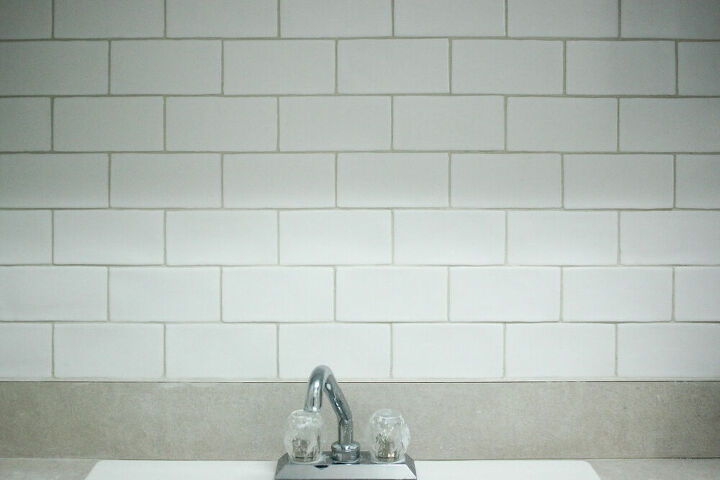
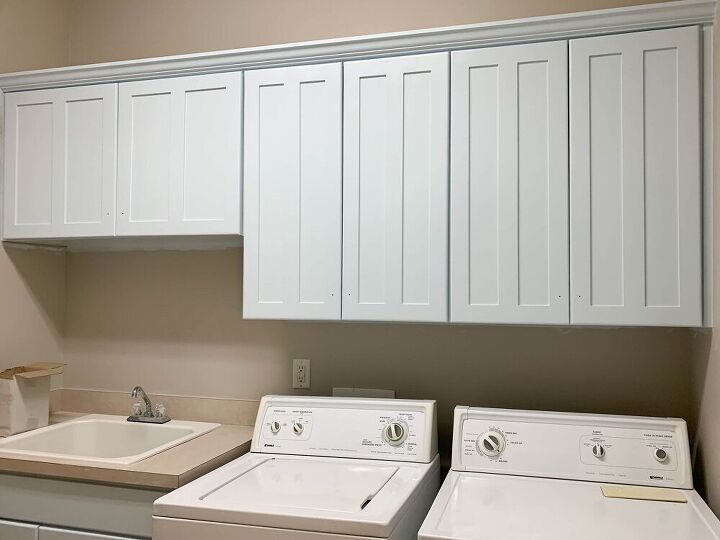
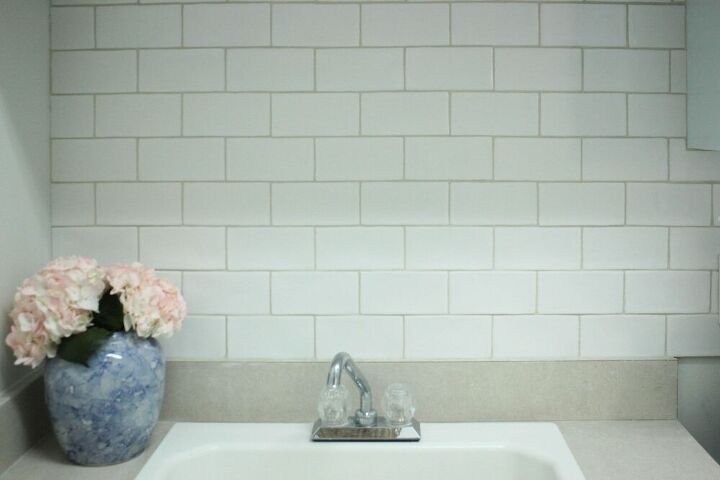
How To Install Subway Tile Backsplash In Your Laundry Room
Installing subway tile may seem complicated but most of it is pretty simple. You just need the right tools and supplies. This is my first tile installation and I am pretty happy with the results.
Having the right tools and supplies will make your job much easier. Here is a list of what you need.
Subway tile
Tile Adhesive
Tile Cutter
Wet Saw
Grout
Floater
Trowel
Clean the space where you will be tiling. Just make sure its smooth and free from debris.
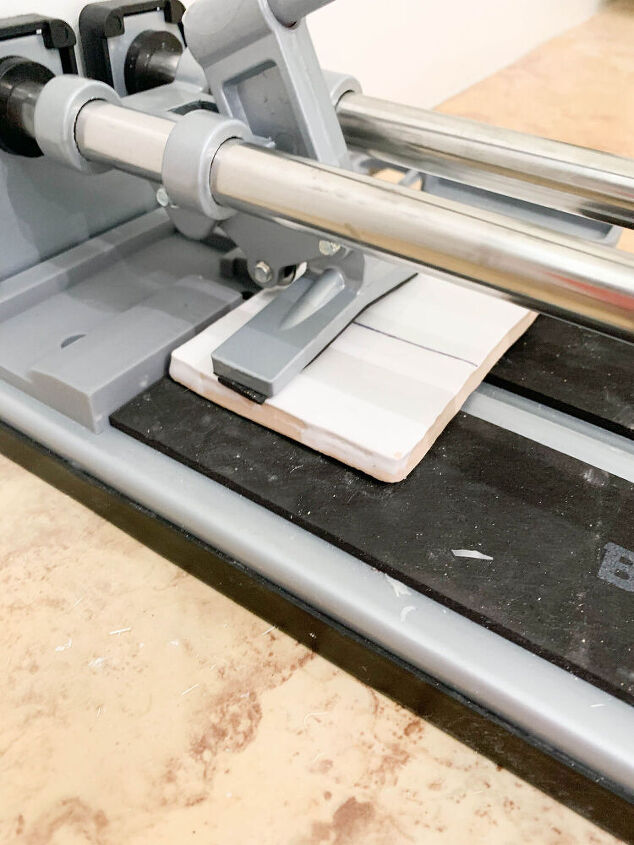
Before you cut the tile, measure the amount of tile you will need. Each box covers 15 square feet and I have 70 square feet to cover all wall space. I will need about 5 boxes.
Start cutting the tile in half and create a design so it looks cohesive. You can lay them out on a table before you glue them to the wall.
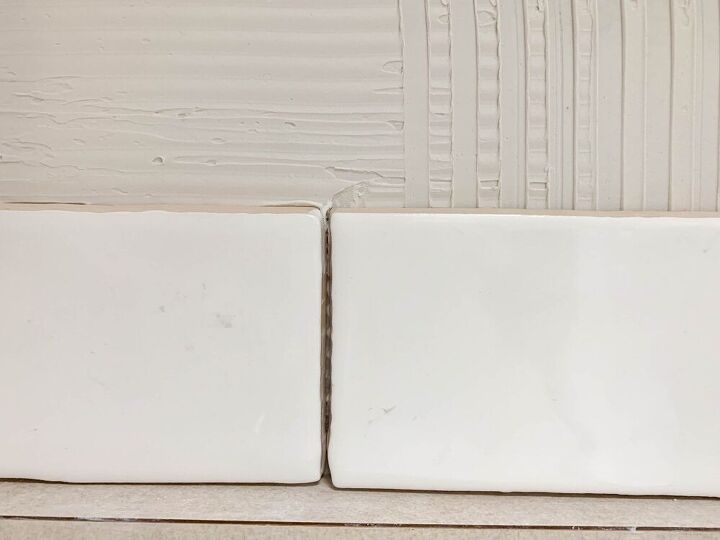
When you have enough tile cut, start applying the adhesive with a trowel. Start with a sections. Apply the adhesive directly on the wall not the tile. Take the first tile and apply against the adhesive until the section is done.
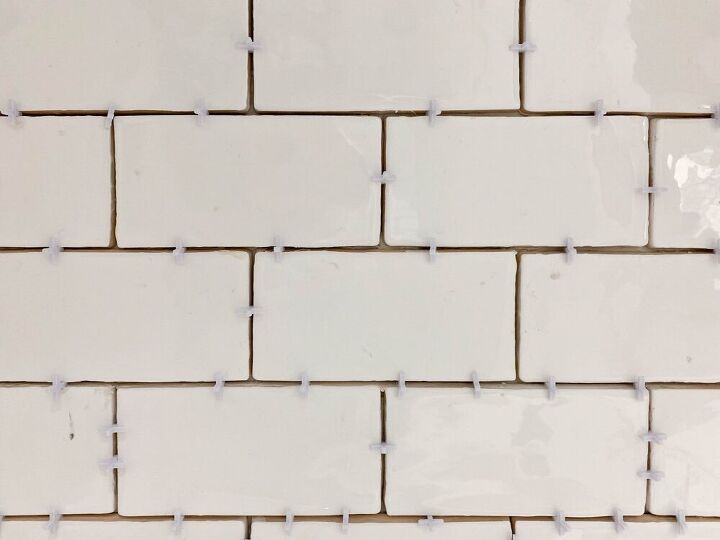
Insert the spacers as soon as you finish tiling each section.
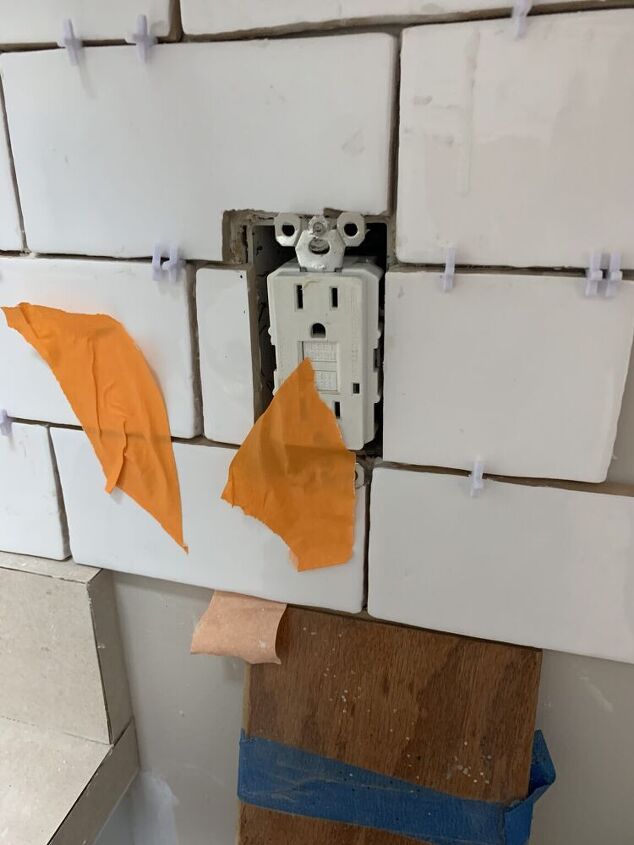
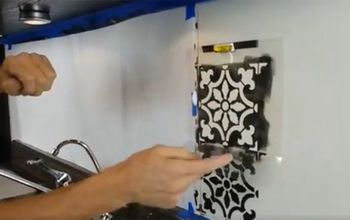
For this job I had one spot that I had a difficult time with around the light switches. These are L shape cuts and you can't use the tile cutter for that. You will need a wet saw to cut the L shape. I borrowed my brother in laws and with his help I practice cutting small L shape tile. It took a good hour to practice. Using a a marker to draw a L shape. This will be a good way to see what you can cut.
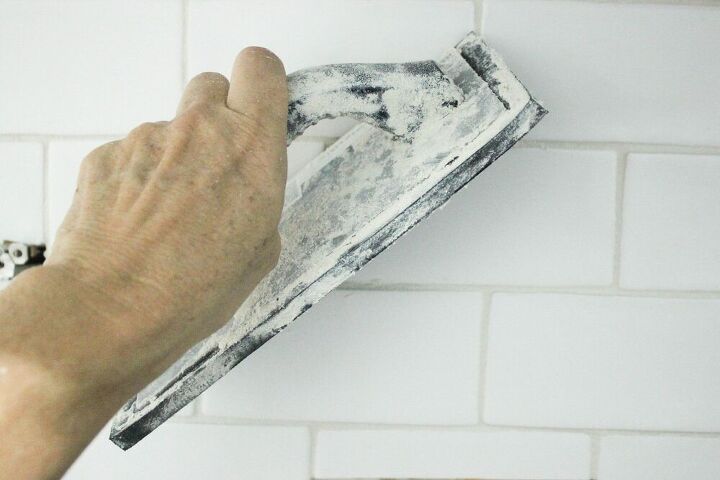
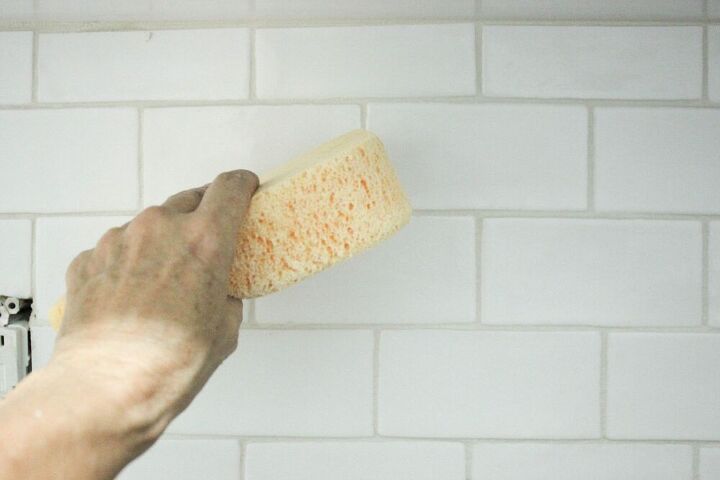
Before applying the grout take the spacers out. Clean the tile throughly. With a floater apply the grout over the tile in a 90 degree angle. With a sponge clean away any grout off the top of the tile.
Let the tile dry for a good 24 hours. You then can shine the subway tile with microsoft cloth.
Resources for this project:
See all materials


Frequently asked questions
Have a question about this project?