


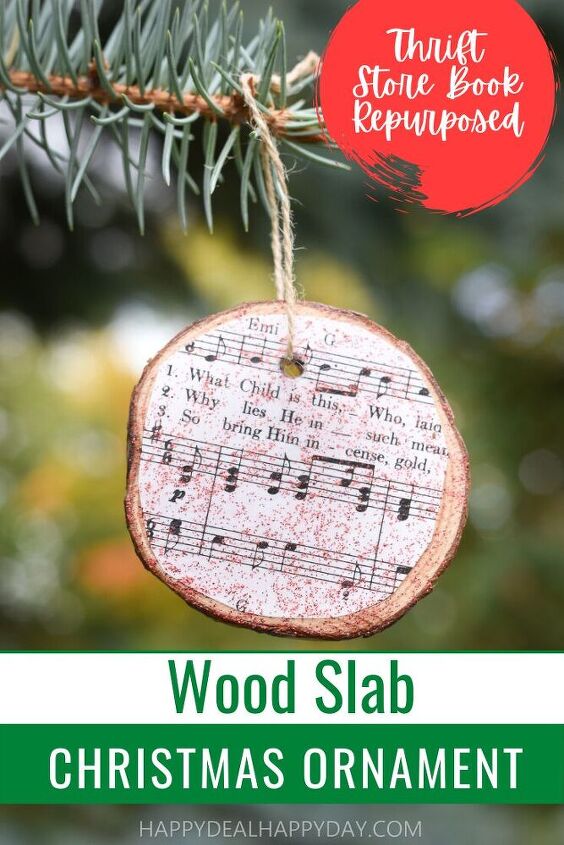
Thrift Store Books: Repurposed Wood Slab Christmas Ornament

I am going to show you how to repurpose thrift store books into really cute Christmas ornaments! This is my second one so far - check out the first one I made over here! I love flipping items from the thrift store (such as how I redecorated my guest room with thrifted or hand me down furniture). Now I have many ideas on how to use thrift store books to make Christmas ornaments! I love using repurposed materials to give an old object new life!
Materials Needed To Make Repurposed Thrift Store Books Into Wood Slab Christmas Ornaments:
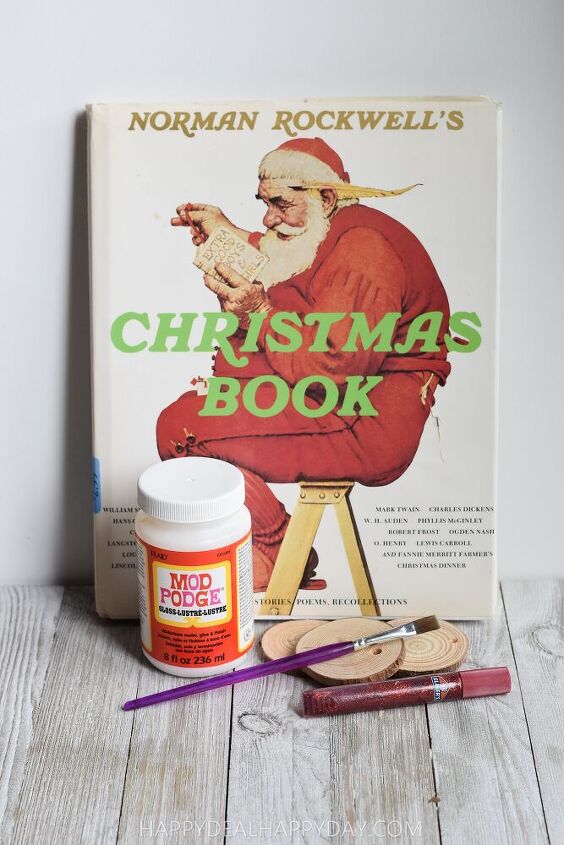
- Thrift Store Books (in this case it is Norman Rockwell's Christmas Book – you can buy this used on Amazon.) I personally got mine for $1.99 at Goodwill.
- Wood Slab Ornaments
- Mod Podge
- Paint Brush
- Red Glitter Glue
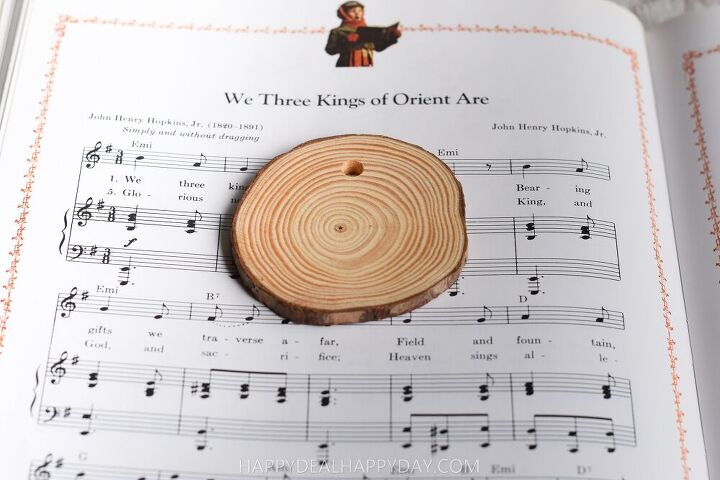
The reason why I picked up this Rockwell Christmas book was because it was filled with stories and poems that we might want to read together as a family this coming Christmas. The other reason why I picked it up was because it has some Christmas music in it! That's what I was looking for for this ornament!
- Whatever size wood slab ornament you have, go ahead and trace it on the music, especially over lyrics you want to show up on your ornament. When you cut it out, you will have to cut a few mm inside your line so it will nicely fit onto the wood slab.
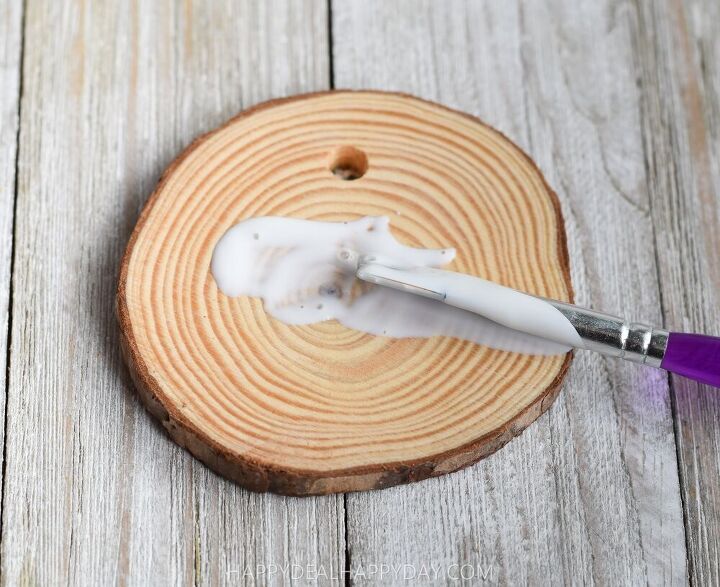
2. After you have cut out your music to match the slab, the generously cover the wood slab with mod podge.
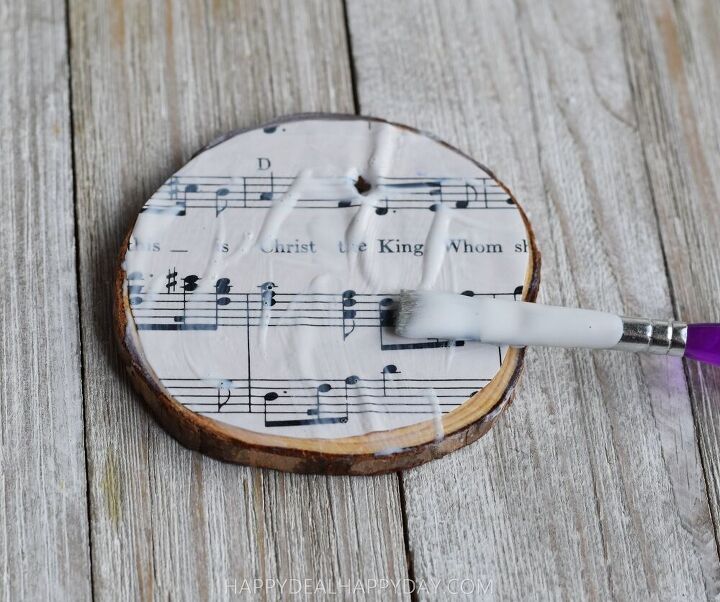
3. After you have done that, place the paper on the Mod Podge and proceed to cover the paper also with Mod Podge.
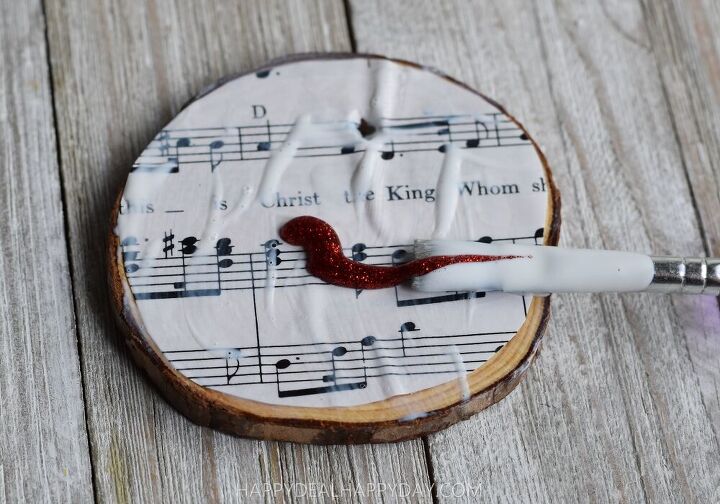
4. Then get some red or green glitter glue and squirt a bit on the top.
5. Then use the paintbrush and spread the glitter glue and Mod Podge until it evenly covers the paper.

6. There is a pre-drilled hole in these wood slabs so that you can add some twine for hanging this on your Christmas tree. I used the bottom end of my paintbrush to push through so that the hole could be used for hanging.
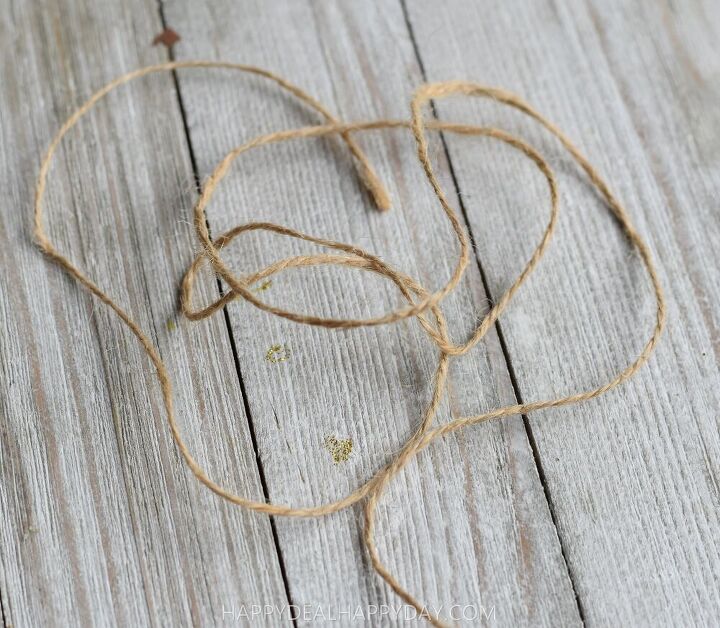
7. The twine that came with these wood slabs was not precut. I got one long strand of twine. You will need to cut the twine the length you want it for it to hang.
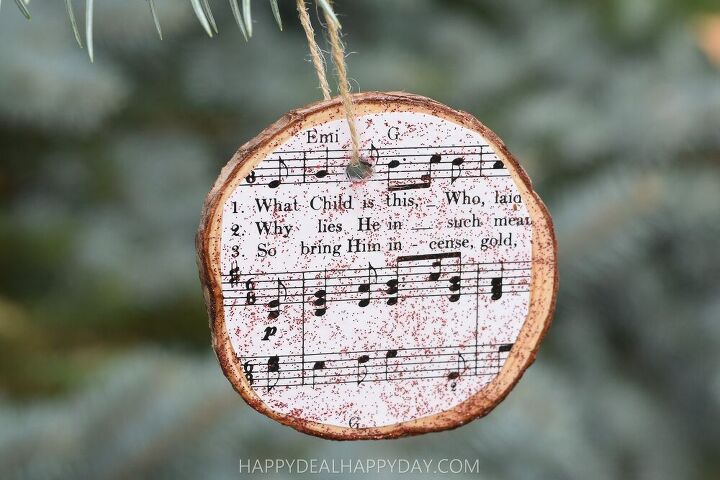
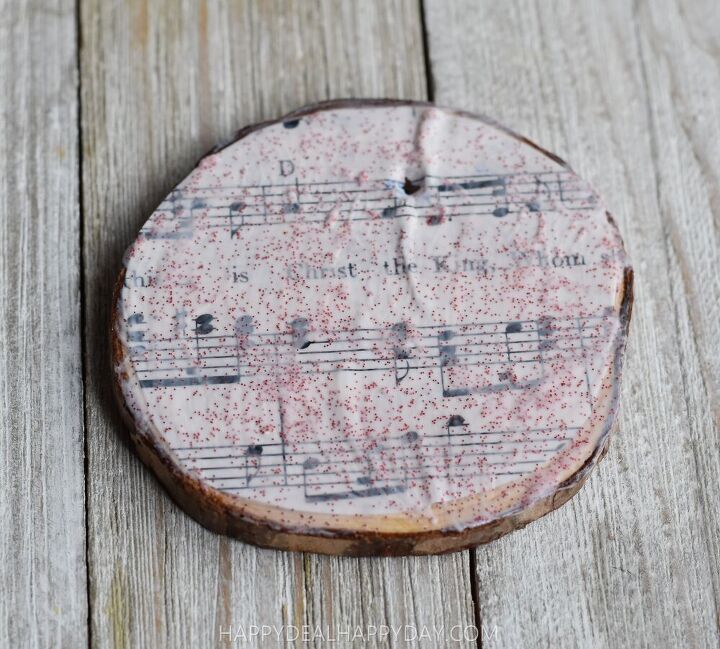
8. You can see after it dries, the Mod Podge turns clear and the glitter shines through!
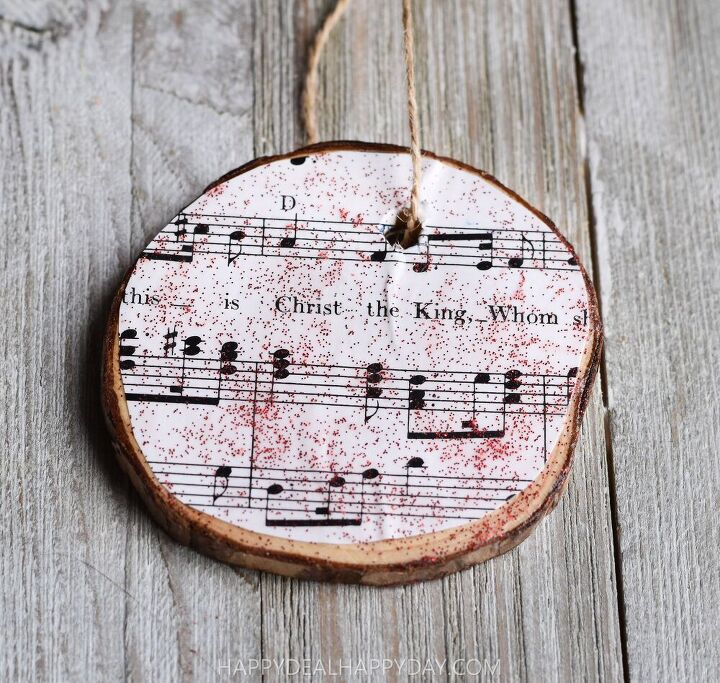
I also chose to add more of "What Child Is This" lyrics to the back side as well! This would be an optional step - but I think it completes the ornament having lyrics and music on both sides!
- Free Printable DIY Rustic Christmas Ornaments!
- Homemade Essential Oil Diffuser Christmas Tree Ornament
- Clear Plastic Ornament Balls – 10 Cute Ways to Use Them This Christmas
- Needle Felted DIY Essential Oil Diffuser Ornament
- Thrift Store Books: Repurpose To Make This Christmas Ornament!
Resources for this project:
See all materials


Frequently asked questions
Have a question about this project?