


How to Make an Easy DIY Scarecrow Shelf Sitter

If you’ve been searching for a unique, out-of-the-box scarecrow DIY, you’ve just found it! I want to show you how to make an easy DIY scarecrow shelf sitter with Dollar Tree items! Read more on the blog!
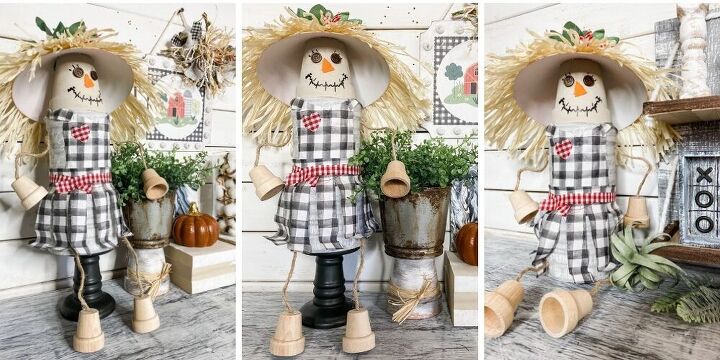
This adorable shelf sitter is so easy to make and just screams fall, so I absolutely had to share it with you! Using Dollar Tree items, it is affordable to make and will go with any fall decor!
I LOVE decorating for Fall, and I am always excited to make something that is different. This easy DIY scarecrow shelf sitter is unlike anything I have seen on Pinterest (and I am on Pinterest A LOT), but I seriously love it.
If you’re like me and like to see how things are done, you can see exactly how to make an easy DIY scarecrow shelf sitter in my Youtube video!
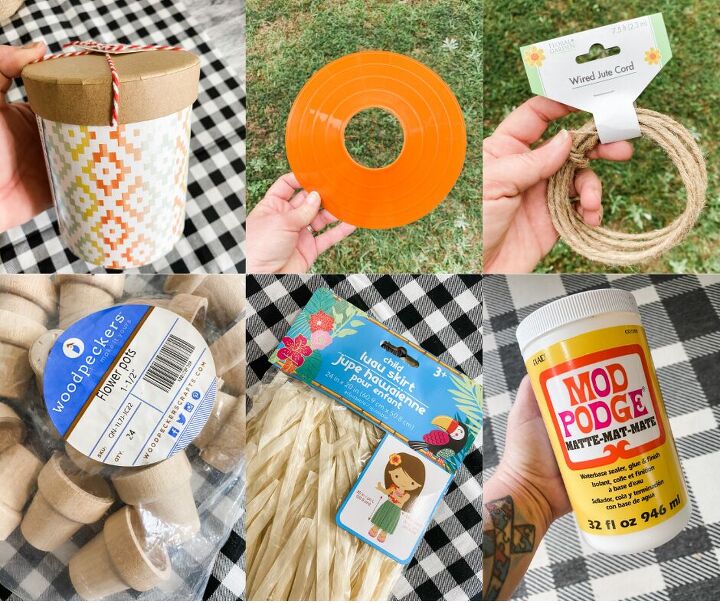
- 2 Dollar Tree Round Gift Boxes
- 1 Dollar Tree Athletic cone
- 1 Dollar Tree Clay Pot
- Dollar Tree Wired Jute Twine
- 4 Candle Cups
- Fabric of your choice
- Grass Skirt from Dollar Tree
- White Spray Paint by Rustoleum
- White Chalk Paint
- Brown paint
- gray paint
- peach paint
- Greenery spray
- Modpodge
- Hot Glue
- Glue gun
- Chip Brushes
Read more on the blog!
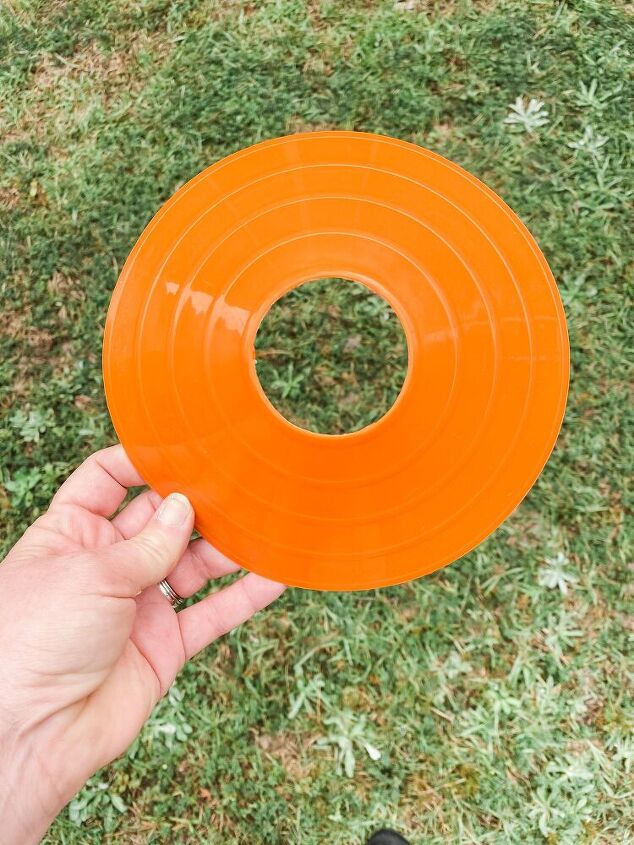
Okay, so one thing about this craft is that it is getting several parts ready and then putting them all together. To start, we are going to spray paint our sports disc white.
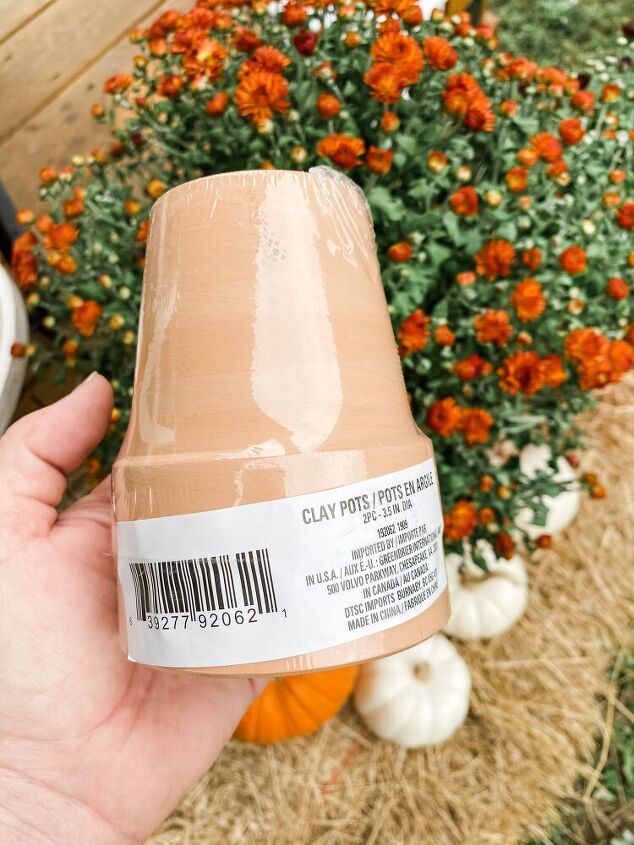
Next, you’re going to paint the face of your scarecrow! Grab your brown, grey, and peach paints and mix them to get a kinda “fleshy” color. I used the Dollar Tree clay pot for my scarecrow’s head. First, I painted the clay pot with a white base and then did a coat of my flesh-colored paint.
Read more on the blog!
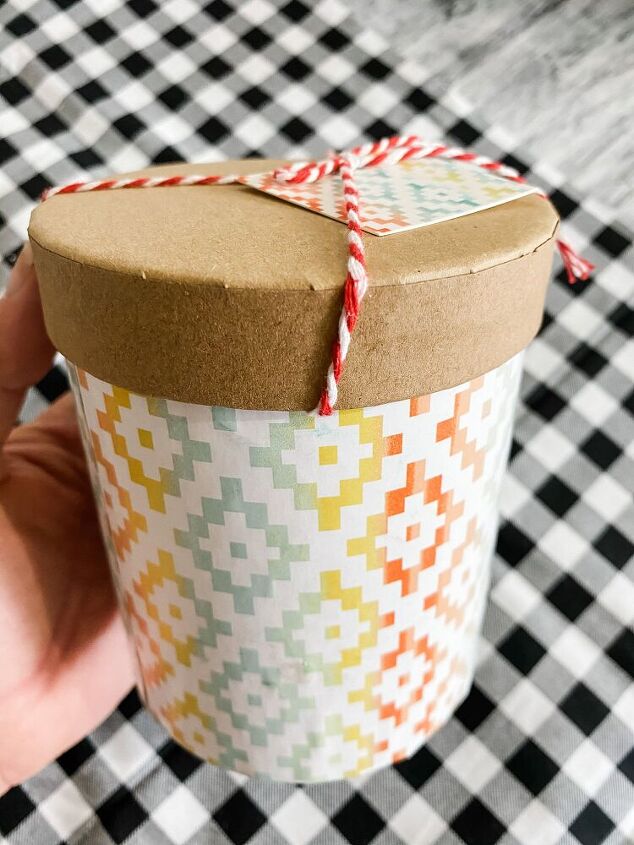
Now it’s time for the scarecrow’s body. I used 2 Dollar Tree round gift boxes for this. Just like the clay pot, I painted a white base coat. I covered these with a patterned fabric. Feel free to use whatever pattern you want for this part!
Once your paint is dry, apply a layer of Mod Podge and wrap the boxes with your fabric. (I did glue on the lids of the boxes to make sure they didn’t come off)
The next thing I did was put those 3 pieces together. I just used my hot glue gun to attach the clay pot and gift boxes to each other. Remember, you can see exactly how I did it in my Youtube video!

Your scarecrow needs arms and legs! I used this wired jute twine from Dollar Tree to make my scarecrow’s arms and legs. Drill 2 holes in the middle gift box for the arms to go and 2 holes in the bottom of the bottom gift box for the legs to go.
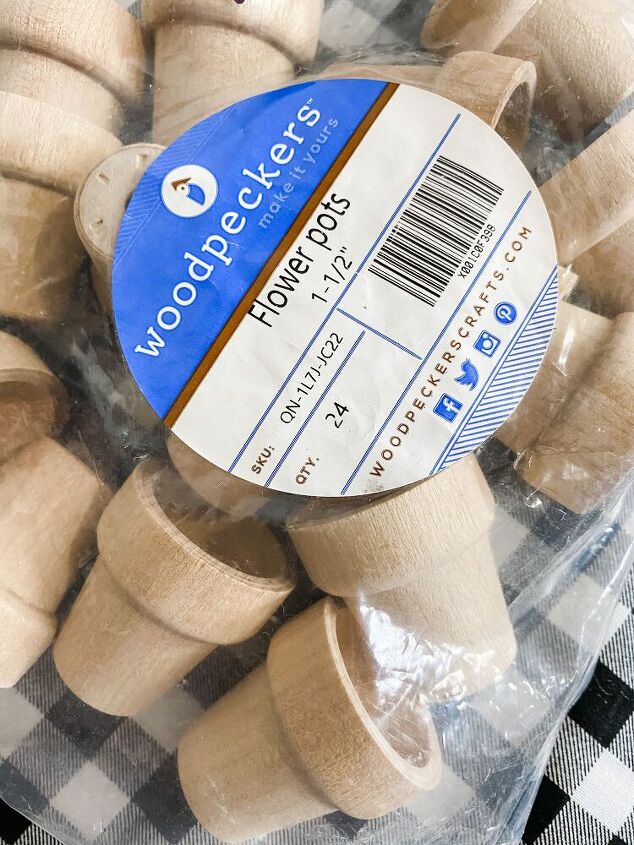
These tiny flower pots were PERFECT for the “hands” and “feet” of my scarecrow! You can tie your twine in a know once you place the tiny flower pots, or you can hot glue them in place. Whatever works best for you!
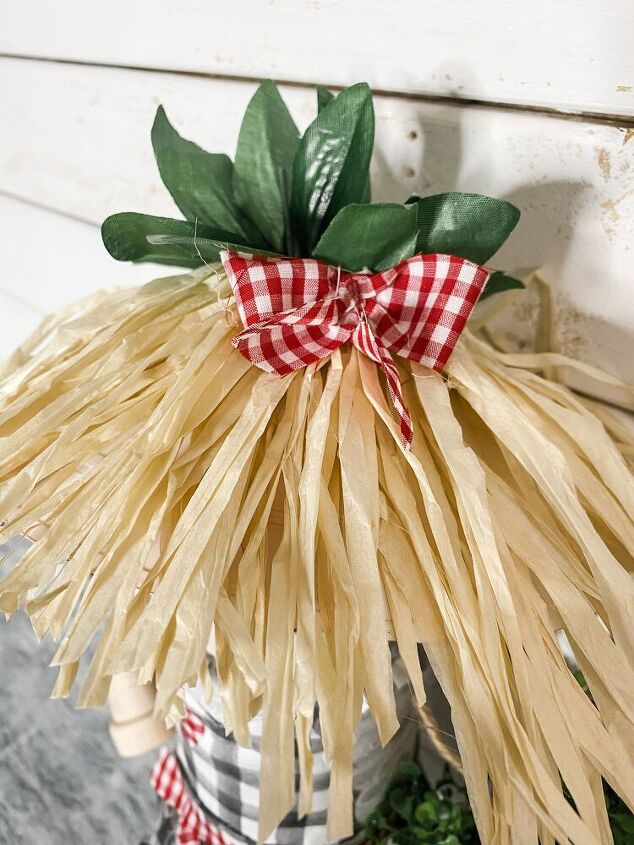
To make the adorable hat for your scarecrow, you’ll need to get that sports disc you painted white, a grass skirt from Dollar Tree, and a Greenery Spray. I made the little red bow from ribbon. If you want to see how I did it, check it out here.
Step one is to glue the grass skirt to your painted sports disc. Next, I stuck the end of my greenery spray through the hole in the bottom of the clay pot. Then all you have to do is slip the disc right over the greenery! Read more on the blog!
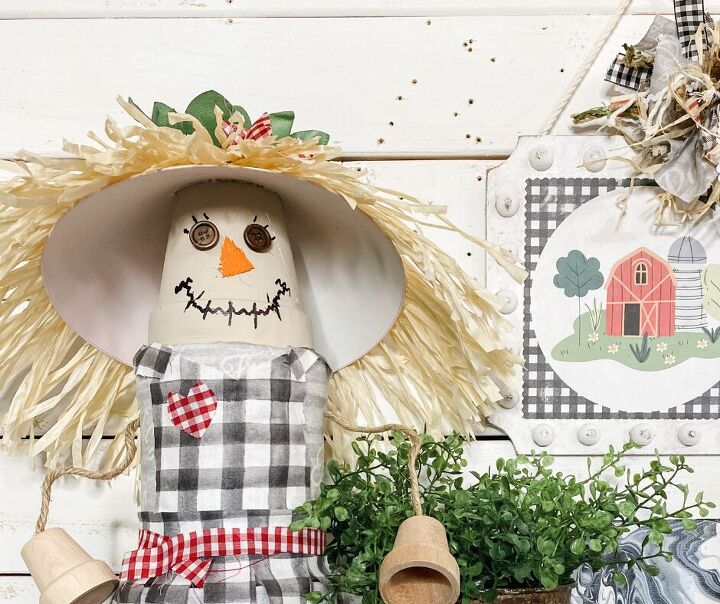
I hot glued 2 buttons for the eyes. To make the nose, I cut a triangle piece of fabric, painted it orange, and glued it down. For the mouth, all I did was use a marker to draw on a squiggly mouth. Get creative with the face and really make it your own!
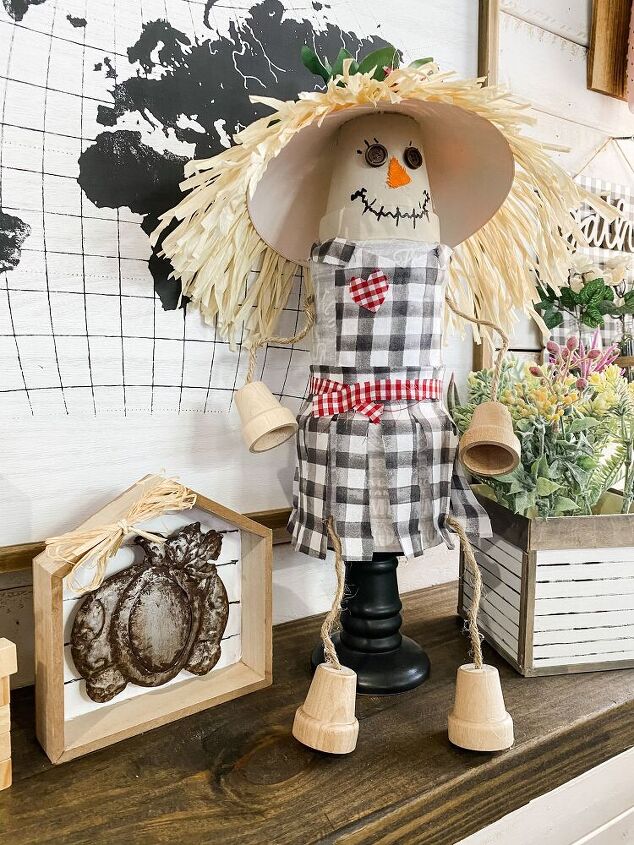
This is honestly one of my favorite parts of my scarecrow. I just absolutely LOVE buffalo check! I can’t help it! Basically, I just cut out the fabric to fit onto my scarecrow and then glued it down. You can see exactly how I did it on my Youtube channel.

That’s it! That is how to make a DIY scarecrow shelf sitter with Dollar Tree items! I hope you enjoyed this fall decor craft as much as I did! Read more on the blog!
See step by step directions with my tips and advice on how to make this Dollar Tree Fall Scarecrow Shelf Sitter!
Resources for this project:
See all materials


Frequently asked questions
Have a question about this project?