


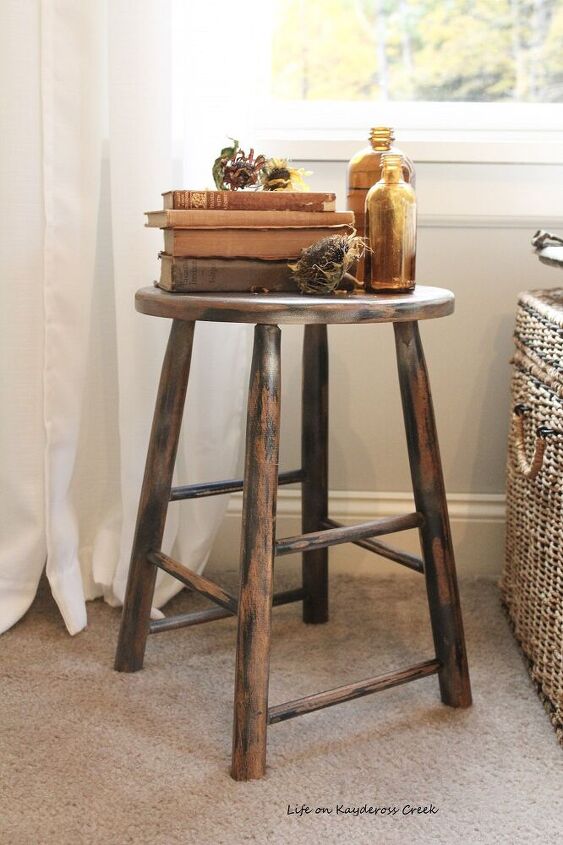
How to Make a Farmhouse Style Wooden Stool With an Antique Patina
Most of the fun in decorating for me comes from trying to find interesting pieces that give our home character. I guess that’s why I love vintage and antique pieces so much because they are usually worn in such a perfect way and have a great patina.
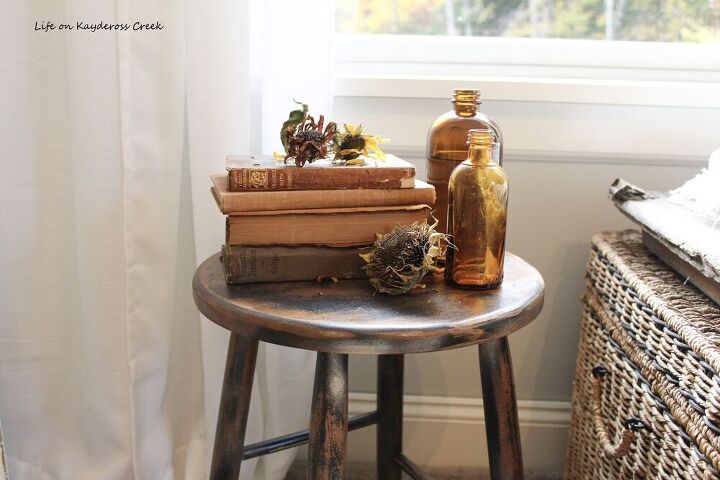
One of the things that I’m drawn to is the look of these old fashioned farmhouse milking stools. They are great for adding height to your vignettes and character to your space. I decided to make one out of a plain wooden kitchen stool.
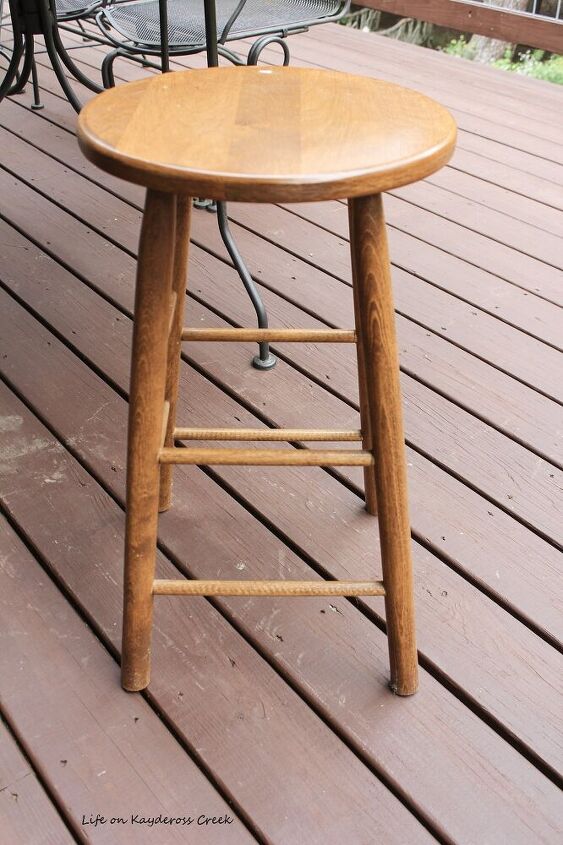
Here is the stool before...
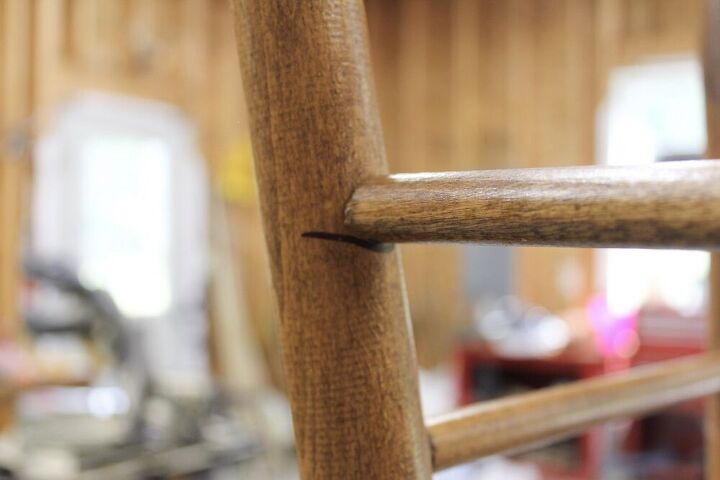
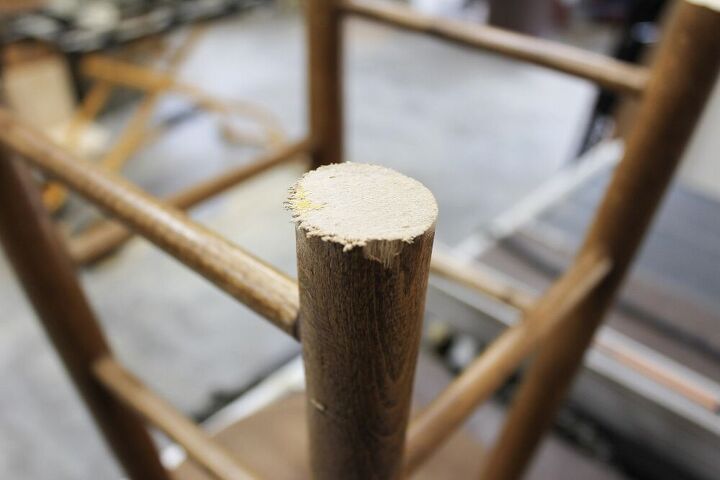
Start by deciding how high you want the stool to be then mark on the stool where you want to cut it. We chose just above the bottom rung and we marked it with a sharpie.
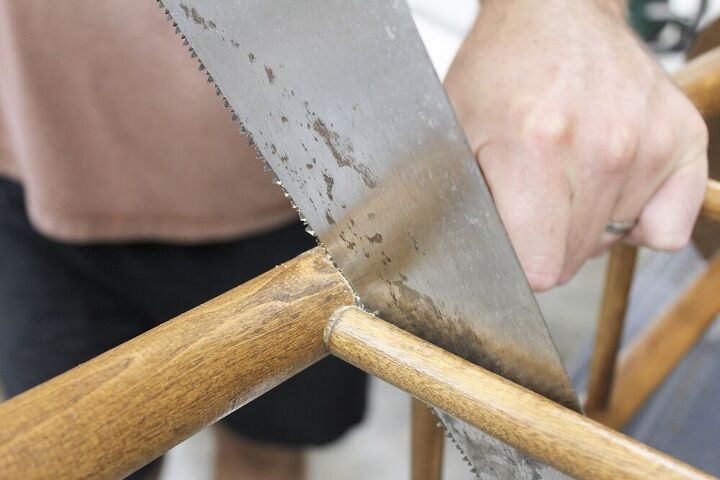
Hubby started out by using the handsaw to cut the leg off but it was hard to hold so he went with the Sawzall instead. It was much quicker. A handsaw will definitely work, you’ll just need to clamp the stool really well.
Either saw will leave the cut a bit rough so you’ll need to sand it down. I used the palm sander for this. Truth be told, it’s hard to get it completely flat and even but I have a solution for that.
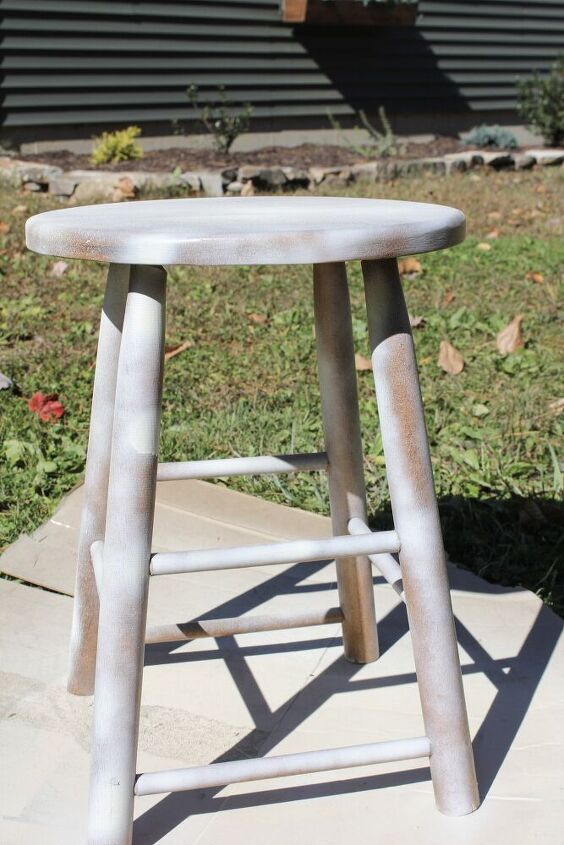
I wanted to create a look of layered paint over time so the plan was to do just that, layer the paint. I started with a light, sporadic coat of white spray paint.
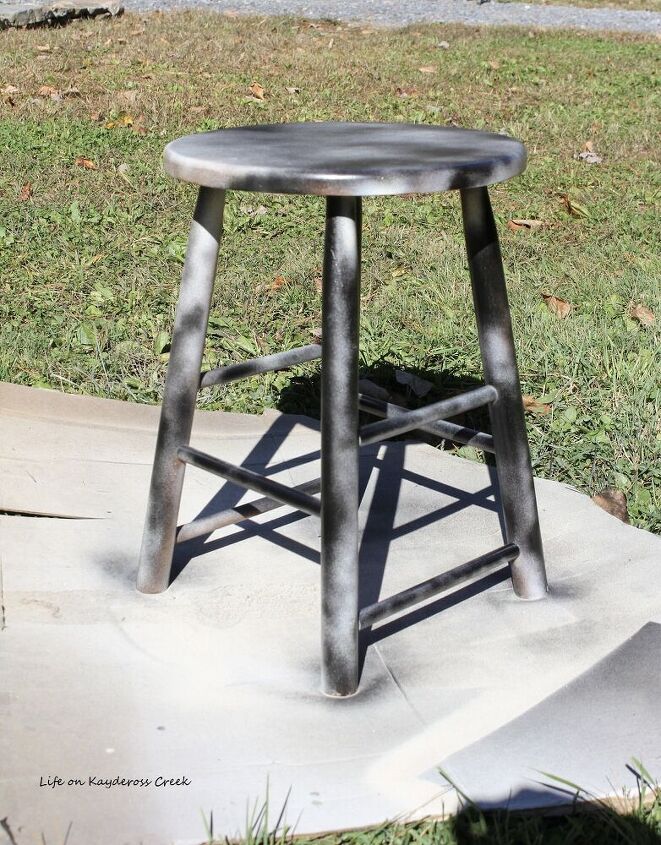
And then gave it a coat of black spray paint.
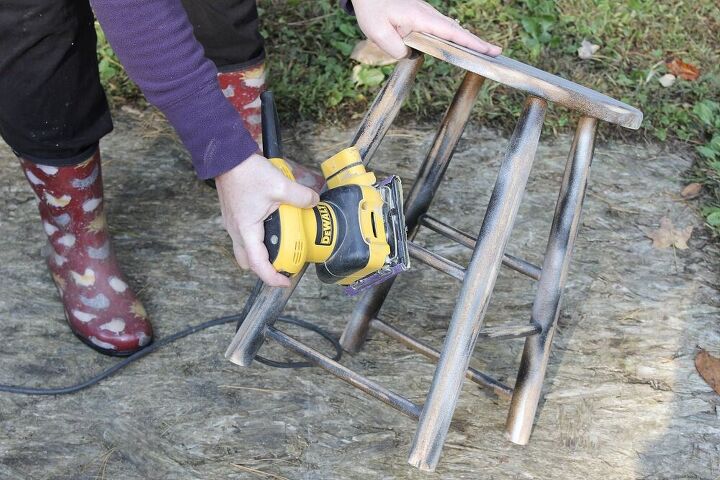
Once the paint dries thoroughly, you can start sanding. If you do this too soon, the paint will gunk up in the sander. Yes, gunk is a word, LOL.
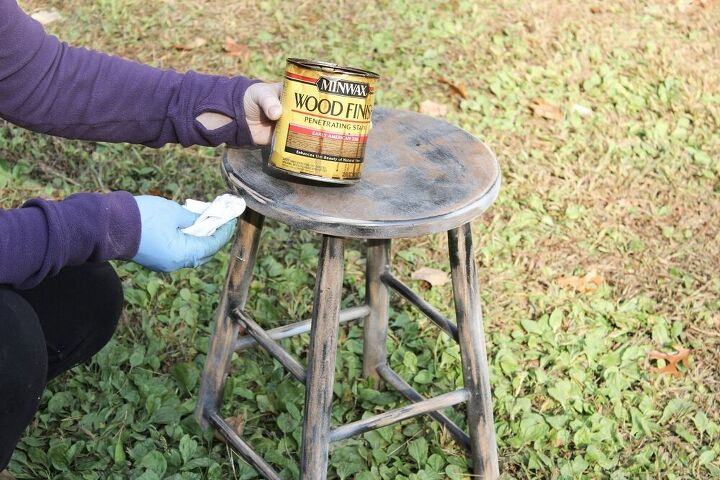
Wipe down the stool to remove all of the dust. Now it’s time to apply the stain. I chose my go to Early American by Minwax. Wow, can you tell how much I’ve used this stain??
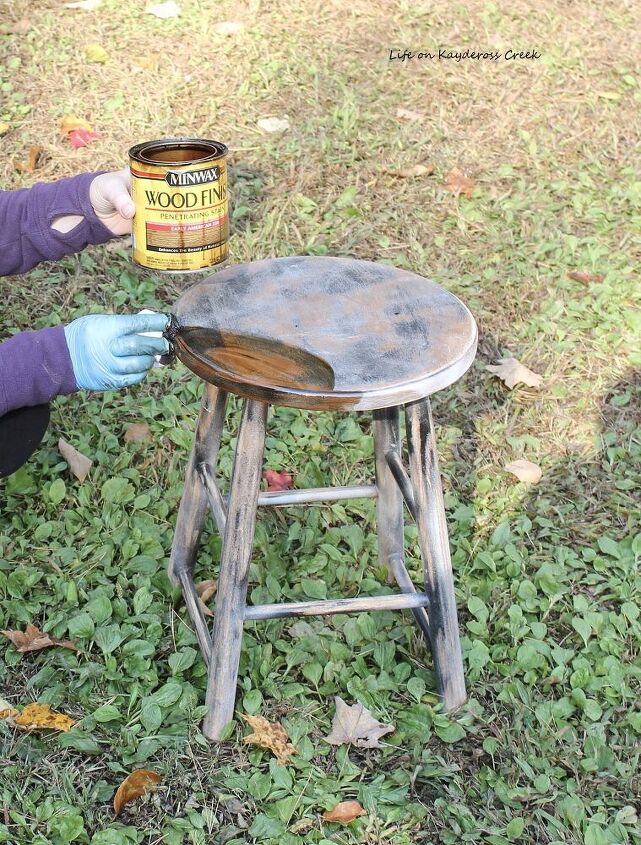
You can see here how the stain brings out the wood underneath and also highlights the black paint.

Here is is after the stain dried. The beauty is, you can do this with any color paint. Imagine how pretty this would be with green spray paint or red for Christmas! (hmm, another project in my future perhaps? :))
For more DIY projects, furniture makeovers and decorating ideas, visit my blog at www.mylifeonkayderosscreek.com.
Resources for this project:
See all materials


Comments
Join the conversation
-
I did something similar with an old wood school desk. Sanded it pretty much bare. Stained it with min wax black stain. Sanded again. Wiped it down with tack cloth and put a coat of flat poly acrylic on it. It turned out amazing!
-
This is such an awesome idea. The perfect height for using as an end table/night table in a bedroom if space is an issue. Love it.


Frequently asked questions
Have a question about this project?
How did you get the legs even??
Did you use flat, satin or glass spray paint? And did you put Polyurathane over it all. I have one just like this that needs to be refinished.
how did you determine height? I’ve seen milking stools that are short and higher or were you thinking your use to determine height