


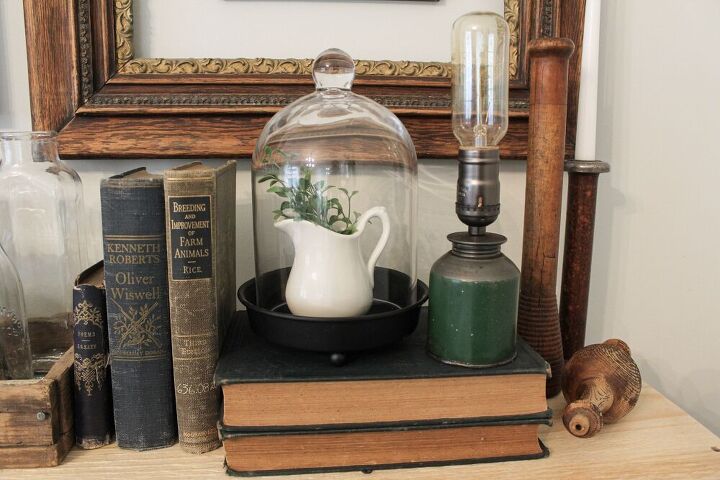
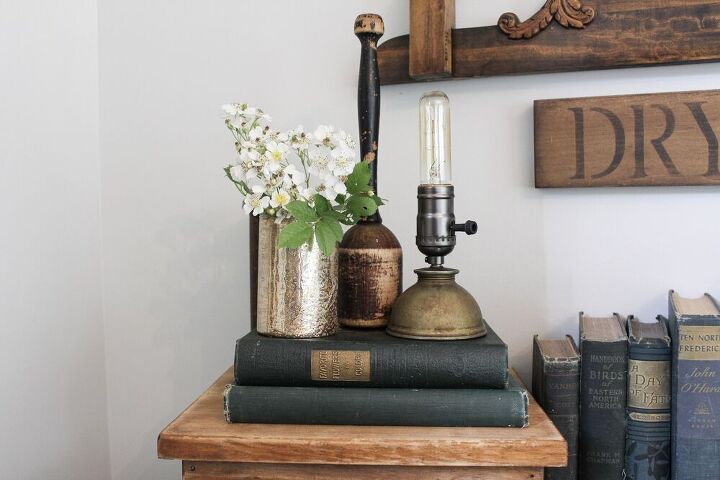
How to Take a Vintage Oil Can and Make a Unique Desk Lamp
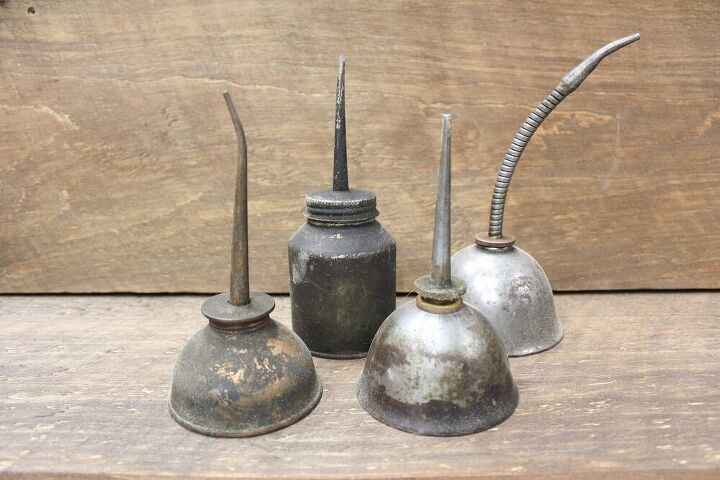
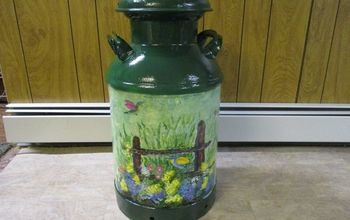
I’m always on the hunt for new things and one day at a thrift store last fall, we spotted three small old oil cans.
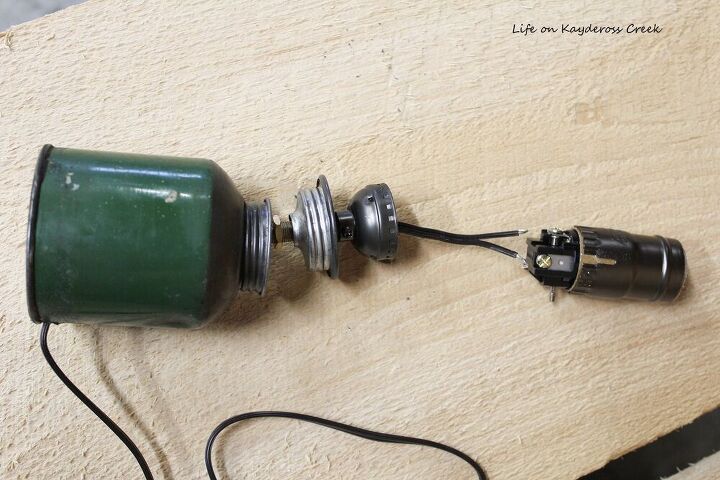
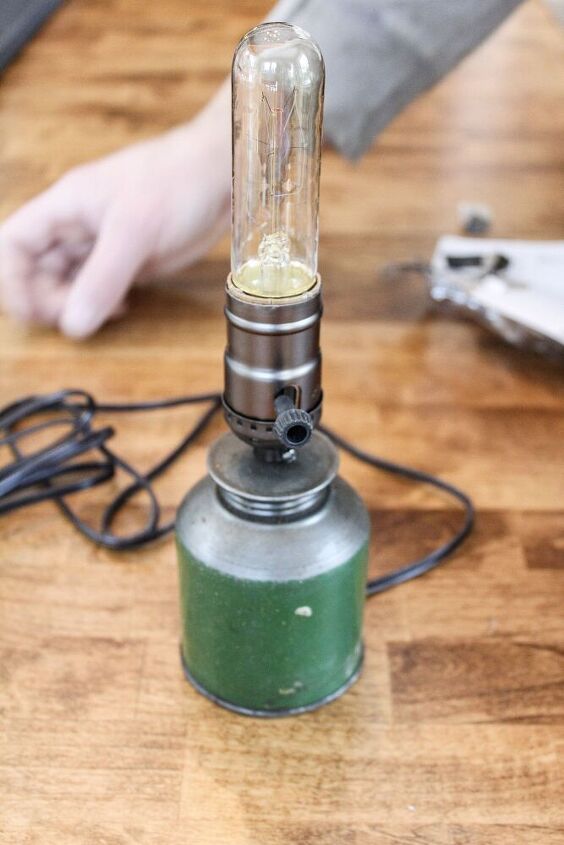
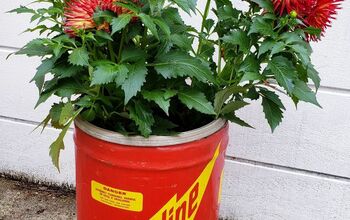
Start out with old oil cans....
- Clean the oil can really well. On the outside, wipe it down first to remove loose dirt and then wash with soap and water and a cotton rag. Use and old toothbrush to scrub any stubborn areas. To clean the inside, swish around soap and water to break up any loose pieces. You can also use a de-greaser and a cotton rag. Be sure to rinse thoroughly to remove any remaining de-greaser as well.
- Once it is clean and dry, screw the top of the can off.
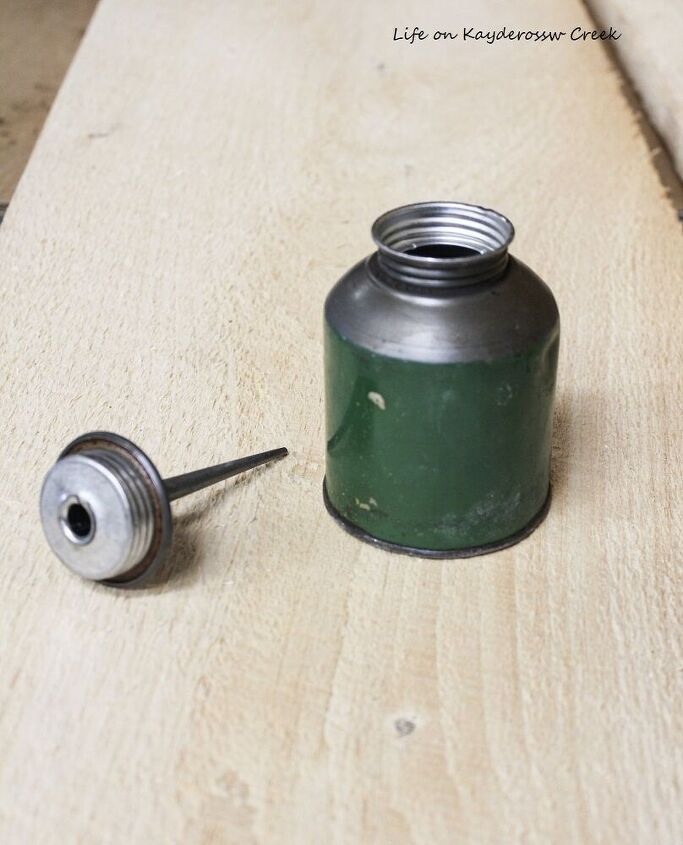
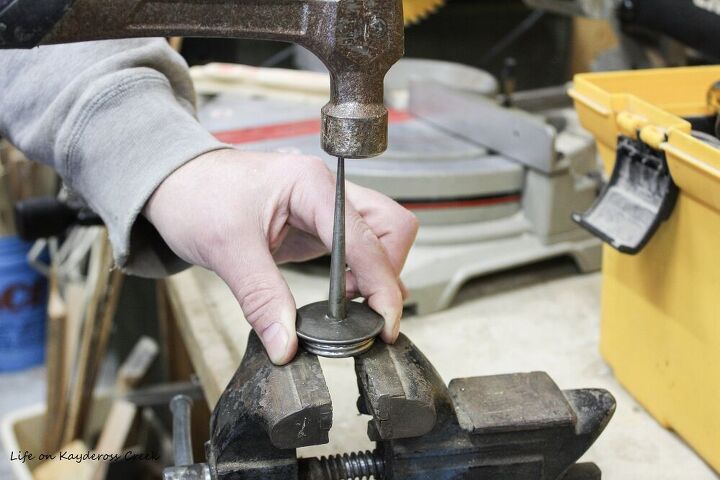
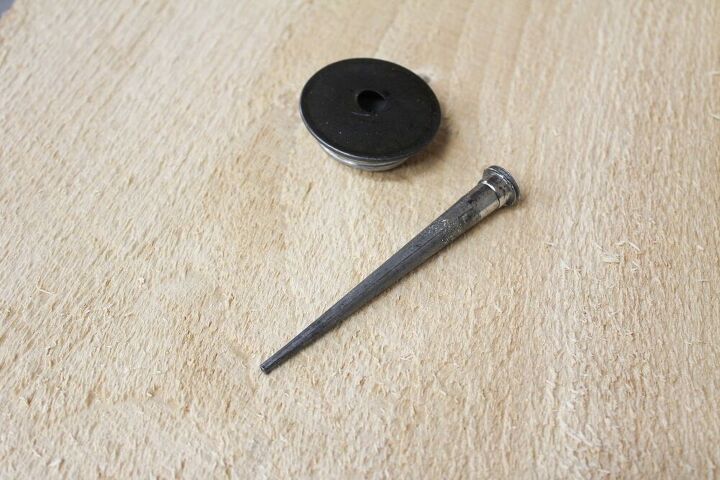
3. Remove the nozzle by gently tapping it from the top with a hammer. It should fall right down through the hole.
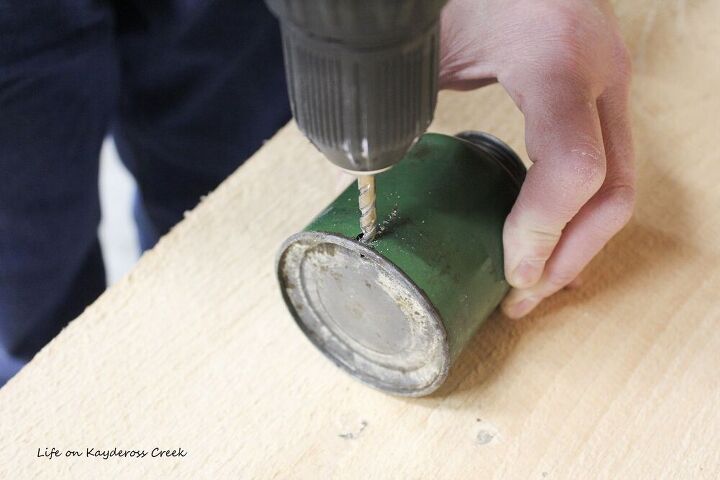
4. Drill a hole in the side of the can near the bottom.
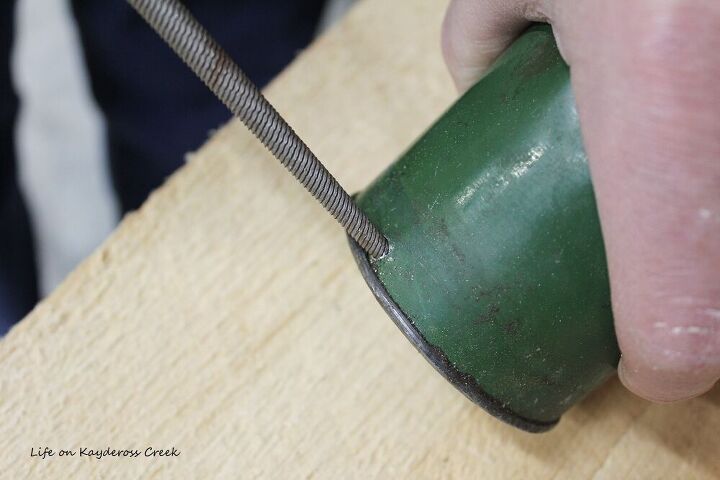
5. File the hole down so the cord does not rub against it and tear.
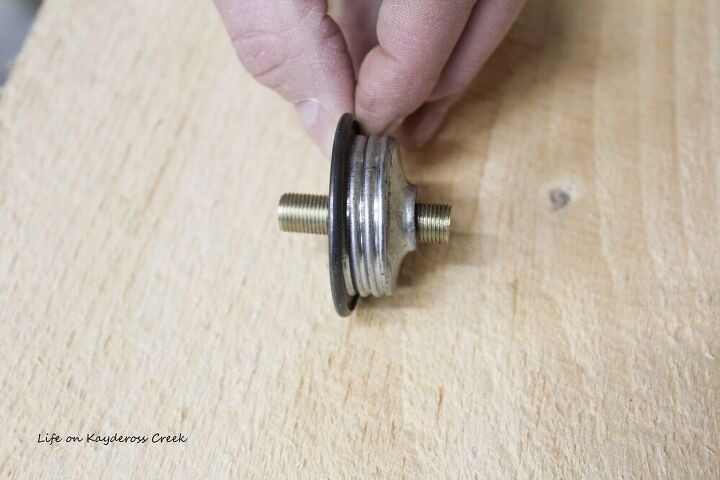
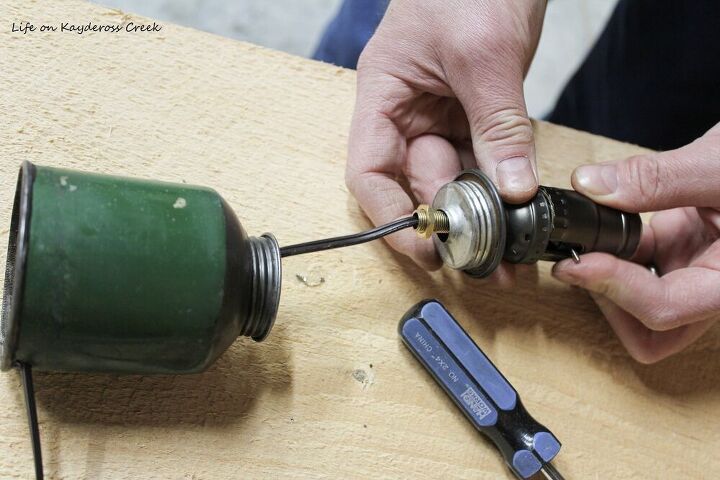
6. Thread the one of the longer nipples through the top of the can (this is where the cord will go through). Also thread the hex nut on the bottom part.
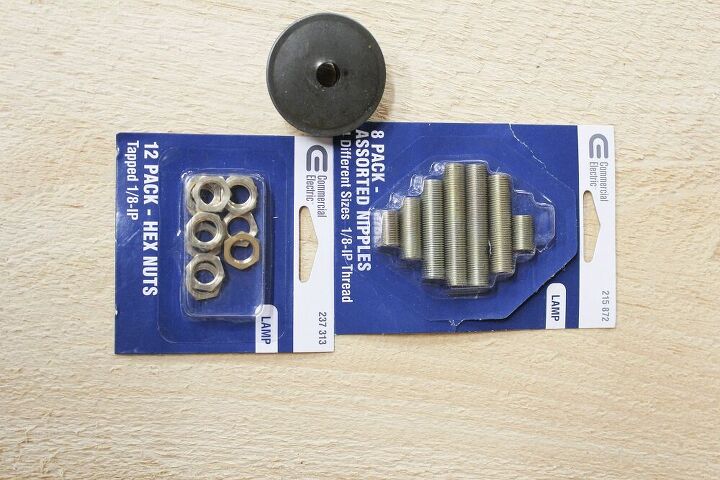
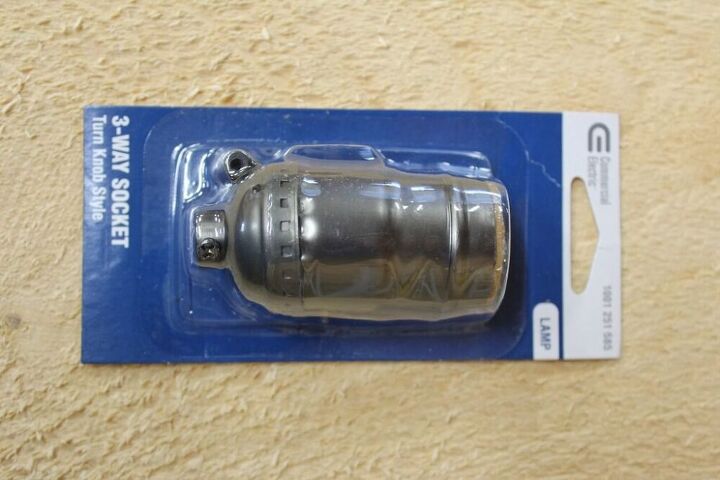
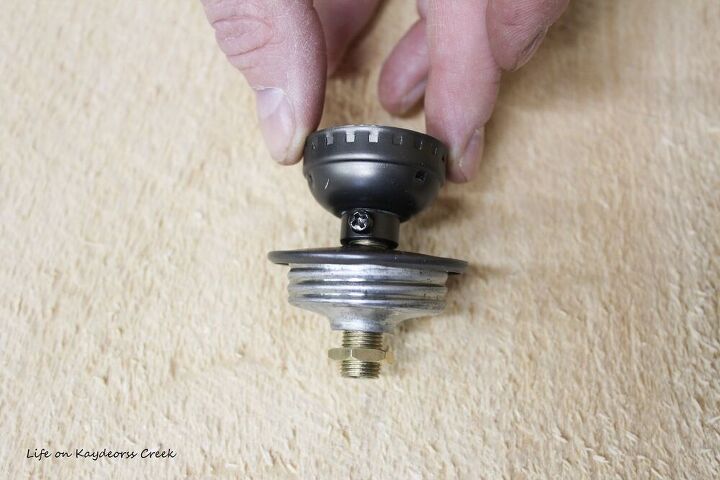
7. Attach the 3-way sock to the top of the oil can by screwing it directly on to the nipple.
8. Open up the package with the cord.
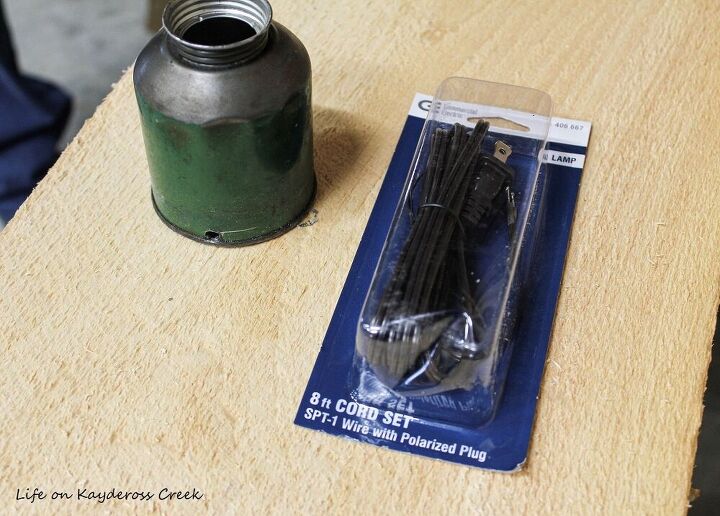
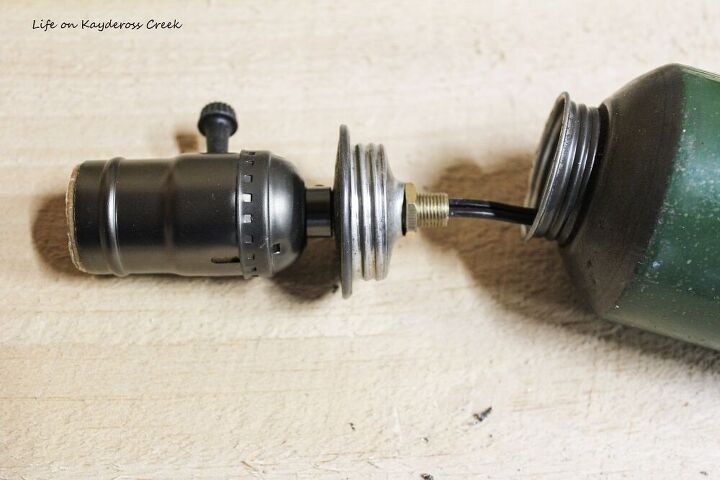
9. Feed the cord through the hole in the back, up through the oil can and through the nipple.
10. Attach the two prongs of the cord to the top of the 3 way socket by tightening the screws.

11. Once the wire is securely fastened, push it back down into the oil can and reconnect the top of the socket to the bottom part of it.
12. Now screw the top of the oil can back onto the oil can. See how nicely that fits together?
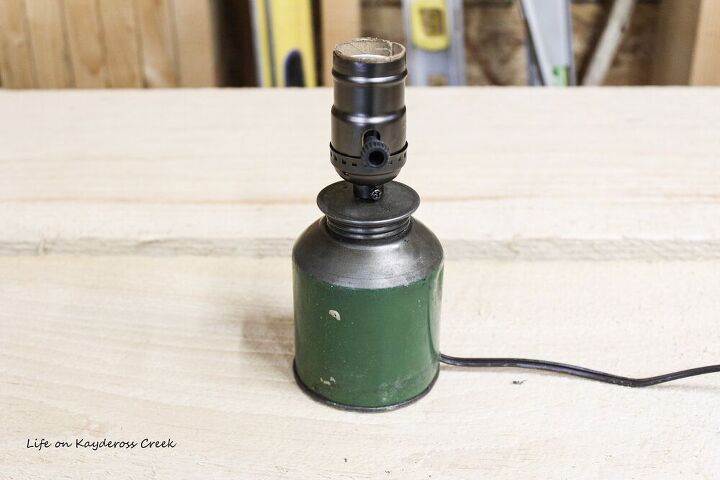
13. The final step in this DIY oil can lamp is to screw in the Edison bulb.
For more DIY projects, furniture makeovers and decorating ideas, vistit my blog at www.mylifeonkayderosscreek.com.
Resources for this project:
See all materials


Comments
Join the conversation
-
Very creative, I love projects such as this. Now I have to find me some oil cans. Hopefully a lot, I want these all over my home. Thank You for the inspiration.
-
Absolutely love it. Haven't seen one of those cans in years'


Frequently asked questions
Have a question about this project?