


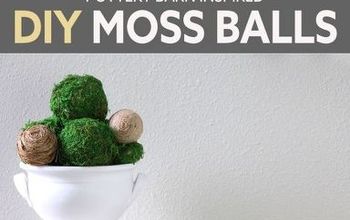
DIY Moss Pumpkin
Hello, my name is Cindy and welcome to Cloches & Lavender. I love painting furniture new and old. Upcycling is also something I enjoy giving pieces a new purpose in our home.
I enjoy crafting and sharing an occasional recipe too.
After looking on Pinterest, I saw a picture of a DIY Moss Pumpkin and thought I would give it a try.
As a rule, I usually don’t begin a project without at least looking at pictures but since I have made topiaries I thought I could come up with an idea.
Before I began this DIY I took stock of supplies I already had on hand. For instance, I knew I had faux pumpkins and I knew I had reindeer moss leftover from other projects.
Items Needed:
- faux pumpkin approximately 7″
- self-stick moss matt
- scissor
- pen
- light brown wax
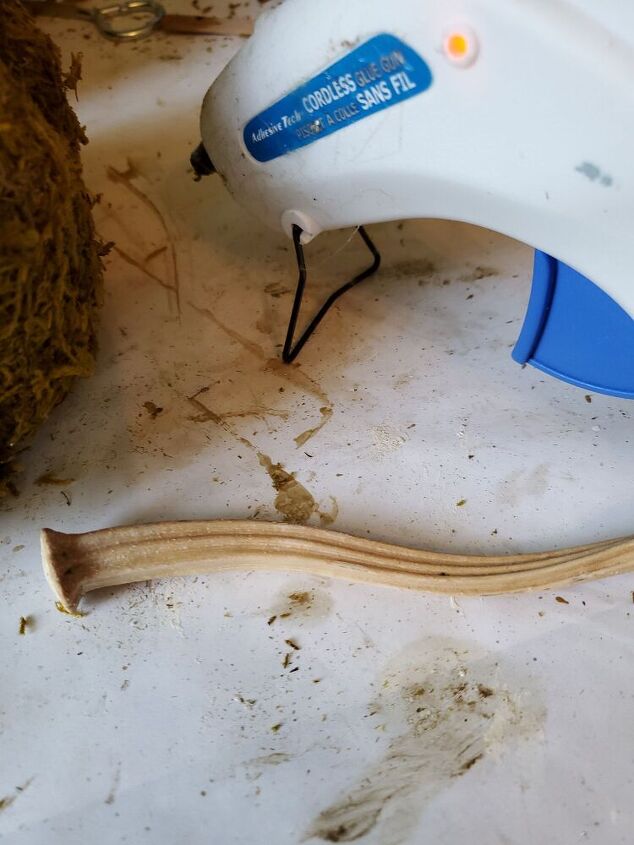
- real pumpkin stem, optional
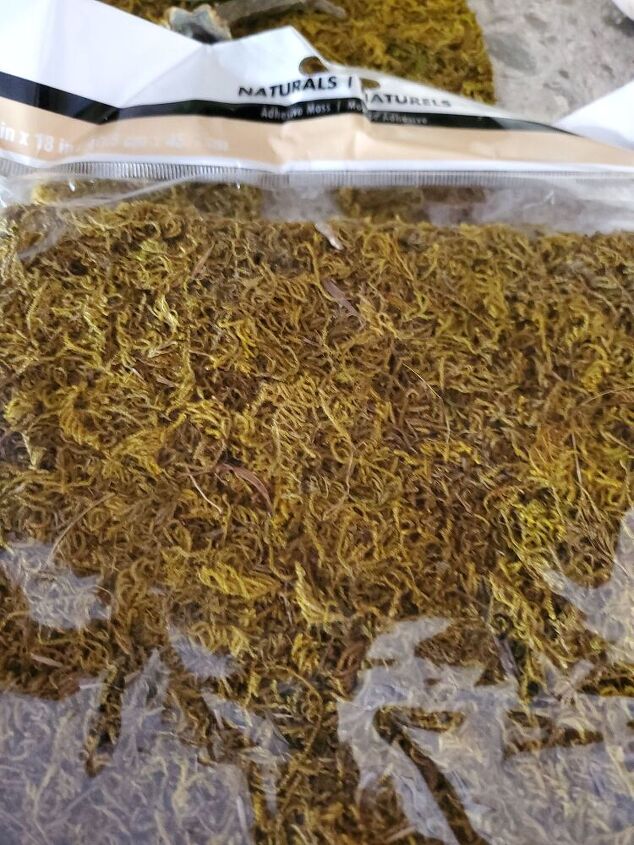
Next, I went to Michael’s to look around and purchased peel and stick moss. After getting home I wasn’t sure how sticky the moss would be so I decided to get my glue gun out in case.
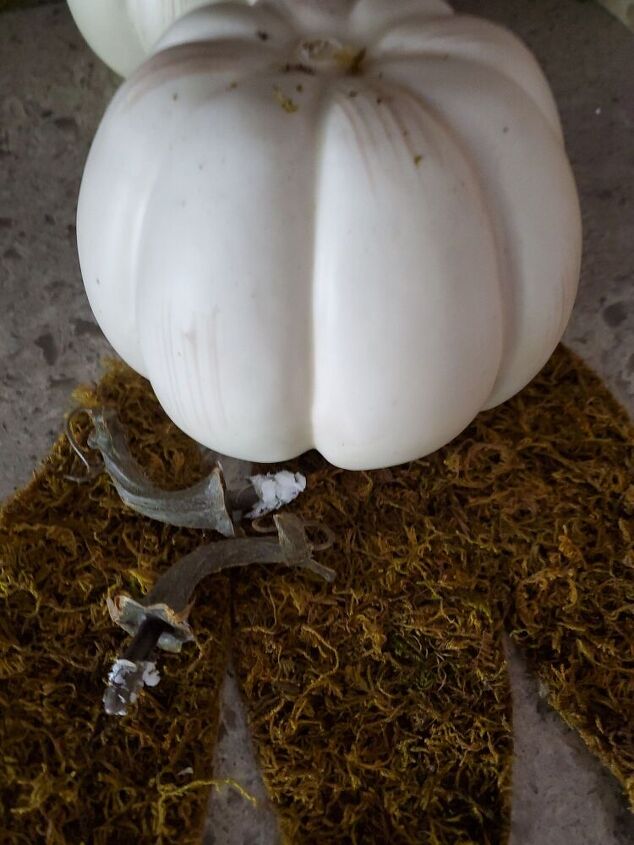
First carefully remove the stem, usually they can be twisted out of the pumpkin rather easily.
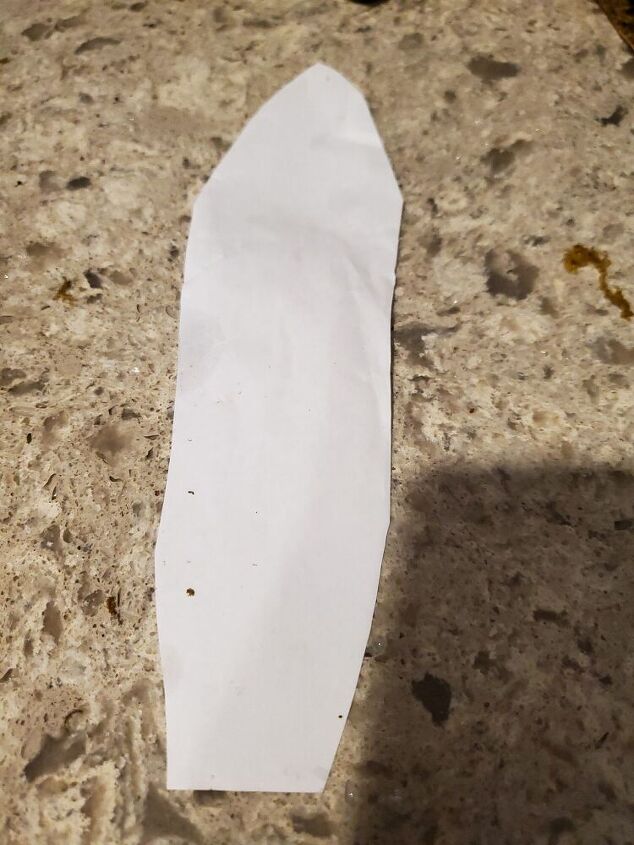
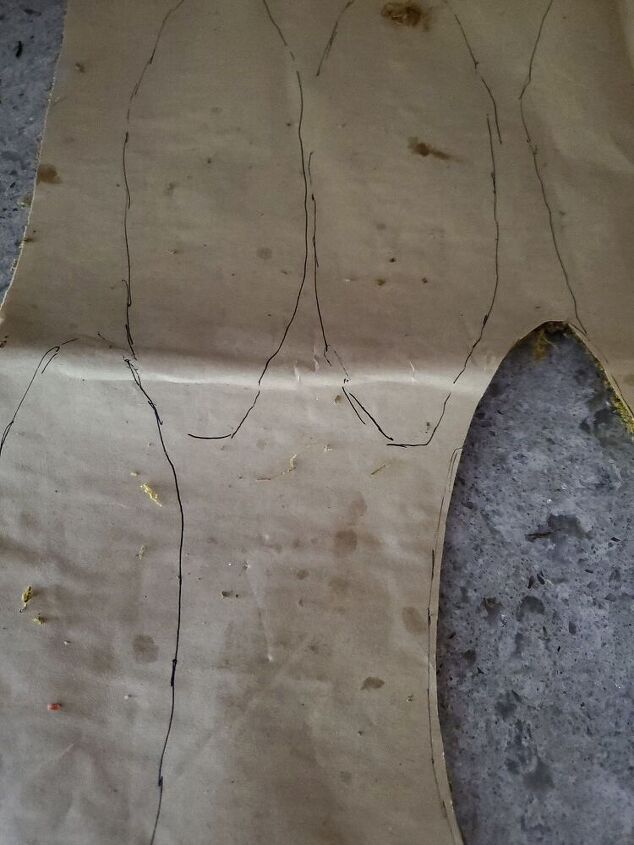
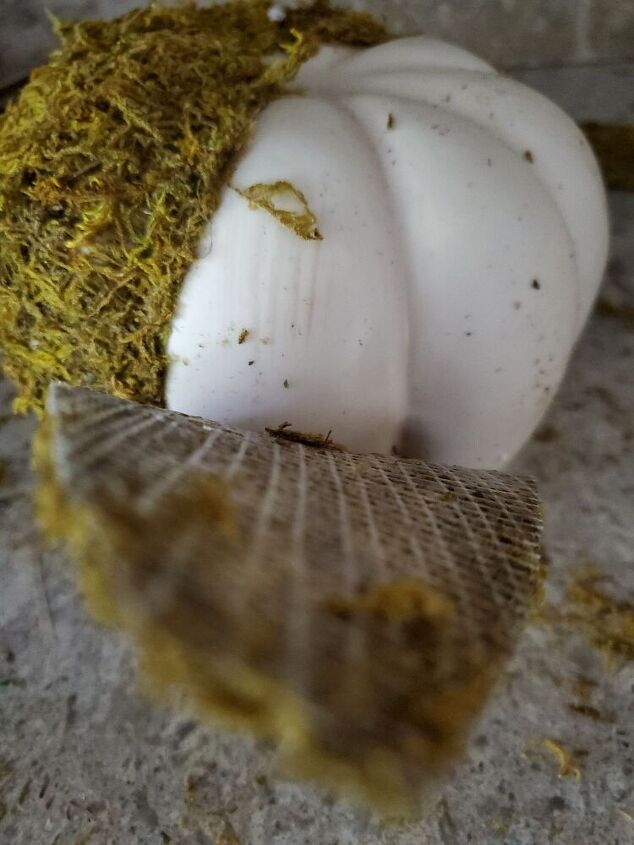
Using a piece of printer paper I pushed the paper against the pumpkin to achieve the curvature and width also remembering pumpkins are more narrow on top than bottom.
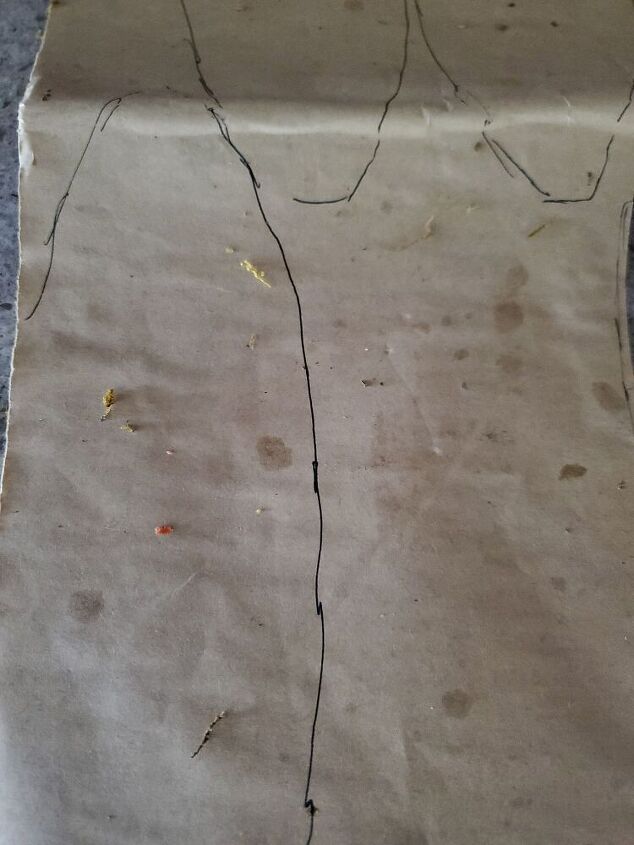
Next, I used a pen to create my lines and cut the section. After I was happy with the shape I began tracing each section on my peel and stick moss.
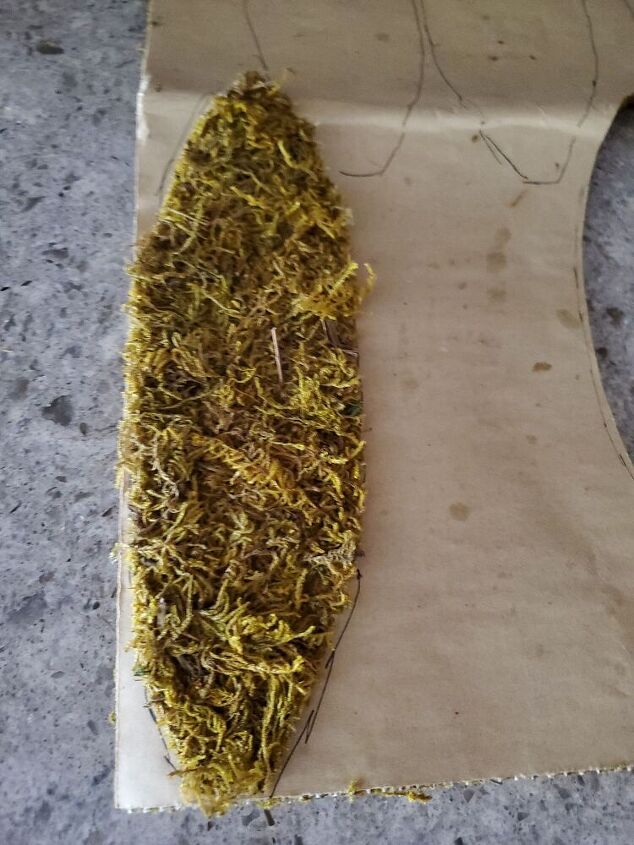
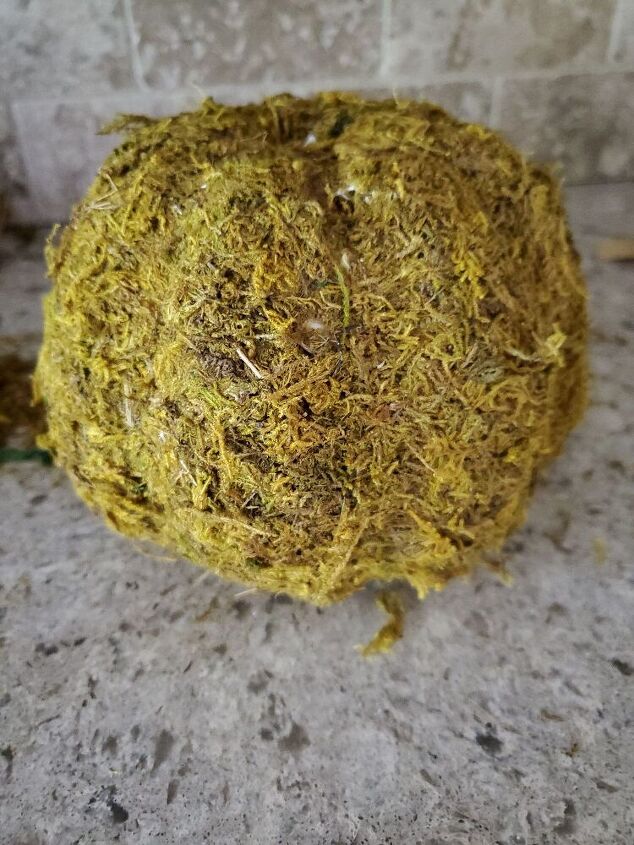
I was shocked how sticky the moss was because my finger tips stuck immediately after peeling back the paper.
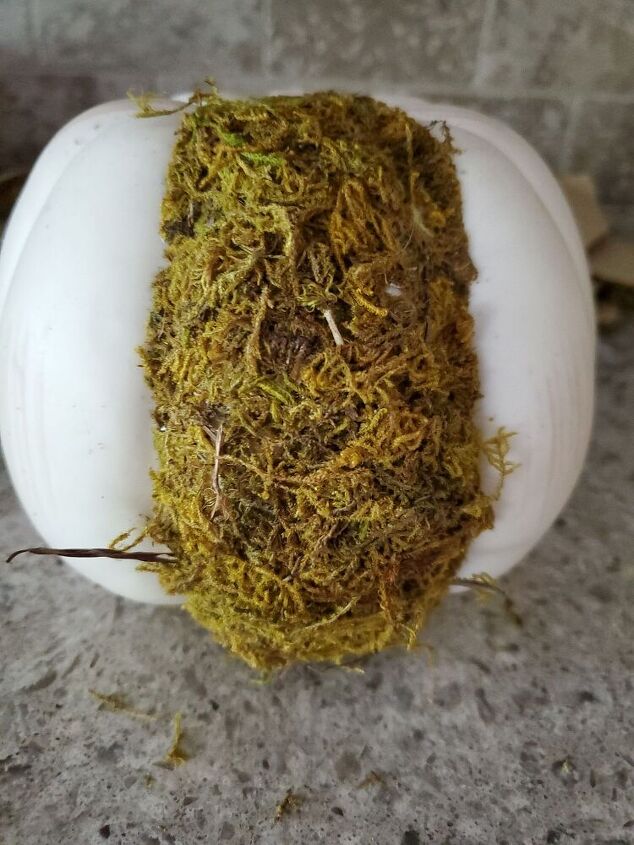
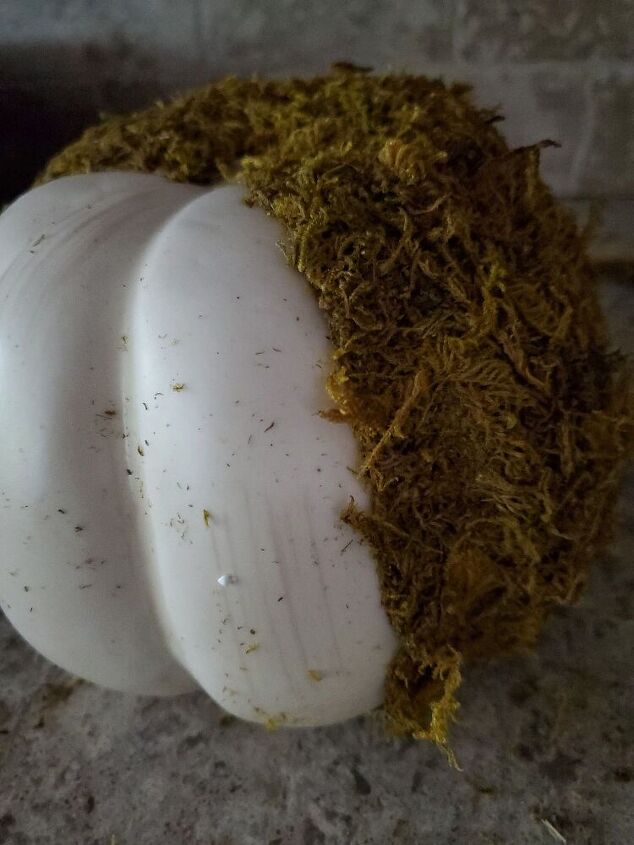
Once I began placing my first section, I pressed the edges into the creases very well so I would get the shape of the pumpkin.
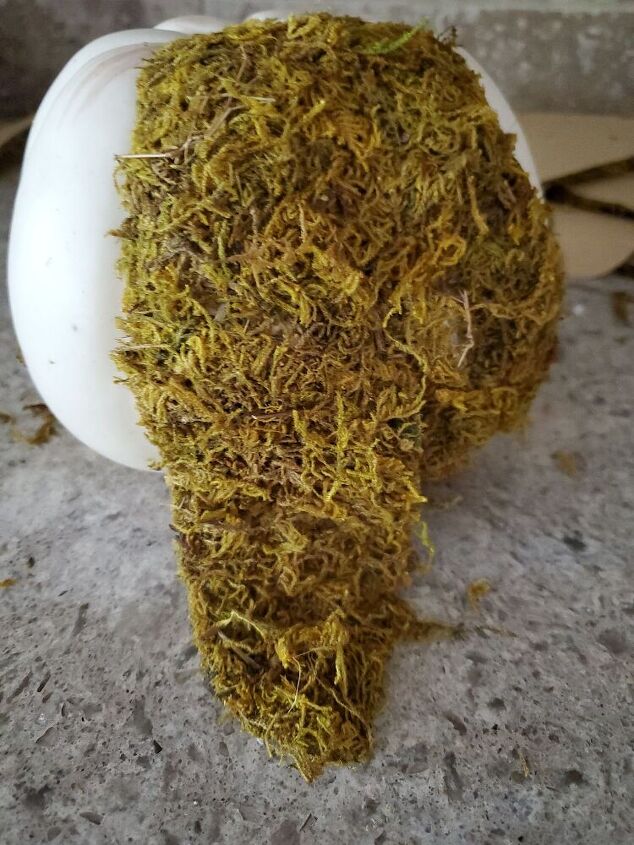
Next, repeat this process until the pumpkin is covered with the moss strips. Pushing the moss into the seams as you go along is especially important to give the pumpkin its shape.
As I began going around I heated up my glue gun to add a tiny dot here and there to the seams to make sure they were very secure. I did this to make sure I wouldn't lose the shape of my pumpkin.
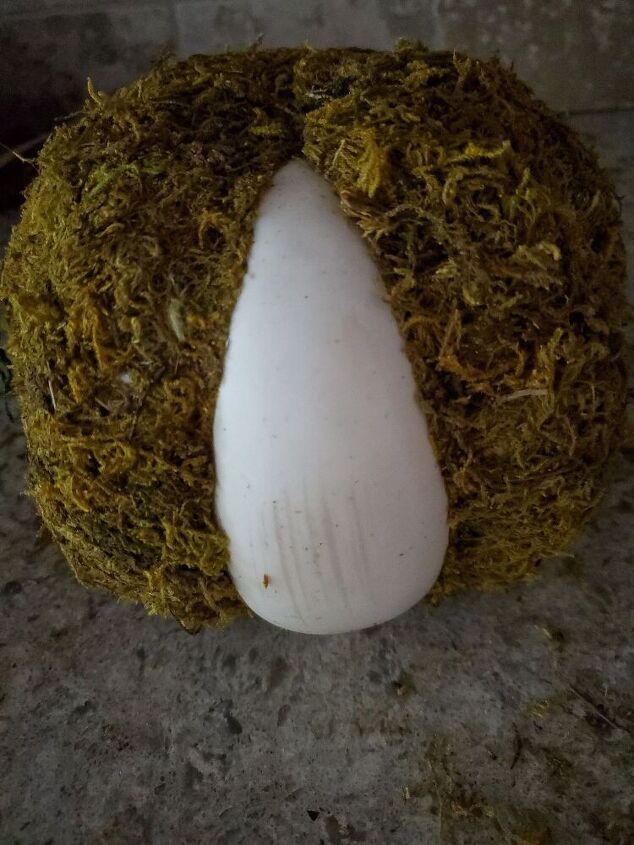
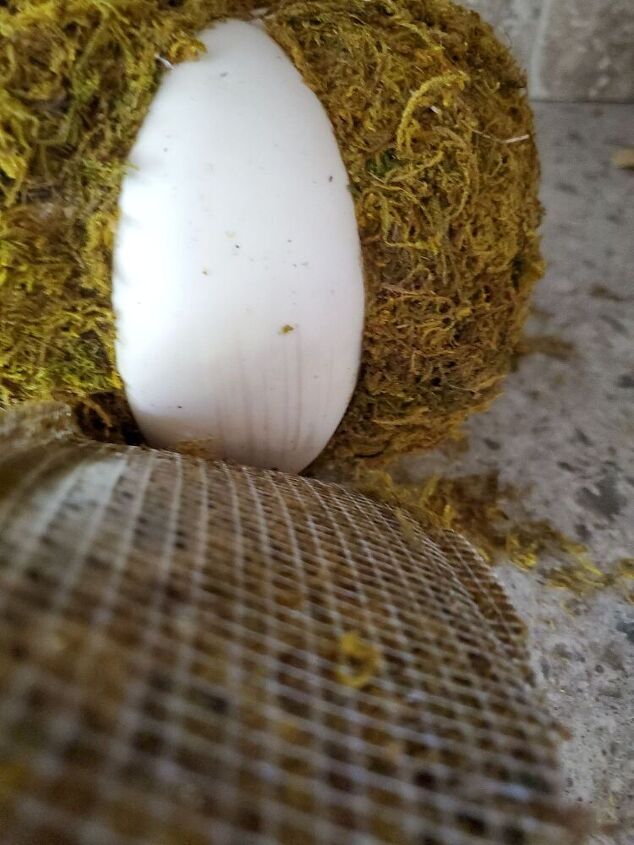
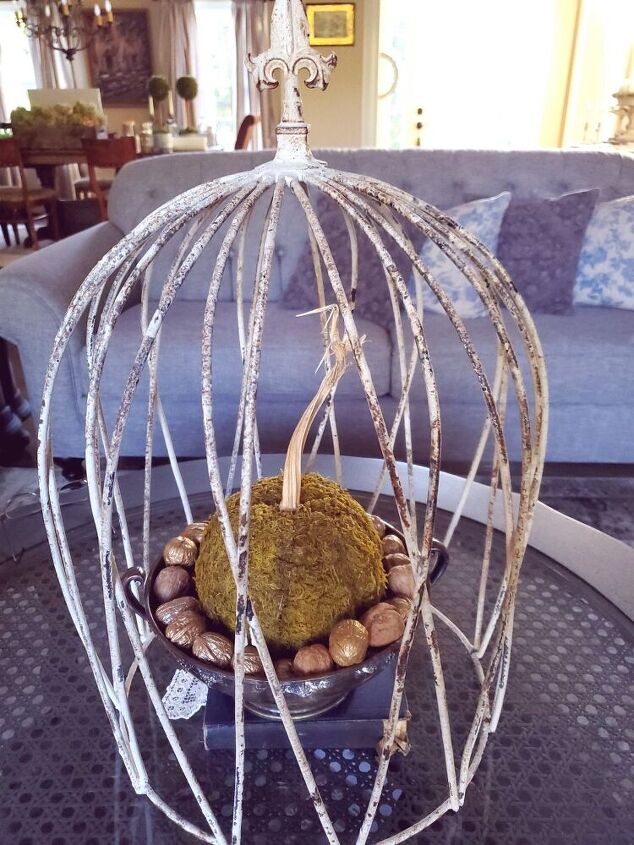
After each strip is pushed and pressed into place as well as the extra glue and showing the dimension of your pumpkin attach the original stem or add a real stem as I did.
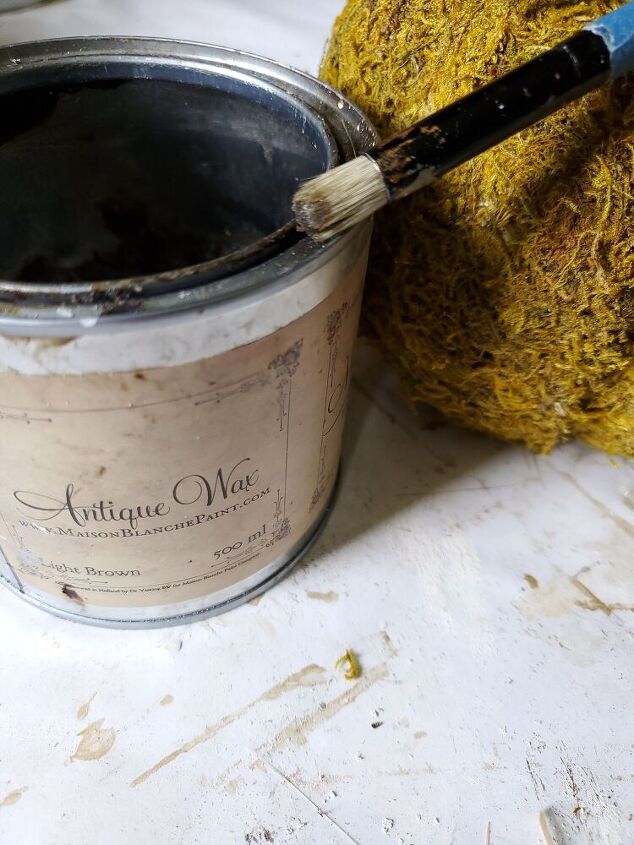
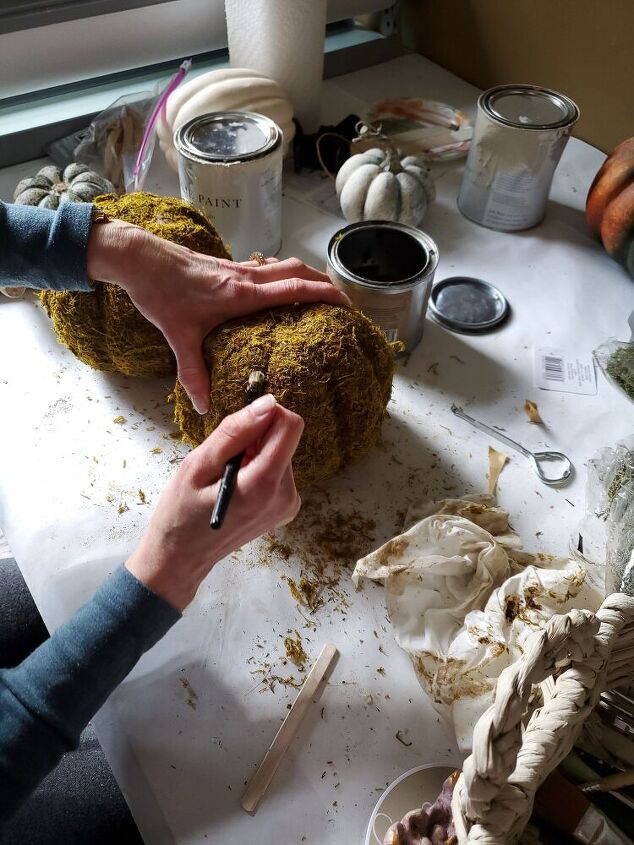
To add a bit more dimension, using a small stencil brush with a bit of light brown wax I brushed the wax on gently ensuring not to disturb the moss.
Depending what items you have in your craft supplies the price may be lower than stated.

I hope this DIY moss pumpkin inspires you to give this a try because this is an easy DIY and add natural elements to your fall décor.
Are you a fan of different textures and natural elements this time of year I would love to know?
Resources for this project:
See all materials


Comments
Join the conversation
-
Love, love, love this!!!
-
Fain


Frequently asked questions
Have a question about this project?
It’s lovely! I wondered about the walnuts featured with the pumpkin, did you finish them too? If so, how? Thanks for sharing your project 💕