


Upcycling an Upcycle
We moved into our home 13 years ago. To fill up the spaces with furniture, I turned to my favorite hobby, converting trash to treasures. Our "need"? A sofa table that would be barely visible due to its location behind a couch and against a window. My thinking was, why should we spend a pile of money on something we can hardly see? Enter the trash: table legs rescued from the recycling center, the parts of a buffet we had already had converted into a vanity, and an unused stair tread. From those bits and pieces, I built this funky looking table which has served us well all these years.
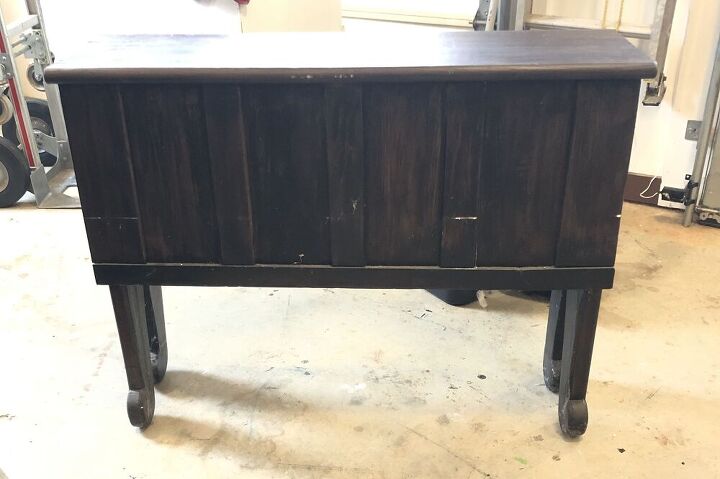
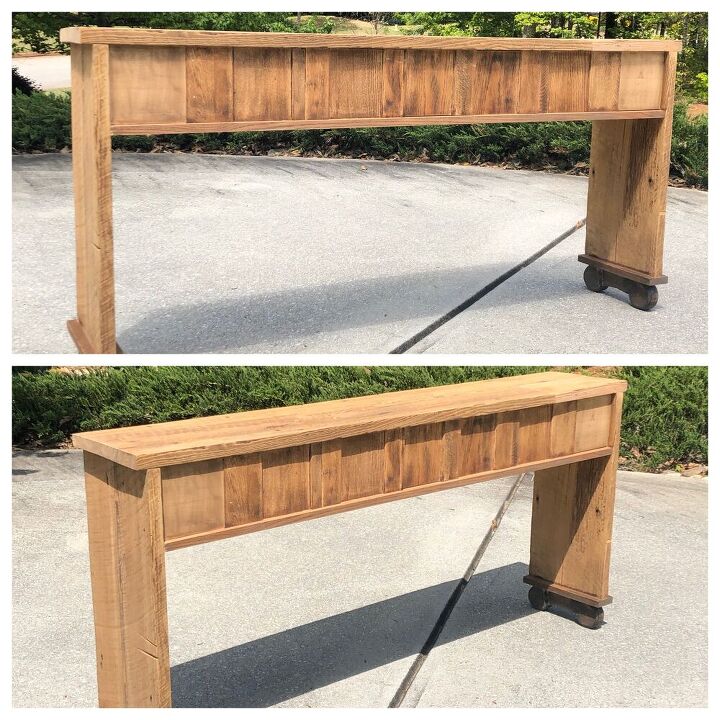
But recently we decided to upgrade our very well-worn furniture and to give the living room a refresh. That meant that the sofa table needed to be longer, with higher clearance below, and better looking. Let's face it, this little dude wasn't going to win any design awards so I decided to take it apart, redesign it, and rebuild it. Doing this required a lot of math, problem-solving, and flexibility. But once the plan was made and everything was cut, the actual construction was simple and did not take long. In case you were wondering how this all came to be, here is what you need to know.
Materials:
original table
2- 1"x 2"x 6' oak
2- 1"x 4" x 12" oak scrap
2- 1"x 2" x 6' pine
pocket screws
wood glue
2" x 12" x 12' reclaimed oak board (from Reuse The Past)
Process:
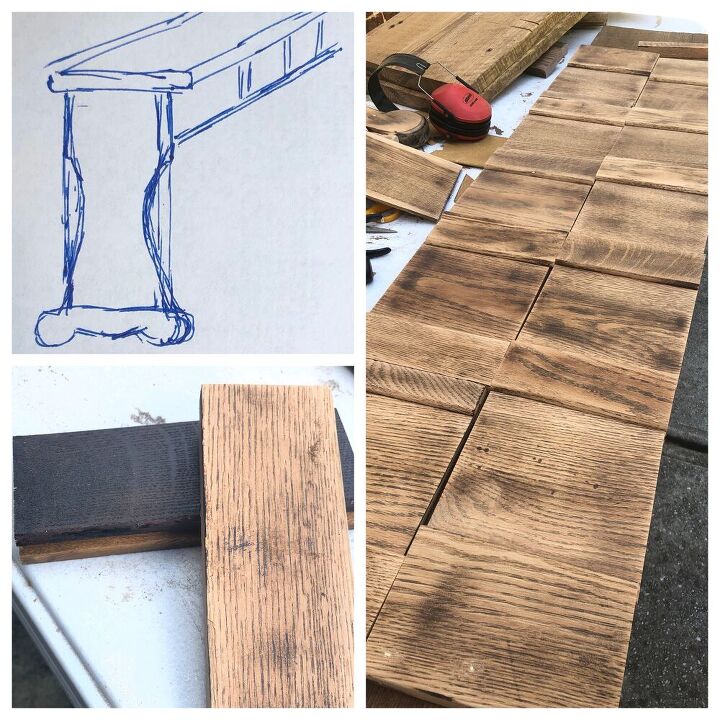
- Make a plan using your new ideal dimensions and design elements.
- Take apart original piece and remove nails.
- Sand off old finish.
- Lay out pieces that you want to use and cut them to size.
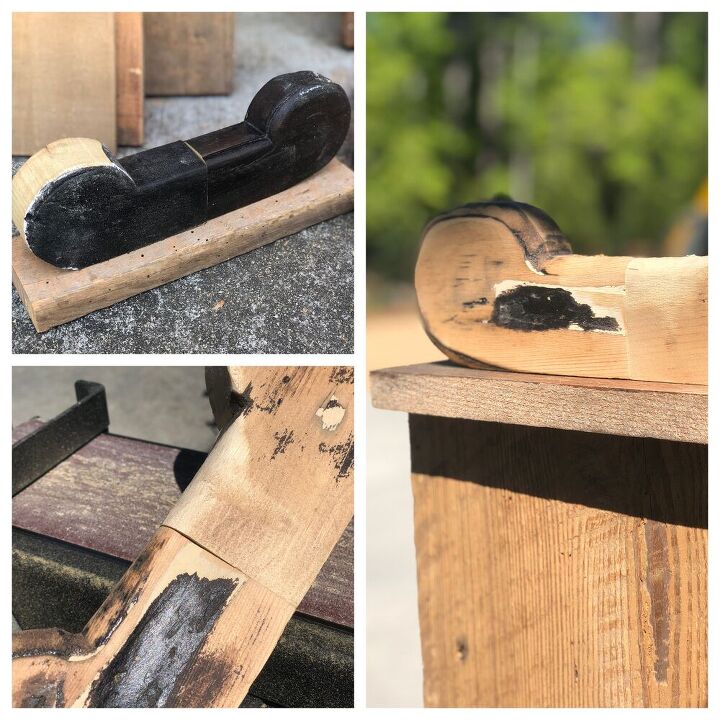
- If necessary, do some repair by cutting out the bad and replacing it with the same kind of wood. Use pocket screws on the underside along with glue. Make wood filler from glue and sawdust. When dry, sand it smooth.
- If the wood requires it, scrub it with lukewarm water to get the dirt off. (I wanted to keep the aged look so taking it through the planer was not an option but I wanted it clean, nonetheless.)

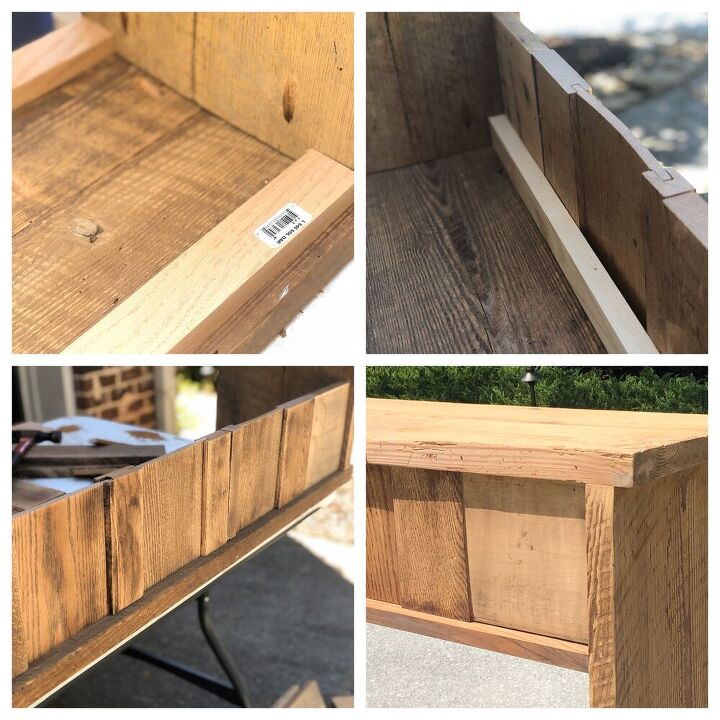
- Cut table top to length. Cut sides to length and join to top using pocket screws.
- Recut feet and join together with pocket screws. Add a piece of oak for more height and stability.
- Attach feet to side.
- With table upside-down, attach pine strip to serve as a nailer for the decorative sides.
- Attach decorative pieces.
- Add another 1"x 2" (I used oak) to trim the bottom and add stability.
The finished result is still a little quirky but it repurposed materials, is exactly the right size, and does the job. I decided to leave it natural for the most part because I liked the look and any coating wood have changed it.
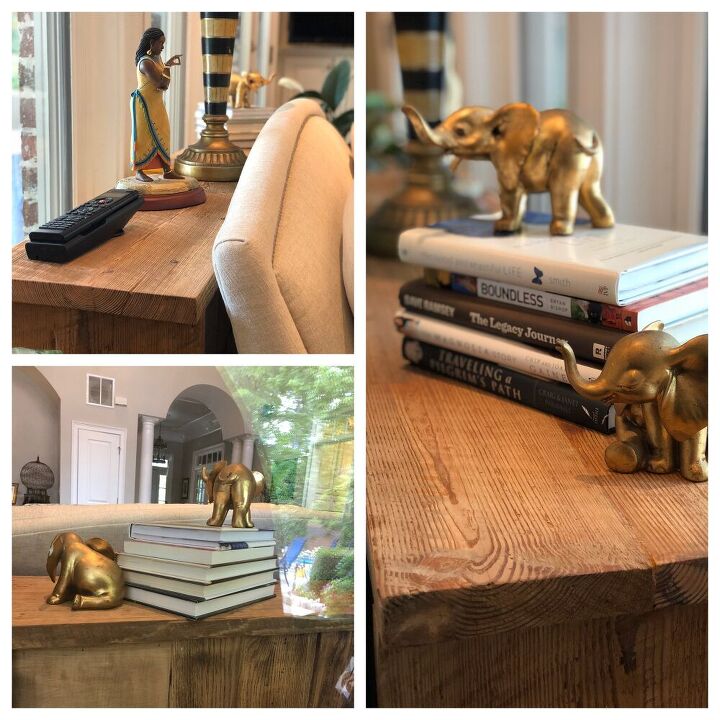
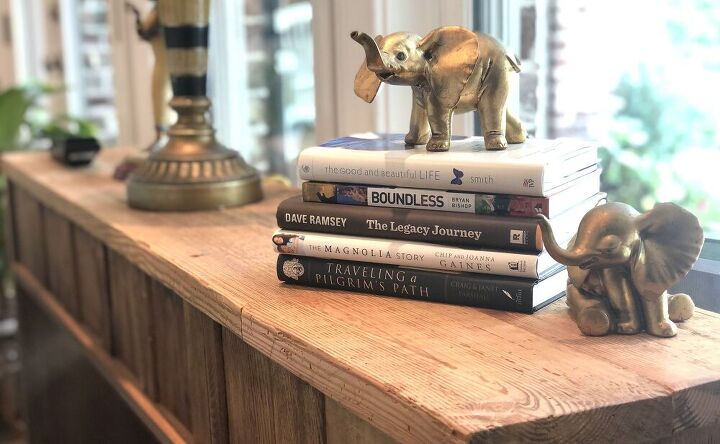
But as you can see, the table is still basically invisible, hidden by a couch, plants, etc. But that's okay. In my heart, I know it's there, the story behind it, and the love that went into it.
Resources for this project:
See all materials


Comments
Join the conversation
-
My brain would explode but a really great job!
-
I love it ❤️ well done!


Frequently asked questions
Have a question about this project?
What about a clear coat of wax, to protect it?