


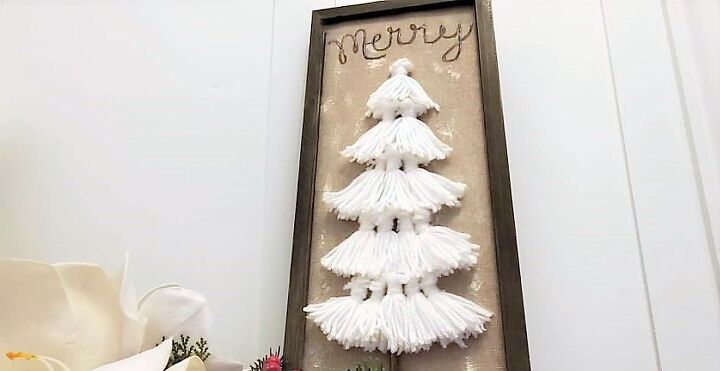
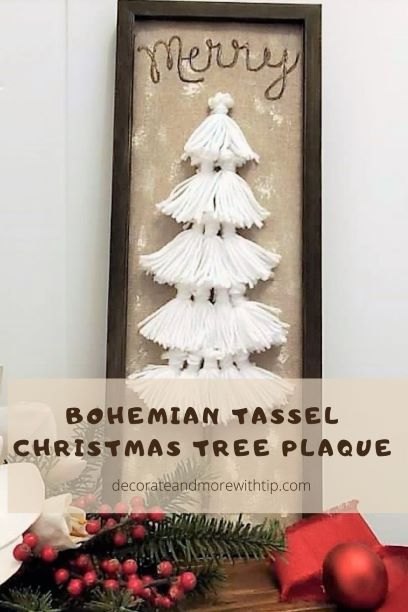
Bohemian Tassel Christmas Tree
For my craft today I am taking a few items I have on hand to make a cute Christmas tree with a little Bohemian flare. I saw this cute yarn tree on Pinterest, I have to try to make this cute framed tree. Click on the link to check out the tassel Christmas tree, isn't it cute? It is for sale on Etsy by thedottedbow.
Here is my version of the tree. The items I used are below.
- a frame print
- piece of burlap
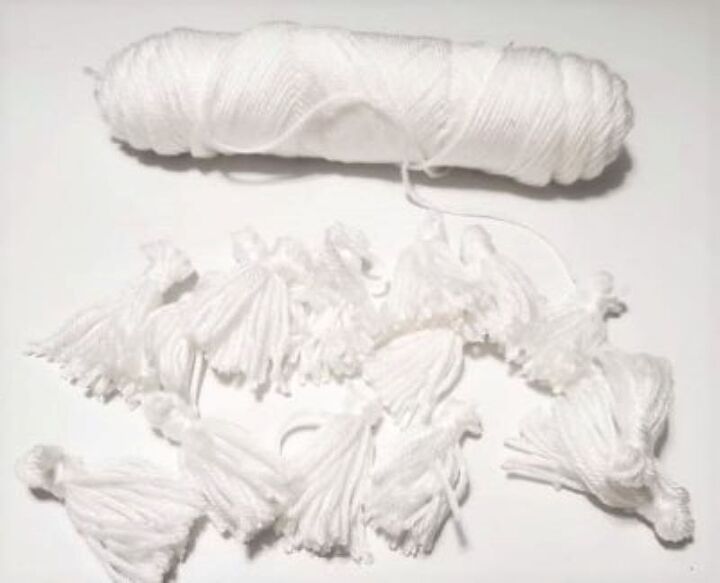
- yarn
- scissors
- hot glue and glue gun
- dowel rod
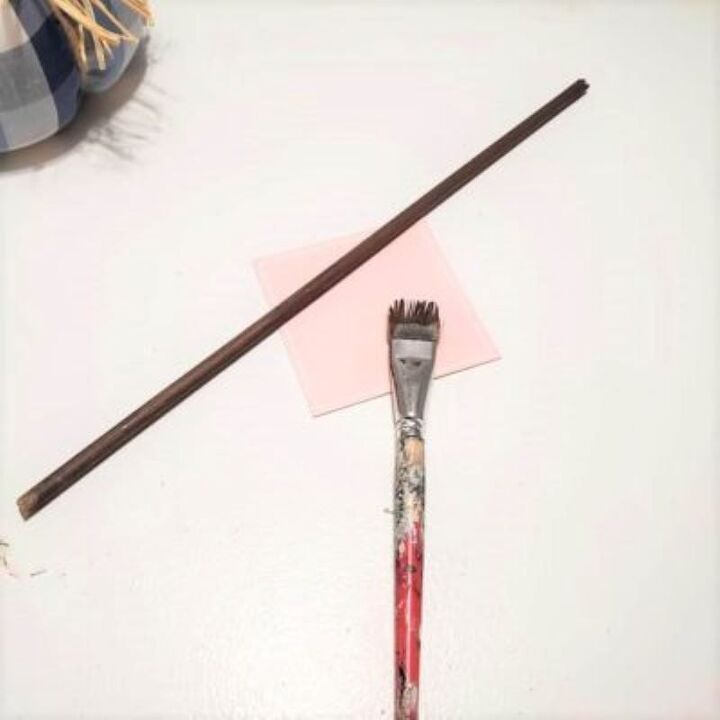
- craft paint
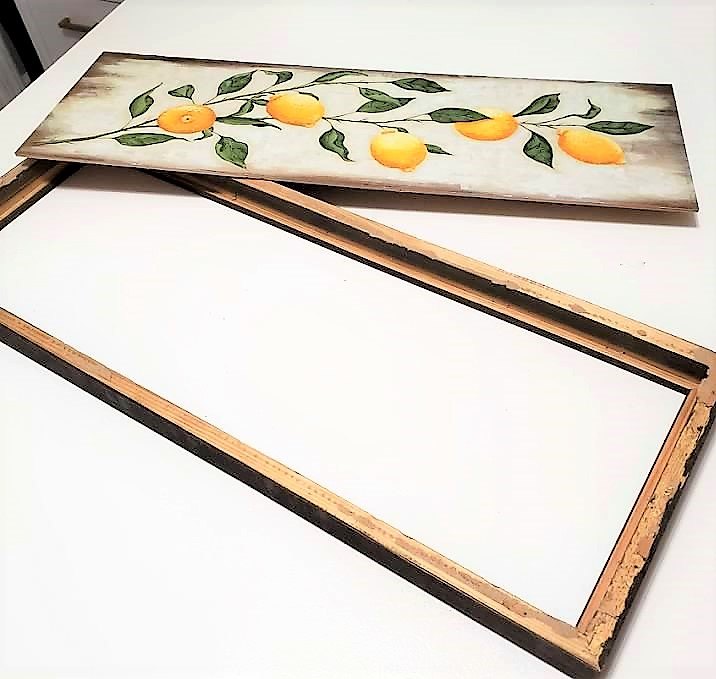
Starting with my lemon frame print. Removing the print from the frame.
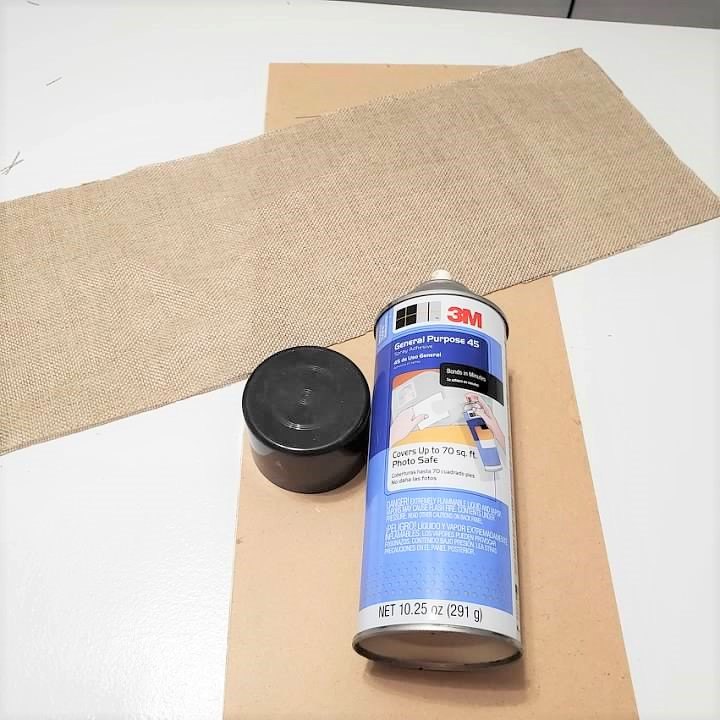
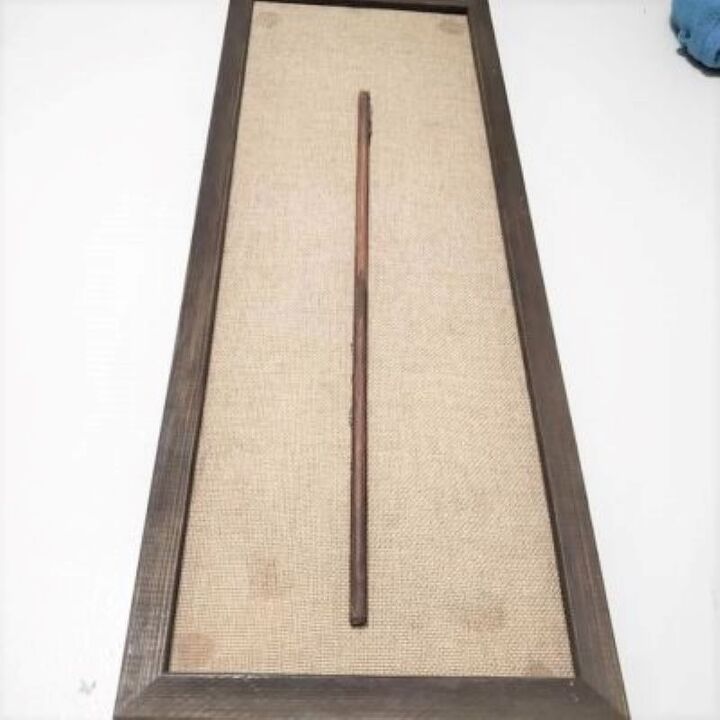
Using a scrap piece of burlap (the size larger than the board) tracing and cutting the pattern out.
To attach the burlap to the back of the print I used spray adhesive, which I shouldn't have, it left wet spots. I will fix the spots farther down in my tutorial.
If I had to do this over I would have use hot glue around the edges.
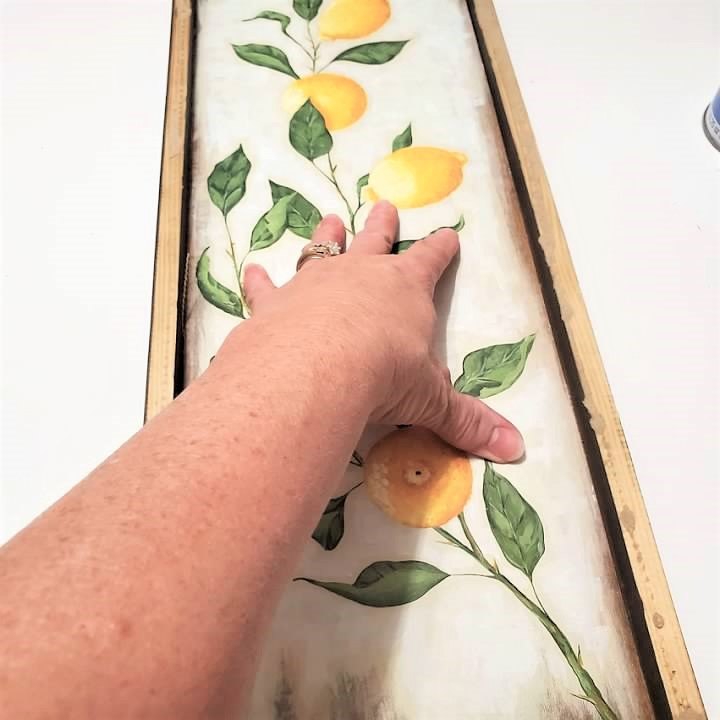
Placing the print back into the frame, if I want to use the lemon print all I have to do is turn it back around. Easy-peasy!
For the trunk of my tree I am using a dowel rod I gave it one coat of Truffle chalk paint.
For the tree itself, I made 15 small tassels. I shared how I make my tassels in a video HERE. Here's the quick version.
- wrap yarn around your 4 fingers about 20 times, cut the yarn off
- pull the ring of yarn off your fingers
- at one end wrap yarn around 10 times tying off, creating a knot on the tassel, cut the yarn off
- cut the longer loops
- trim evenly
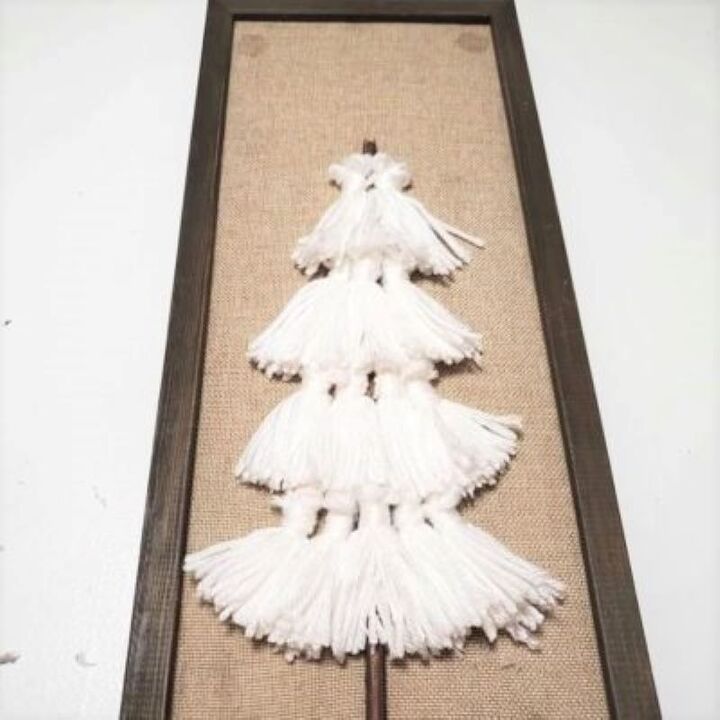
Now let's create the Christmas tree. Taking my hot glue gun I applied hot glue down one side of the dowel rod and placed it in the center of the frame. I am sure you notice the wet spots the adhesive left on my burlap.
Placing the 15 tassels on the frame in this pattern:
- Using 5 tassels and hot glue, I lined the tassels up to create the bottom of my tree. To start my row I placed one tassel in the center and went out from there.
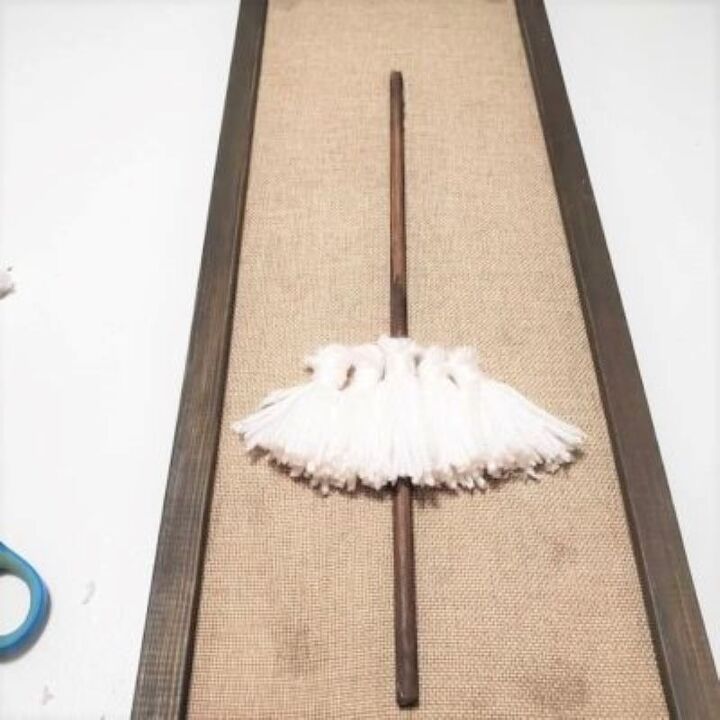
- The next 4 rolls I decreased the tassels by 1. Lining them up evenly. I added a single tassel at the top of my tree (which I forgot to photographed that step).
To hide the adhesive marks I dry brushed some white craft paint around the burlap to create the look of snow.
I free-handed with a pen the word Merry above the top of the tree, keeping it neutral I used bronze metallic craft paint painting over the writing. I used a little white craft paint on the letters to give a little highlight where I think needed it.
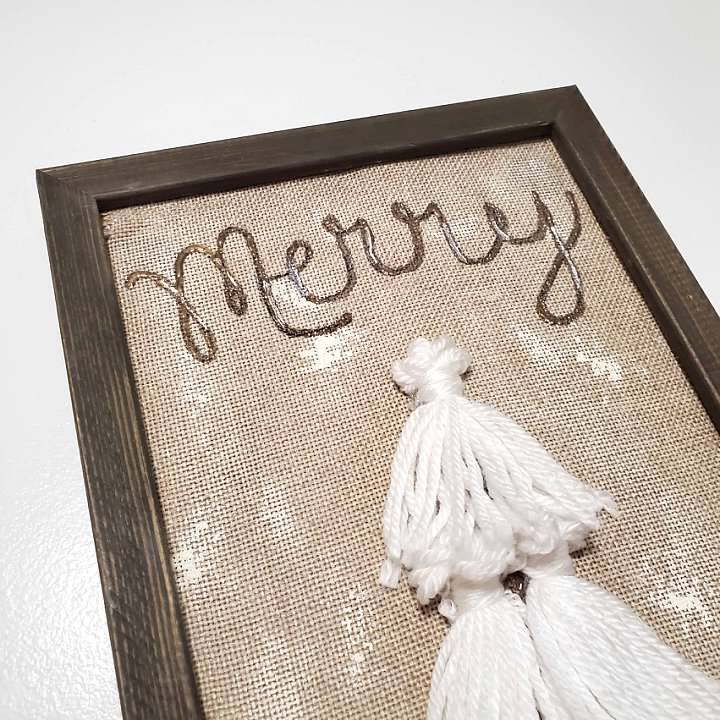
My little mistake using the spray adhesive turned out to be a good mistake, using the white dry brushing gave it a snowy backdrop.


Comments
Join the conversation
-
This is so cute!! Thank you for sharing! It actually gives me another idea so I need to get rolling! Lol
-
Funny, I saw this framed tassel tree at Hobby Lobby yesterday. I took a picture of it and planned on making it. Yours is cuter with the burlap backing and the addition of the snow flakes and Merry on the top.


Frequently asked questions
Have a question about this project?