


Stenciled Sign

Recently I began experimenting with different methods for sign making. One of the most traditional methods is using stencils. I had been intimidated by sign making for the longest time, but once I dived in I realized it was much more simple and less expensive than I had anticipated.

The supply list for this project is short. You will need acrylic paint, round brushes, painters tape, a piece of wood and of course, stencils. I picked up this pack of stencils from Wal-Mart for less than five dollars. There are so many different stencil sizes and fonts to choose from. It's best to choose the stencil that best suits the style of your sign. I chose this pack based on its whimsy. I used a scrap piece of wood for the canvas. Most craft and department stores have premade shiplap signs, banner signs, etc to help make sign projects that much easier. You can also build your own sign using fence posts or pallets.
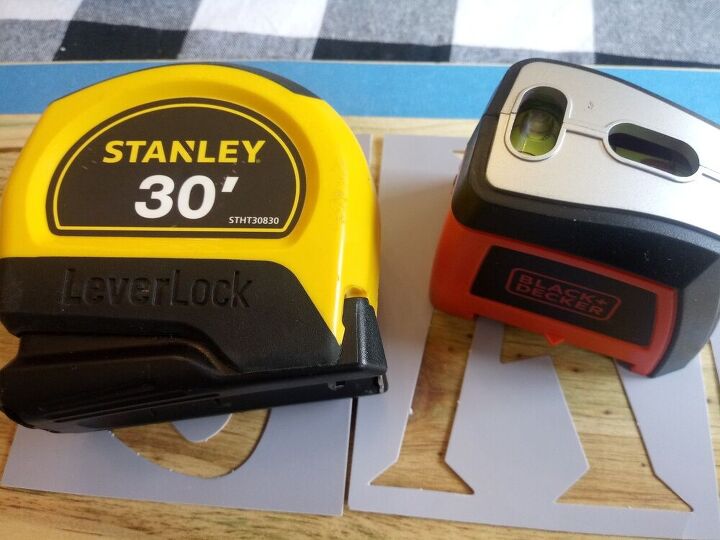
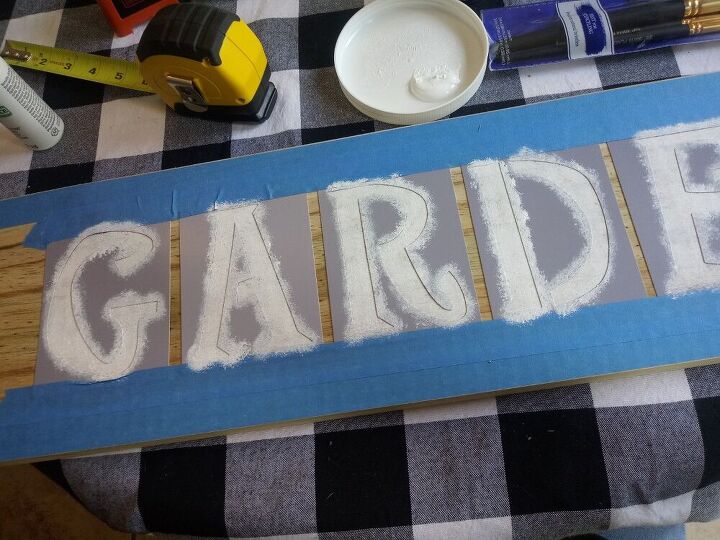
A tape measure and laser level will also come in handy. This will help your letters to be centered and level across the board.
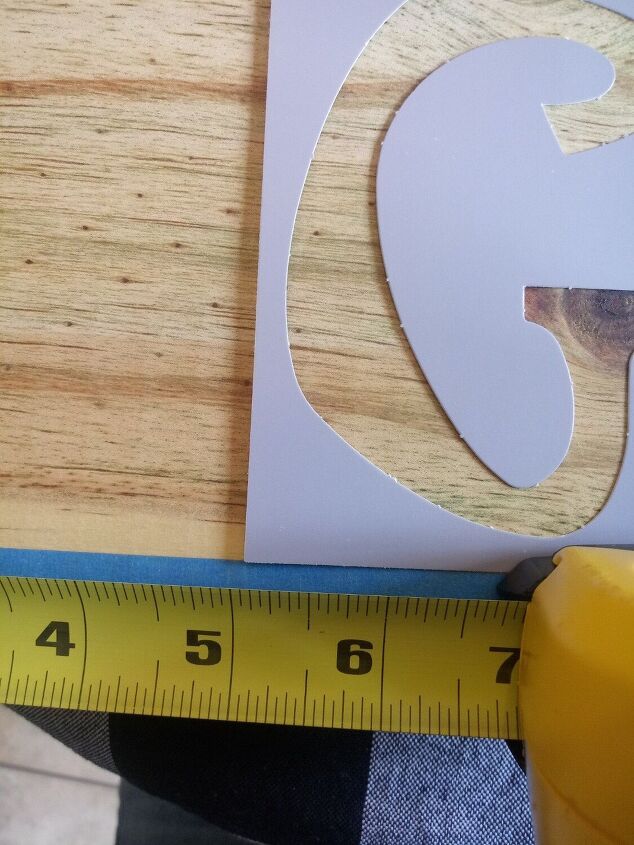
I used painters tape on the top and bottom of the board to center my lettering horizontally. I then measured in from both sides of my board to center the lettering vertically.
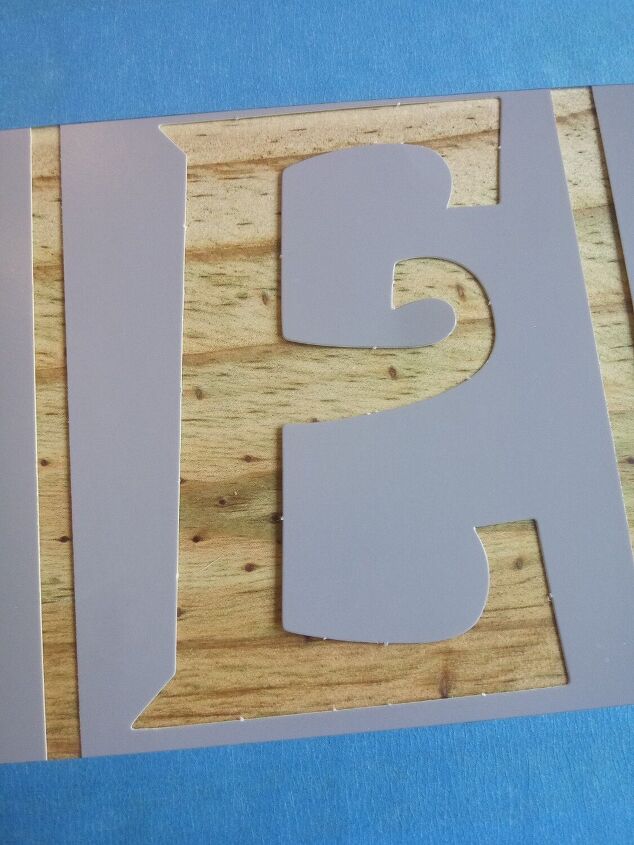
Once everything was squared I used painters tape to secure my stencils.
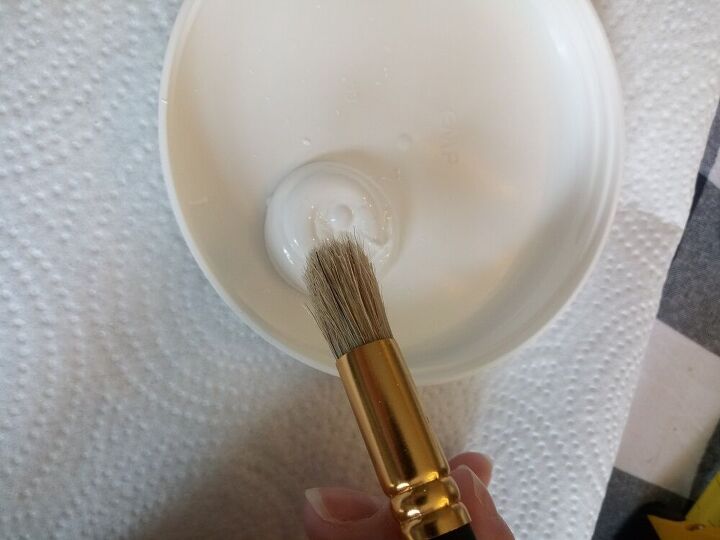
I chose a medium sized brush to fill in the stencils. I lightly dabbed my brush into the acrylic paint.
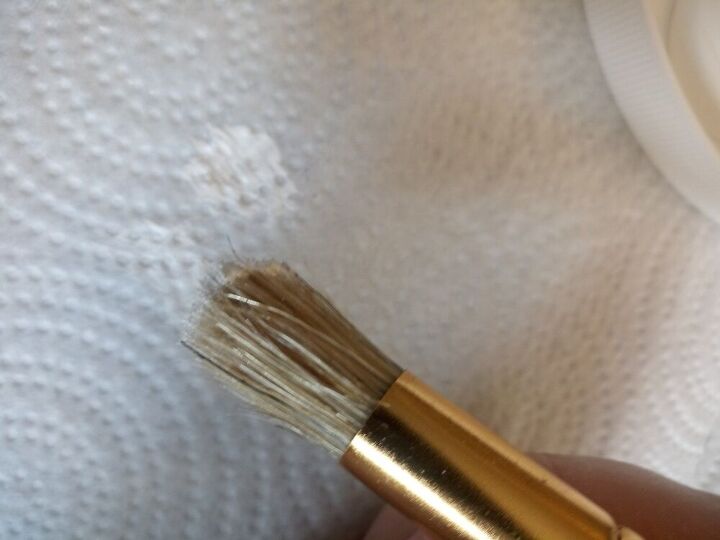
I wiped the excess paint away. It is best to use a dry brush technique for stenciling to prevent bleeding.
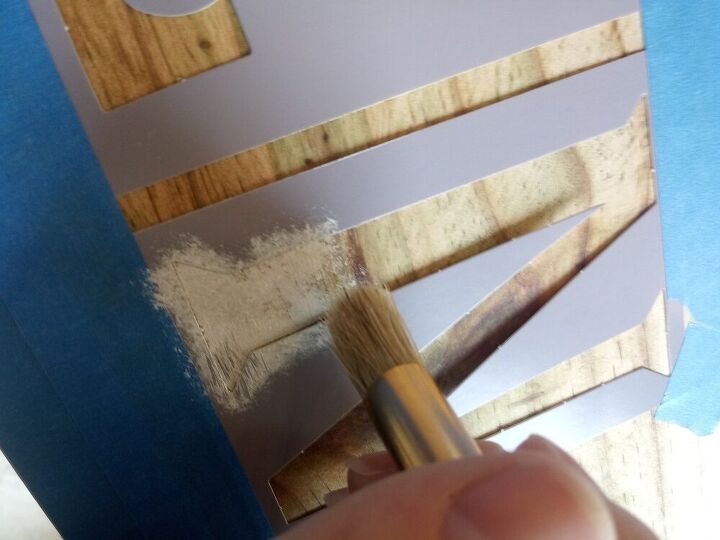
Once I had a sufficient amount of paint on my brush I simply dabbed it into the stencil starting in the center and working my way to the edges. If you do have too much paint on your brush starting in the center helps to prevent bleeding. Acrylic paint dries quickly so it is important to blend out excess paint as soon as it happens.
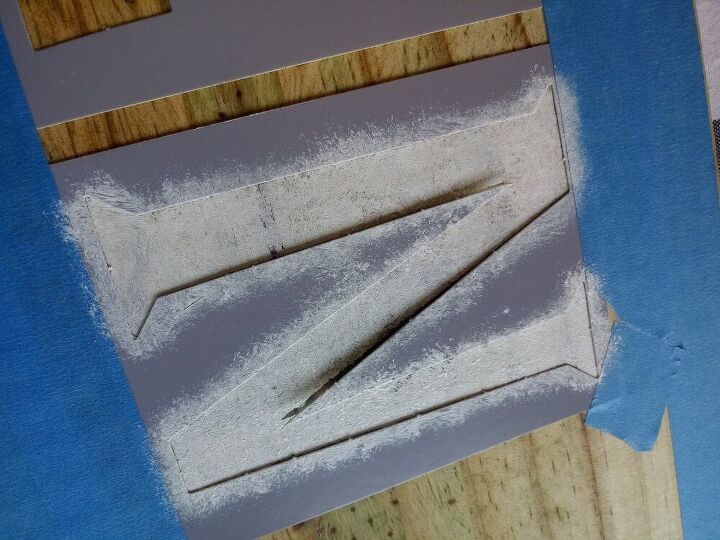
When you are using the dry brush technique you will notice you are not getting enough coverage. That is okay. Keep your stencils in place and go back for a second coat once the first coat has dried.
When you are finished with the final coat you can go ahead and remove your stencils. You should have a completed sign. Now, what if you are finished but decide something's not right? It's okay. You can go in and make changes, just as I did below.

When I was finished stenciling, even with the whimsical lettering, my sign felt a little bland. So, I decided to make my own stain and recolor the board. To create the green stain I watered down acrylic paint and used a foam brush to apply it. Because I did this, I had to go back and repaint my stenciling. I layed the stencil over the lettering and started the dry brush process again. I recommend painting or staining your board before you stencil, but if you change your mind after you've stenciled you'll be able to go back and change things once the paint has dried.
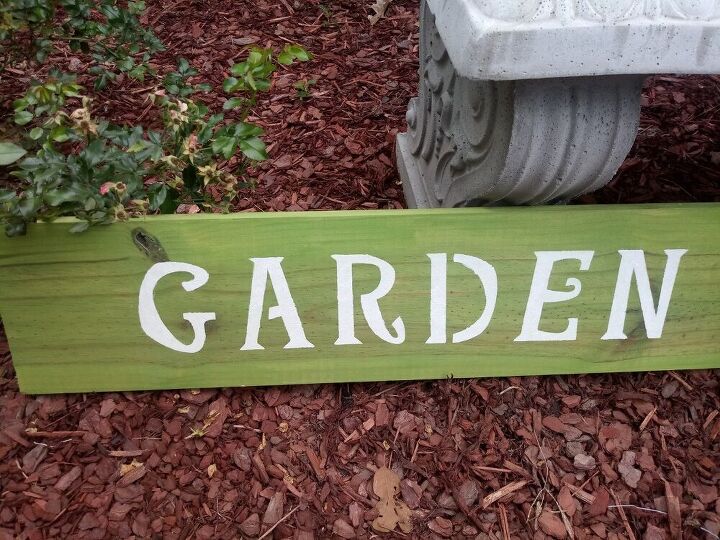
Now my sign felt complete and full of fun character.I look forward to hanging it in my vegetable garden this Spring. I hope you enjoyed this project and feel confident enough to start stenciling your own signs.


Frequently asked questions
Have a question about this project?