


Easiest Gnome for Fall or Christmas | How to Make a Gnome
In today's video, I will be trying my hand at a Fall Gnome. I have seen these all over the place and thought they were so stinkin' cute I wanted one! Most of the items I used were from my local dollar tree but I will give you some other options if you don't have a dollar tree nearby or you don't want to go out.
I hope you like this video and find some inspiration to go and do something fun in your home too!
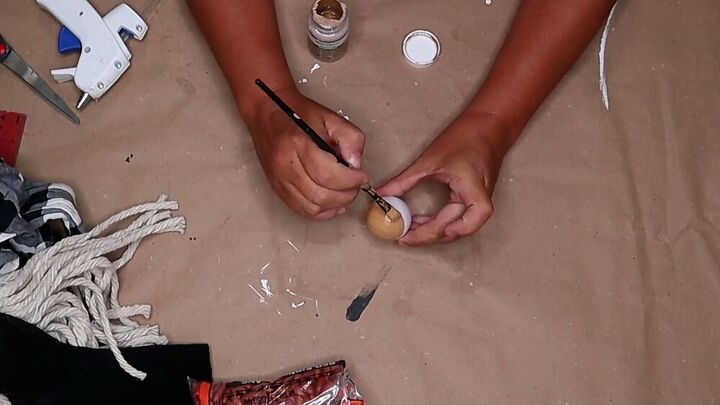
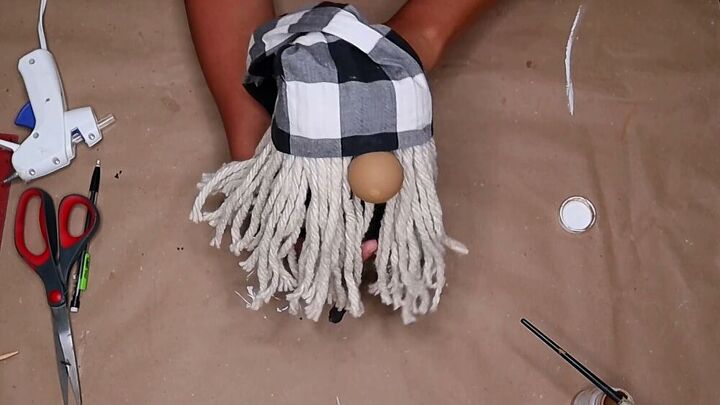
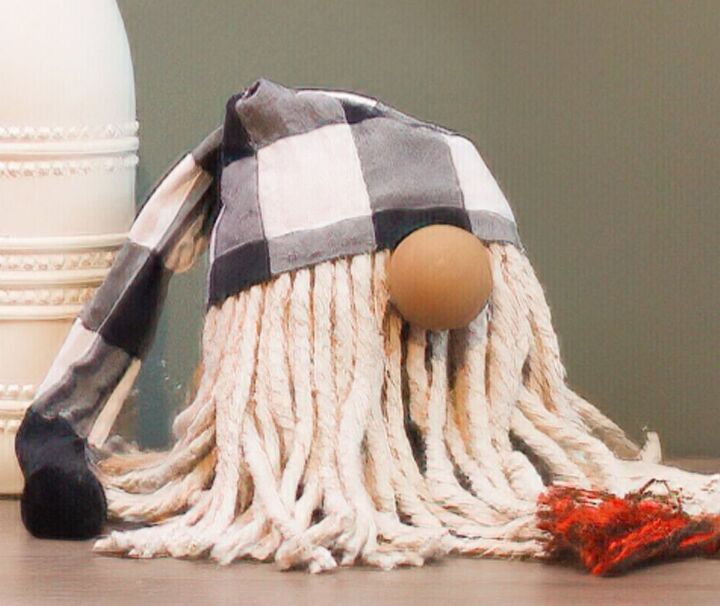
I used an acrylic tan color to paint the ping pong ball but you can use whatever color you want your gnome's nose to be.
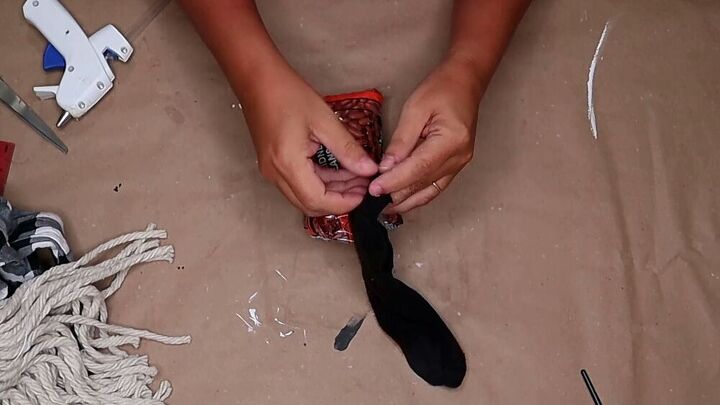
I used a bag of dried beans as my base but you can use other things as the base. I have seen people do this using a plastic bag with sand and a bag of small rocks.
I simply slipped the sock over the bag of beans. I then used my finger to create a small indention at the top.
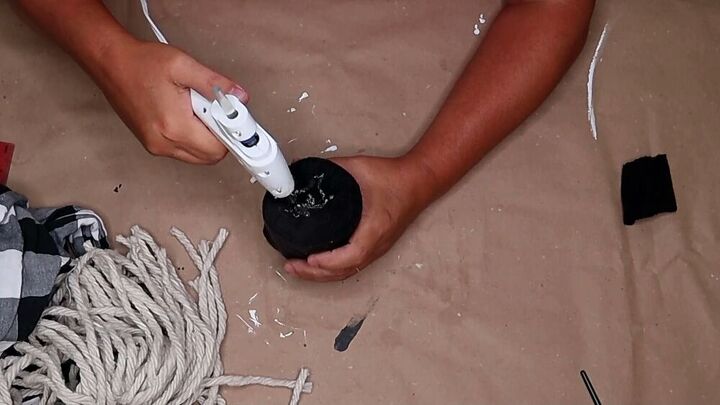
I applied a good amount of hot glue to the center hole I had created in Step 2.
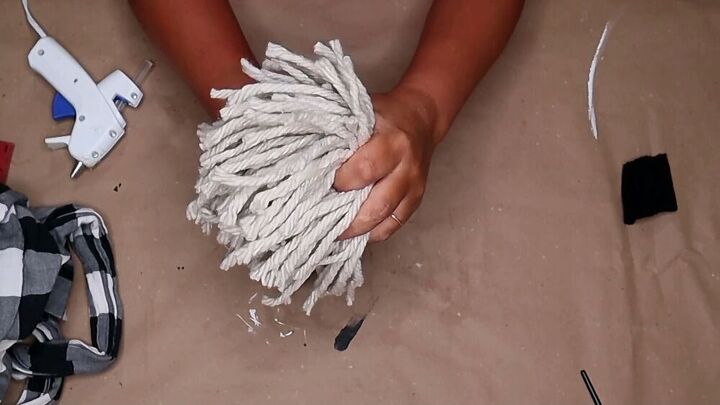
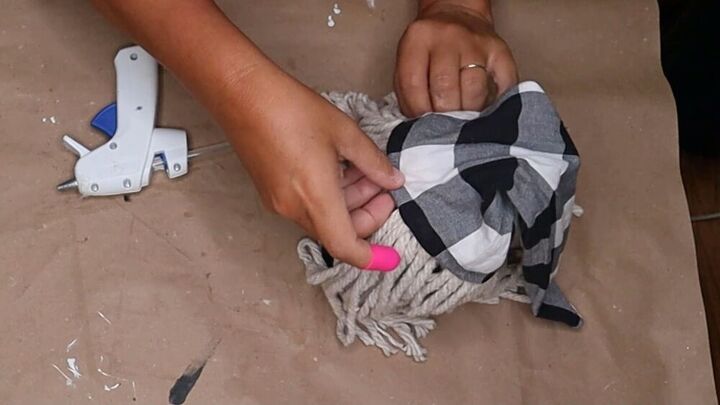
I inserted the end of the mop head into the hot glue. I held it for a moment to make sure the head would stay in place.
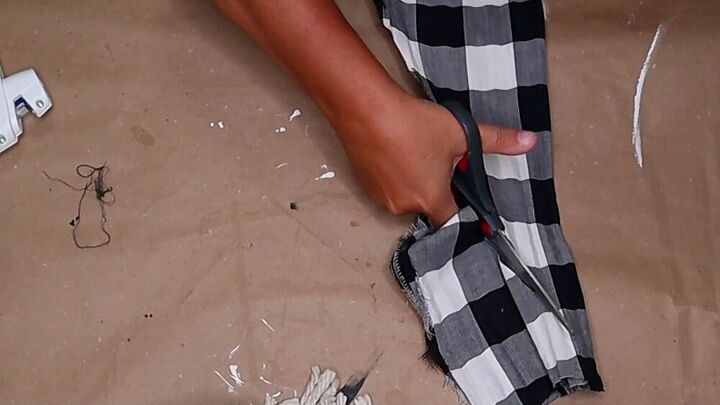
I used an old shirt I had and cut out the gnomes hat. I then hot glued the hat together.
You can hot glue the hat to the gnome but I wanted to be able to change the hat out. So, I just placed the hat down on the gnomes head.
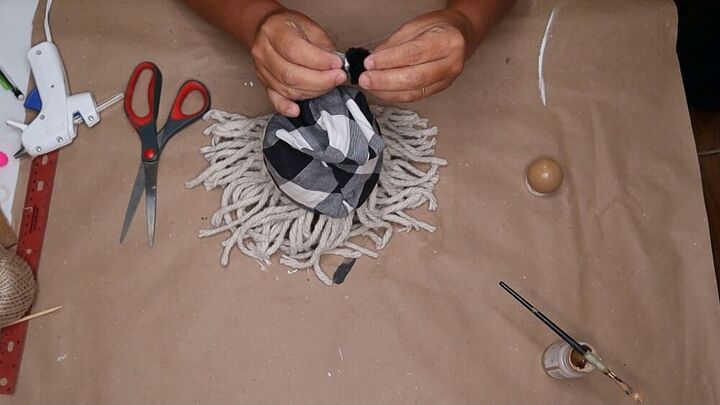
I glued a black pom-pom to the end of the gnomes hat.
He is just so stinking cute!
Join my community to get FREE Printables and Special Deals only for my subscribers.
__________________________________________________________________________________
My Disclaimer: All of the video footage, photos, and designs are created by me and are owned by Designs By Gaddis. You may only use the video footage, photos, and designs with my permission. My content is mine and it is protected. I am not sponsored or paid by any of the product companies or tools shown in these videos unless otherwise mentioned. I have full rights and control of the content.
__________________________________________________________________________________
Copyright @ Designs By Gaddis 2020. Any reproduction or illegal distribution of the content in any form will result in immediate action against the person concerned.
Resources for this project:
See all materials


Comments
Join the conversation
-
So cute, thank you for sharing.
-
Just adorable!


Frequently asked questions
Have a question about this project?