


DIY a Rustic Orchard Crate From Scrap Wood!
Anyone else addicted to rustic old crates too?
I love to collecting crates because they can do so many different things!
But there are times when I can't find just the size crate I need or wish to modify with my own sayings...
So that's when I resort to my scrap wood pile to make my own crate personalized any way I wish!
Here's how to easily make your own old looking crate, and 3 ways to use it!
Which idea is your personal favorite?
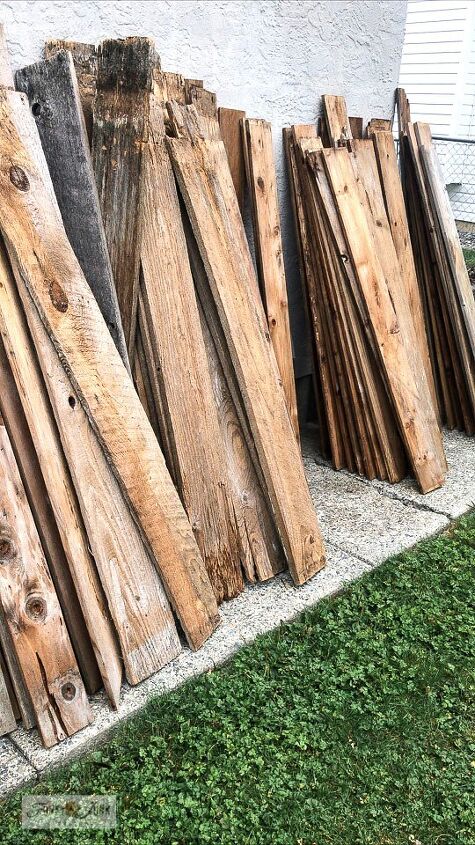
Crates can be made from any scrap wood you may have! The key is to have enough of 1 kind so your crate fits together well.
How I prepare reclaimed wood:
- Remove all nails.
- Pressure wash.
- Allow to completely dry.
Gorgeous, isn't it?
Free wood isn't labour free, but I still find the finished look SO worthwhile.
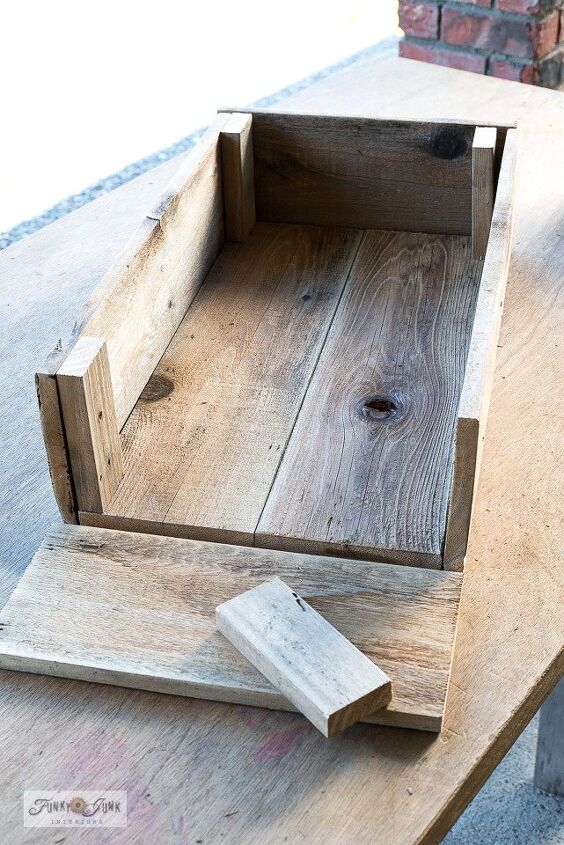
Building a crate isn't hard! I suggest to copy an old antique crate you may have on hand or one online for ideas.
How to build a crate:
- Cut 4 planks to the same length.
- Cut 2 sides to fit.
- Add smaller corner supports if desired.
- Predrill holes, then assemble with screws or nails.
Desire more info? Visit my original blog post link below for many more details.
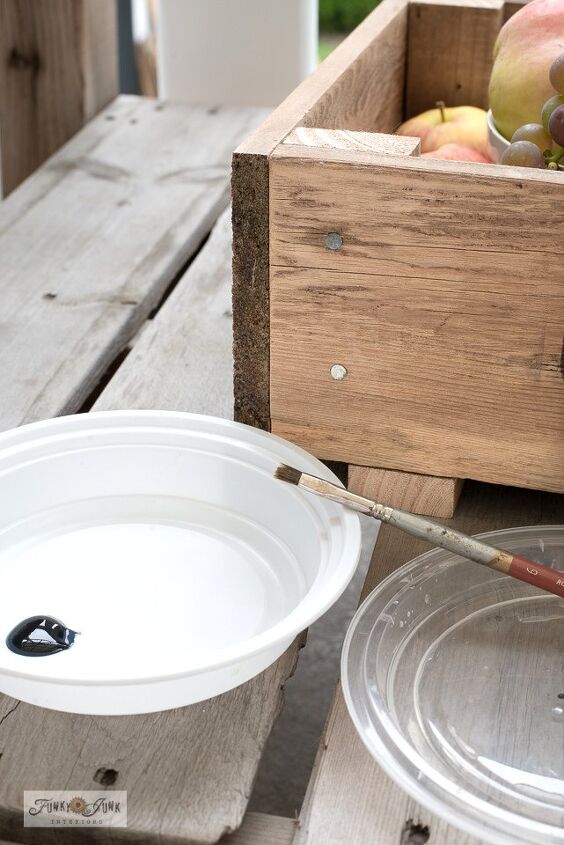
Since new nails are stain-free, I used watered down black paint and allowed a paint wash to soak in around each nail.
The top nail is painted. The comparison is subtle but it sure works!
Turned out pretty cool, huh?
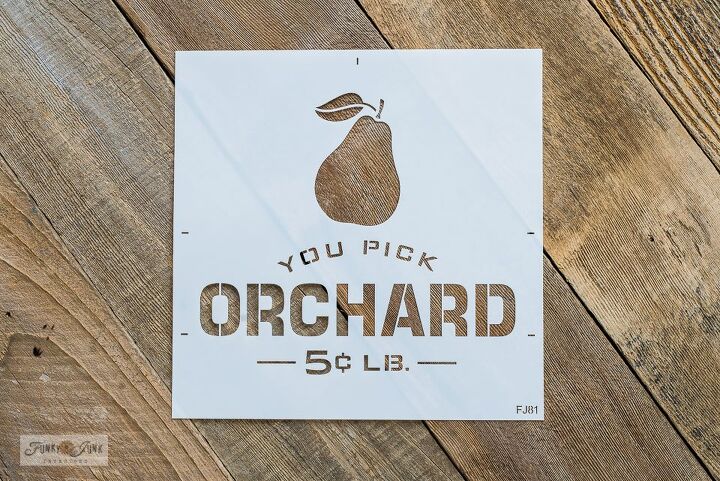
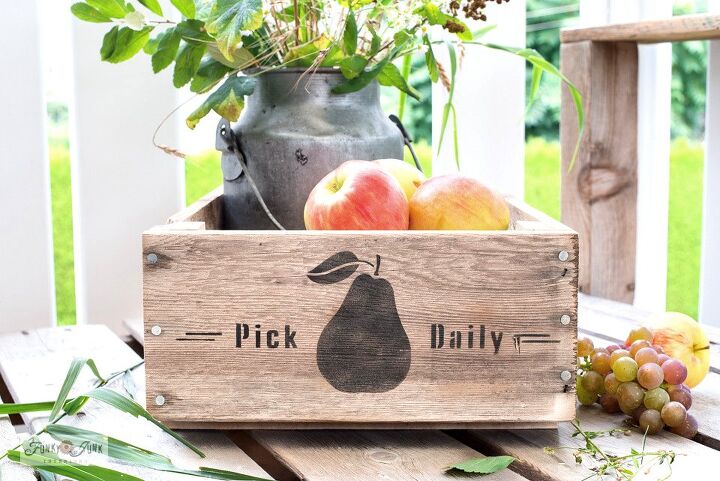
Crates are so easy to personalize using stencils!
I like to use stencil designs that mimic old signs or labels so my projects have an authentic touch to them.
How to stencil:
- Select a stencil that resembles authentic crate markings.
- Position stencil along crate front or sides.
- Add paint to your stencil brush, then remove most with a rag.
- Tap paint onto project through the stencil for desired effect.
View the You Pick Orchard stencil I used HERE
And don't forget to label the sides as well if desired!
My original blog post linked below spells out where to find all the sayings I used.
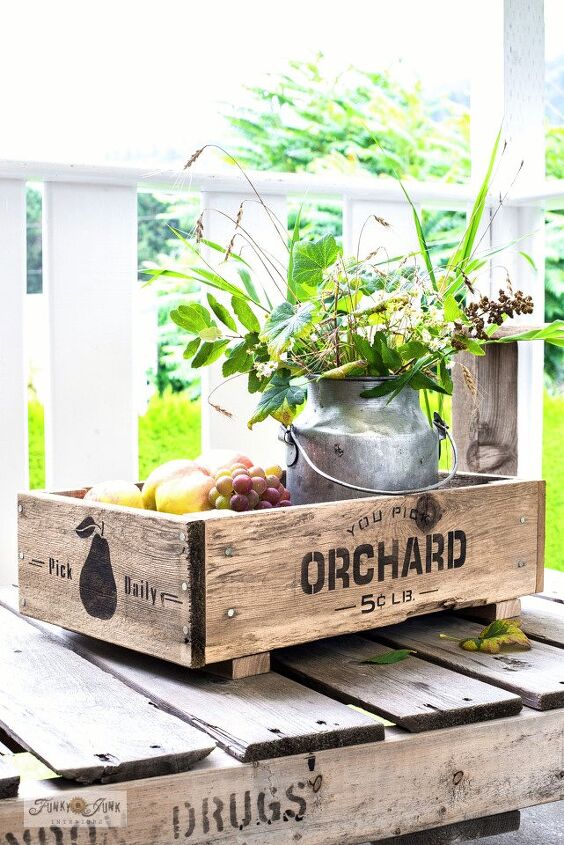
And here's the finished result! Isn't it the cutest?!
Here, my little rustic crate is being used as a fall centerpiece, with a jug filled with freshly picked greens from the back yard, along with some space to store and enjoy some freshly harvested fall fruit!
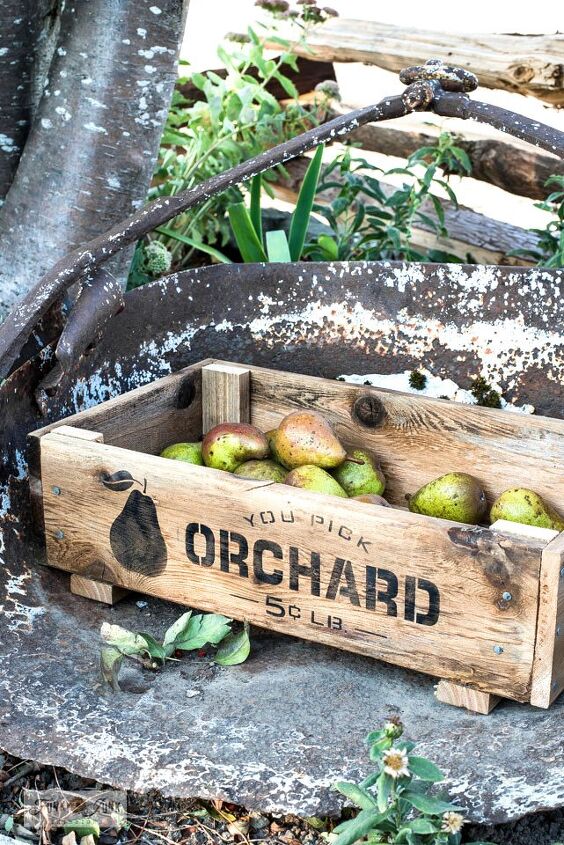
And if you use reclaimed cedar planks like I did, your crate is outdoor durable!
Here, the crate is on display outdoors piled with wind fallen pears. Sure adds a dash of farmhouse charm, doesn't it?
And I couldn't resist sharing one more way to use an old crate... which is my all-time fav...
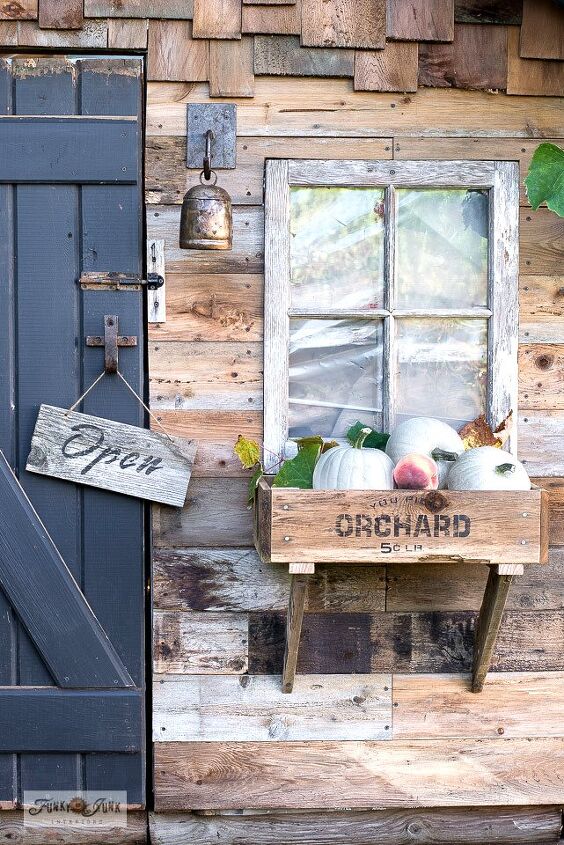
How about sizing your crate to become an outdoor window box?!
Fill it with pumpkins or other fall produce, insert a few fall leaves and it's as cute as can be!
Inspired to see more?
Visit HERE to see the entire fall shed with MANY more scrap wood projects!
Subscribe HERE to get sent my newest projects hot off the press!
How would you put this cute little crate to work in your home?
Resources for this project:
See all materials


Comments
Join the conversation
-
Great project, thanks for sharing!
-
What color is the blue on that door in the final picture? I love it!


Frequently asked questions
Have a question about this project?
The stencils you use are in Canadian currency and incredibly expensive. Do you have another resource for similar stencils? Thank you, Sandra