


Pinecone Bonefire Starter

It's this time of the year again. The weather is perfect for an afternoon/evening bonfire. The problem is, that I am always struggling to start a fire, so I made myself an easy starters.
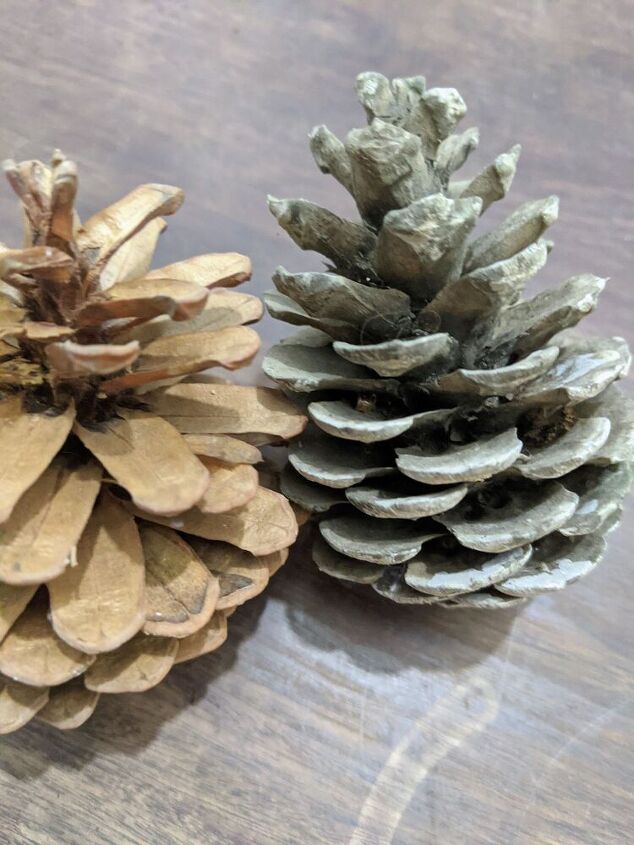
Pick good-looking pinecones
I went to the woods and picked a few good looking pinecones. Some were extra dry, and some were not - it does not matter.
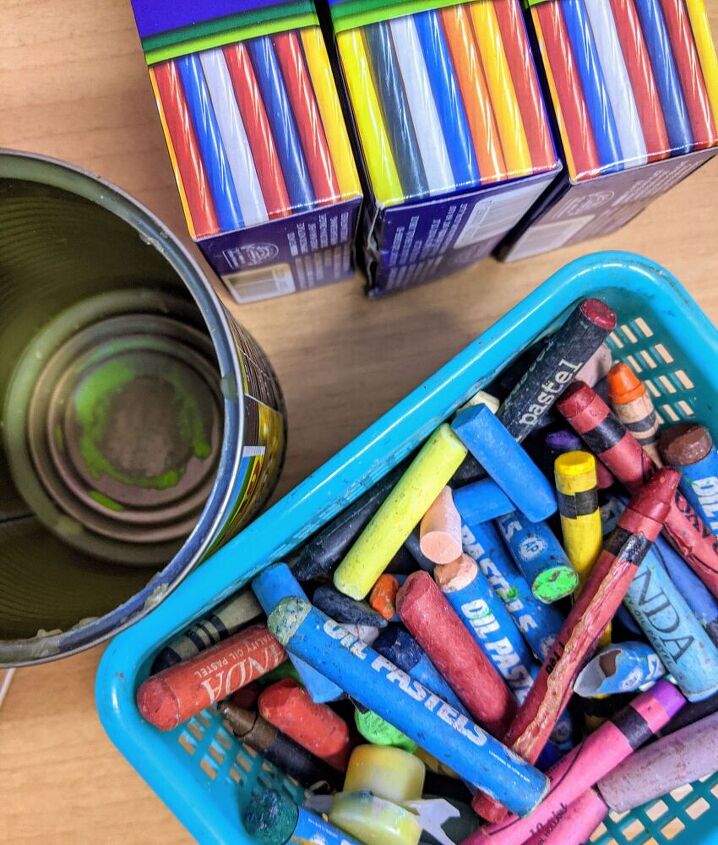
Broken crayons and candles
Then, I went to my "leftover" box. It has a mix of potentially DIY materials that are not good enough to be used in their first purpose. I had there a few boxes of candles that came broken, or their colours are not appealing to me. I also took my box of broken crayon. Yes, I know that you can melt the crayons together using a fan, but I never got to do it... So it all sits in a shameful box. Additionally, I took food can that I have in my box, that I usually use to melt wax/candles/paraffin. It was a canned corn container, a few lifetimes ago.
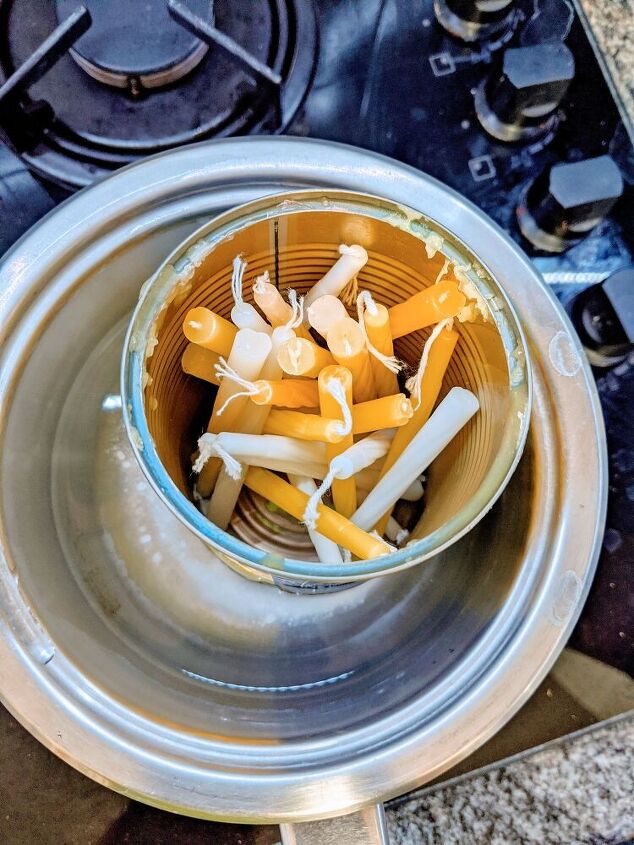
Melting the candles
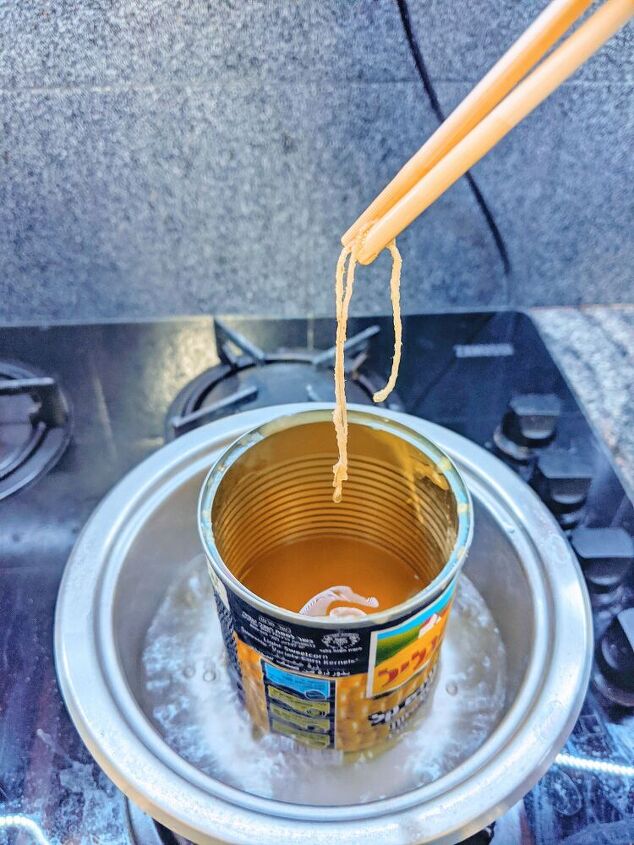
First, I melted the candles. The same way I melt chocolate, using a bain-marie. I melted the broken and disfavour candles.
Making the candlewick
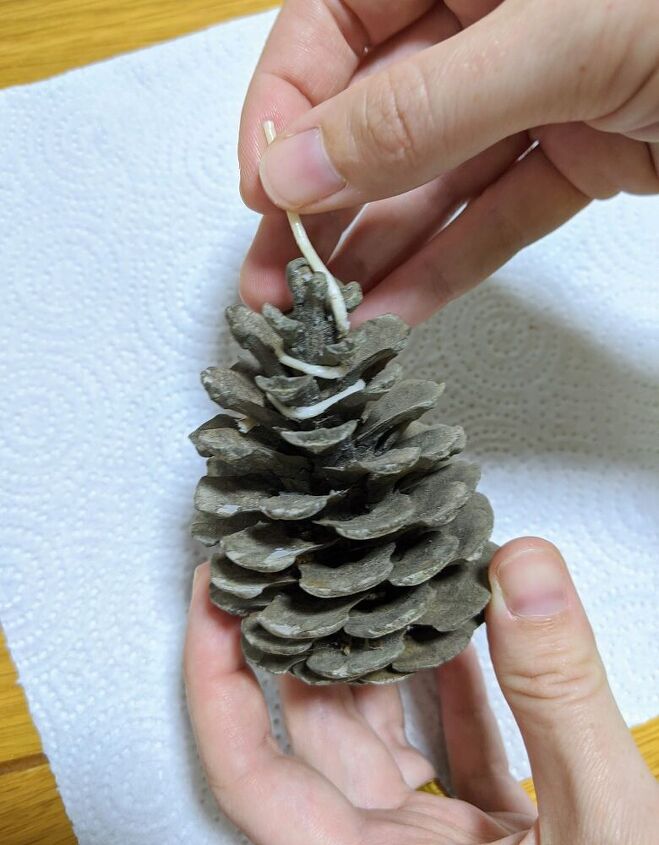
In the meantime, I wrapped a piece of waxed cotton string around the pinecone and left a bit of string hanging outside; this would be the candlewick. As I aim to use it as a fire-starter, I only wrapped half of the pinecone. If I wanted to make a candle, I would add a string down to the bottom.

Stop. Checking to see that the candles are melting alright...
Picking a colour
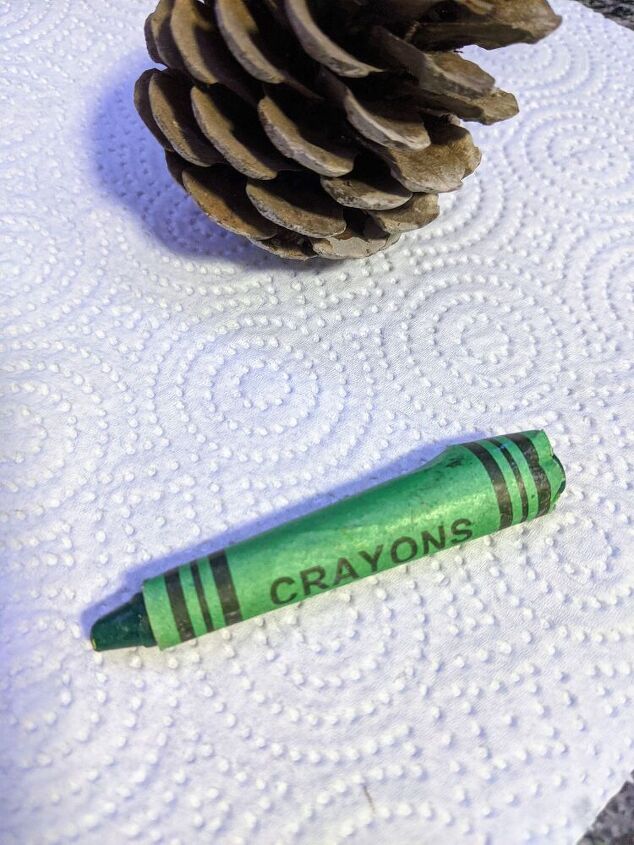
Whilst the candles were still melting away, I went through the crayon box and picked a colour. As it was broken already, and I didn't have the entire crayon, I knew that the colour would be lighter than it is as a crayon. Plus, some of my candles were not white, therefore, their colour would affect the outcome.
Removing the candles wicks
Once the candles melted completely, I removed their wicks using chopsticks.
Adding the crayon
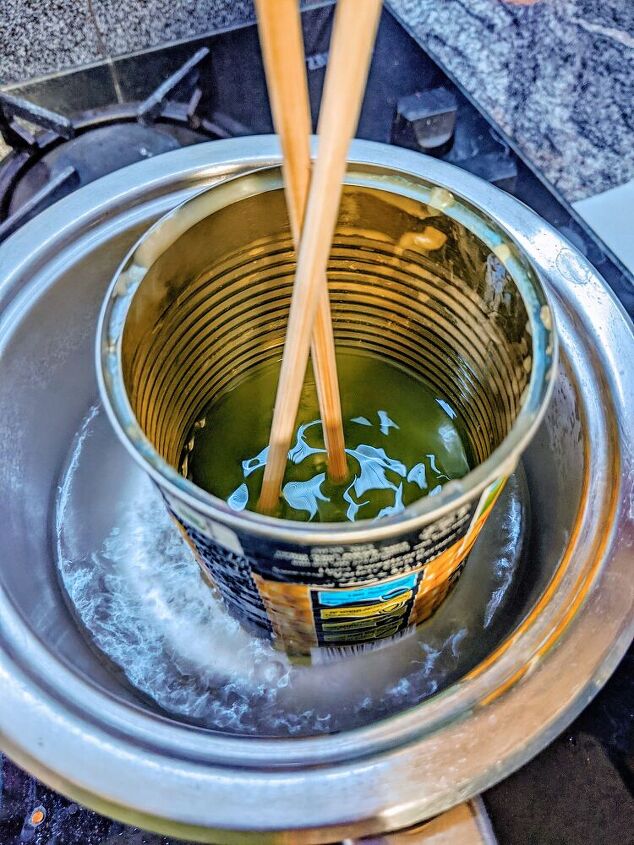
Then, I added half a crayon to the melted candles, and stir it (using the chopsticks) until it dissolved completely.
I noticed that the wax was not height enough for the cone to be dipped inside, so I added a few more white and off-white candles and repeated the last few steps.
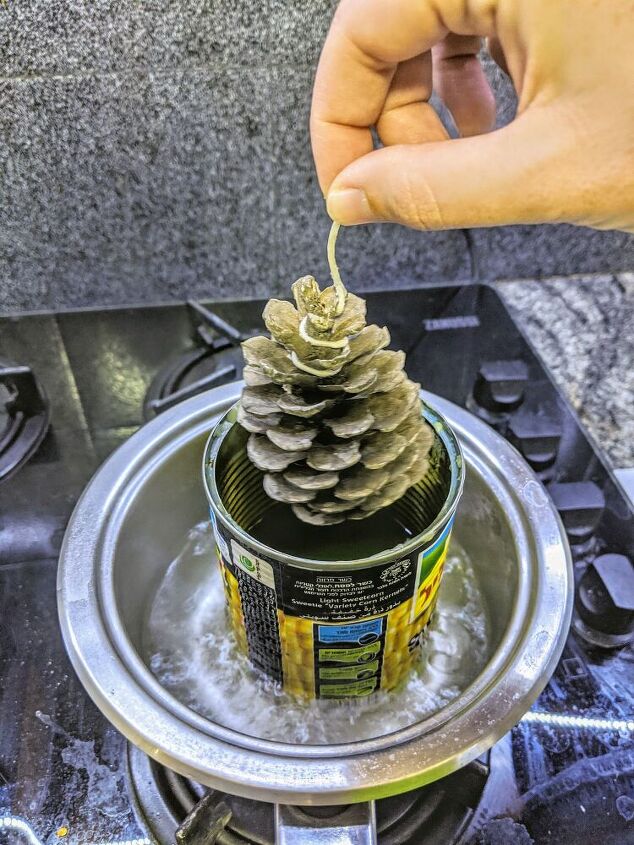
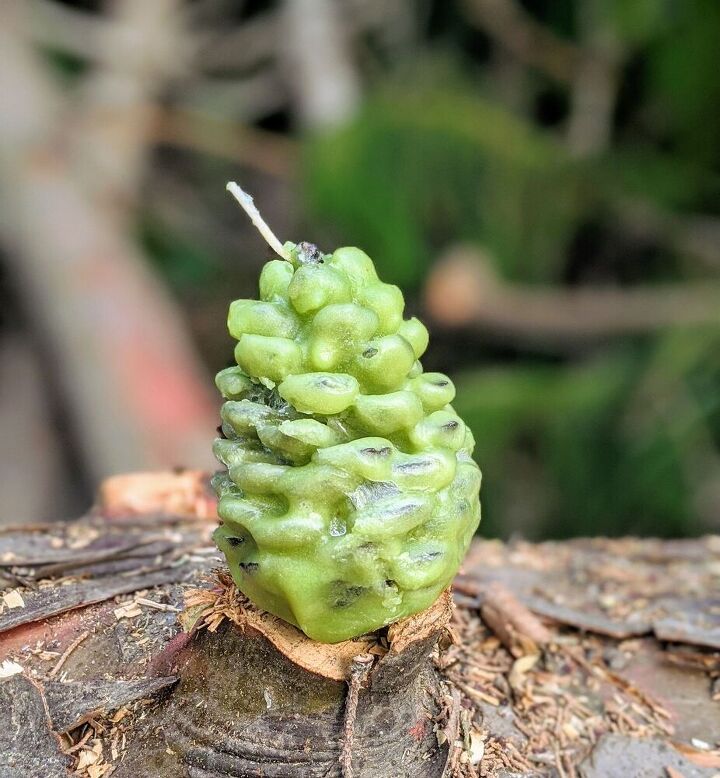
Dipping the cone inside the wax
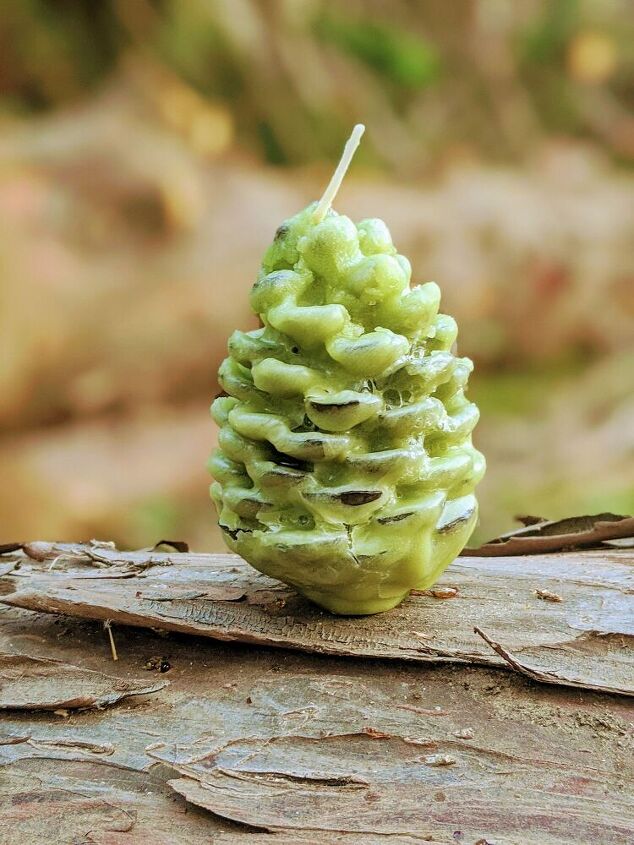
Once I was pleased with the colour (bearing in mind that the colour would be lighter once it is set), I dipped the cone inside until it was all covered in a thin semi-transparent layer of wax. I left the cone to dry on the counter for a few minutes, before dipping it again. Then, I noticed that the temperature of the wax is too hot; It did not layer up; each dipping was removing the last layer. So I removed the can from the stove and placed a plastic container with water next to it.
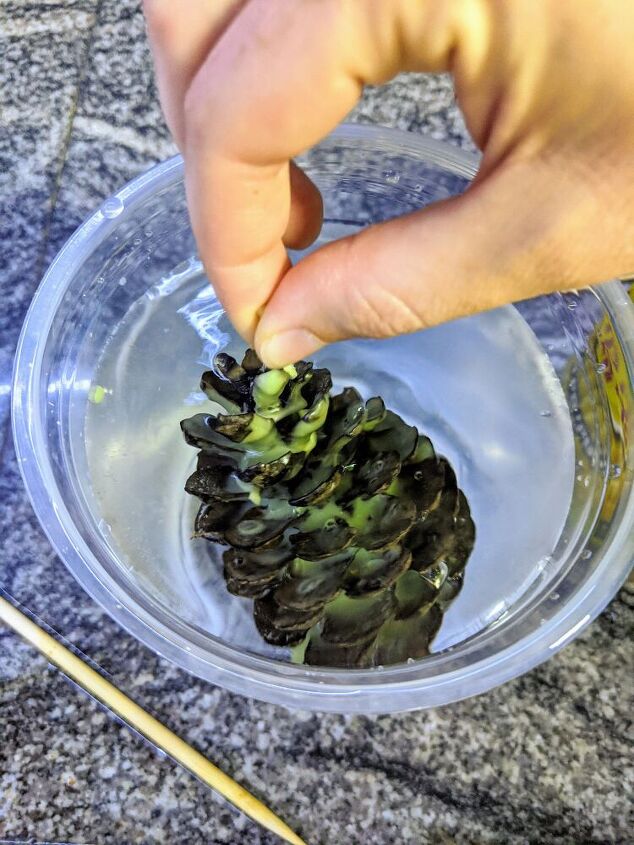
Dipping in cold water
After each dip in wax, I let the wax drop for a couple of seconds, before dipping it in cold water. The first few layers (about 4-5) were not noticeable, until all of a sudden...
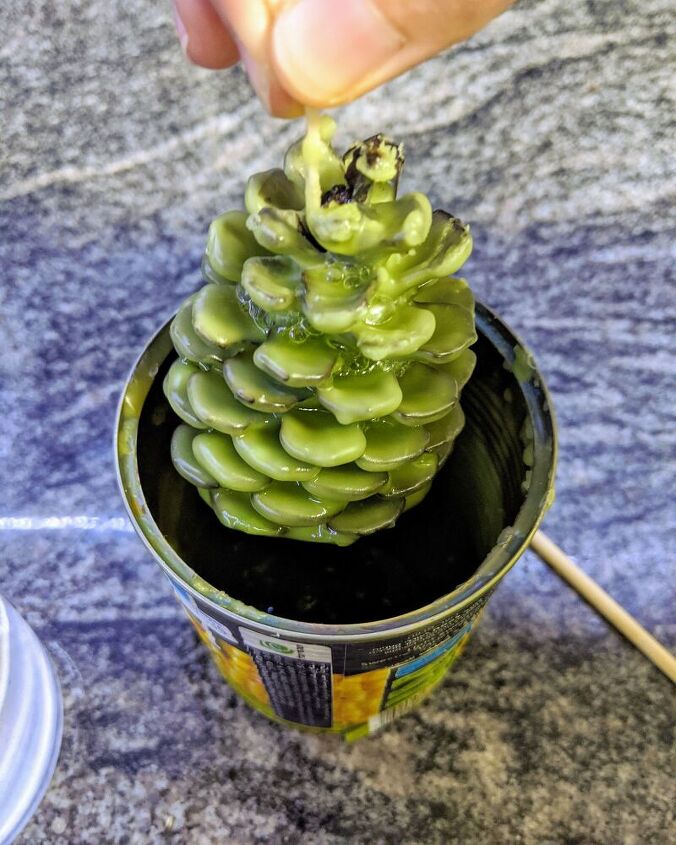
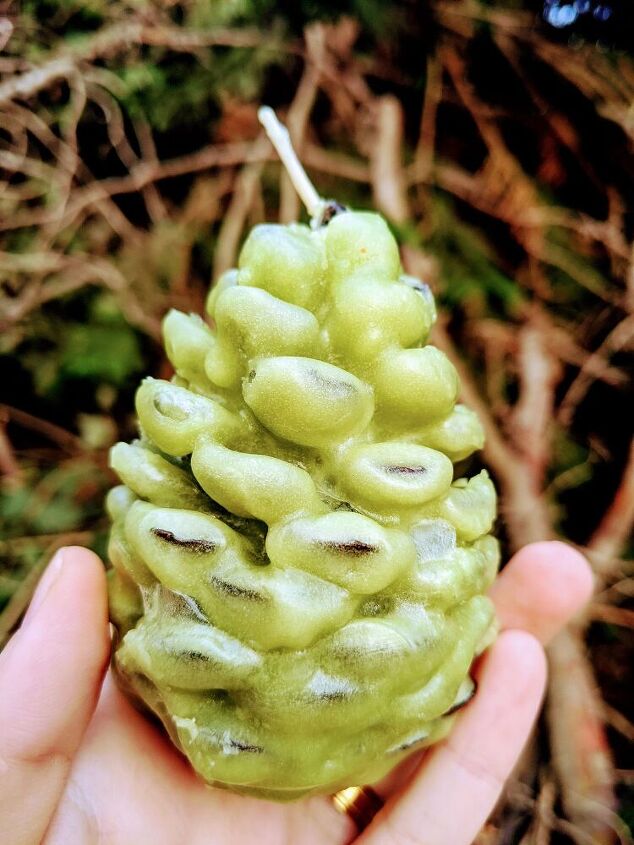
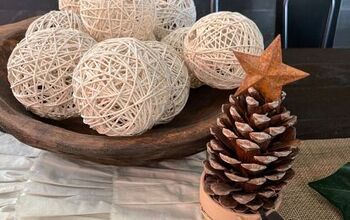
It was covered entirely in wax! Wow!
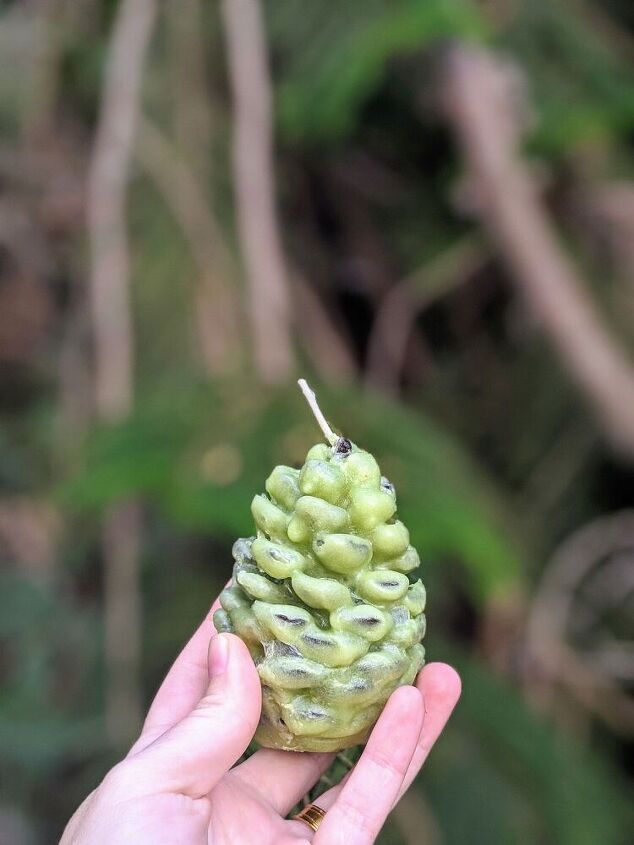
Then, I decided that it was covered with enough wax for one pine cone.
I let it rest for 2 hours before touching it with my hands.
I loved it so much that the same night I invited my parents over to make a bonfire.
I placed it under a log and lit it on fire. Goodbye pretty cone, it was fun to make and so easy to start a fire with you. 
Resources for this project:
See all materials


Comments
Join the conversation
-
I do this same thing, only using the wax from my Scentsy burners and bottom of burnt candles. I also use paper egg cartons and stuff them with dryer lint and pour the wax over them which break apart easily. We use them in the fireplace, the firepit in the backyard and to start the BBQ pit.
-
This is so cute. I'm saving toilet paper tubes and dryer lint. I am going to try to coat them in the wax and use a flame coloring to give it a shot more wow. Thank you for sharing 🙂


Frequently asked questions
Have a question about this project?
I loves this!! Could I use the wicks from melted candles for the string on the pine cones?
I have always wondered with this idea what happens to the wax melts in your fireplace is it not a huge mess??
So you put it in the fire place and started a great fire.
When you later put the fire out, when the remains cooled, was the bottom of your fireplace box coated in hard, cold wax making it hard to clean up and also to remove the ashes?