


Affordable Shiplap

Are you in love with the Joanna Gaines’ shiplap look but not so excited about the price of lock in place shiplap primed boards? Yeah, me neither!
When we started to make our home modern farmhouse we figured out that primed, tongue and groove shiplap was going to be quite pricey so we opted to use plywood sheets and rip them down ourselves.
Tools used:
Table saw (or have the board ripped down at Home Depot for a fee)
Miter saw
Nail gun
Level
2 nickels
Step one- Cut your large piece of plywood into desired size. I prefer 5.5 or 6 inch. This can be done at Lowe’s or Home Depot for a very small fee.
Step 2- Cut each new strip into the length you need for your wall. If doing a small wall like I am here, you need to decide if you want full length pieces or if you prefer the look of the seams (like I do) then make sure you stagger the seams for a more natural look.
Step 3- Your walls will not be square, trust me, so be sure to measure for length as you work down the wall.
Pro tip- Start from the top so that any pieces you need to take some height off of are at the floor and not as noticeable!
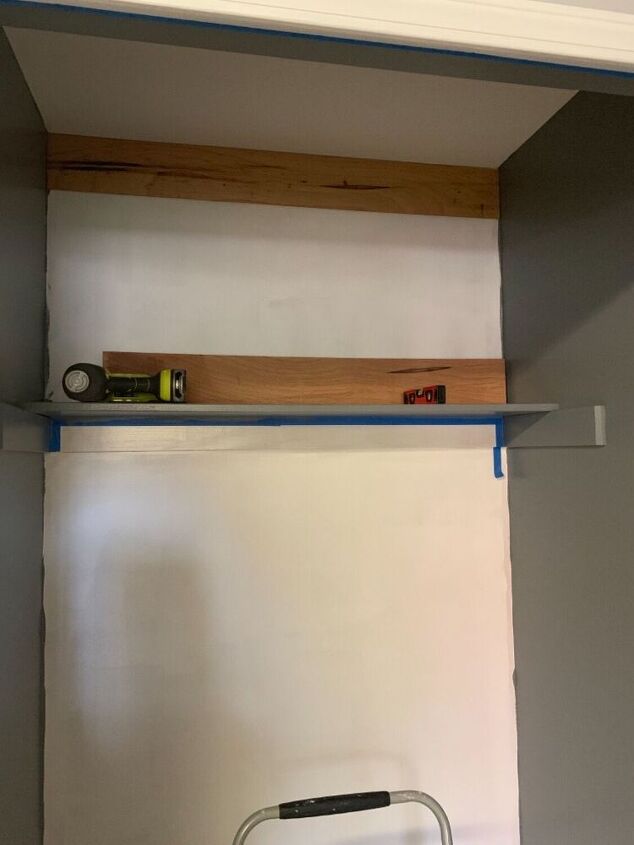
Step 4: Start nailing! Be sure to make sure each piece is level as you go and use your coins as spacers to create those uniform “shiplap” lines!
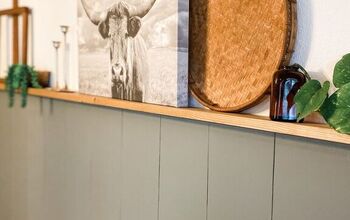
Step 5: For a clean modern look full all holes with wood filler and sand lightly before painting. For a more rustic look, go straight to painting.
**If the wall behind your shiplap is not white, I do recommend a primer coat on the wall before starting just so your lines look nice and clean.
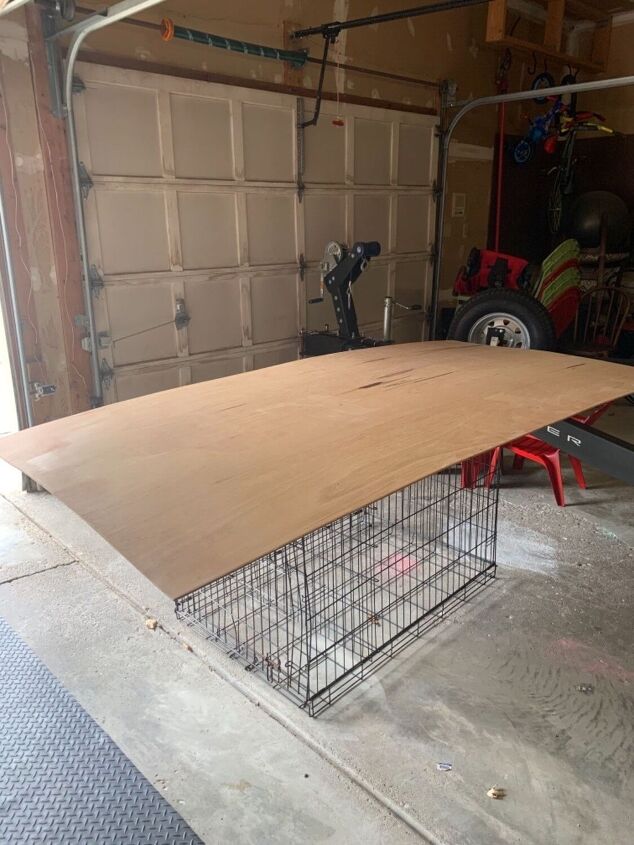
We have a table saw because we have done this look many times in our home so we always start with a full sheet for the most affordable approach.
I wanted this shiplap in 6 inch strips so we cut the whole boat into 6 inch high strips.
Mail in each board with Brad nails. You can also choose to use liquid nails but this will tear the drywall if you try to remove later down the line.
I wanted a staggered look so I cut each strip into varying lengths.
While using the coin spacers is great- be sure to also check that your shiplap stays level. You can see here I check many times to keep the boards straight- walls and wood are never perfect!
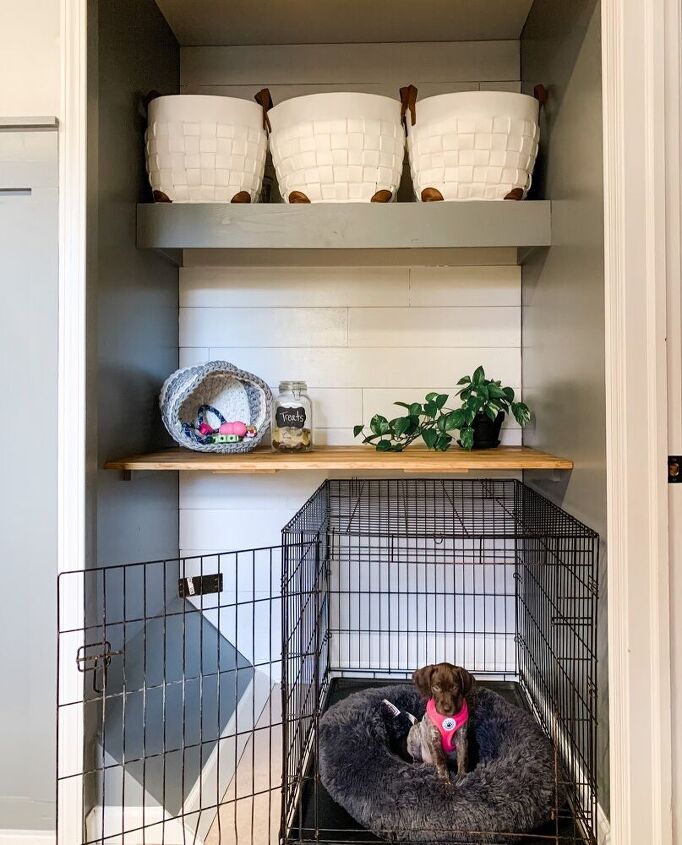
The shiplap wall really completes this closet remodel!!


Comments
Join the conversation
-
I just came here to say what cute dog.
-
Love your wall and that puppy! So. Darn. Cute!


Frequently asked questions
Have a question about this project?
What volor gray is the shelf and walls
Hi,do you keep the dog locked in a cage ?!
Where did you find plywood cheap enough to make this project cost $20.00?