


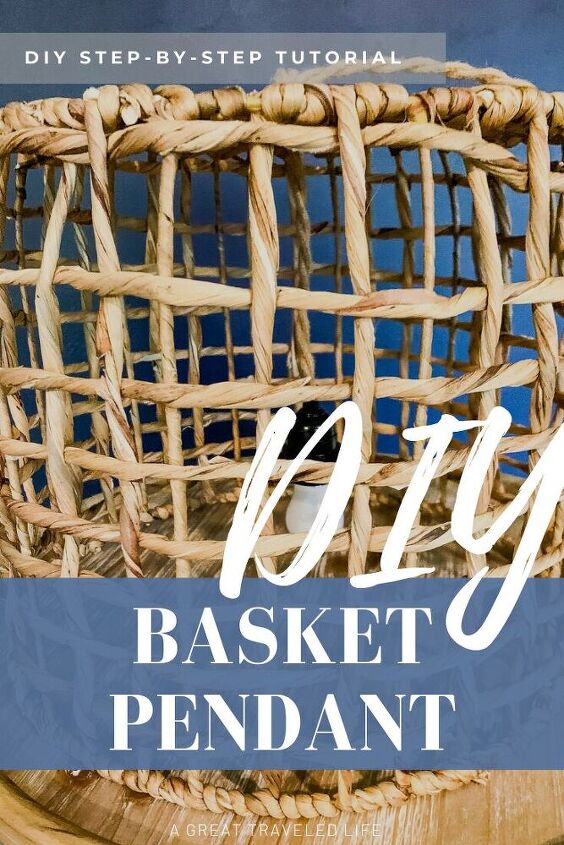
DIY Basket Pendant Light

Follow my simple steps to an inexpensive and Custom Hanging Basket Pendant Light Fixture ! Check out my tutorial below for a step by step of how I made it!
I tend to see potential in almost anything and when an idea is born I can’t hold on too it long before I have to see it complete. The idea to have a hanging light fixture in our family room was pretty evident to me. The space seemed a bit naked and there was a void, perfect for a large pendant. I just couldn’t find the right style and size for the right price and after looking I had almost given up. I could not bring myself to spend $$$ hundreds of dollars on a light fixture.
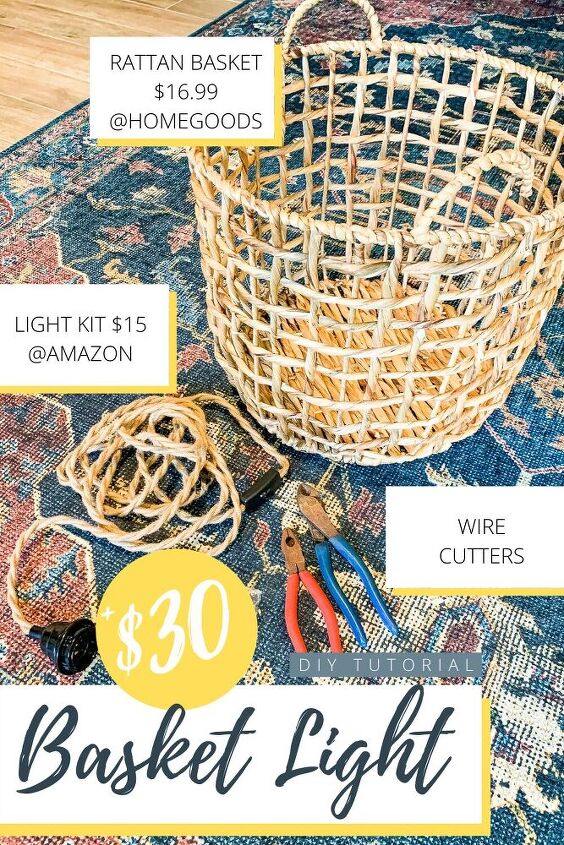
Enter this $16.99 basket from HomeGoods…it was a great shape, had good structure, and best of all it was a great price. The ideas started flowing and the idea for a hanging basket pendant light fixture was born! I had seen it done before and I knew that I could easily tackle it in an afternoon.
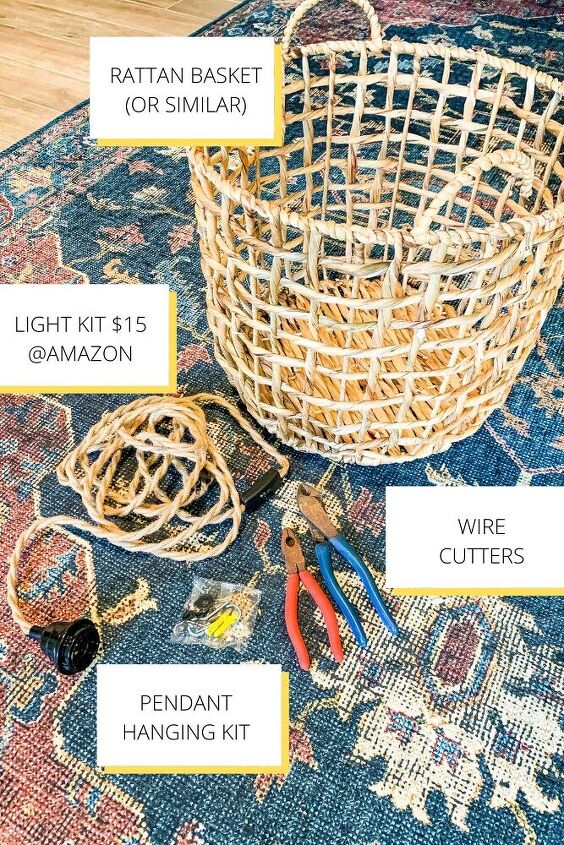
- Basket: This can be a basket of any shape and size. Look for something with a bit if stability and structure. Go to thrift stores to find a really unique one-of-a-kind basket or use something you already have on hand for FREE!
- Light Hanging Kit: A Light Hanging Kit is the easiest way to create a hanging light fixture without needing extensive electrical skills and ceiling mounted light receptacle. I choose a light kit with a twisted hemp chord for a clean look that matched my aesthetic. This kit should come with a ceiling hook kit.
- Wire Cutters
- Picture Hanging Wire
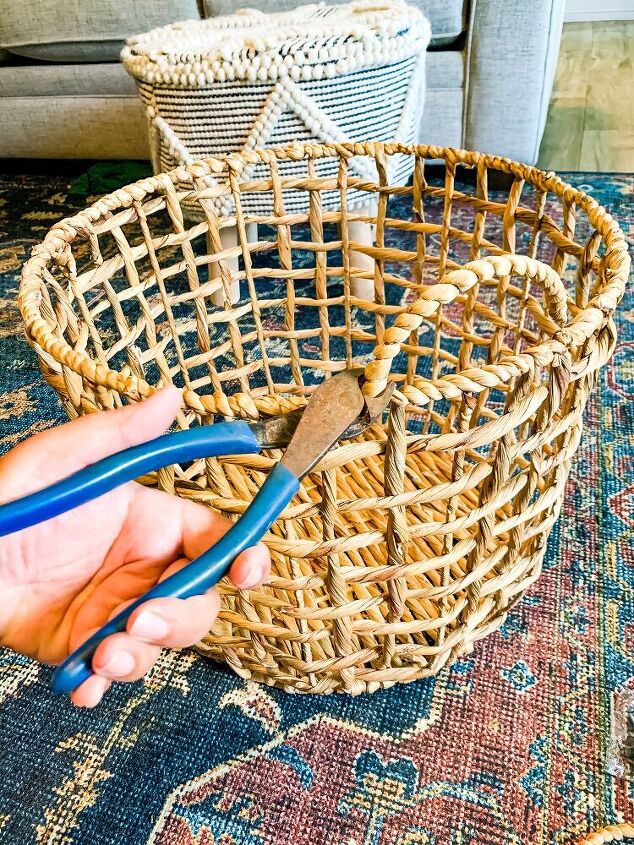
Snip, Snip
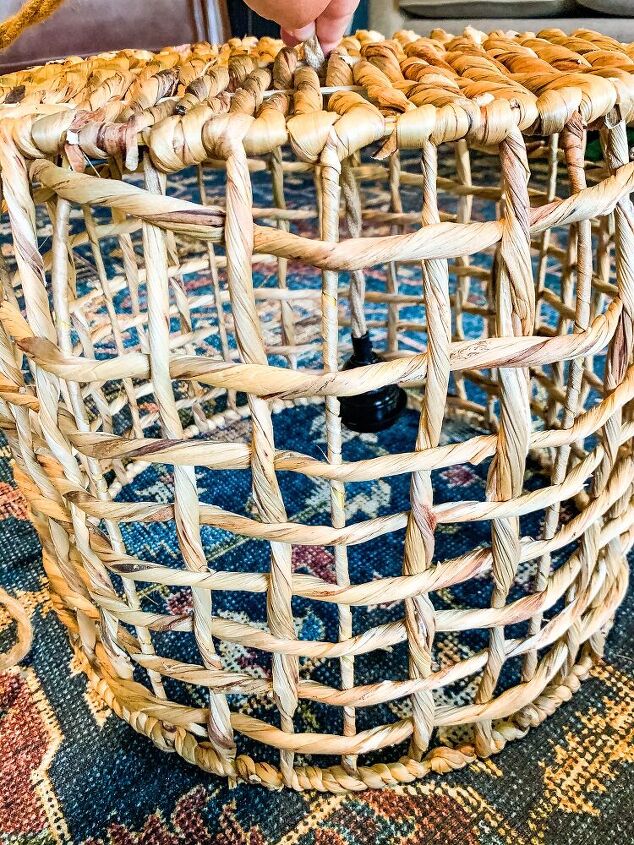
My Basket, much like a lot of baskets of this style, came with two metal handles. I wanted this pendant to look intentional and not look like it was an up-side-down basket. The easiest way to achieve this look was to snip off the metal handles using a metal wire cutter.
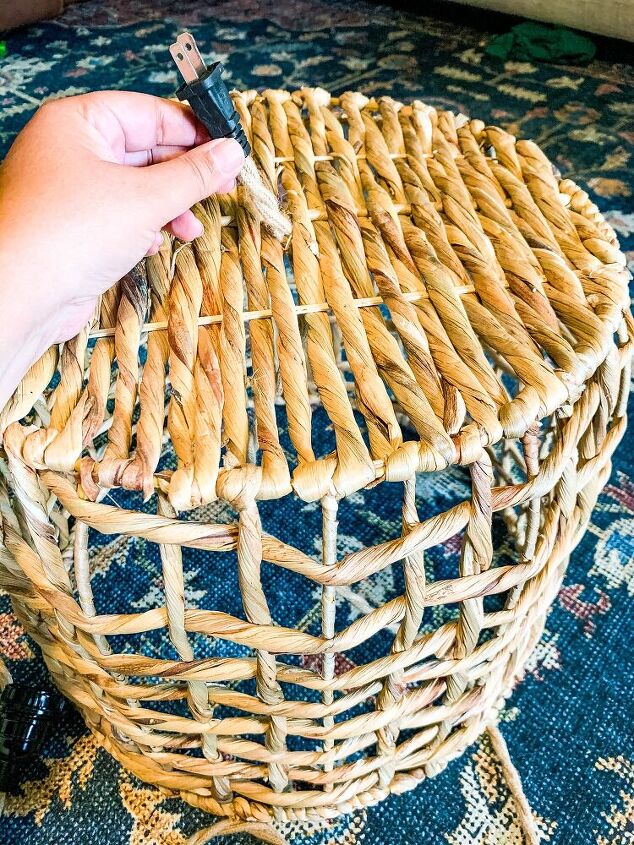
Let's go Fishing
Start by turning over your basket. Then take your Hanging Pendant Light Kit and fish the electrical plug end through the “bottom” of the basket. Did I mention that this particular light kit was ONLY $15 ?!?!
For this next step you want to adjust the length of the chord according to how you would like the light to hang within your “basket”. I wanted mine to dangle a bit, so I let about 6-8 inches of chord hang.

I used picture hanging wire to secure the chord to the frame of the basket. There is no real trick to this and each basket my be different. I just wrapped the wire around the frame of the basket structure and then around the chord, twisting the wire until it felt secure.
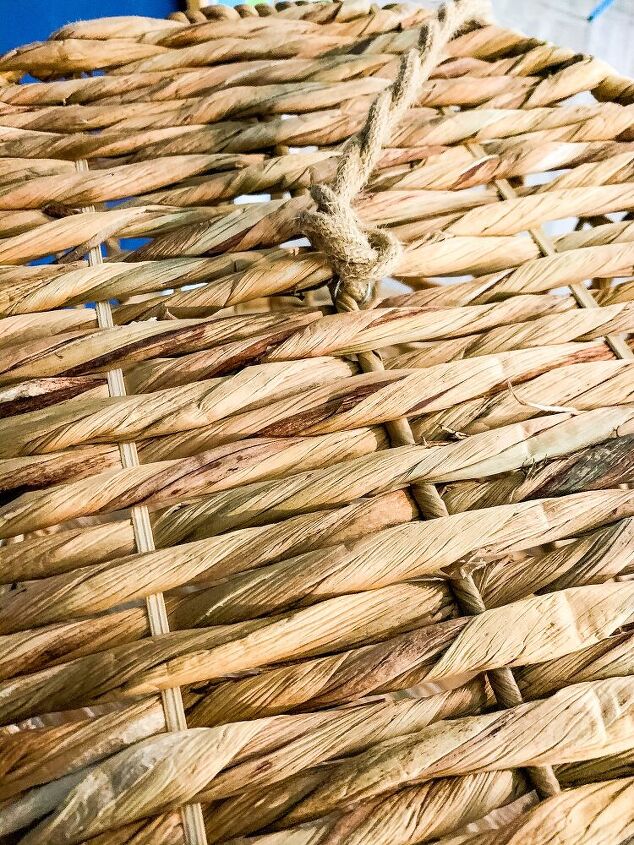
I tied a knot in the chord to make it look more finished.
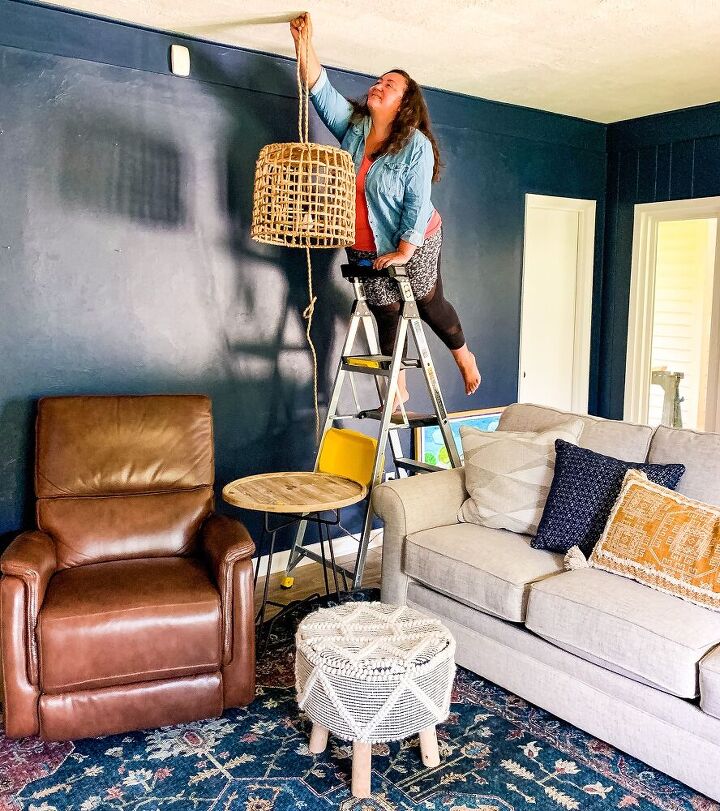
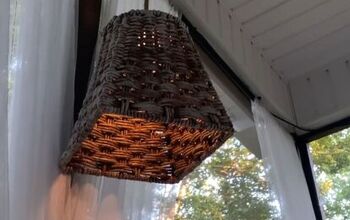
I used a ceiling hanging hook kit or it may come with your light hanging kit. Follow the directions on how to secure the hook to your ceiling, loop the chord around the hook, and voilà!
You now have an inexpensive and custom hanging pendant light fixture!

Make sure to visit my BLOG for more information and for more projects like this!
Resources for this project:
See all materials


Comments
Join the conversation
-
No problem. You’re welcome.
-
So love it!! Can’t wait to do this!! You saved a lot of money!!! Or is it alot?! Lol


Frequently asked questions
Have a question about this project?
Is there a risk of fire from the basket overheating?
I need something like this. . The ceiling fan with lights came down. Can you attach a light from the ceiling wires instead of a plug?