


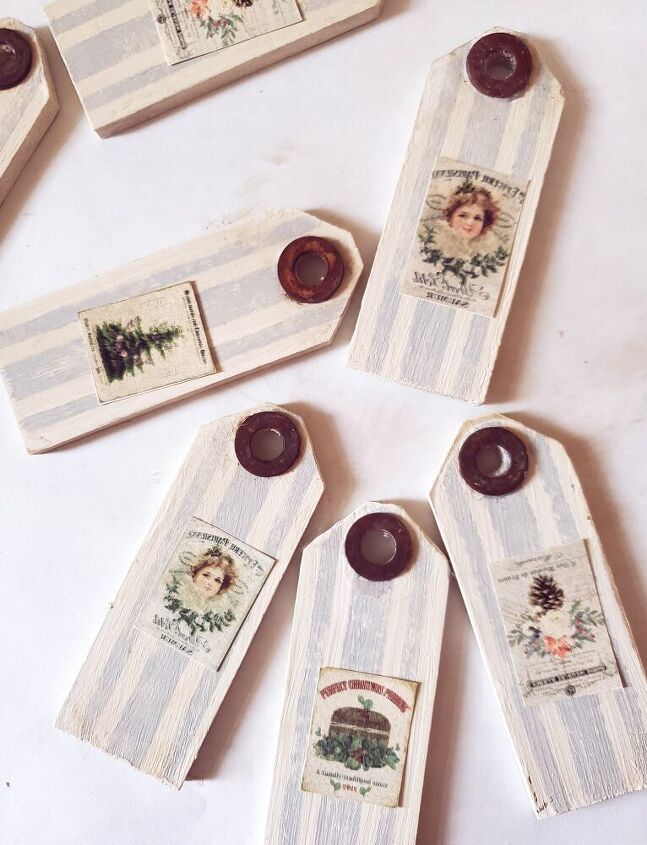
DIY Christmas Tags
Welcome, I'm Cindy and blog over at Cloches & Lavender where I share furniture painting, using chalk paint, DIY crafts, decorating and the occasional recipe.
Today I'm happy to share a DIY Christmas tags project. We're getting ready for the holiday season and this is a perfect time to make these DIY Christmas tags.
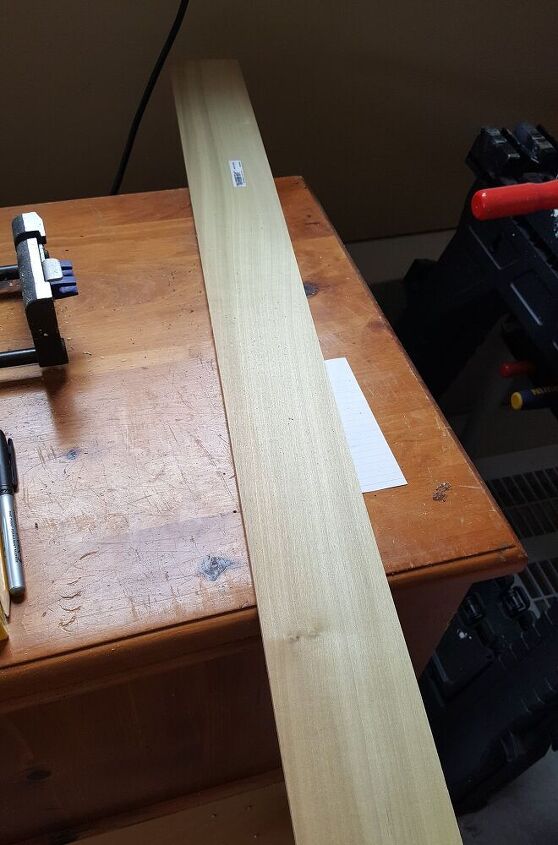
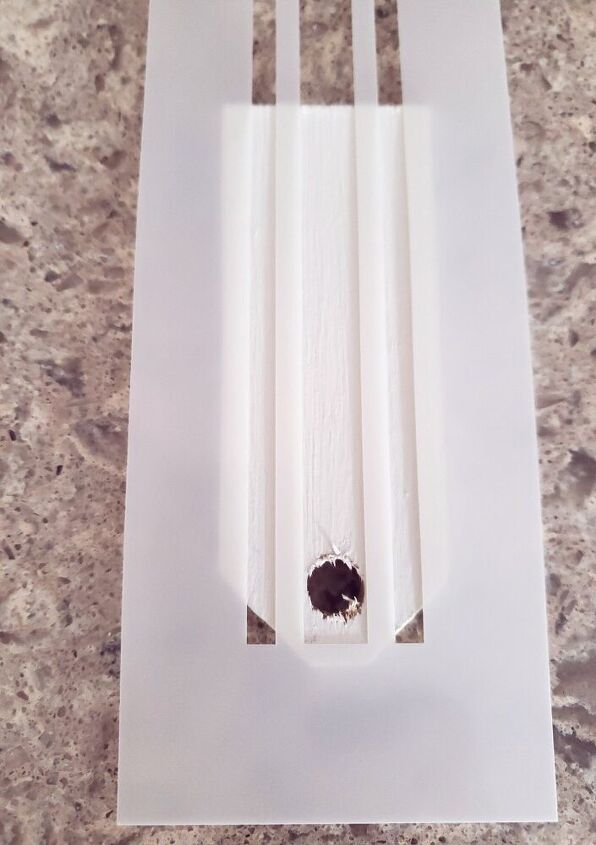
Begin with a piece of wood from your local home improvement store.
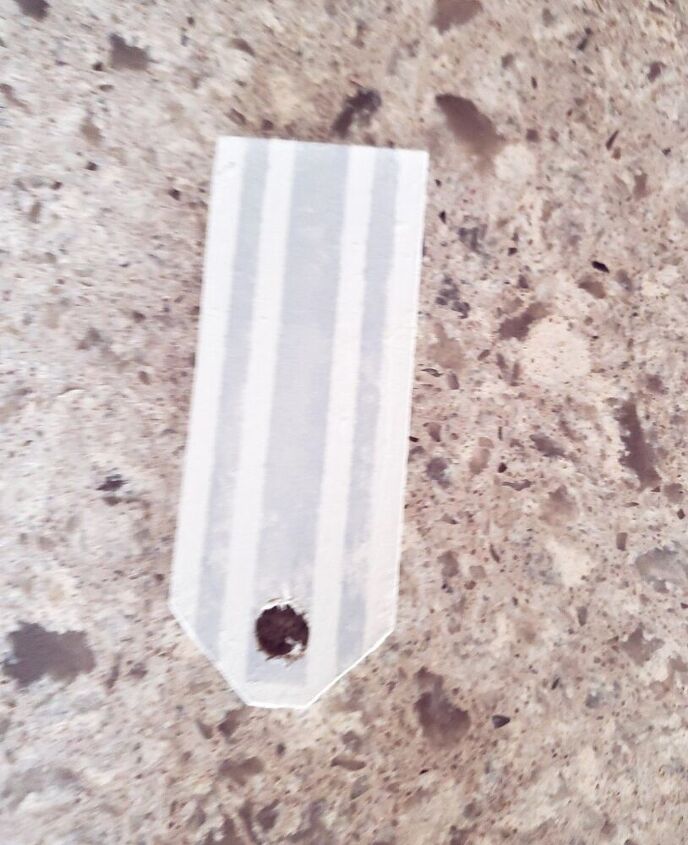
Cut wood to the size of the tag you choose. Mine are 1 1/2 x 4.

I have seen these tags many times on Pinterest but I didn't want them to be large. So, after thinking a bit, I decided small tags would be better suited for my needs.

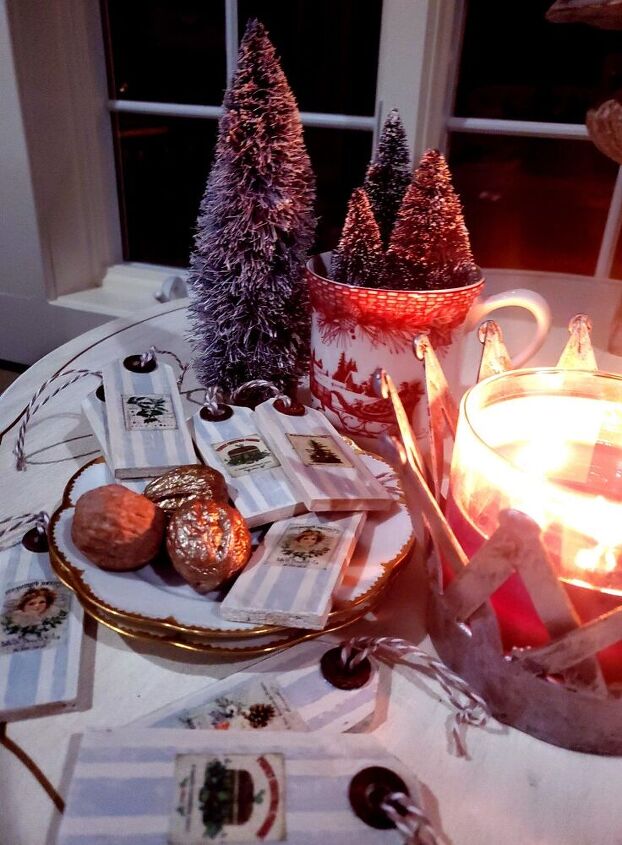
Incidentally, these would look cute hanging from a package as a gift tag. They would also make great ornaments hanging from a smaller Christmas tree or scattered in a piece of ironstone.
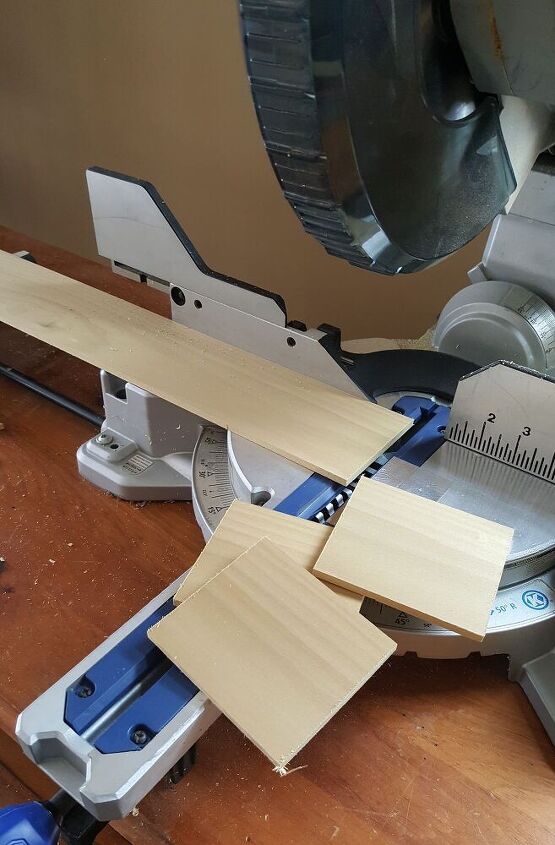
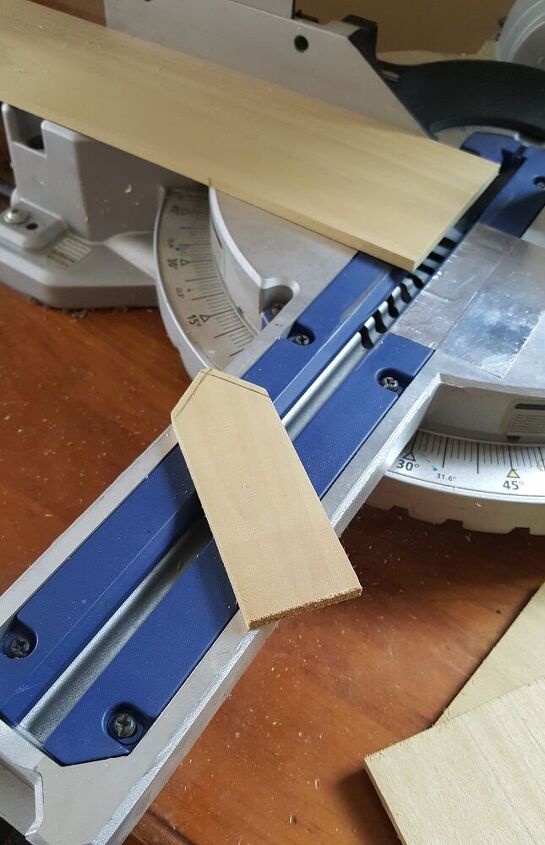
John cut the tags the length I wanted and then cut the edges to form a tag shape using his chop saw.
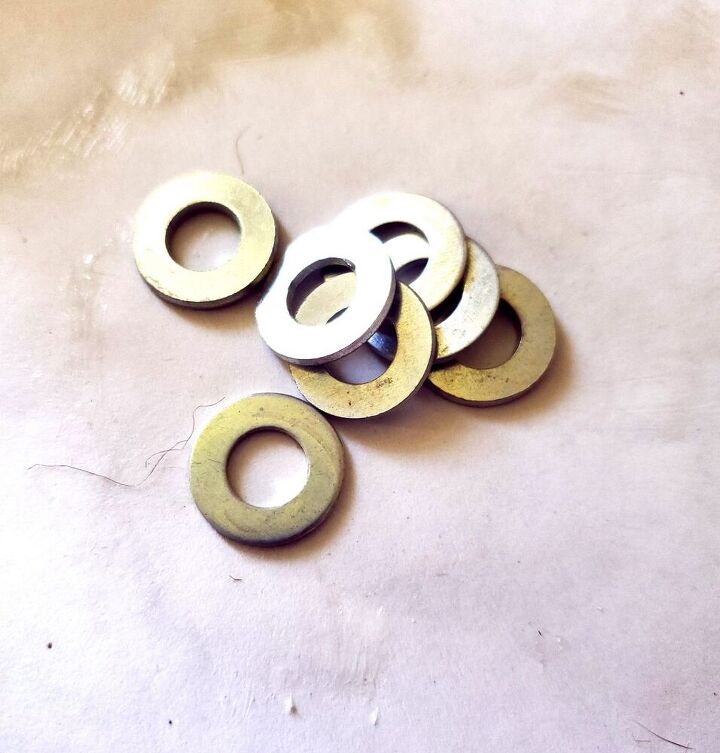
After cutting the tags he also drilled holes that were as wide as the inside of a small washer.
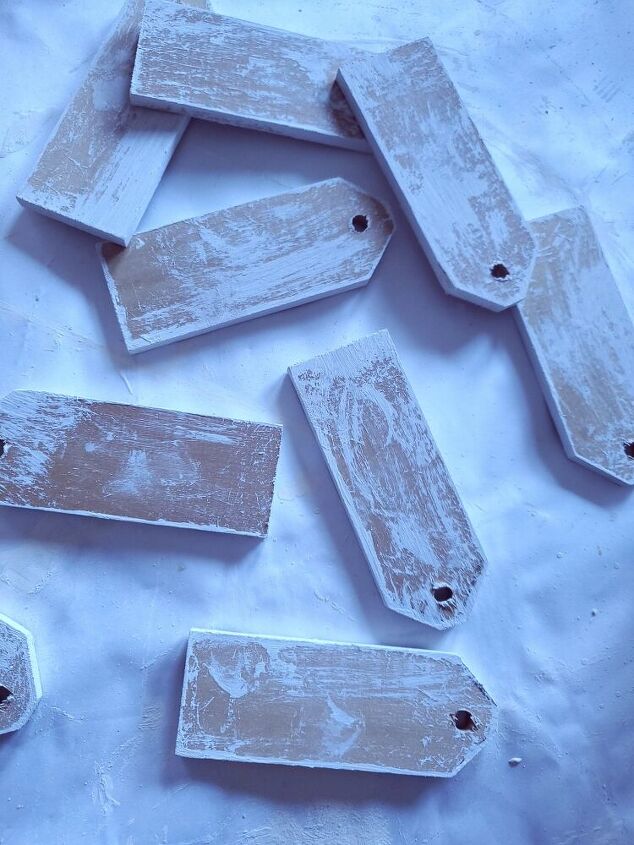
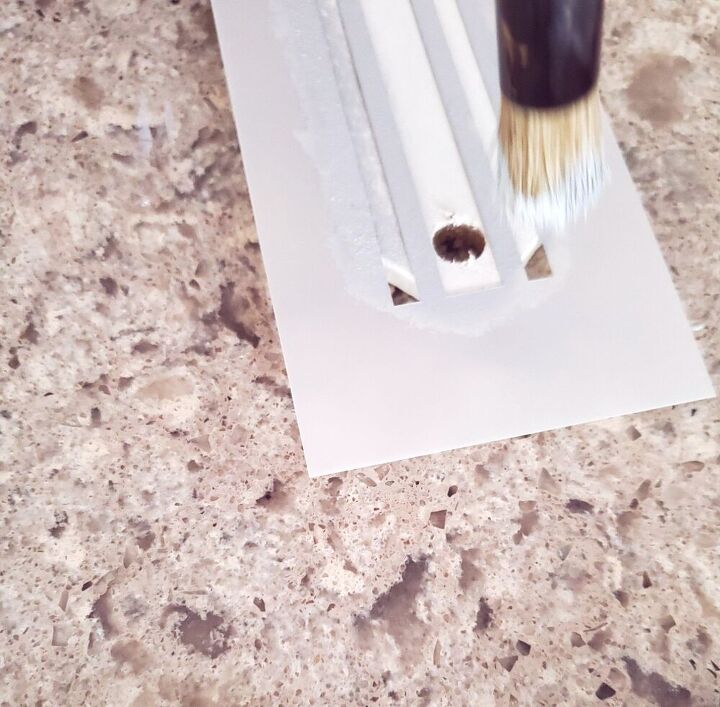
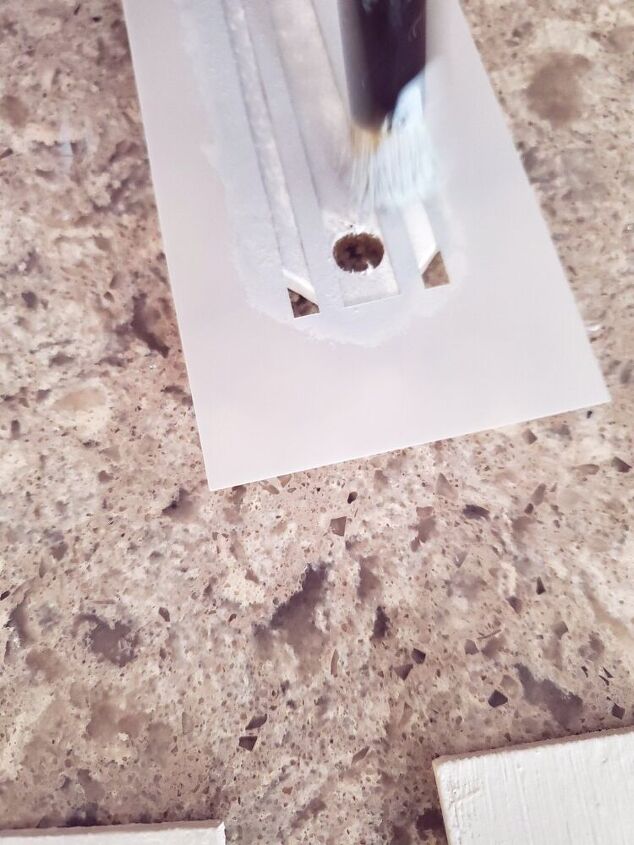
Next, I took over, using a 220 grit sanding sponge I sanded the edge of the tags.
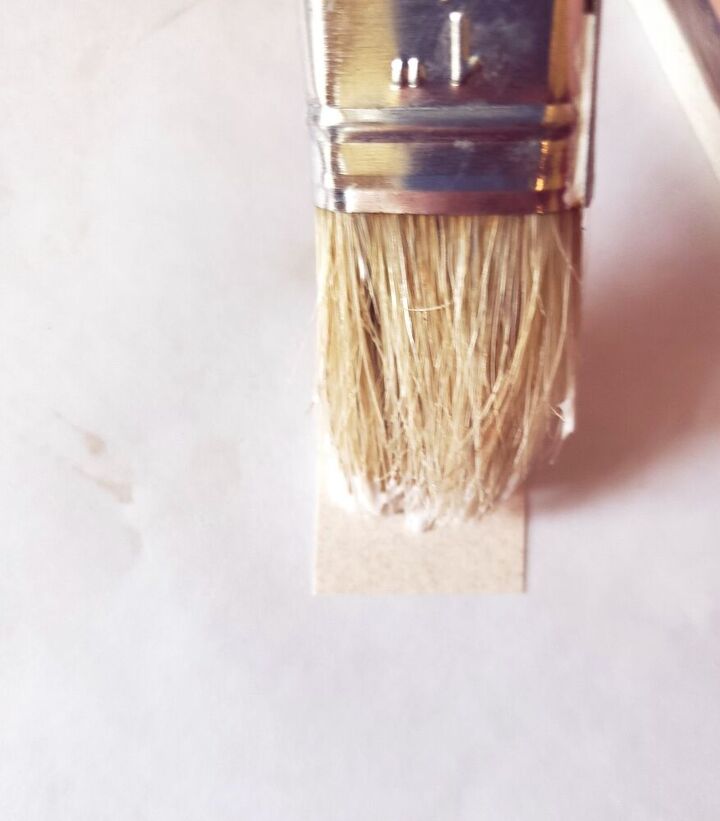
So then, I painted the tags with two coats of ASCP Old white chalk paint. Drying in between each coat.
Excuse the working space and pictures. My office was getting repainted during this part of me creating and the lighting wasn't great that day.
An Experiment to Create Rusted Washers
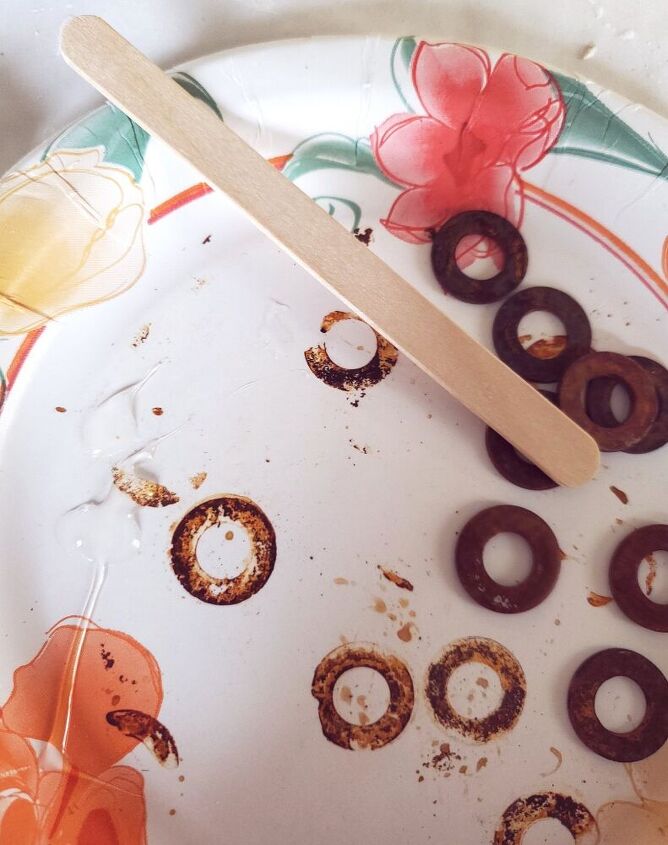
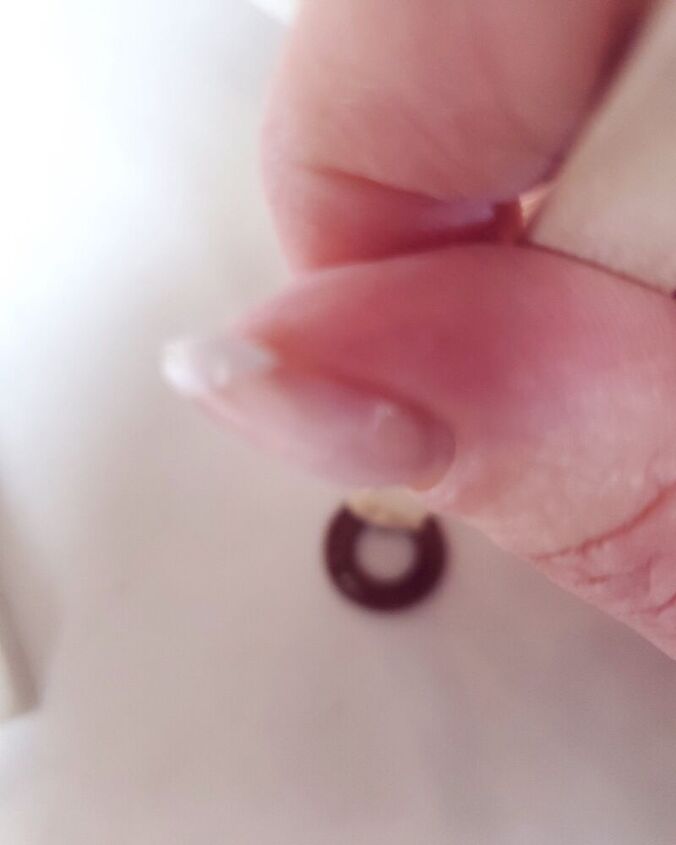
In the meantime, I tried an experiment and mixed white vinegar, peroxide and table salt in a small plastic container. Not wanting shiny washers, I looked online in search for making metal rusty. Many suggested mixing these ingredients together. None had any information of quantity so I went with a little of this and a little of that and waited to see what happened.

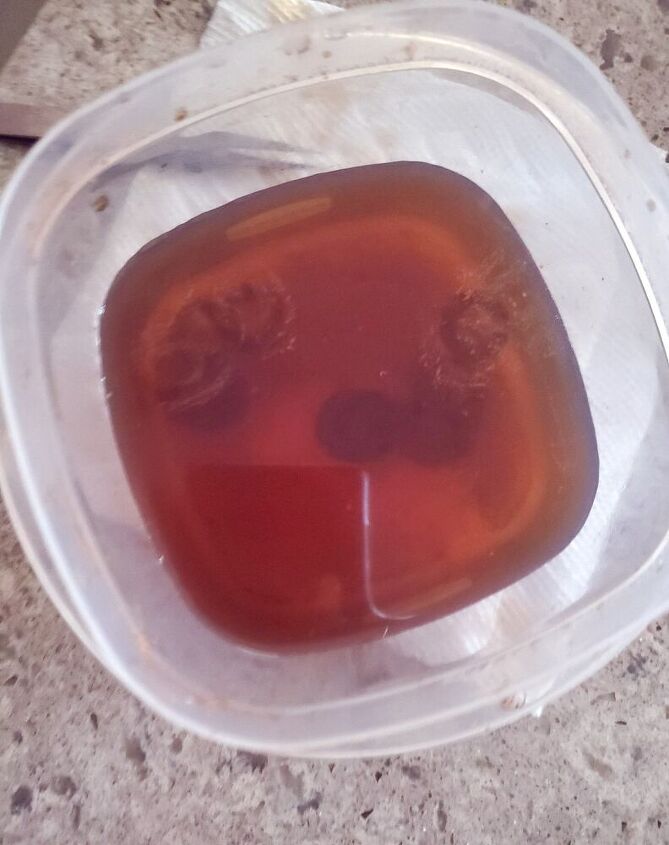
As a result, the washers turned black not what I wanted. All of a sudden a lightbulb moment happened, air is what I needed. Yes good old air, to get the concoction to work and sure enough an hour later the solution looked like this. The directions I found online didn't mention the air part of the equation.
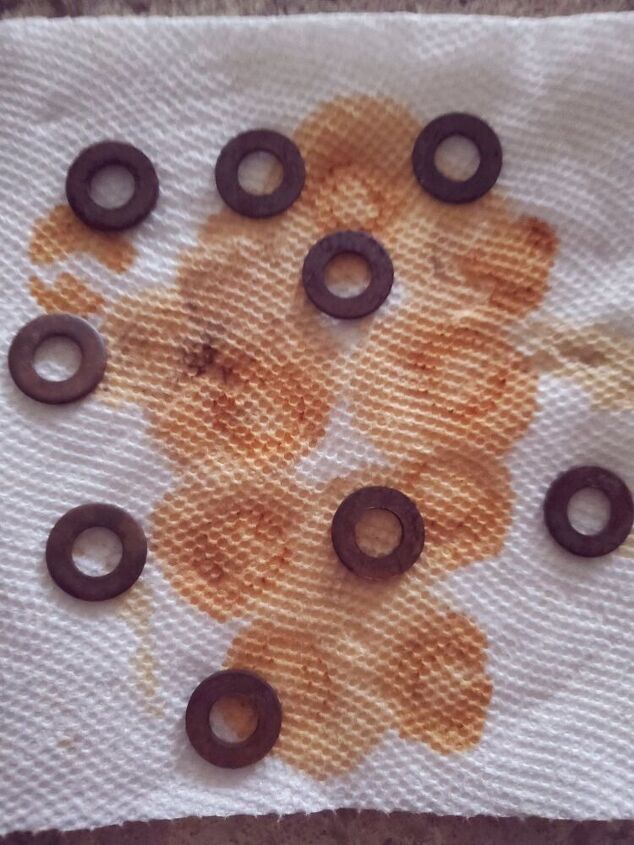
After waiting a while I took the washers out and folded paper towels and let them dry. The washers got even better, look.
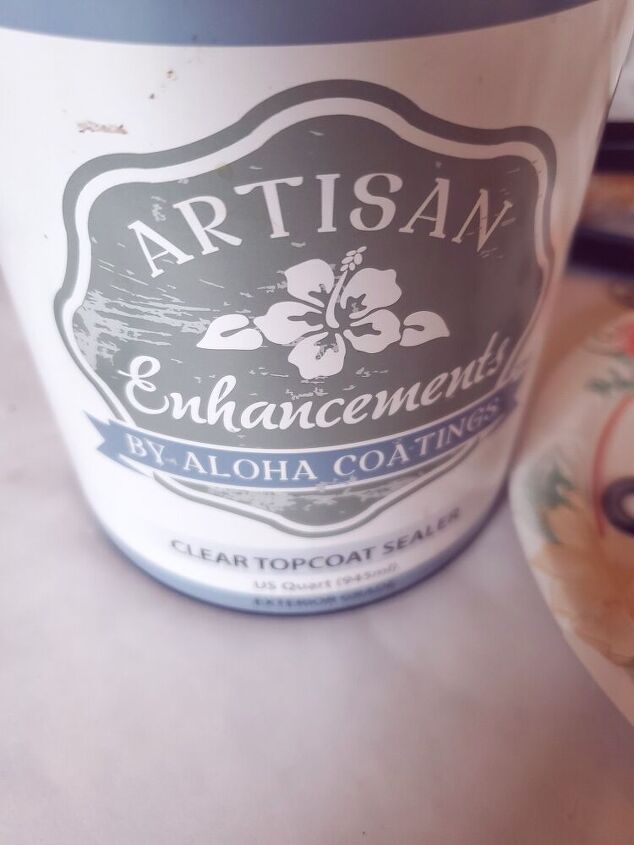
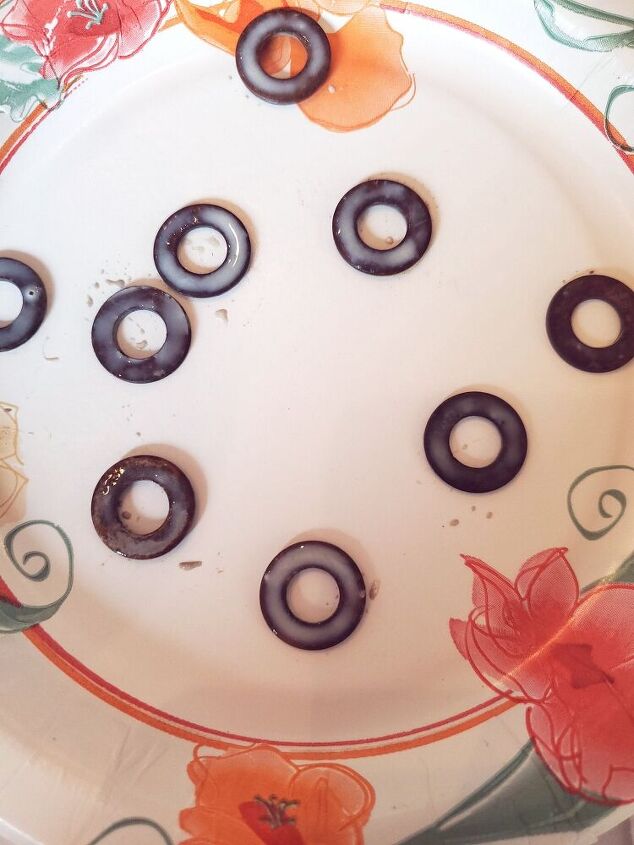
Lastly, I added a coat of Artisan Enhancement adding more depth to the rusted washers.
What I Did While Waiting for the Washers to Dry
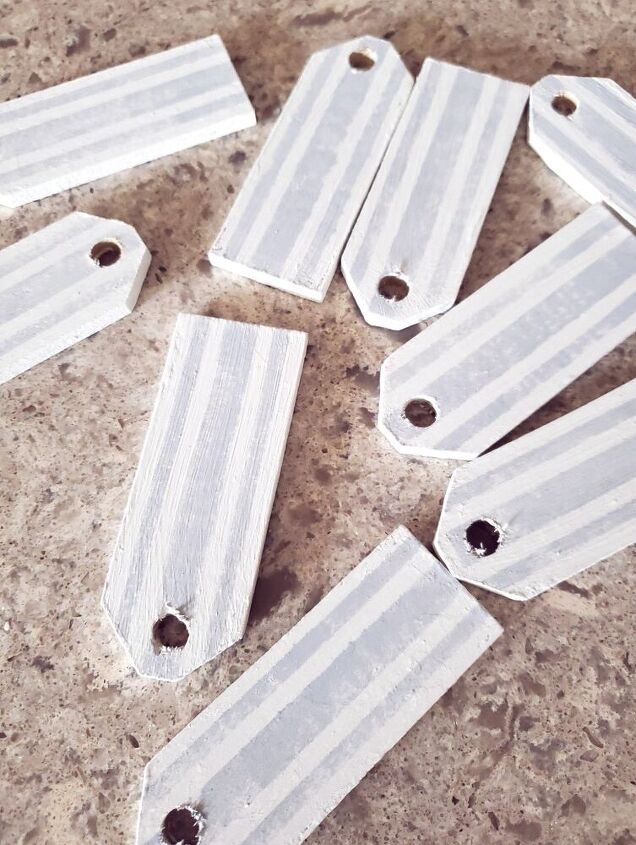
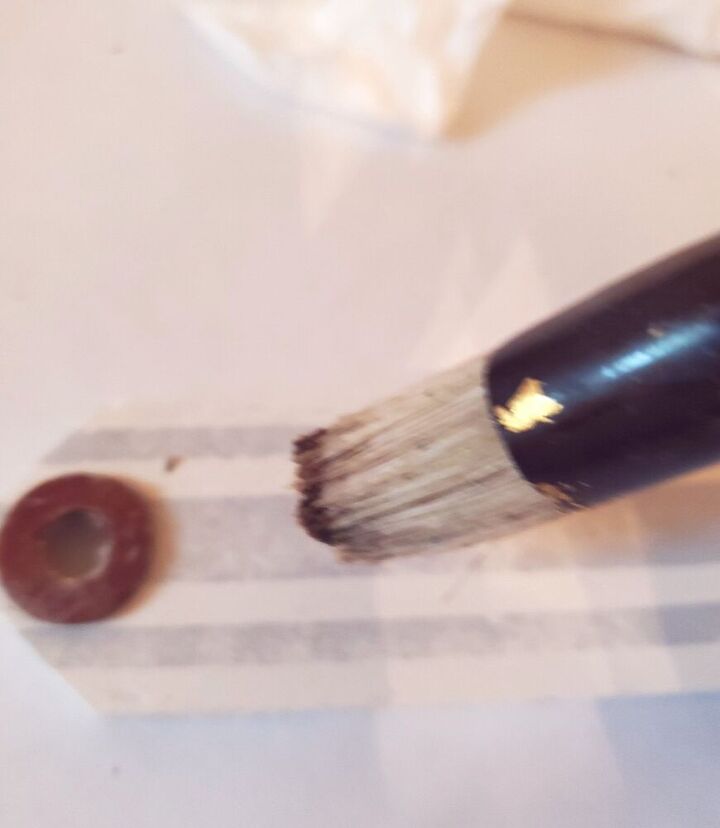
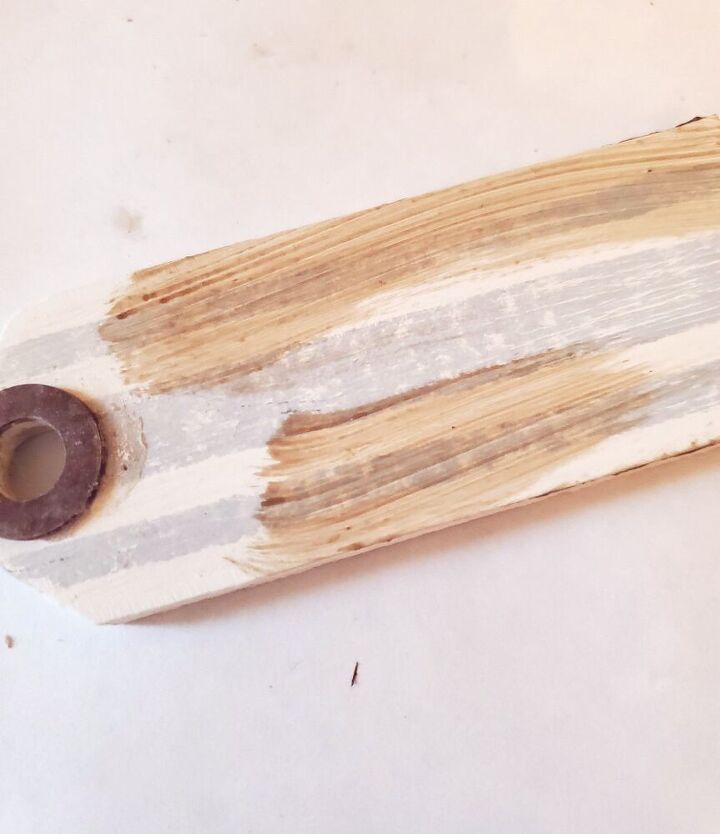
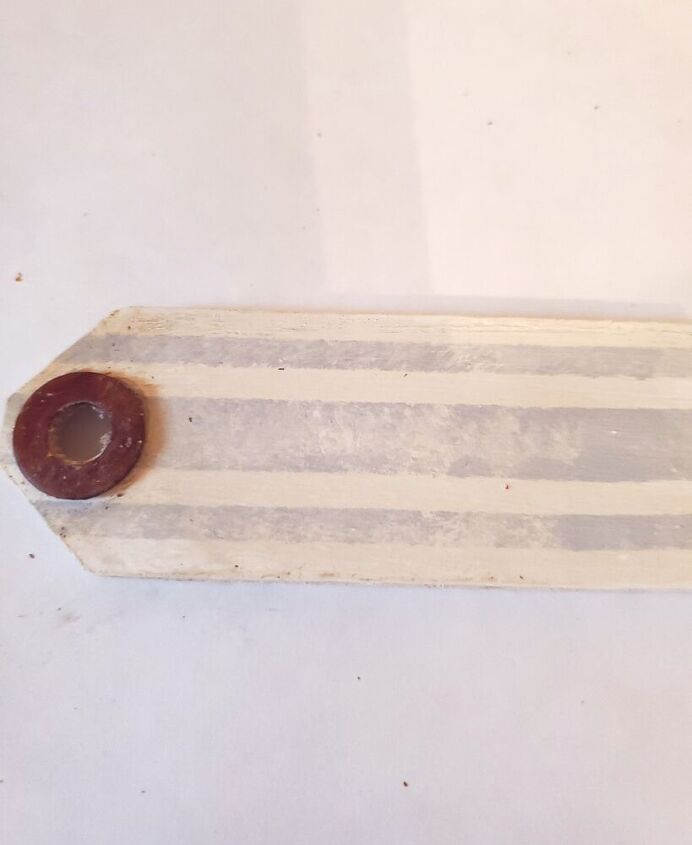
By the way, while waiting I began stenciling the DIY wood Christmas tags with grey craft paint using the Grain sack stencil.
You can find the grain sack stencil on Amazon or Funky Junk Stencils. I sharing a Simple Christmas DIY on the blog you may feel inspired to try also.
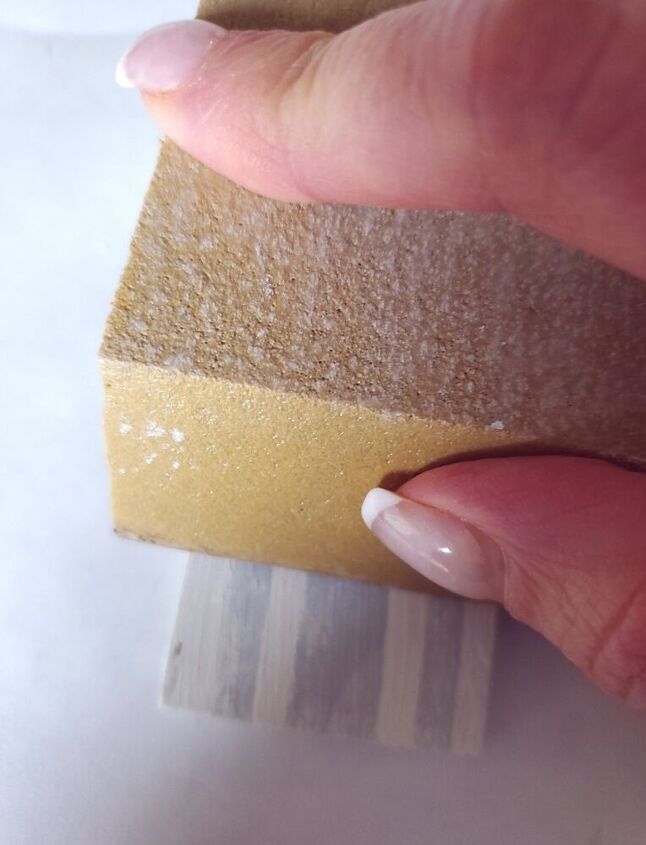
After stenciling using my sanding sponge I sanded the stencil to give it an aged appearance. Namely I do this to add character.
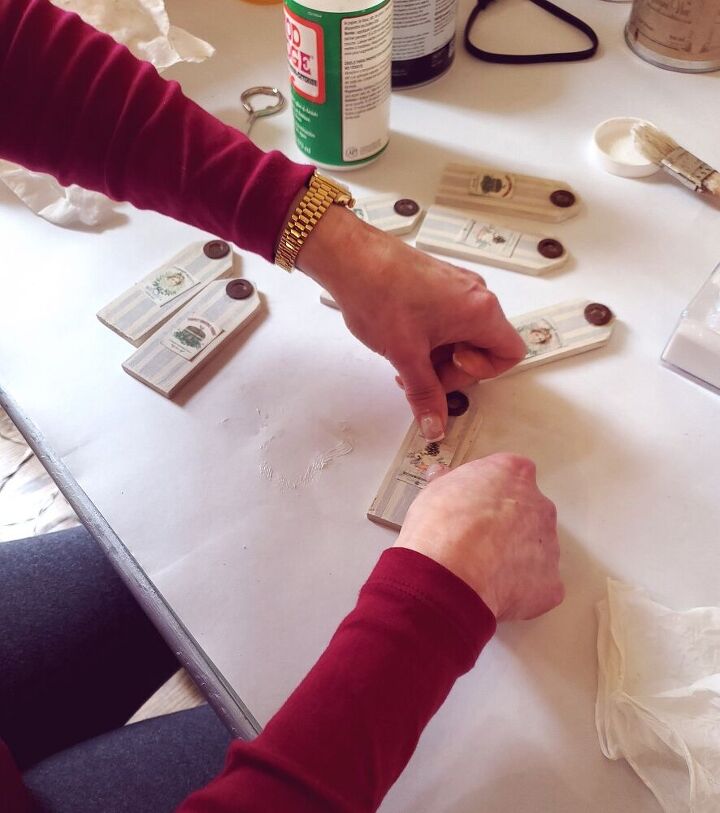
Afterward, I used E6000 to attach the rusted washers to each tag. This added even more character to my DIY wood Christmas tags.
I noticed my E6000 tube had no nasal. I had to improvise using a wooden stick.
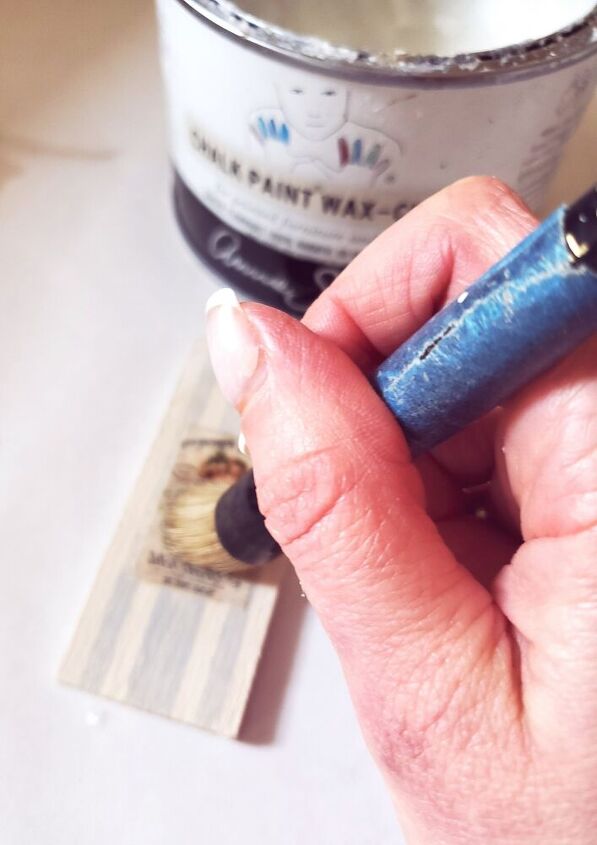
Next, using my my light brown wax I applied a coat and rubbed with a rag adding more character.

Knowing I didn't want to stencil I began looking on Etsy for French Christmas image downloads. Etsy has beautiful images and they are inexpensive and the shops send them in reverse as well.
Deciding the Images Placement
Using paper we had which is thick like cardstock I printed my images thumbprint size. Also using Mod Podge I had in my office I added them to each tag.
As a result of using reverse imaging on pieces I created, I learned a trick and here's a tip.
Once your image is dry apply a light coat of ASCP clear wax and your image whether color or black and white will intensify. It's worth the step and cost of the wax to have a beautifully finished product.
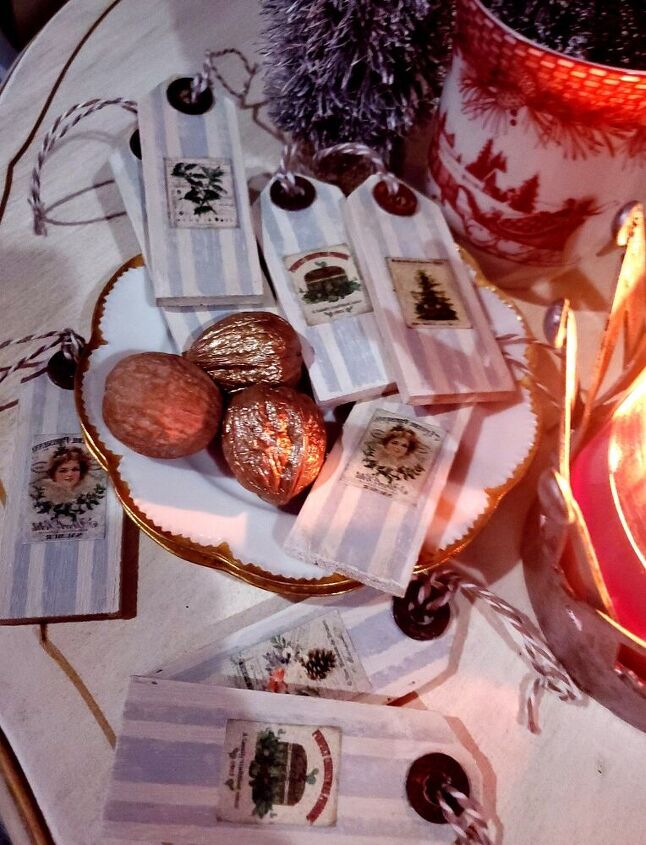
Lastly, add your string to give these the finished tag look and use in many different ways I suggested and enjoy!
Resources for this project:
See all materials


Comments
Join the conversation
-
Love the idea, very stylish! I was wondering, what if you used thinner washers or even counter-sink the washer into the wood?
-
Beautiful, well worth all the time you spent "tweeking" them.


Frequently asked questions
Have a question about this project?
Well done project. I am not sure how to use a reverse image on an solid color?