


Installing My New Furniture Pipeline Shelves

This post is sponsored by Furniture Pipeline. All opinions are my own.
Who doesn't love open shelving? They can be so versatile. Not only can you use them to display pretty things but they are also functional. If you've been around my blog for a while you know I'm no stranger to building my own shelves. As a matter of fact, I've previously created my own DIY pipe shelves from plumbing materials. This time Furniture Pipeline has supplied the hardware and all I have to do is create the wood shelves. I can't wait to show you how easy this project is!
One thing I love about this company is that they've partnered with Eden Projects to plant trees in areas that are severely affected by deforestation. They have committed to planting 7 trees per product that they distribute through their certified retailers, to combat deforestation and poverty in areas such as Madagascar, Haiti, and Nepal. They also plant trees when DIY projects are shared on social media with the hashtag myfpdesign!
Plan out your project
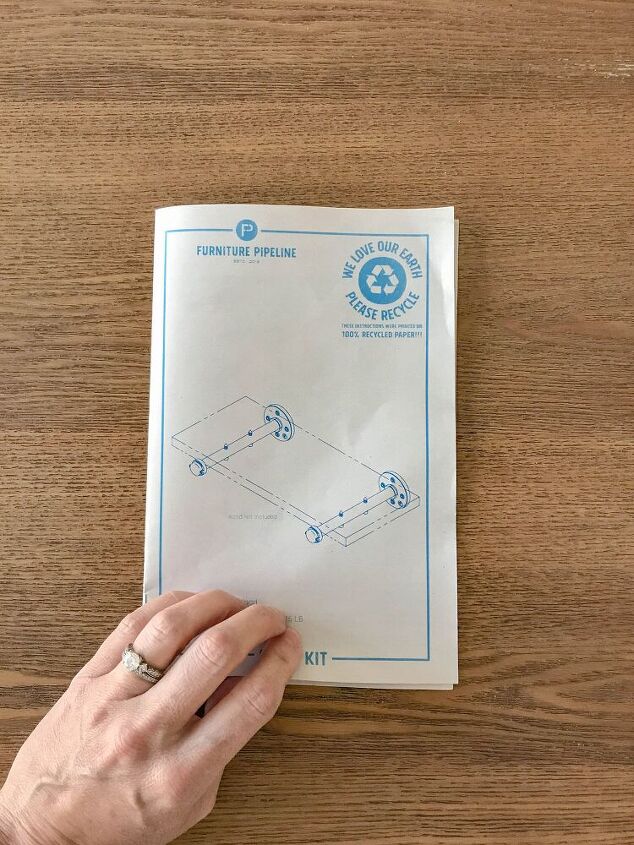
Look through the Furniture Pipeline instructions and get a plan for your project. The manual says that the wood shelf needs to be 18"-30" wide by 10" deep and 1"-1.5" thick.
Decide where to install the shelves
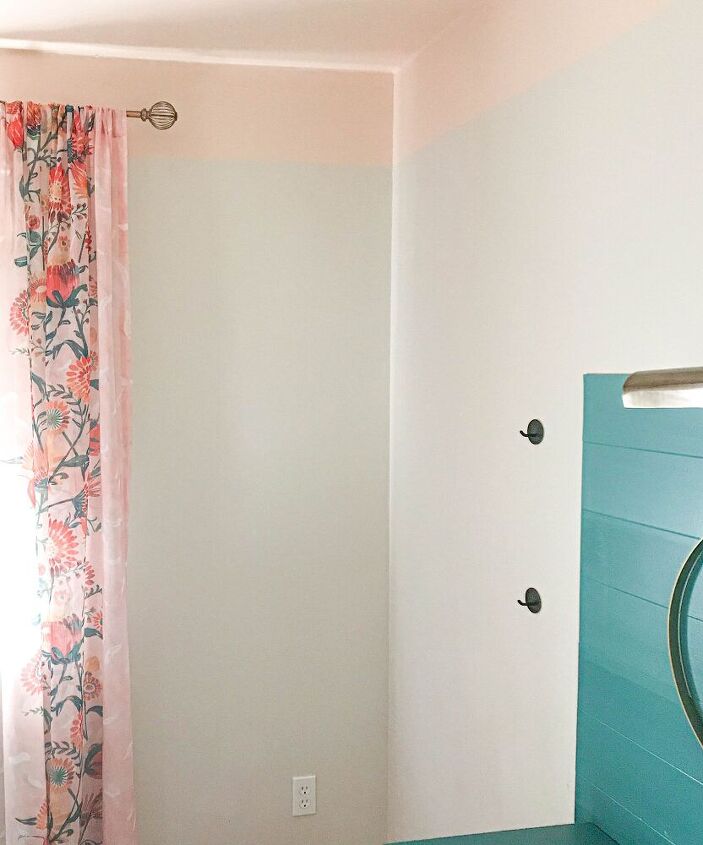
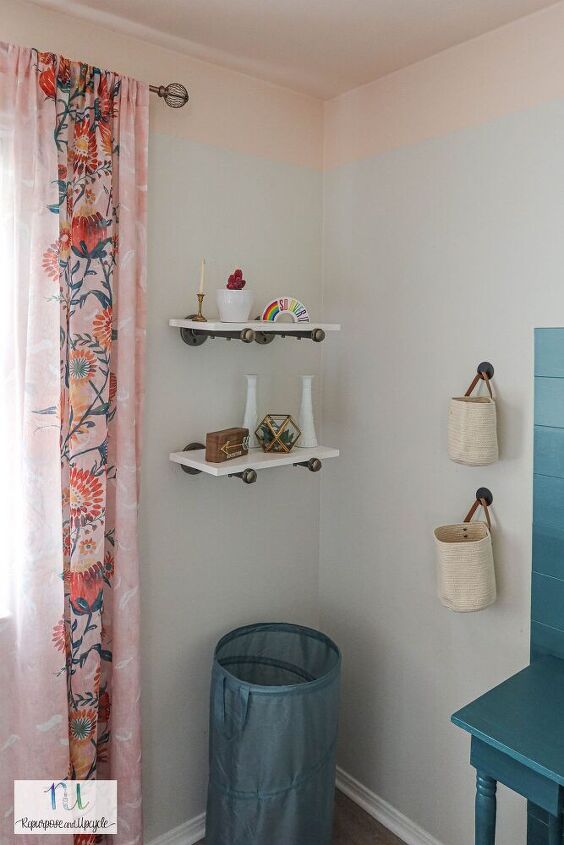
My daughter's room is in desperate need of more storage. I decided that she could use a few new shelves. Since the wall space is small, I chose to create shelves that were only 18" wide.
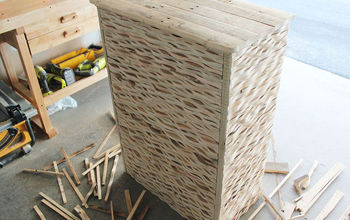
Purchase wood for the shelves
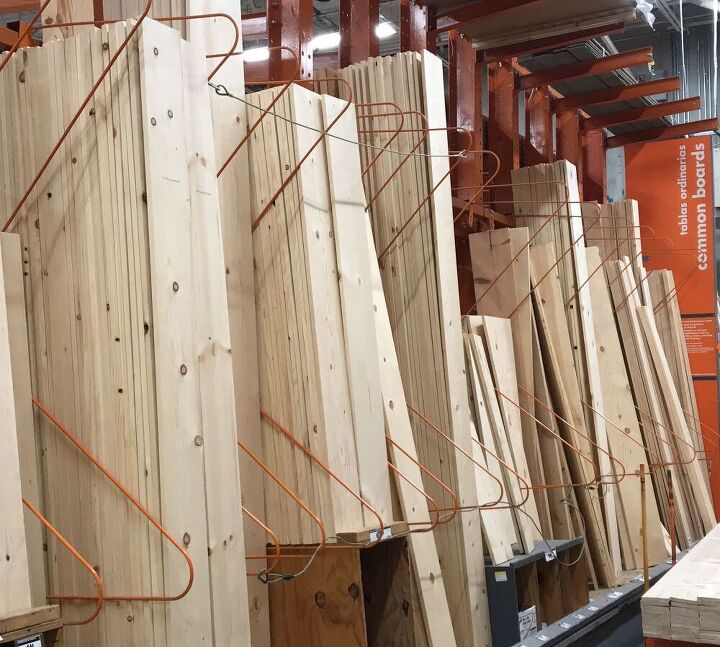
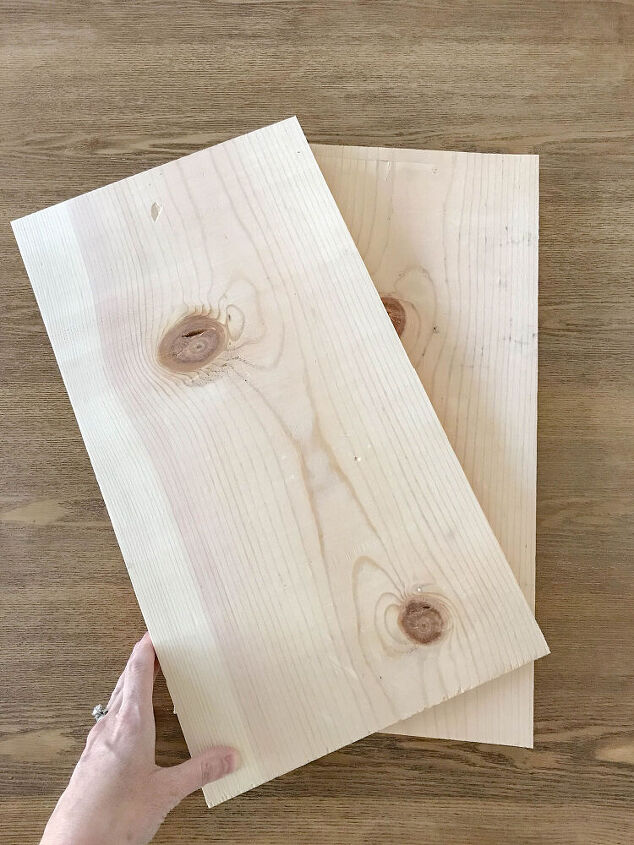
Head to your local hardware store to buy the wood for the shelves. I purchased what is known is a "common board" grade of wood. Since I'm painting the wood I didn't need hardwood grade. If you know you will be staining the wood or you want a high quality wood product, you need to purchase a higher quality board like hardwood.
Cut wood for shelves
While I was there I had the wood cut at the store! One less step for me to do at home.
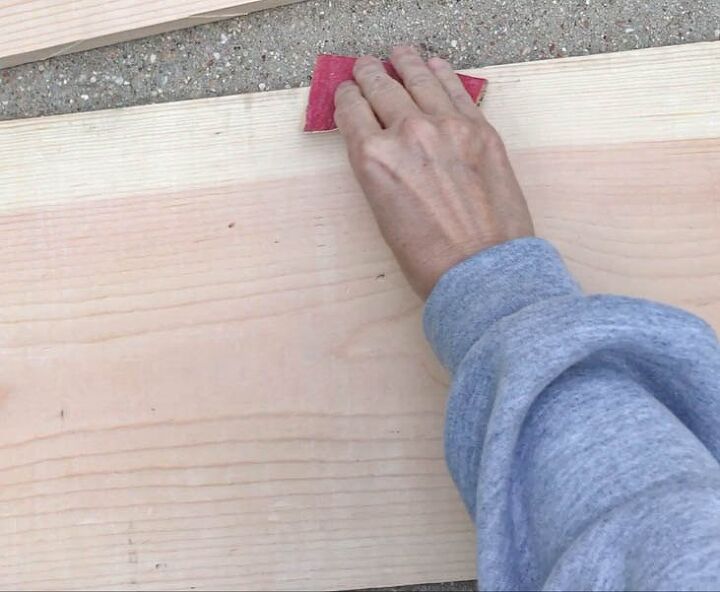
Sand the wood
Start with a coarser grit sand paper and finish sanding with a fine grit sandpaper. Make sure to wipe the wood when you're done with a tack cloth or a lint free cloth to make sure the surface is clean and dry.

Paint the wood
I chose to paint the wood white. I wanted the shelves to match my daughters bed which is white. I used a paint plus primer product and it took two coats.
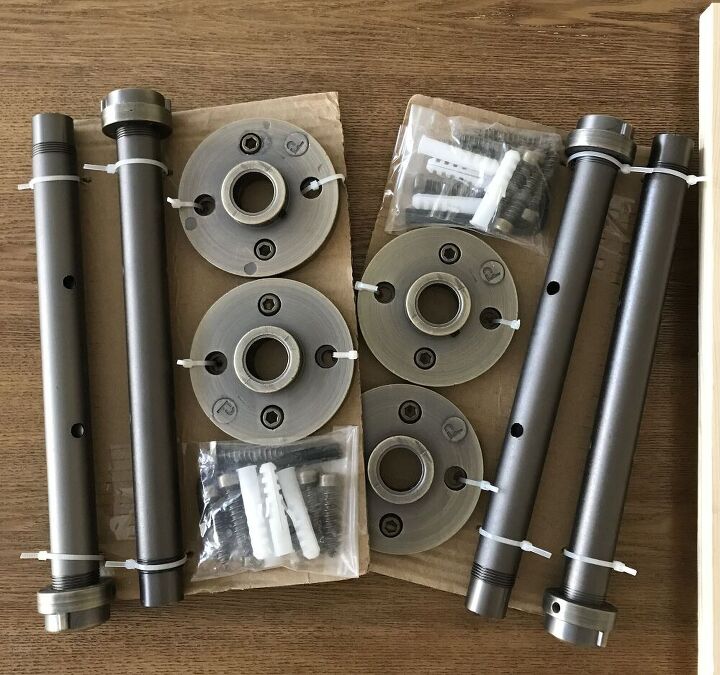
Grab your Furniture Pipeline shelf hardware.
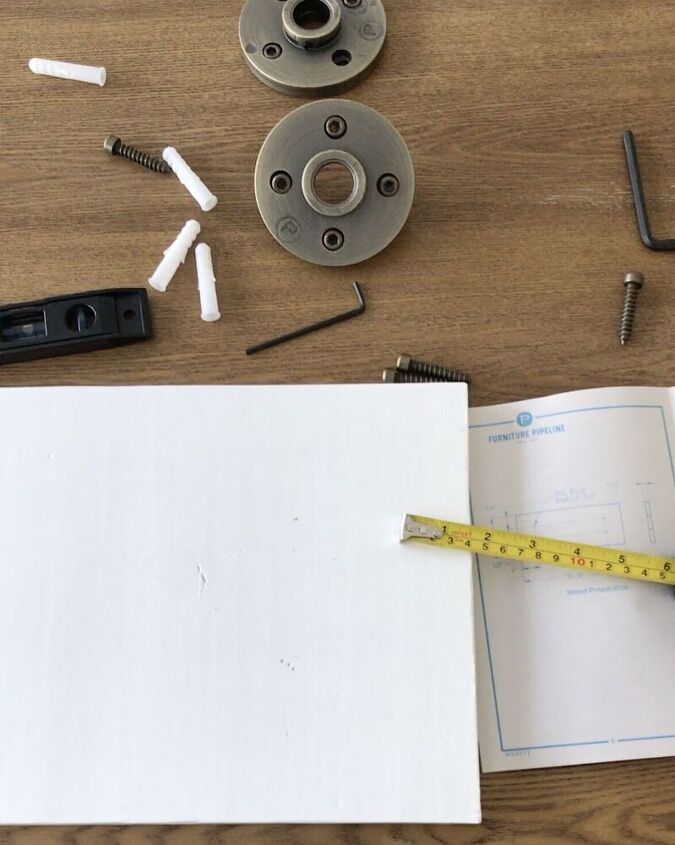
Measure the wood for the hardware
The instructions say to pre drill holes 4" from the end of wood on both sides on the bottom of each shelf.
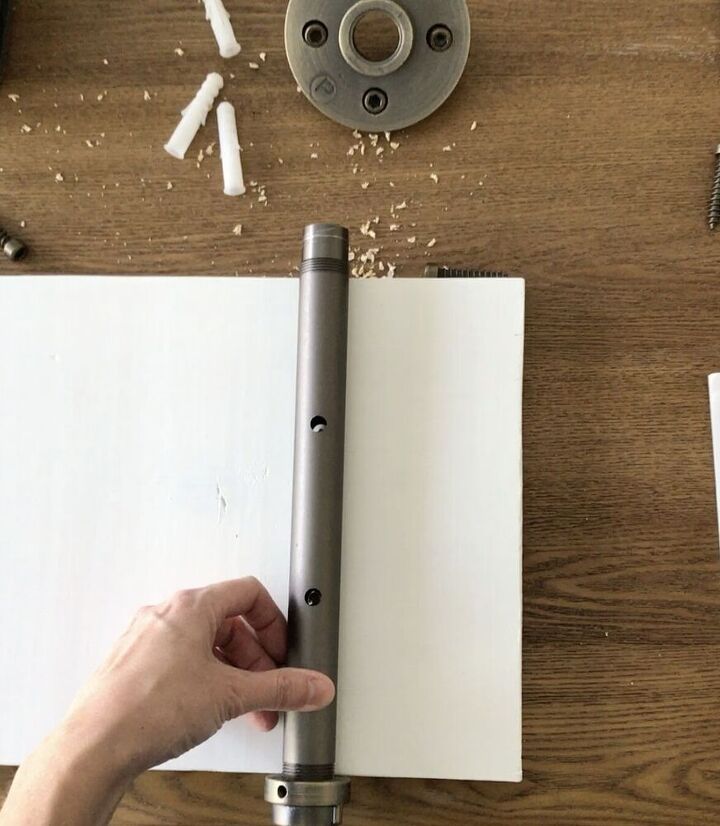
Install Furniture Pipeline hardware on wood shelf
After you have pre drilled the holes, use the screws and the tools that come with the kit to attach the hardware to the wood.
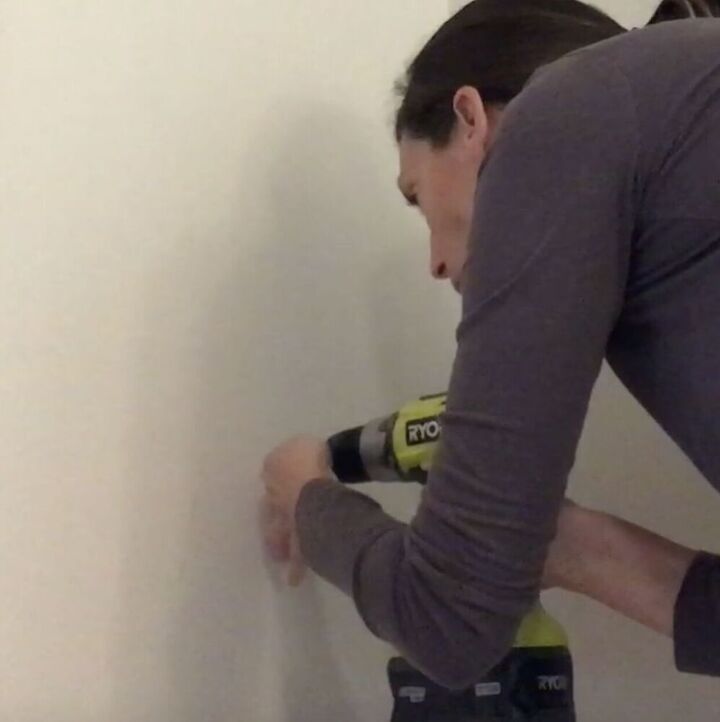
Pre drill holes on the wall
Once you've measured and you know exactly where the shelves need to be installed, determine how many holes will go into a stud. Next, pre drill the holes for the hardware.Note; I only pre drilled the holes that would use anchors. This ended up being three of the 4 holes. Lightly hammer the anchors in place.
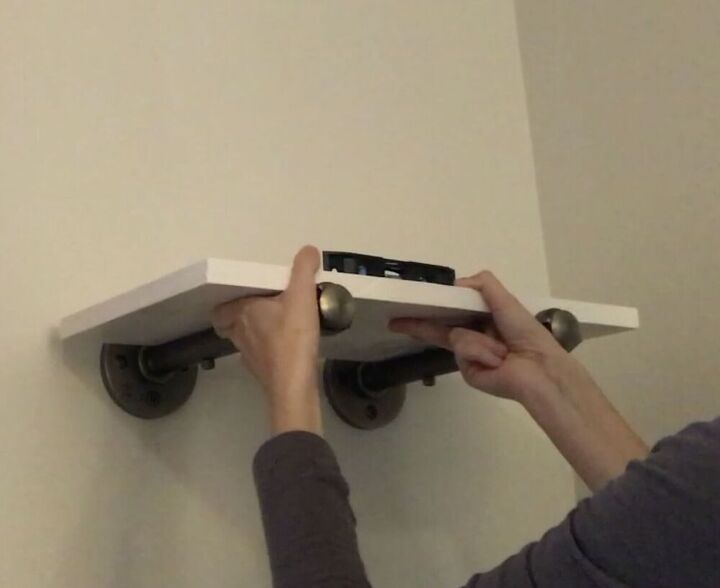
Set the first shelf and attach to the wall
Use at least one screw for each flange to attach the shelf to the wall. As you tighten the screws make sure the shelf stays level. I said earlier that I previously created my own DIY pipe shelves out of regular plumbing materials. The cool thing about this pipe kit is that you don't have to twist the pipes to tighten them into the fittings, you just slip them into the fittings and use the hardware to tighten them! Easy peasy!
The last thing I did was pre drill the hole through the hardware into the stud so I could attach the screw.Once the first shelf was completed, I repeated the process for the second shelf. Easy peasy!
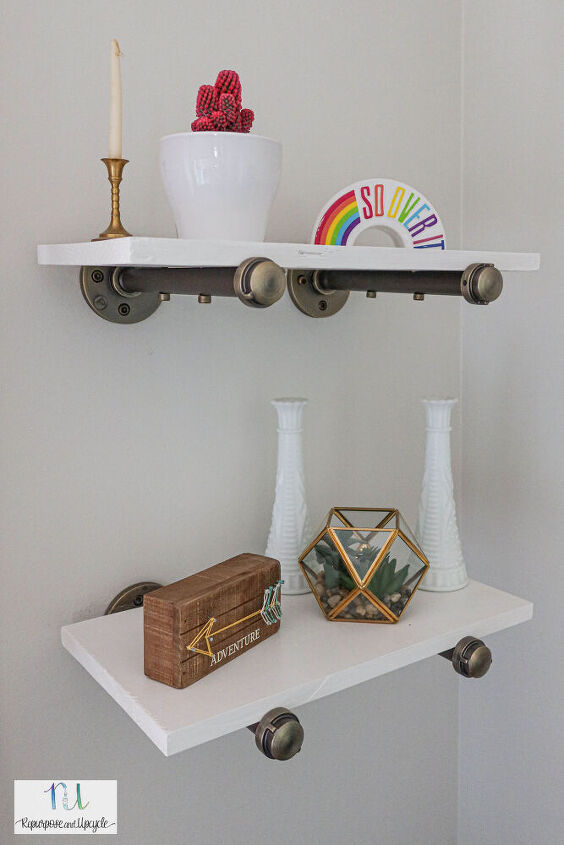
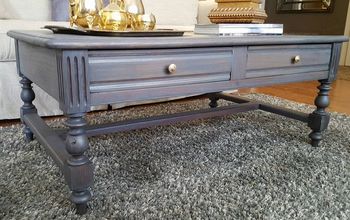
Furniture Pipeline Shelves
Furniture Pipeline Shelves
I love how the shelves accent my daughters room perfectly!I hope I've shared how easy it is to install these shelves with a Furniture Pipeline Kit.
Resources for this project:
See all materials


Comments
Join the conversation
-
If you want a more industrial look, purchase the real black gas pipe and pipe covers. The pipe is pre-cut in different sizes and is threaded already. They sell everything at your local Home Depot, Ace Hardware, etc. It is way less expensive to get the same look than to purchase a pre-made kit. In my opinion, I like saving money and the real look of the gas pipe better.
-
To attach the board to the black pipe you can use U-shaped brackets that are made for the black pipe, this all can be found at your local hardware store.


Frequently asked questions
Have a question about this project?
Please if you don't mind let me know what you use the tall container in the corner for? And yes I have one and thought maybe I could incorporate it in my child's room, maybe? Love the shelving,so simple and easy! I plan to stagger and different lengths.and do in my laundry room .