


Clothes Hanger Star Decoration

Use 5 wooden clothes hangers to make a 5 pointed star for the festive season.
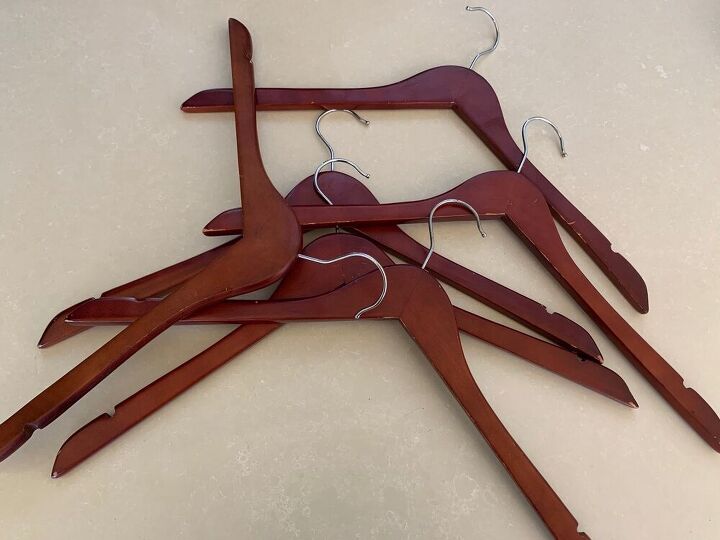
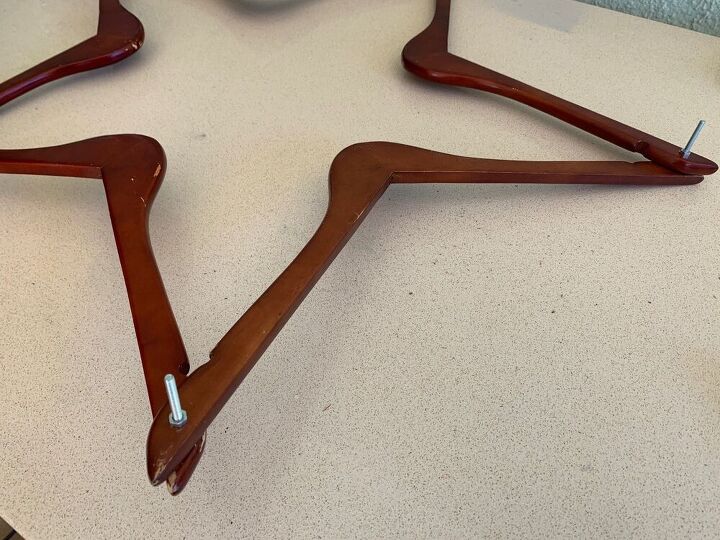
In my previous post I explained that I ended up with a lot of clothes hangers and how I am trying to put them to good use. These wooden ones came from someone's trash and already had the parallel bars removed that you normally hang trousers from. I also removed the metal hooks by pulling/screwing them out. It helps to hold on with a dishcloth so you don't hurt your hands. Some hangers are slightly bent forward when viewed from the side, these are pretty flat.
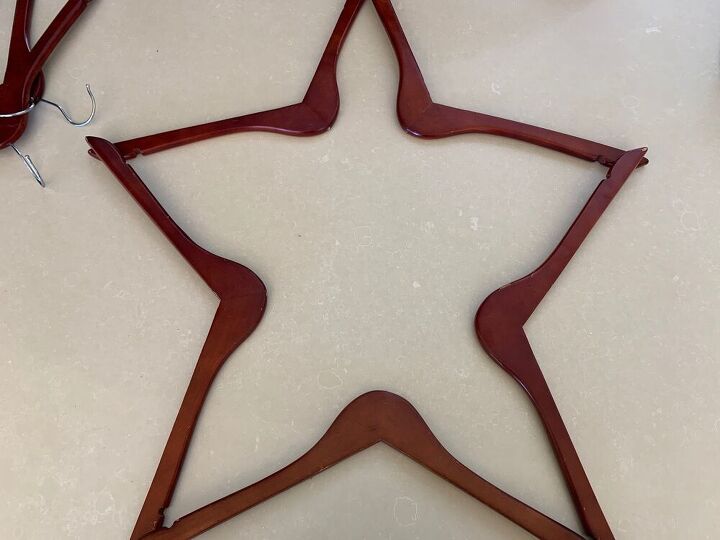
I don't know if Americans are taught to draw a 5 pointed star because they are part of your flag but I have always found them extremely difficult to draw or make. I never seem to get the angles right. Much to my surprise these hangers have the perfect angles to them and it was dead easy to place their ends on top of each other in an alternating pattern i.e. one end on top of the previous hanger and one end below the next one.
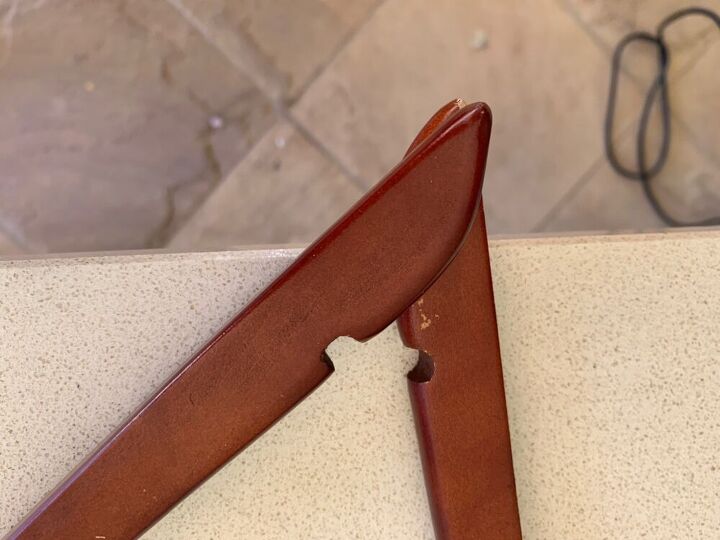
This is how the ends look when stacked on top of each other.
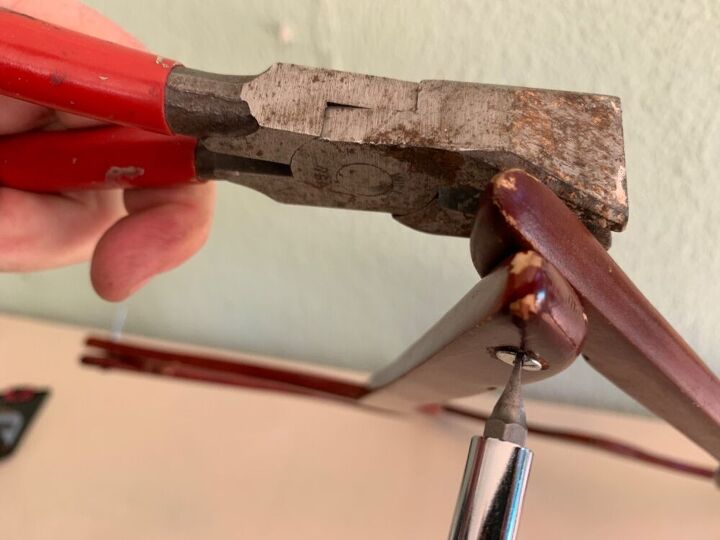
We used a 4mm (0.15") drill bit and screws with matching nuts to screw all 5 together. It's important to screw them all as tightly as possible otherwise the shape collapses once hung. You could also apply some glue to strengthen the form.
All 5 are done.
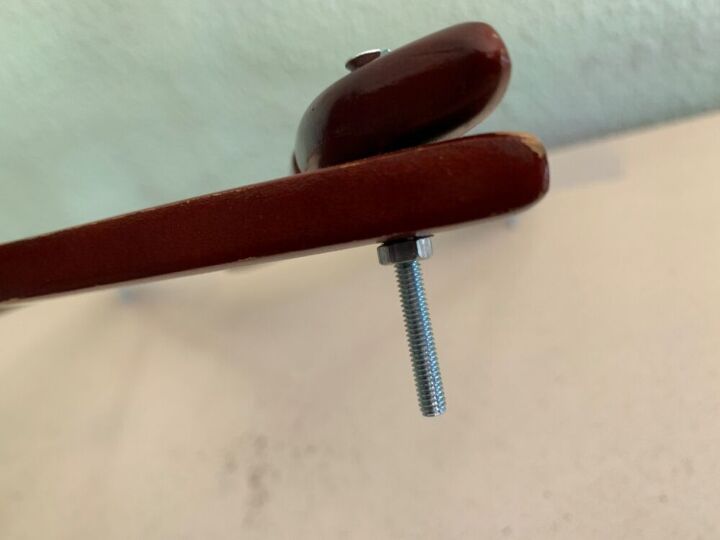
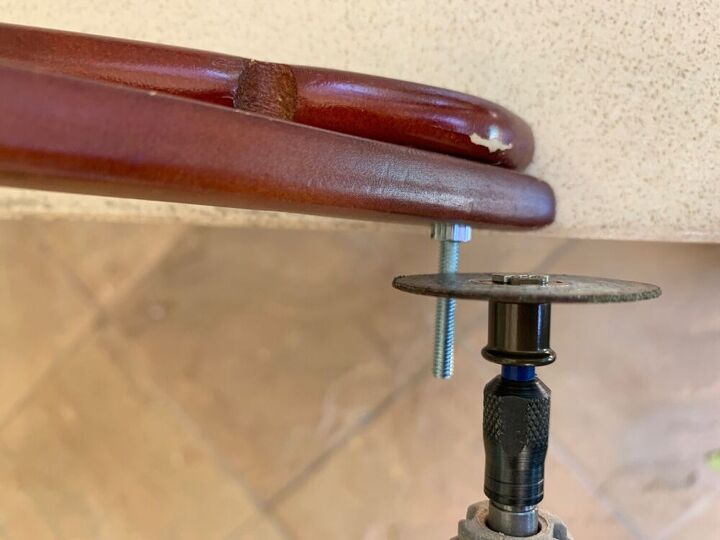
My screws were miles too long (above), so we cut them with a little grinder (below). Because I don't have a workbench or clamps it took and extra pair of hands to hold the hangers still whilst the other person did the grinding with my new Dremel 8220. Be careful that nothing slips!
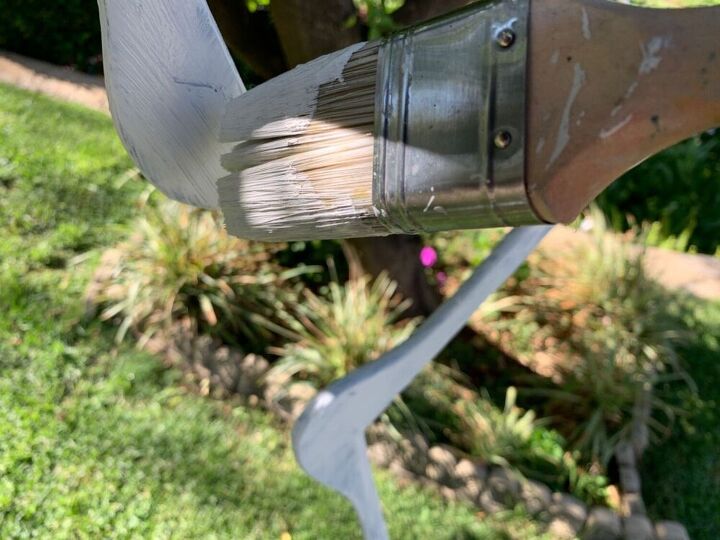
I gave the star a couple of coats of white chalk paint and a sealant. I ended up hanging it from a tree by a wire coat hanger to dry. Oh, the irony!
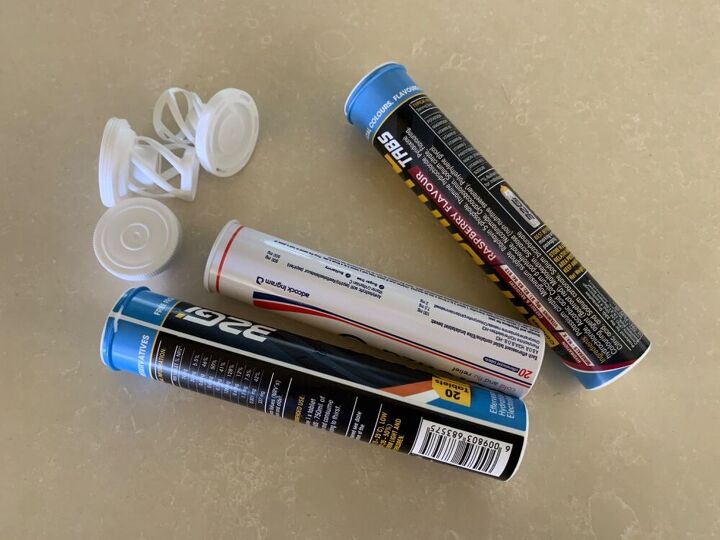
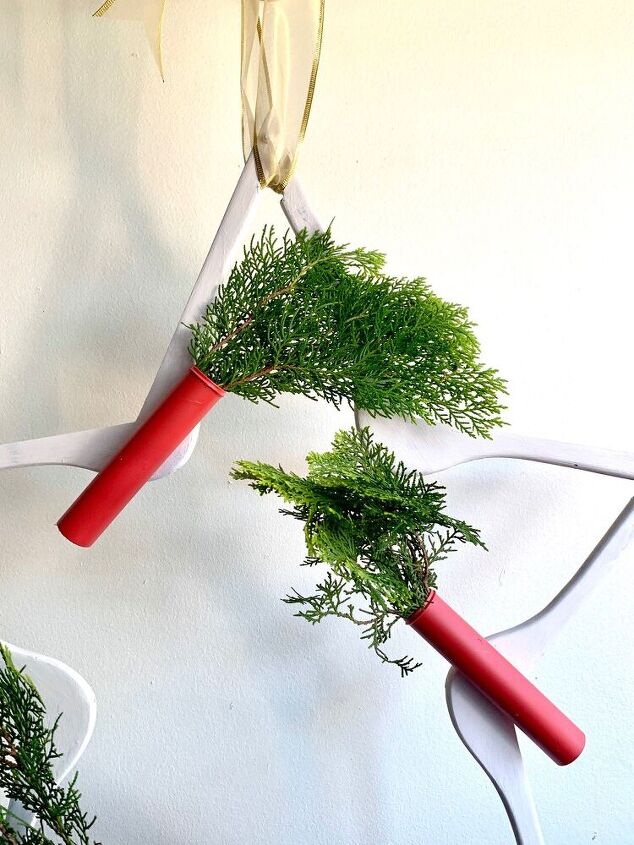
I'm sure you are familiar with these tubes that you normally get fizzy tablets in. I gave 3 of them a coat of Rustoleum Plastic Primer and then sprayed them with Krylon Chalky Finish in scarlet. As with most chalk paints, it also needs a sealant.
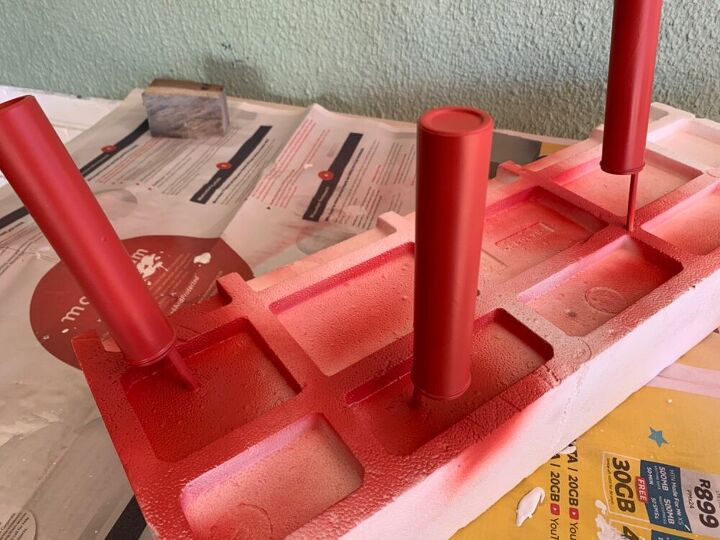
I am always so impatient and can never get myself to wait long enough between coats and end up having to respray parts. I never learn!
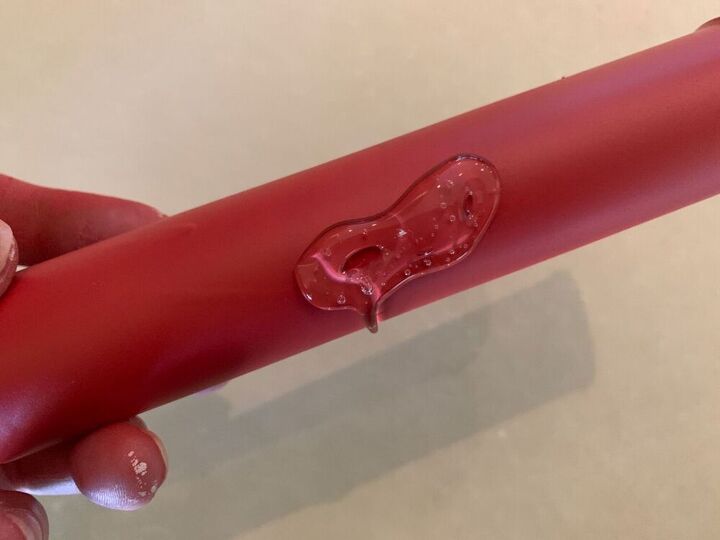
I used a glue gun to stick my lozenge holders to the star in such a way that they would be able to hold water for the foliage.
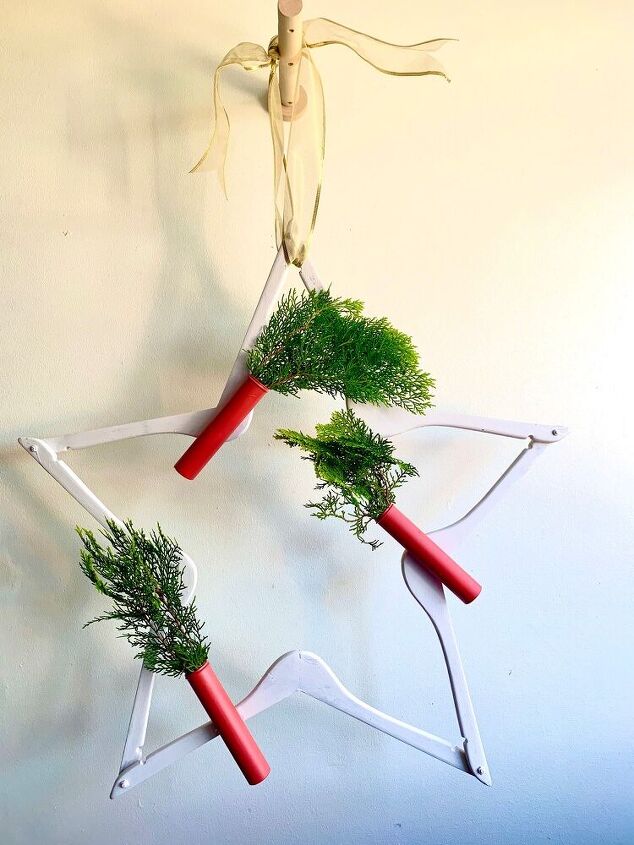
I added some hardy foliage and a ribbon and my star was ready to be used.
Resources for this project:
See all materials


Comments
Join the conversation
-
Creative use of wooden hangers
-
Very clever! It looks fabulous!


Frequently asked questions
Have a question about this project?
Could you glue the ends together? Instead of using the bolts?