


Electric Water Heater Cover

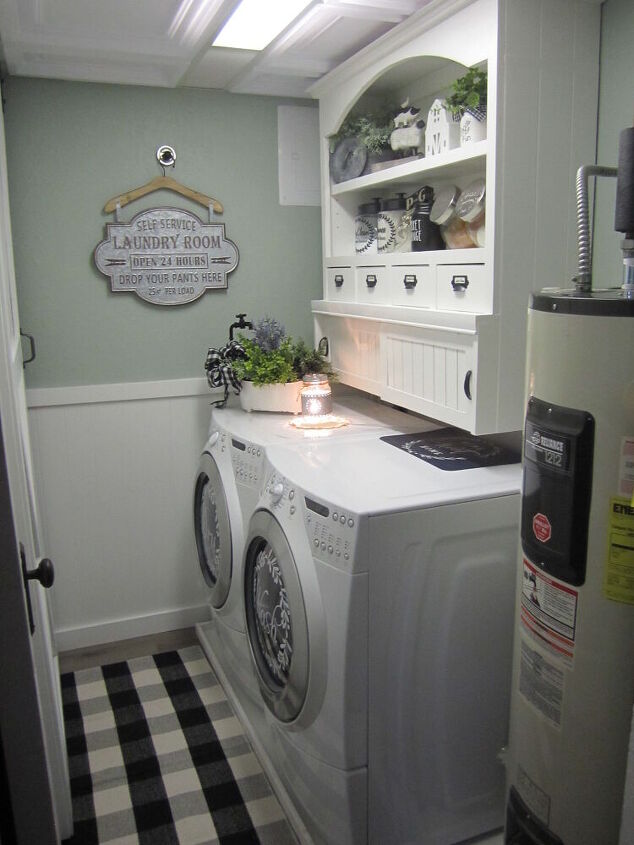
After updating my laundry room, what to do with the ugly water heater sitting in the corner.
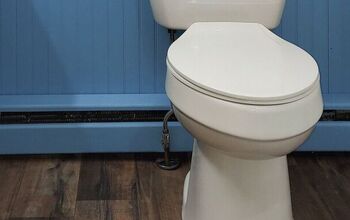
PLEASE NOTE***This is an electric water heater. Although not required to vent, it does vent through the dropped ceiling and back. Check your local building code for gas water heaters. A vent could be installed on the left side panel.
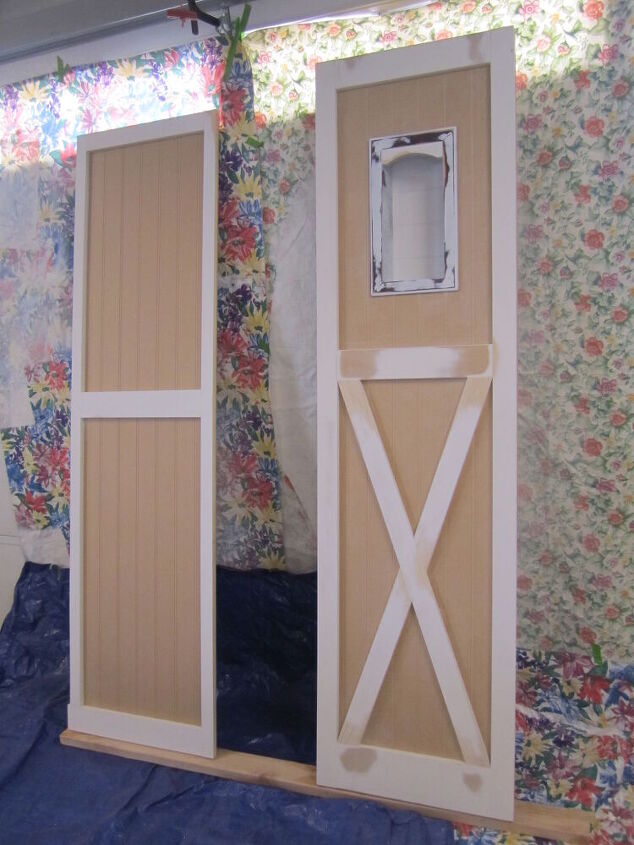
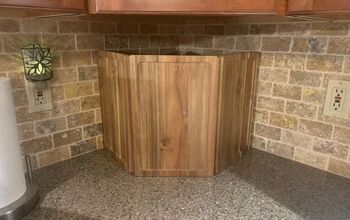
I measured the width of the front of the water heater first, and starting apx 2" from the edge of the washer position to the wall where the right side of the panel would butt up against the door/entry wall. I then measured to the back of the wall. Measure from the floor to the ceiling or desired height. I cut 2 pieces of bead board the height and width needed to make 2 free standing panels. I had the bead board on hand and it was a thicker mdf board. The bead was also a little wider - 3" on center. A thinner bead board may require additional framing trim to keep it straight and prevent bowing.
I framed out the edge with 1" X 4" pine boards. I had an old shadow box I decided to make a cut out (niche) in the upper front panel. If you do this, make sure it is above your water heater tank so it will recess. My shadow box was rectangular, and I cut a small arch to put in the top to match my laundry cabinet I made for the room.
I decided to only make one "X section" in the front lower panel. I only did a "X section" on the front panel because the washer covers up the side panel.
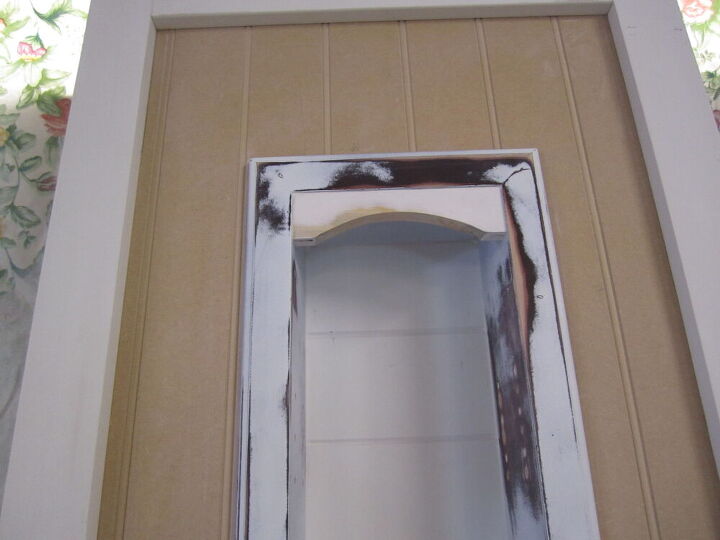
I did drill the shelf pin holes inside the little niche before painting in case I wanted to divide the space. I also ran the bead board horizontal on the niche to make it stand out. I love adding a little something unique to all my projects.
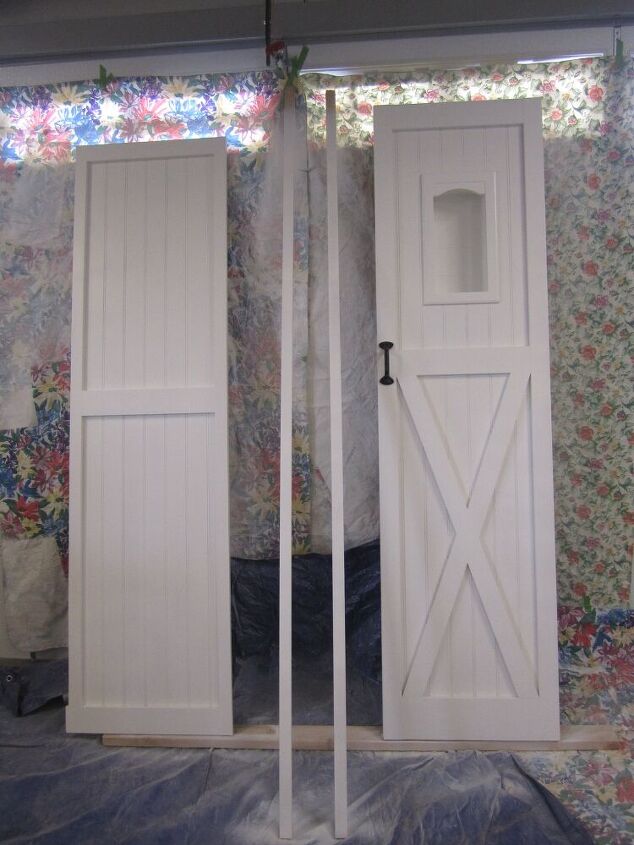
I spray painted the panels for a smooth finish (TRUTH: I wanted to do it quickly without having the extra pain of painting in the grooves). I also painted two 1" X 2" board to secure to the wall to keep the panels nice and straight when installed. I ended up only using one board on the right side of the wall.
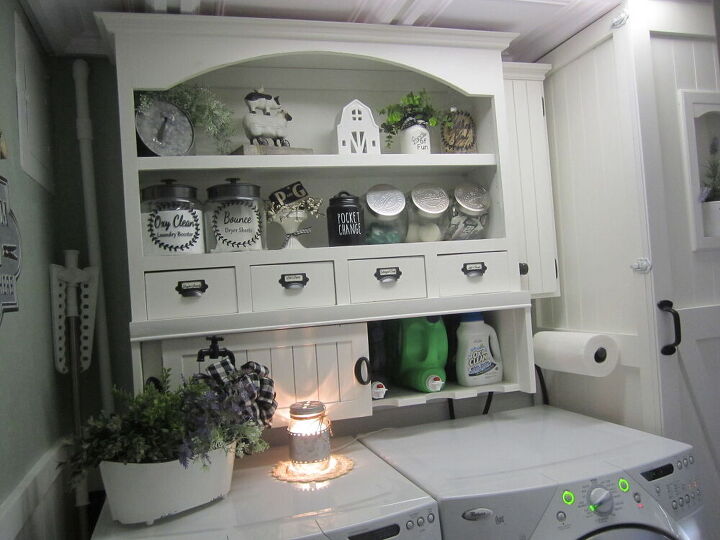
I added 3 suitcase clasps on the edge to secure and join the front and side panels together. I tried a few different clasps or catches, and these worked perfect. They hold the free standing panels securely. The panels are also supported by the back and right wall. I added a paper towel holder to the middle trim on the panel.
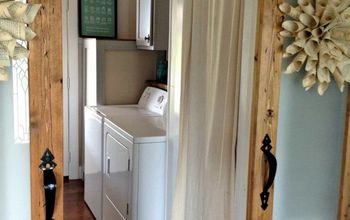
As you can see, I utilized every space in this small laundry room.
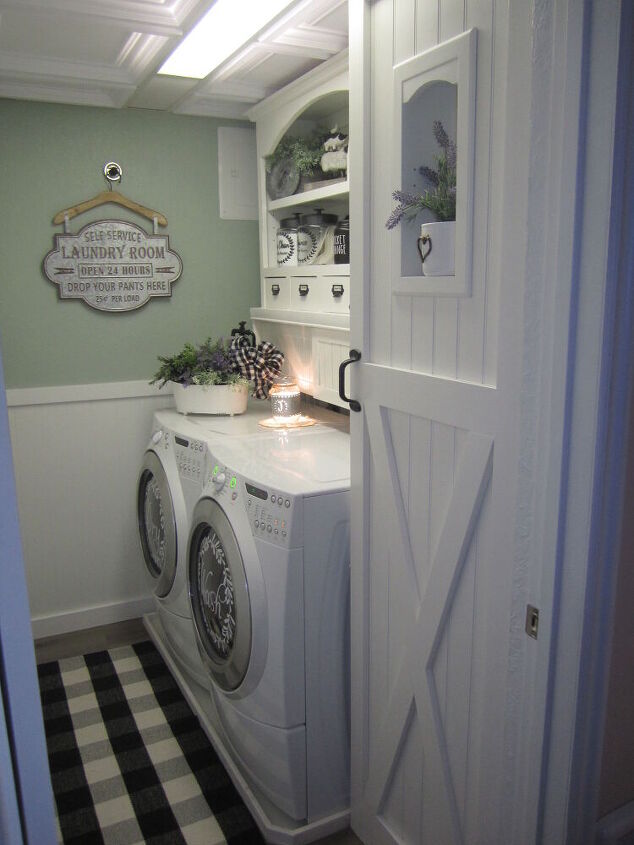
And there you have it!!! A cute water heater cover and laundry room that you don't rush to close the door when company comes.
The rest of the laundry update is detailed in another one of my projects here on HomeTalk. Check it out if you are interested.
Resources for this project:
See all materials


Comments
Join the conversation
-
This is absolutely gorgeous! I'd love to have a laundry room like this (and I don't even have a water tank to cover - I'm tankless). Obviously, a lot of the folks that ask a "question" did not READ your article; they just looked at the pictures! LOL!
Great Job!!!!
-
Thank you that is a wonderful idea


Frequently asked questions
Have a question about this project?
So, this is an L-shaped unit that you just pull straight out to service the water heater? The two pieces aren't hinged, and don't need to be, but COULD be separated at the suitcase clasps? Genius! And very handsome. Did you build or find the narrow little high cabinet in between? It braces the left wall of your cover, also.
Did you leave room for combustion air or your is electric?
What happens when the water heater needs repalcement?